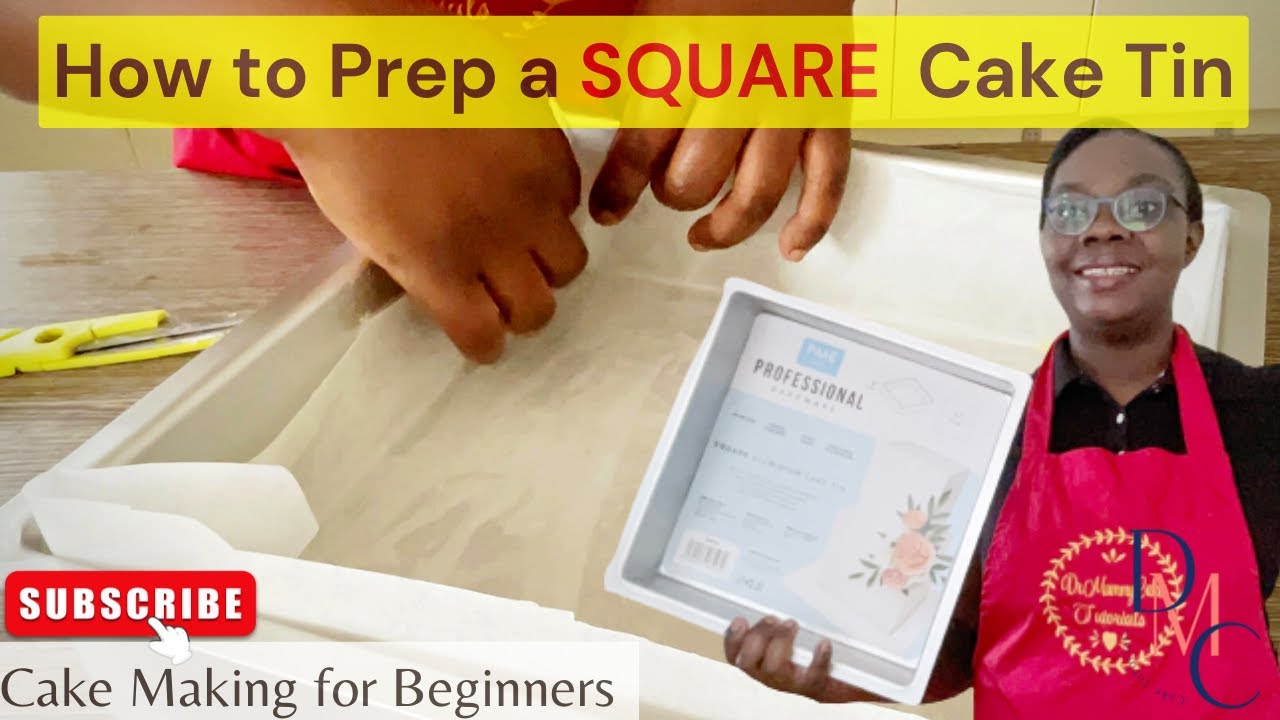
How To Line A Square Cake Tin

So, picture this. It was a Tuesday. My most ambitious baking project to date: a towering, three-layer vanilla bean cake for my neighbour’s birthday. I’d spent hours perfecting the batter, the buttercream was a dream, and I was ready to rock and roll with the baking. Except, when it came to sliding my beautiful, square cake tins into the oven, something went hilariously, disastrously wrong. The first cake stuck like a limpet. Like, really stuck. It looked like it had welded itself to the tin. The second one… well, let’s just say it came out in pieces, a sad, crumbly monument to my hubris. I ended up having to do a frantic dash to the supermarket for a shop-bought cake, which, let me tell you, is NOT the same vibe when you’re aiming for ‘homemade with love’. It was a disaster. A full-blown baking catastrophe.
But hey, that’s how we learn, right? Or at least, that’s what I tell myself when I’m scraping burnt bits off the bottom of a tin at 11 PM. And you know what? After that little incident, I became a pro at lining cake tins. Especially those fiddly square ones. So, grab a cuppa, settle in, and let me share my secrets. Because nobody wants a cake that’s auditioning for the role of ‘permanently affixed to cookware’.
The Art (and Science!) of a Perfectly Lined Square Cake Tin
Honestly, if there’s one step in baking that often gets a bit of a “meh, I’ll just wing it” attitude, it’s lining the tin. And that, my friends, is a recipe for potential heartbreak. Think about it. You’ve poured all your love and effort into that batter. You’ve probably even agonised over the recipe choice. The last thing you want is for all that goodness to be ruined by a stubborn bit of cake clinging to the sides. It’s like inviting someone to a party and then accidentally locking them out. Just… no.
Must Read
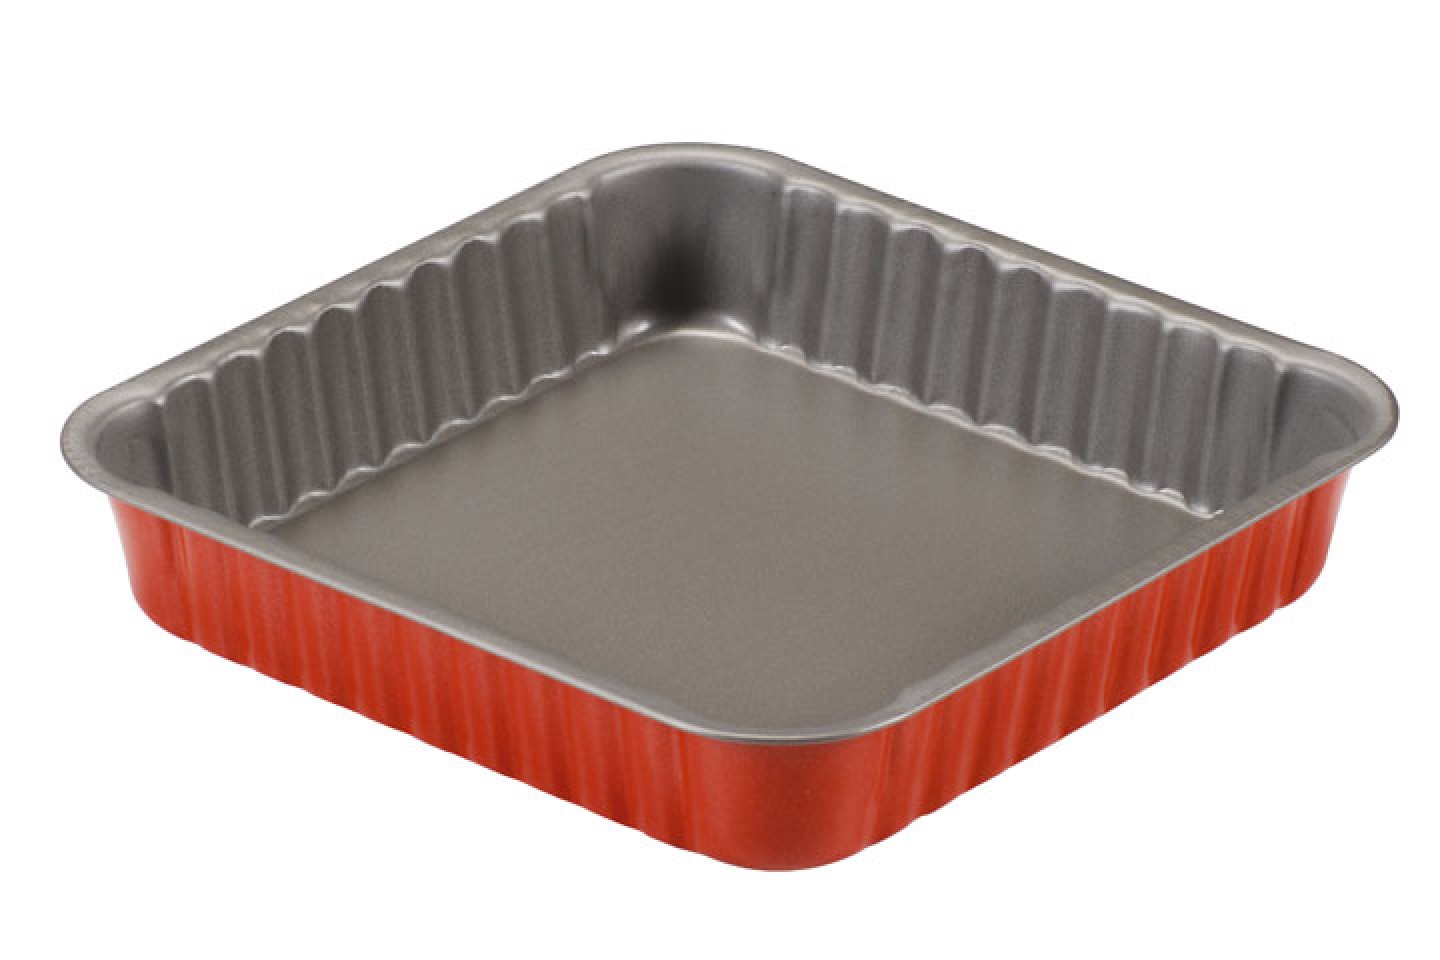
Square tins, though. They’re a whole different beast. Round tins are pretty straightforward – a circle of parchment, job done. But those sharp corners in a square tin? They can be the bane of a baker’s existence. They’re sneaky little devils, always finding a way to let the batter sneak underneath or to create those dreaded sticky patches. So, let’s dive into how to conquer them, shall we?
Why Bother? The Unsung Heroes of Non-Stick
Before we get our hands dirty, let’s quickly touch on why we’re even doing this. It’s all about creating a non-stick barrier. This barrier does a few crucial things:
- Prevents Sticking: This is the obvious one, but oh-so-important. No more tortured scraping or, worse, damaged cakes.
- Ensures Even Baking: A well-lined tin helps distribute heat more evenly, preventing the edges from over-browning or burning before the centre is cooked.
- Gives a Clean Finish: When you turn out a perfectly baked cake, it should have smooth, clean sides. No bits of burnt parchment or stray batter clinging on for dear life.
- Makes for Easier Cleaning: Seriously, this is a win-win for everyone. Less scrubbing for you, and a cleaner tin for future baking adventures.
It might seem like a small step, but trust me, it’s a foundation for cake success. Like a good pair of socks for a long hike – you don’t think about them until they’re gone, and then everything goes wrong.
The Essential Tools of the Trade
Alright, let’s gather our supplies. You don’t need a whole arsenal, just a few key players:
- Your Square Cake Tin: Obviously! Make sure it’s clean and dry.
- Baking Parchment (or Greaseproof Paper): This is your best friend. I personally love baking parchment because it’s usually a bit sturdier and can handle higher temperatures without getting fussy.
- Scissors: Sharp ones! You’ll be doing a bit of cutting.
- A Pencil (Optional, but recommended!): For tracing.
- Butter or Baking Spray: For greasing the tin.
That’s it! Simple, right? No need for fancy gadgets or expensive extras. We’re going for practical and effective here. Think of it as your baking toolkit – minimal, but mighty.

Method 1: The Classic Cut-and-Paste (My Go-To!)
This is my absolute favourite method. It’s a little bit more precise, but the results are chef’s kiss. It involves creating a snug-fitting liner for the bottom and sides.
Step 1: The Bottom Layer – A Perfect Square
First things first, let’s tackle the base. Open up your baking parchment. Now, take your square cake tin and place it on top of the parchment. Using your pencil, carefully trace around the outside of the bottom of the tin. You want a square that’s the exact size of the tin's base. Precision is key here, so take your time!
Once you’ve got your traced square, carefully cut it out with your scissors. Try to cut as close to the pencil line as possible. This little square is going to be the base of your liner. Easy peasy so far, right? No trickery involved. Yet.
Step 2: The Sides – The Clever Crease
Now for the sides. This is where the magic happens. Take a new sheet of parchment paper. You want a piece that’s wide enough to cover the height of your tin plus a little bit extra (about an inch or so) and long enough to go all the way around the tin. Don’t stress about exact measurements right now; we’ll trim as we go.
Here’s the trick for those pesky corners: Place your tin on the parchment, with the parchment underneath it. Now, fold up the sides of the parchment to meet the sides of the tin. Imagine you’re wrapping a present, but with paper that’s a bit more… cooperative. Press the parchment into the corners of the tin. You’ll see where the paper naturally wants to fold. Make sharp creases where the sides of the tin meet the base. This is crucial!
Now, carefully lift the tin off the parchment. You should have creases marking where the corners of your tin are. These creases are going to help you create a perfectly fitted liner. It’s like giving the parchment a sneak peek at its future home.
Take your scissors and cut along those creased lines. You’re essentially cutting flaps that will allow the parchment to fold neatly into the corners. You want these flaps to be about the height of your tin.
Step 3: Assembly Time!
Now, grab your greased tin. Lightly grease the inside of the tin with butter or baking spray. This gives the parchment something to stick to and adds an extra layer of protection. Don’t go overboard, just a light coating.
Take your pre-cut square for the base and place it in the bottom of the tin. It should fit snugly. Then, take your side pieces (the ones with the flaps you just cut). Carefully press them into the tin, lining the sides. The flaps should fold inwards, neatly tucking into the corners. You might need to do a little bit of fiddling to get them to lie flat. Gently press them down to ensure they’re adhering to the greased sides and corners. Think of yourself as a tiny paper architect, building a perfect cake house.
The goal is to have the parchment lining the entire inside of the tin, with no gaps, especially in those stubborn corners. Any excess parchment sticking up over the rim can be folded down or trimmed slightly. The more seamless your liner, the better your cake will release. It’s all about creating a smooth, unblemished surface for your batter.
And there you have it! A perfectly fitted liner that hugs every angle of your square cake tin. When you pour your batter in, it will have nowhere to hide. This method might take a tiny bit longer, but the payoff is HUGE. No more sticking, no more tearing, just beautiful, clean-release cakes. It's worth the effort, I promise!
Method 2: The Speedy Roll-Out (For When You're In a Pinch!)
Sometimes, you just don’t have the time (or the patience!) for the precision of Method 1. This one is a bit quicker, and while it might not be as perfectly snug, it’s still a darn good way to line your tin.
Step 1: Grease Generously!
For this method, generous greasing is your friend. Lightly grease the entire inside of your square cake tin – bottom, sides, and especially those corners. Don’t be shy with the butter or baking spray here. We’re creating a slippery surface!
Step 2: The ‘Loose Fit’ Liner
Take a large piece of baking parchment. You want it to be big enough to line the bottom and go up the sides. Lay it over the tin. Now, here’s the trick: don’t aim for perfect. Just gently press the parchment into the tin, letting it wrinkle and fold a bit to accommodate the shape. You want it to cover the bottom and most of the sides.
Use your fingers to press the parchment into the corners. It won't be as neat as the first method, and there might be some slight crinkles. That’s okay!
Step 3: Trim the Excess
Once the parchment is roughly in place, use your scissors to trim off any excess parchment that’s sticking up too high over the rim of the tin. You want it to be neat and tidy, but don’t worry about it being perfectly smooth.
This method relies heavily on the initial greasing. The parchment acts as a general barrier, and the grease does the heavy lifting for preventing sticking. It’s not as aesthetically pleasing as the first method, but it gets the job done, especially if you're in a hurry and a slightly imperfect liner won't be the end of the world.
Method 3: The ‘Cut-to-Fit’ Corner Cheat
This is a hybrid approach that I sometimes use when I want something a bit neater than Method 2 but don’t want to go through the full precision of Method 1.

Step 1: Trace and Cut the Base
Just like in Method 1, trace the base of your tin onto parchment and cut out a perfect square. Grease your tin and place this square at the bottom. Easy.
Step 2: The Side Strips
Now, instead of trying to create one giant side liner, cut several long, narrow strips of parchment. The width of each strip should be the height of your cake tin (plus a little extra). The length should be enough to go about halfway around the tin.
Grease the sides of your tin thoroughly. Then, carefully press these strips into the sides, overlapping them slightly, and pressing them firmly into the corners. You’ll use multiple strips to cover the entire perimeter. This method is a bit like tiling, but with parchment paper! It can be a little fiddly, but it gives you a good seal in the corners.
You’ll likely end up with a few small gaps between the strips in the corners. That’s where the generous greasing comes in to save the day. It’s not as flawless as Method 1, but it’s a good compromise for getting decent coverage in those tricky areas.
Tips and Tricks from a Seasoned Liner (aka Me!)
I’ve learned a few things along the way that I’m happy to pass on. Consider these your bonus insider tips:
- Don’t Be Afraid of the Grease: Whether you’re using butter or baking spray, a good coating of grease is essential for almost any lining method. It’s the first line of defence against a sticky situation.
- Use the Right Parchment: Some cheaper greaseproof papers can be a bit flimsy. I find baking parchment to be more robust and easier to work with, especially for those tricky folds.
- Sharp Scissors are Your Friends: Dull scissors will make your life miserable and result in jagged edges. Invest in a good pair for your kitchen!
- Press, Press, Press: Once your parchment is in place, take the time to press it firmly into all the corners and against the sides. A good seal means no batter sneaking through.
- When in Doubt, Double Up: If you’re particularly worried about sticking, or you’re baking something that’s notoriously sticky (like brownies!), you can always line your tin with parchment and then give the parchment itself a light greasing and a dusting of flour. Just make sure to tap out any excess flour before you add your batter.
- For the Really Fussy Cakes: If you’re making a very delicate cake or one that you absolutely cannot afford to have stick, you can even create a “sling.” This is where you cut a long strip of parchment that’s wide enough to line the bottom and go up both sides of the tin. You then grease the tin, place the sling in, and the excess parchment will hang over the sides, allowing you to lift the entire cake out easily once baked. You might need to trim the excess a bit for a tidy look, but it's a lifesaver for delicate bakes.
- Practice Makes Perfect: The more you line tins, the faster and better you’ll become. Don’t get discouraged if your first few attempts aren’t perfect. You’ll get the hang of it!
So, there you have it. My comprehensive guide to conquering the dreaded square cake tin. No more baking nightmares, no more supermarket dash cakes. Just beautiful, perfectly released cakes, every single time. Go forth and bake with confidence!

