How Do I Edit A Wordpress Website
So, you've got a WordPress website. Awesome! But maybe it's starting to feel a little… static? Like that outfit you've worn a million times? Yeah, we've all been there. The good news is, editing your WordPress site is way less scary than it sounds. Seriously!
Think of your WordPress dashboard like your website's secret lair. It's where all the magic happens. And editing? It's just about sprucing things up, adding new bits, or maybe even completely redecorating. No need for a full demolition crew, promise.
Let's dive in, shall we? Grab your virtual coffee. Mine’s a latte, extra shot. You can have whatever your heart desires.
Must Read
Logging In: Your Golden Ticket
First things first, you gotta get into your lair. How do you do that? It’s usually pretty simple. Most of the time, you'll pop your domain name into your browser, then add /wp-admin at the end. So, if your website is yourcoolsite.com, you'll type yourcoolsite.com/wp-admin.
Boom! You’ll see a login screen. It’s like the bouncer at your favorite club, but way less judgemental. Just pop in your username and password. If you’ve forgotten them… well, that’s a story for another coffee. There's usually a "Lost your password?" link, so don’t panic.
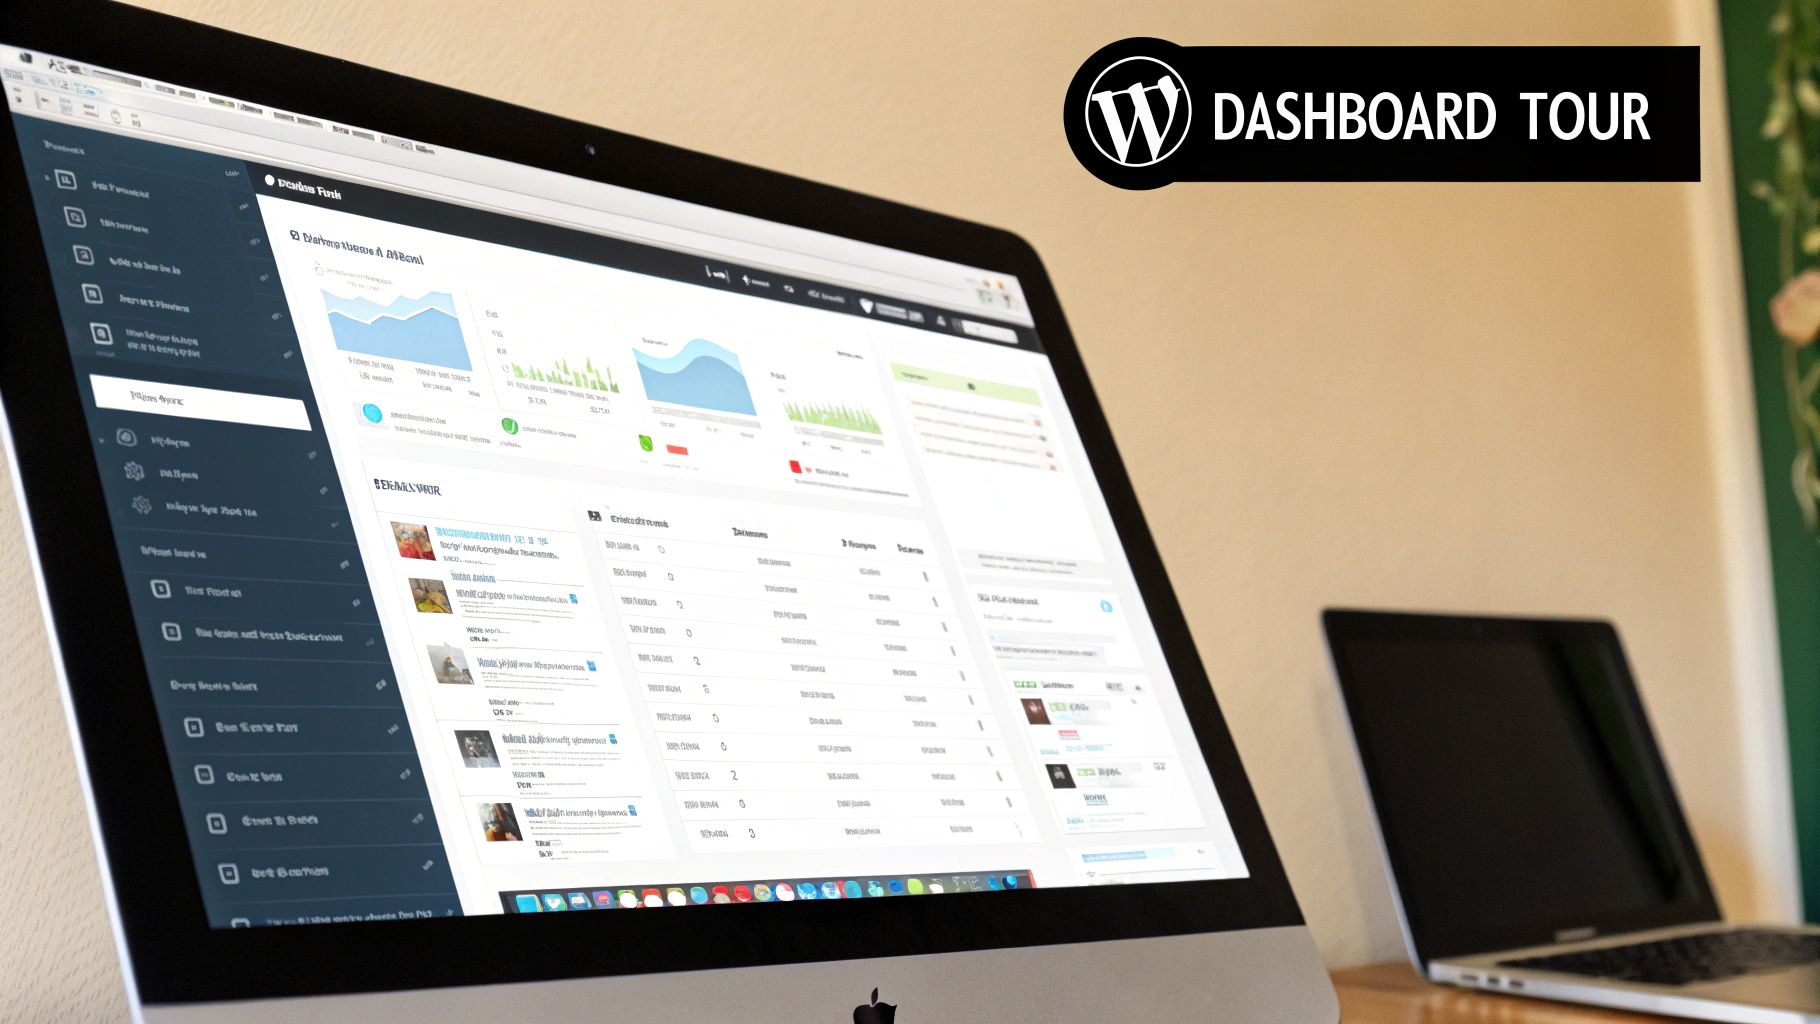
Once you’re in, you’ll see the WordPress dashboard. It might look a little overwhelming at first, like a giant Swiss Army knife. But trust me, you’ll get the hang of it.
The Dashboard: Your Command Center
This is where the magic happens, folks. The dashboard is your control panel. You'll see a bunch of menus on the left-hand side. Don't feel like you need to know what every single one does right away. We’ll focus on the important stuff.
See that "Posts" menu? That's for your blog articles. "Pages"? For your static content, like your "About Us" or "Contact" page. "Appearance"? That's for how your site looks. And "Plugins"? Those are like extra superpowers for your site. We'll get to those.
Editing Pages: Your Website's Foundation
Let's start with editing your pages. These are usually the core parts of your website. Think of them as the rooms in your house. You want them to look good, right?
Head over to the "Pages" menu on the left. Click on "All Pages". You'll see a list of all the pages currently on your site. Pretty neat, huh?
Find the page you want to edit. Want to change your "About Us" page? Just hover your mouse over its title and you'll see a few options: "Edit," "Quick Edit," "Trash." We want "Edit".
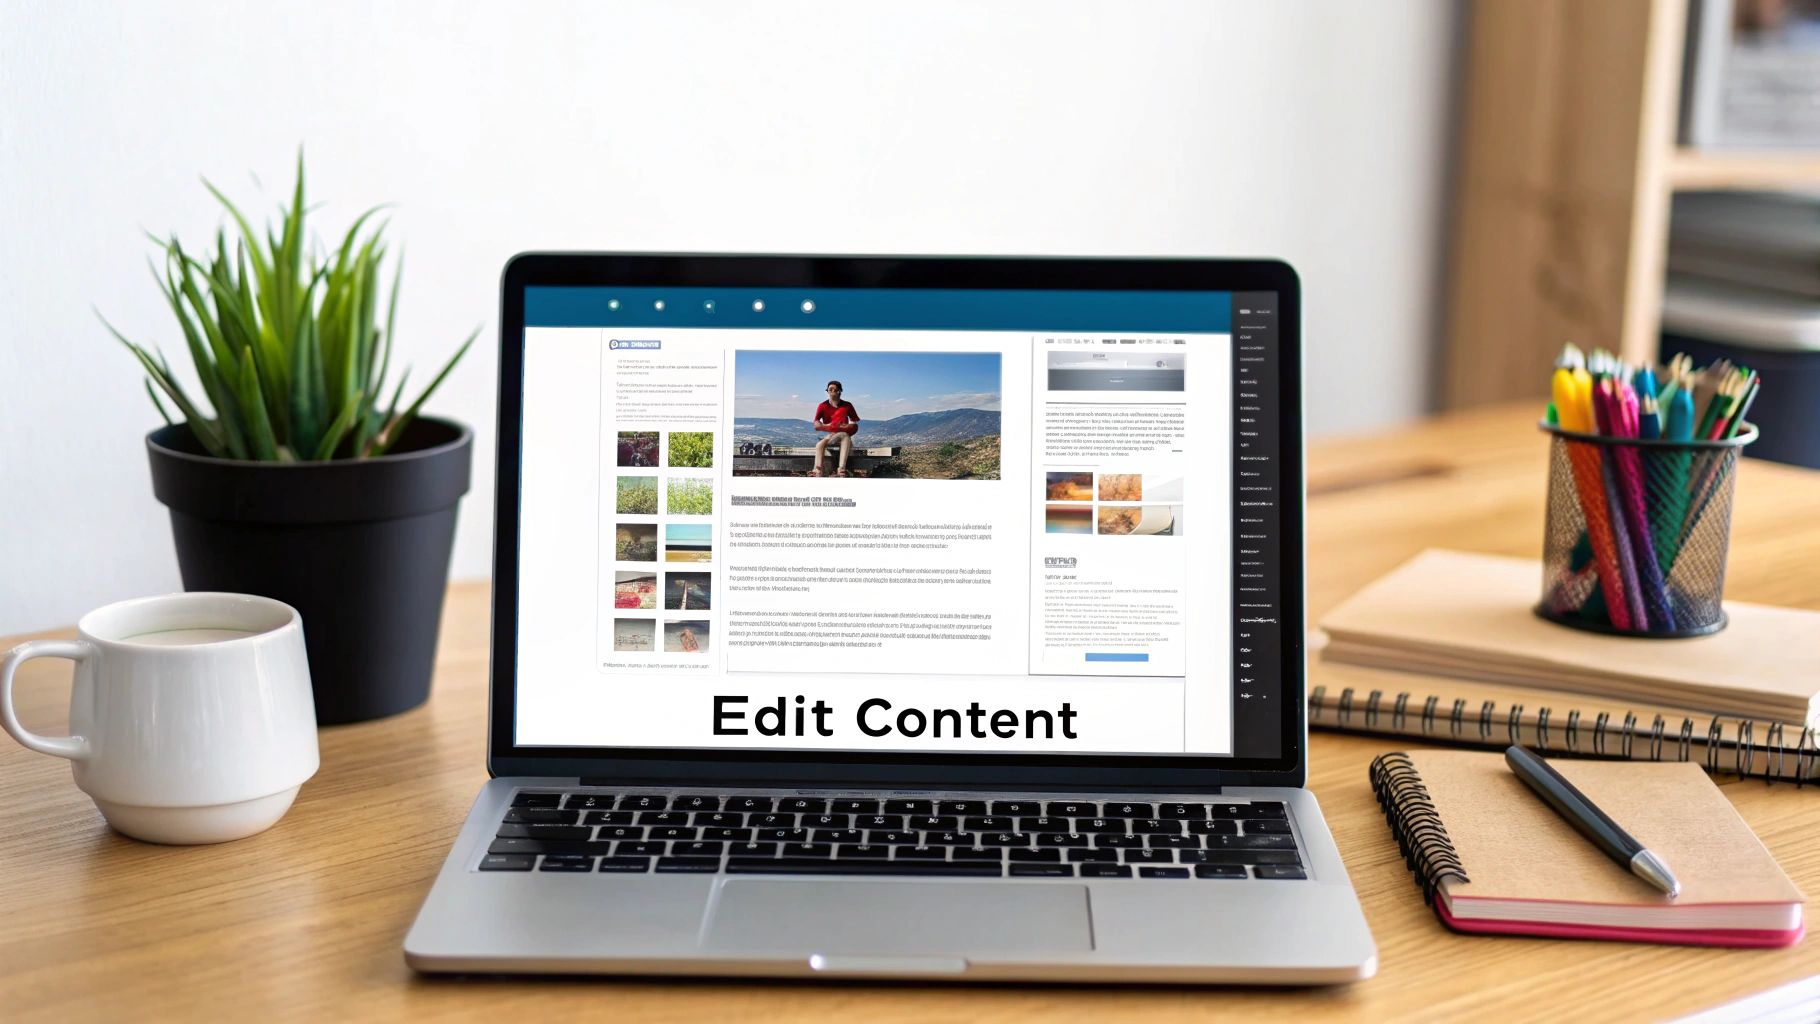
Click "Edit," and now you're in the WordPress editor. It's probably the Gutenberg editor, also known as the block editor. It's pretty intuitive, but let's break it down.

The Block Editor: Building Blocks of Awesome
The Gutenberg editor works with "blocks." Think of these blocks like LEGOs. You have text blocks, image blocks, heading blocks, button blocks… the list goes on!
When you click on an existing block, you'll see its content. You can just type directly into the text blocks to change the words. Easy peasy, lemon squeezy.
Want to add a new block? See that little plus sign (+) somewhere? Click it! You can search for the type of block you want. Need an image? Search for "Image." Want a fancy heading? Search for "Heading."
It’s like a buffet of content options. Just pick what you want and drag it where you want it. Or, you know, click it and it appears.
Images are super important for making your site look spiffy. To add or change an image, click on the image block. You'll see options to "Upload" a new image from your computer, select one from your "Media Library" (where all your uploaded images live), or even insert one via a URL.
Headings break up your text and make it easier to read. They’re crucial for SEO, too! Just select a heading block and type your heading. You can change the heading level (H1, H2, H3, etc.) using the settings on the right-hand sidebar.
Buttons are great for calls to action. Want people to "Sign Up Now" or "Learn More"? A button is your best friend. You can customize the button text, color, and the link it points to. Very important for guiding your visitors.
Don't forget the right-hand sidebar. This is where all the nitty-gritty settings for your current block and the page itself live. You can adjust things like colors, typography, spacing, and more. Play around with it! It’s like the customization menu for your website's Lego bricks.
Once you're happy with your changes, don't forget to hit the big, beautiful "Update" button in the top right corner. If you don’t, all your hard work might just vanish into the digital ether. And nobody wants that.
Editing Posts: Your Blog's Best Friend
Similar to pages, editing your blog posts is a breeze. Head over to the "Posts" menu and click on "All Posts".
You'll see a list of all your blog articles. Just like with pages, hover over the one you want to edit and click "Edit". You’ll be taken to the same block editor we just talked about.
The process is identical. You're working with blocks, adding content, images, headings, and all that jazz. The only real difference is that posts are usually displayed in chronological order on your blog page, and they often have categories and tags associated with them.
The categories and tags are on the right-hand sidebar, usually under the "Document" tab. These are super important for organizing your content and helping people (and search engines!) find what they're looking for. Think of categories as broad topics and tags as more specific keywords.
When you're done editing, hit that "Update" button! You’re a blogging ninja now.
Themes: Your Website's Wardrobe
Okay, so you've got your content sorted. But what about how your site looks? That's where Themes come in.
Head to the "Appearance" menu and click on "Themes". This is where you can see what theme your site is currently using and install new ones. Think of themes as pre-designed templates that dictate your website's overall layout, colors, and fonts. They're like buying a stylish outfit instead of building one from scratch.
You can upload new themes or browse the free ones directly from the WordPress repository. There are thousands of them! Some are free, and some are premium (meaning you pay for them, but you often get more features and support).
To change your theme, you’d typically click "Activate" on the one you want. Be aware, though, that changing themes can sometimes affect your site’s layout and design. It's like trying on a completely new style – things might shift!
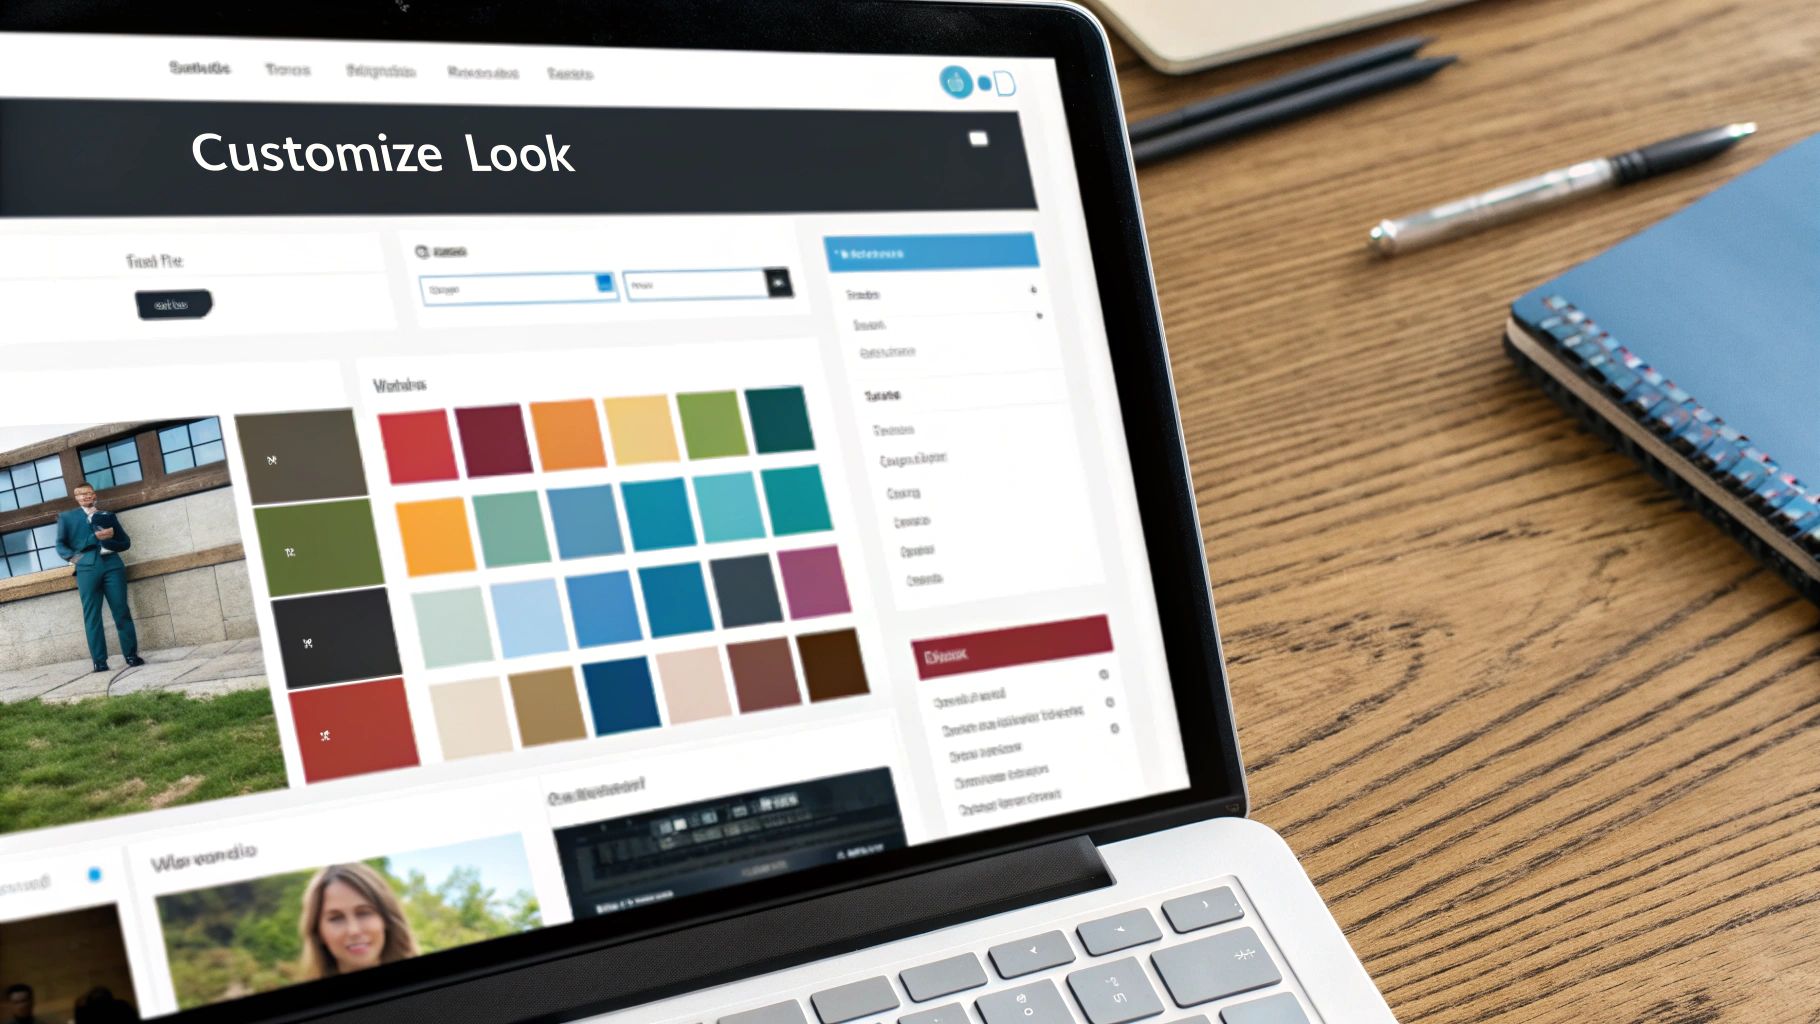
If you want to make minor tweaks to your current theme without diving into code, go to "Appearance" > "Customize". This is the Customizer, and it's a game-changer. It lets you tweak colors, logos, menus, widgets, and more, all in real-time. You can see your changes as you make them. Pretty cool, right?
However, for major design changes, you might need to look at theme options (if your theme provides them) or, gulp, CSS. But don't let the word "CSS" scare you! We're just chatting over coffee here, not preparing for a coding exam.
Plugins: Your Website's Superpowers
Remember how I mentioned plugins giving your site superpowers? Well, they do! Plugins are like little apps that add extra functionality to your WordPress site.
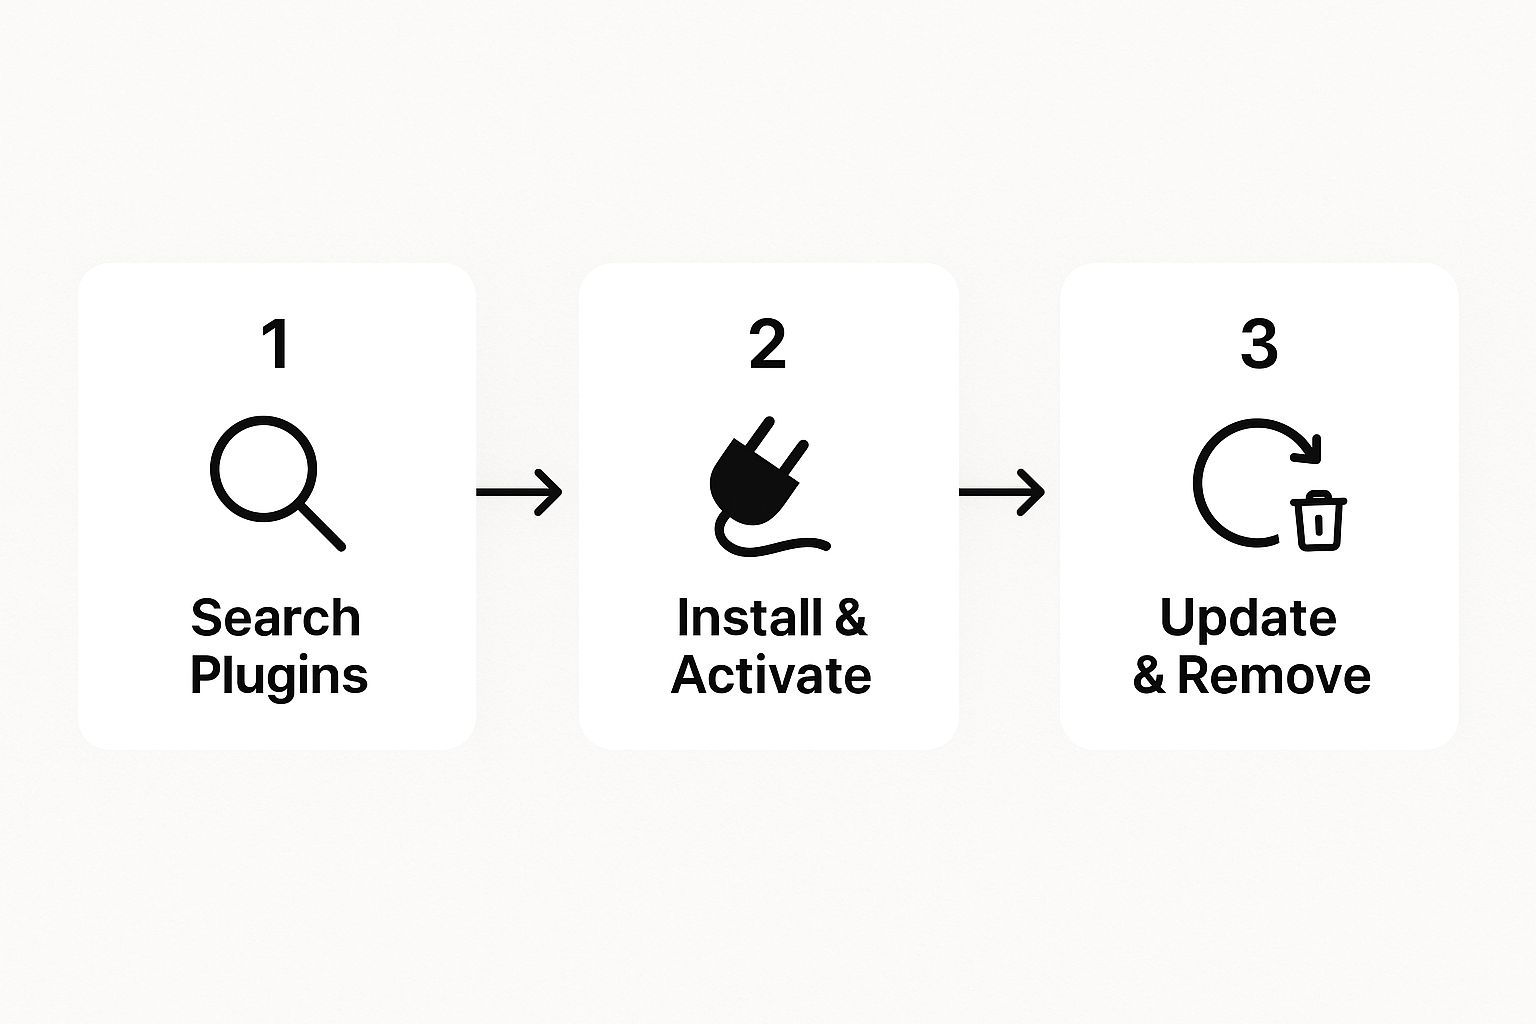
Head over to the "Plugins" menu and click on "Installed Plugins". You'll see all the plugins you currently have active (or inactive).
To add a new plugin, click on "Add New". Just like with themes, you can browse the WordPress plugin repository or upload a plugin you’ve downloaded elsewhere.
There are plugins for everything. Want to improve your site's SEO? Yoast SEO or Rank Math. Need to create contact forms? Contact Form 7 or WPForms. Want to speed up your site? Caching plugins like WP Super Cache or W3 Total Cache. The list is endless!
When you find a plugin you like, click "Install Now" and then "Activate". Just like with themes, be a little cautious. Too many plugins, or plugins that aren’t well-coded, can slow down your site or even cause conflicts. It’s like having too many people trying to talk at once – it gets messy.
Make sure to keep your plugins updated! Updates often include security patches and new features. It’s like giving your superpowers a tune-up.
Menus: Guiding Your Visitors
Your menus are how people navigate your site. They're super important for user experience. No one wants to get lost on a website, right?
Go to "Appearance" > "Menus". Here you can create, edit, and manage your website’s navigation menus.
You can add pages, posts, custom links, or even categories to your menu. Want to create a dropdown menu? Just drag a menu item a little to the right under another item. See? Like building a little hierarchy.
You can also assign your menu to different locations on your theme (like the primary navigation at the top of your site, or a footer menu). Each theme has different menu locations, so it can vary.
Don't be afraid to play around with your menu structure. Make it logical and easy for your visitors to find what they need. It's all about making their journey on your site smooth and enjoyable.
Widgets: Little Bits of Extra Goodness
Widgets are like little content modules that you can place in specific areas of your theme, often in sidebars or footers.
Head to "Appearance" > "Widgets". You'll see a list of available widgets (like "Recent Posts," "Search," "Categories") and the widget areas your theme provides.
Just drag and drop a widget from the available ones into a widget area. You can usually configure the settings for each widget too. For example, you might want to limit the number of recent posts displayed.
Widgets are a great way to add extra information or functionality without needing to edit individual pages or posts. Think of them as little helpers sprinkled around your site.
The Takeaway: You Got This!
So there you have it. Editing a WordPress website isn't some dark art reserved for tech wizards. It's more like learning a new recipe. You start with the basics, follow the steps, and gradually you get more adventurous.
The key is to not be afraid to explore. Click around. See what happens. Most of what you do can be undone, especially if you hit "Update" cautiously and keep backups (which is a whole other coffee chat!).
Start with simple edits. Change a bit of text. Add an image. Then, gradually, you'll get more comfortable with adding new blocks, adjusting settings, and maybe even dabbling with themes and plugins.
Remember, your website is your digital home. And you have the power to redecorate it whenever you please. So go forth, be brave, and happy editing!
Oh, and if you get stuck, Google is your best friend. Seriously. "How do I change the color of a button in WordPress?" – Google knows.