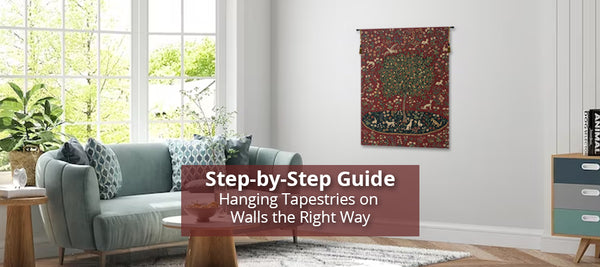
How Do You Hang A Wall Tapestry
Alright, let's talk about something that can instantly transform your living space from "just okay" to "wowza!" We're diving headfirst into the magical world of wall tapestries. You know those gorgeous, often oversized pieces of fabric that can tell a story, add a splash of color, or just make your room feel like it belongs in a magazine? Yep, those! But here's the thing: many of us look at them and think, "Ooh, pretty, but how on earth do I get that thing to stay on my wall without looking like a toddler attacked it with a glue stick?"
Don't you worry your pretty little head about it. Hanging a tapestry is way less complicated than you might think. In fact, it's actually quite the empowering little DIY project. Think of it as giving your walls a big, beautiful hug. And who doesn't love a good hug? It’s a chance to infuse your personality into your home, making it feel truly yours. Plus, a tapestry can hide those questionable paint jobs or that one weird patch of wallpaper you can’t quite get rid of. See? Practical and pretty!
So, grab a cup of your favorite beverage, put on some upbeat tunes, and let’s get this show on the road. We’re going to break down the art of tapestry hanging into bite-sized, totally achievable steps. Ready to unleash your inner interior designer?
Must Read
Finding Your Perfect Spot: It's All About the Vibe!
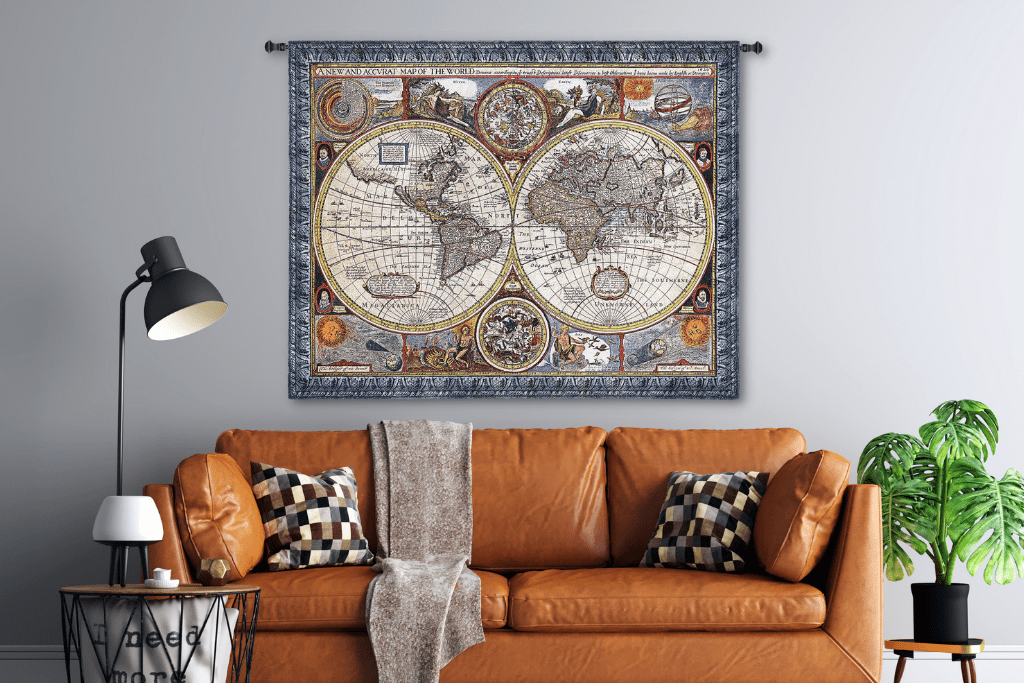
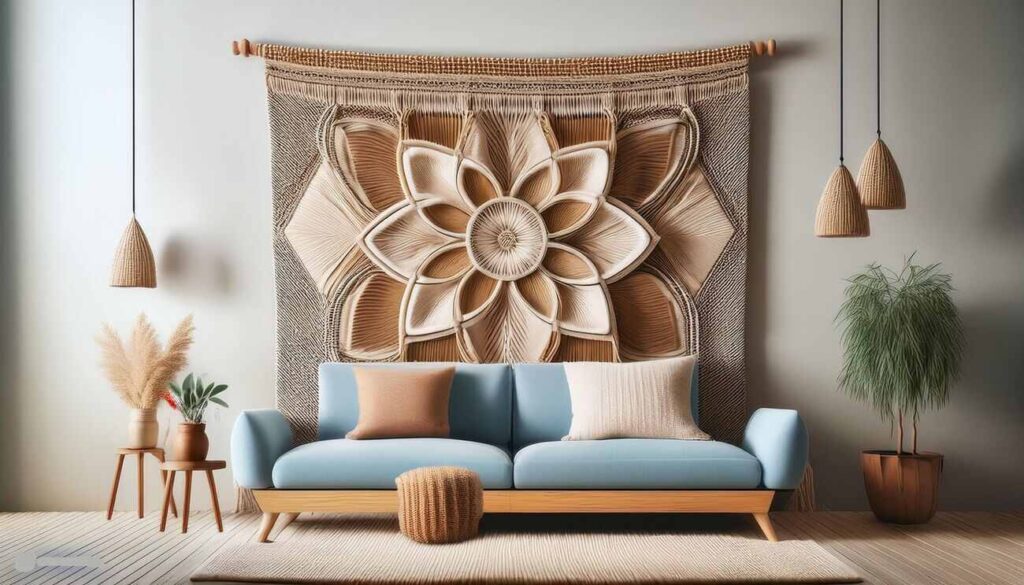
Before we even think about hooks and hammers (don't be scared!), we need to find the perfect place for your masterpiece. This is where the fun really begins. Where does your tapestry want to live? Is it going to be the star of the show above your sofa, adding a cozy focal point? Or maybe it’s going to bring some bohemian flair to your bedroom wall?
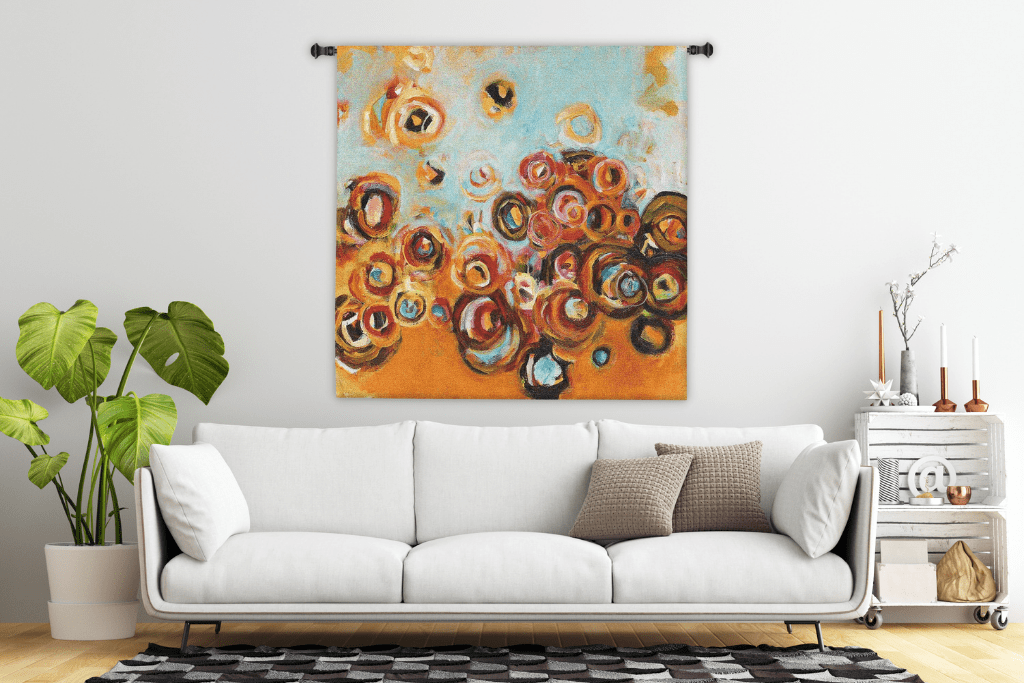
Consider the existing decor. Does your tapestry have a lot of vibrant colors that will pop against a more neutral background? Or is it a more subtle piece that will add texture and warmth to an already busy space? Trust your gut here. Your home is a reflection of you, so pick a spot that makes you feel happy every time you see it. Maybe it’s a blank wall that’s been screaming for some attention, or perhaps it’s a corner that feels a little bit… well, sad. A tapestry is the perfect antidote!
Measure your space and your tapestry. It sounds obvious, but you’d be surprised how many times people eyeball it and end up with a tapestry that’s either too big or too small. Get a tape measure out! Hold the tapestry up (with a friend, if it’s a beast!) and visualize it. Does it feel right? Does it balance the room? This is your chance to get creative and play decorator. It’s like a giant coloring book for your house!
The Nitty-Gritty: Hanging Methods That Won't Make You Cry
Okay, now for the practical stuff. There are a few tried-and-true methods for hanging a tapestry, and the best one for you will depend on the size and weight of your tapestry, as well as the type of wall you have.
Method 1: The "Classic" Clip and Hook (For Lighter Tapestries)
This is probably the most common and straightforward method. If your tapestry is on the lighter side, like cotton or linen, this is your go-to. You’ll need:
- Binder clips (the metal kind, not the plastic ones that break when you look at them funny).
- Picture hanging hooks (the little ones with the tiny nails that are surprisingly strong).
- A hammer (duh!).
- A level (to ensure your masterpiece isn't hanging like it's on a rollercoaster).
First, lay your tapestry flat on the floor. You want to figure out where you want the hanging points to be. Most tapestries have a nice selvedge edge (that’s the finished edge, fancy pants!) along the top. You'll want to hang it from this top edge.
Now, take your binder clips. Start attaching them to the top edge of your tapestry, spacing them out evenly. Aim for about 6-10 inches apart, depending on the width of your tapestry. Don’t clip them too close to the edge, or they might slip. You want them to have a good grip.
Next, grab your level. Decide where you want the top of your tapestry to hang. Hold the level against the wall at that height and mark where the tapestry will begin. This is your guide!
Now, measure the distance from the top edge of your tapestry to the top of where your binder clips are attached. Let’s say it’s 2 inches. This means your picture hooks need to be 2 inches above your level line. So, mark your hook placement on the wall using your level as a guide.
Gently tap your picture hooks into the wall at your marked spots. Don’t go crazy with the hammer; just a few gentle taps should do it. Make sure they’re secure.
Finally, carefully lift your tapestry and hook the metal part of the binder clips onto the picture hanging hooks on the wall. Adjust the tapestry as needed to make sure it’s straight. Ta-da! You’ve just defied gravity and beautified your home. How cool is that?

Method 2: The Rod Pocket Pro (For Heavier Tapestries or a Sleeker Look)
Does your tapestry have a built-in "rod pocket" along the top? That’s like a little channel sewn into the fabric. This is a fantastic way to hang heavier tapestries and gives a really clean, finished look. You’ll need:
- A curtain rod or a nice decorative rod.
- Rod pocket clips (if your rod doesn't have them built-in, or if you want extra security).
- Appropriate wall mounting hardware for your rod (screws, anchors, etc.).
- A drill (if you're not using a toggle bolt or something similar for drywall).
- A level.
- A pencil.
First, thread your curtain rod through the rod pocket of your tapestry. Easy peasy, right? If your tapestry doesn’t have a rod pocket, you can sometimes sew one on yourself, or use those handy rod pocket clips that attach directly to the fabric and then slide onto the rod.
Now, hold the rod (with the tapestry attached) up to the wall where you want it to hang. Use your level to make sure it’s perfectly straight. Mark the wall with your pencil where the rod mounting brackets will go.
Depending on your wall type (drywall, plaster, studs), you’ll need to use the appropriate hardware to secure the rod brackets. If you’re drilling into studs, you might just need screws. For drywall, you’ll likely need anchors. If you’re unsure, it’s always better to err on the side of caution and use anchors!
Drill your pilot holes, insert anchors if needed, and then screw in your rod brackets securely. Make sure they can hold the weight of your tapestry!
Finally, hang your rod (with the tapestry still attached) onto the mounted brackets. Step back and admire your handiwork. It looks so professional, doesn't it? Like you hired someone to do it, but nope, it was all you!
Method 3: The Command Strip Champion (For Renters or Low-Commitment Decorators)
Are you a renter, or do you like to switch up your decor more often than the seasons change? Command Strips are your best friends! They are amazing because they hold strong but remove cleanly, leaving no damage behind. You’ll need:
- Heavy-duty Command Strips (make sure they are rated for the weight of your tapestry).
- Rubbing alcohol for cleaning the wall surface.
- A level.
- A pencil.
This method works best for lighter to medium-weight tapestries. Lay your tapestry flat and figure out where you want to place the Command Strips on the back of the tapestry, near the top edge. You can use several along the top, spaced out. You might also want to add a couple along the bottom edge to prevent it from flapping.
Follow the instructions on your Command Strip packaging very carefully. This usually involves cleaning the wall surface with rubbing alcohol (this is crucial for good adhesion!) and pressing the strip firmly for a specific amount of time.
Now, here’s the trick: you’ll attach one half of the Command Strip to the back of your tapestry, and the other half to the wall. When placing the strips on the wall, use your level to ensure they are perfectly aligned. You might want to mark your spot lightly with a pencil first.
Press the strips firmly onto the wall, hold for the recommended time, and then pull the tapestry away, leaving the other half of the strip on the wall. Then, carefully re-attach the tapestry to the wall strips. You might need a friend to help you hold it steady while you align the strips.
:max_bytes(150000):strip_icc()/Stocksy_txp0db93fe5zr1300_Small_2189365-077fa462891043418d60f983cc1414e8.jpg)
These are great because you can remove them by pulling the tab straight down, and they won’t damage your paint. It’s like magic for temporary decorators!
A Note on Weight and Wall Types
Seriously, pay attention to the weight of your tapestry! A tiny cotton piece needs a different approach than a hefty wool behemoth. Always check the weight and choose your hanging method and hardware accordingly. When in doubt, go for the stronger option. Nobody wants a tapestry disaster!
Also, know your walls. Drywall is common, but if you have plaster, brick, or concrete, you’ll need different tools and techniques. If you’re unsure, a quick trip to your local hardware store with a picture of your wall (and your tapestry!) can get you the right advice. They’re usually full of super helpful people who love talking about DIY.
The Joy of Tapestry
See? It’s not rocket science! Hanging a tapestry is a fantastic way to inject personality, color, and warmth into your home. It’s a creative outlet that has a tangible, beautiful result. Imagine walking into a room and being greeted by a stunning piece of art that you put there yourself. That’s a feeling of accomplishment, my friends!
It’s more than just decorating; it’s about creating a sanctuary, a space that truly resonates with you. It's about telling your story on your walls. So, don't be intimidated. Embrace the process. Have fun with it! And the next time you see a tapestry that speaks to your soul, don’t just admire it – imagine it gracing your own walls. You've totally got this, and your home will thank you for it!
Ready to add some magic to your walls? The world of tapestries is vast and wonderful, just waiting for you to explore. Go forth and decorate!