How To Setup A Local Wordpress Development Environment
Ever dreamt of building your own little corner of the internet? Like, a cool blog, a portfolio to show off your amazing creations, or maybe even a tiny online shop? Well, you're probably familiar with WordPress, right? It powers a huge chunk of the web, and for good reason. It's pretty user-friendly once you get the hang of it.
But what if you want to get a little more hands-on? What if you want to try out a new theme, mess around with some code, or just experiment without worrying about breaking your live website? That's where setting up a local WordPress development environment comes in. Think of it as your own private sandbox, a digital playground right on your computer!
Why Bother With a Local Setup?
So, why go through the trouble? Good question! Imagine you're a chef wanting to try out a brand-new, experimental recipe. Would you do it in your fancy restaurant during peak dinner service? Probably not! You'd likely do it in your home kitchen, where you can make a mess, taste-test freely, and perfect it before serving it to your paying customers. A local WordPress setup is exactly that – your home kitchen for website building.
Must Read
It's a safe space. You can install plugins, activate themes, and even delete them all without a single visitor seeing a thing. No "oops, my site is down!" emails to worry about. It’s also way faster. Testing things on your own computer is almost always snappier than doing it on a live server connected to the internet. This means less waiting, more doing, and a much more enjoyable workflow.
Plus, it’s an incredible learning tool. Want to understand how WordPress really works under the hood? Need to get comfortable with PHP, CSS, or JavaScript in the context of WordPress? A local environment is your best friend for diving deep without consequences.
What Exactly Is This Local Thing?
Okay, so when we talk about a "local WordPress environment," we're essentially talking about having everything WordPress needs to run, installed directly on your own computer. What does WordPress need, you ask? It's kind of like a mini-computer within your computer, specifically for WordPress.
At its core, WordPress is built on a few key technologies:

- A web server: This is like the friendly waiter who serves up your website's pages when someone (or your local setup) requests them.
- A database: This is where all your WordPress content – your posts, pages, comments, settings – lives. Think of it as the digital filing cabinet.
- PHP: This is the programming language that WordPress uses to process all that data from the database and build the actual web pages you see.
Putting all these pieces together on your computer creates that local environment. It’s like assembling a tiny, private internet server just for your WordPress experiments.
The Easy Peasy Way: All-in-One Packages
Now, you might be thinking, "Wow, setting up a web server, a database, and configuring PHP sounds complicated!" And you're right, it can be. But thankfully, there are some fantastic tools out there that bundle all of this into easy-to-install packages. These are like pre-made meal kits for your website building!
The most popular and beginner-friendly options are:
Local by Flywheel (or just Local)
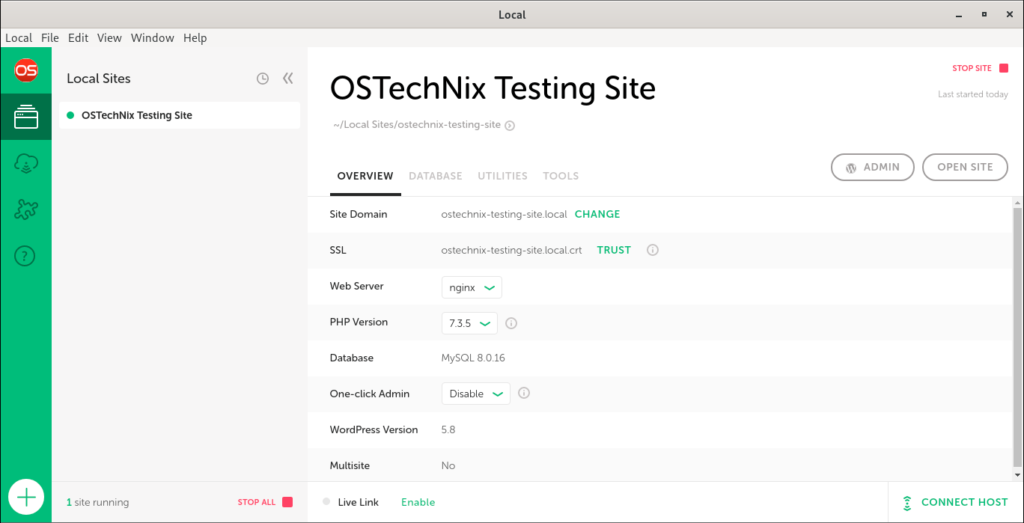
This is hands-down one of the most loved and user-friendly tools for setting up a local WordPress environment. It’s incredibly intuitive. You download it, click a few buttons, and boom – you have a brand-new WordPress site ready to go.
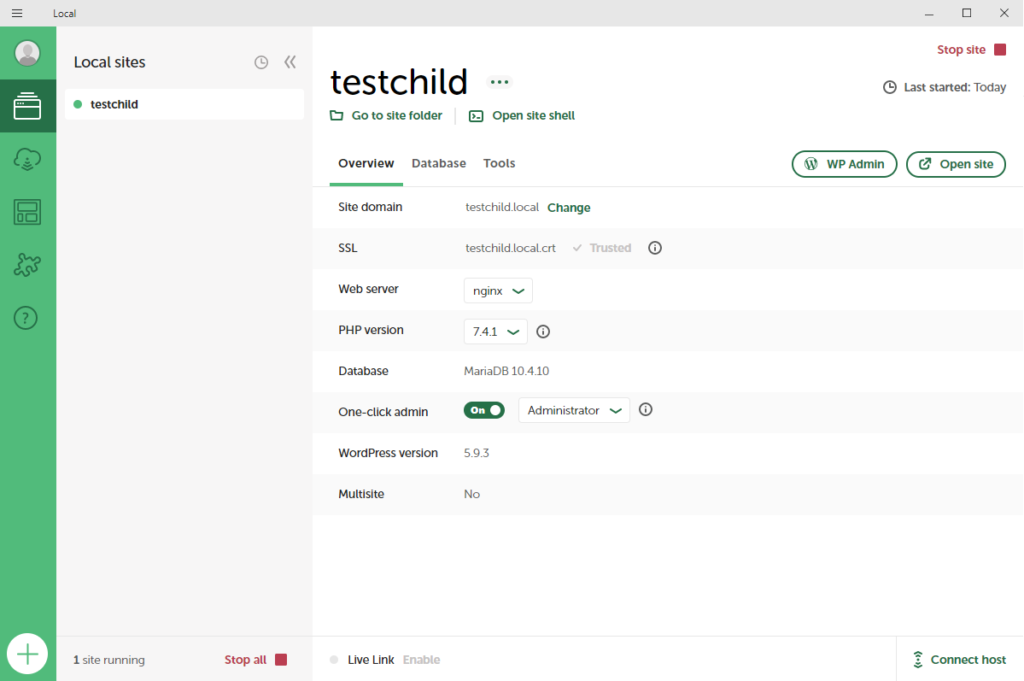
With Local, you can create new sites in seconds. You just give your site a name, choose a username and password, and it handles all the technical bits for you. It even lets you select different PHP versions and web server types, which is super handy if you're working on a project that requires specific configurations.
What’s really cool about Local is how easy it is to manage multiple sites. You can have several different WordPress projects running simultaneously, each in its own isolated environment. It’s like having a bunch of different workshops for different crafts, all neatly organized.
Another neat feature? You can easily set up SSL certificates for your local sites, which is great if you want to test things that rely on secure connections. And when you're ready to take your site live, Local makes it simple to export and deploy your work to a live server.
MAMP / WAMP / XAMPP
These are a bit older but still very robust and widely used. They stand for:
- MAMP: Macintosh, Apache, MySQL, PHP. (For Mac users)
- WAMP: Windows, Apache, MySQL, PHP. (For Windows users)
- XAMPP: Cross-Platform (Apache, MySQL, PHP, Perl). (Works on Mac, Windows, and Linux!)
These packages essentially install an Apache web server, a MySQL database, and PHP on your machine. Once installed, you’ll typically need to start the servers, and then you can manually create a WordPress installation within the designated webroot folder.

While they might require a little more manual setup than Local (like creating your database and placing WordPress files in the right spot), they give you a lot of control. They're like building your own workshop from scratch, choosing each tool and piece of lumber yourself. For those who like to understand every step, these are fantastic.
Let's Get Started (The Simplified Way with Local)
Okay, enough talk, let's imagine you're using Local by Flywheel. It's the easiest way to jump in.
Step 1: Download and Install
Head over to the Local website and download the version for your operating system (Mac or Windows). Follow the simple installation prompts.
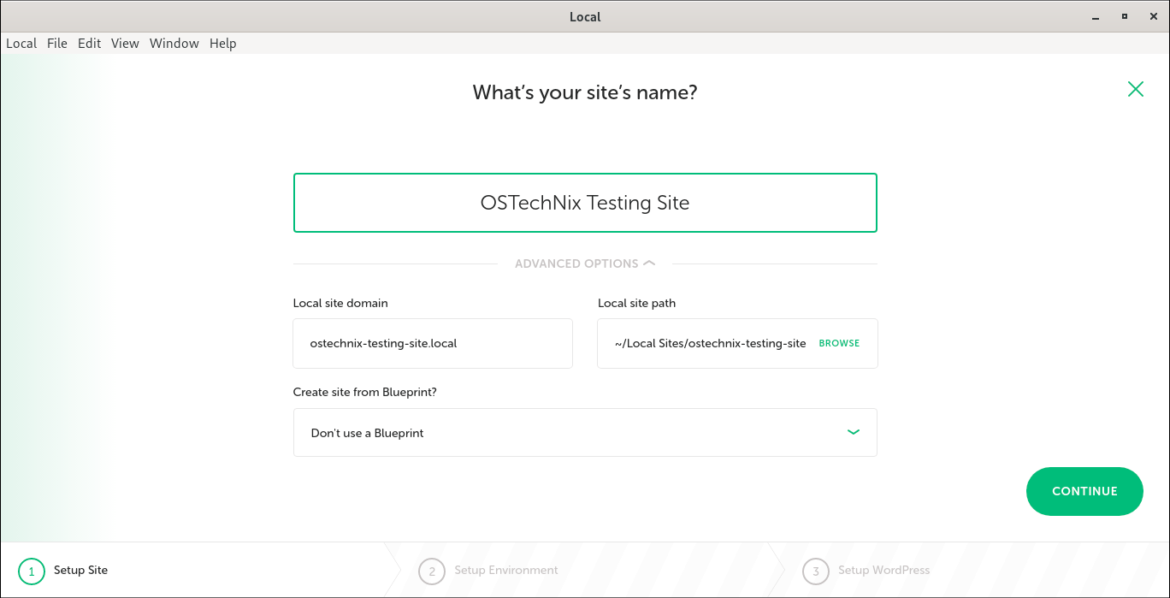
Step 2: Create Your First Site
Once Local is installed and running, you'll see a welcoming screen. Click the big blue "+" button, or the "Create New Site" button. This kicks off the site creation wizard. You'll be asked for a site name. Type in whatever you like – "MyAwesomeBlog," "PortfolioProject," or even something silly like "RandomWebsiteIdeas."
Next, you’ll choose your environment. For beginners, the "Preferred" option is usually perfect. It uses sensible defaults for the web server and PHP version. You'll then set up your WordPress username and password. Make them memorable!
Step 3: Wait for Magic!
Local will now work its magic, downloading WordPress, setting up your database, and configuring everything. This usually takes just a minute or two. You’ll see progress bars, and then, voila!
Step 4: Visit Your Site!
Once the site is created, Local will present you with a few options. The most exciting one is the "Admin" button. Click that, and it will automatically open your new WordPress dashboard in your web browser. You're now looking at your very own WordPress site, running entirely on your computer!
You’ll also see a link to "Open Site." Clicking that will open your website's homepage, just as if someone were visiting it from anywhere on the internet. Except, they're not – it's just you and your local machine!
What Can You Do Now?
The world is your oyster! You can now:
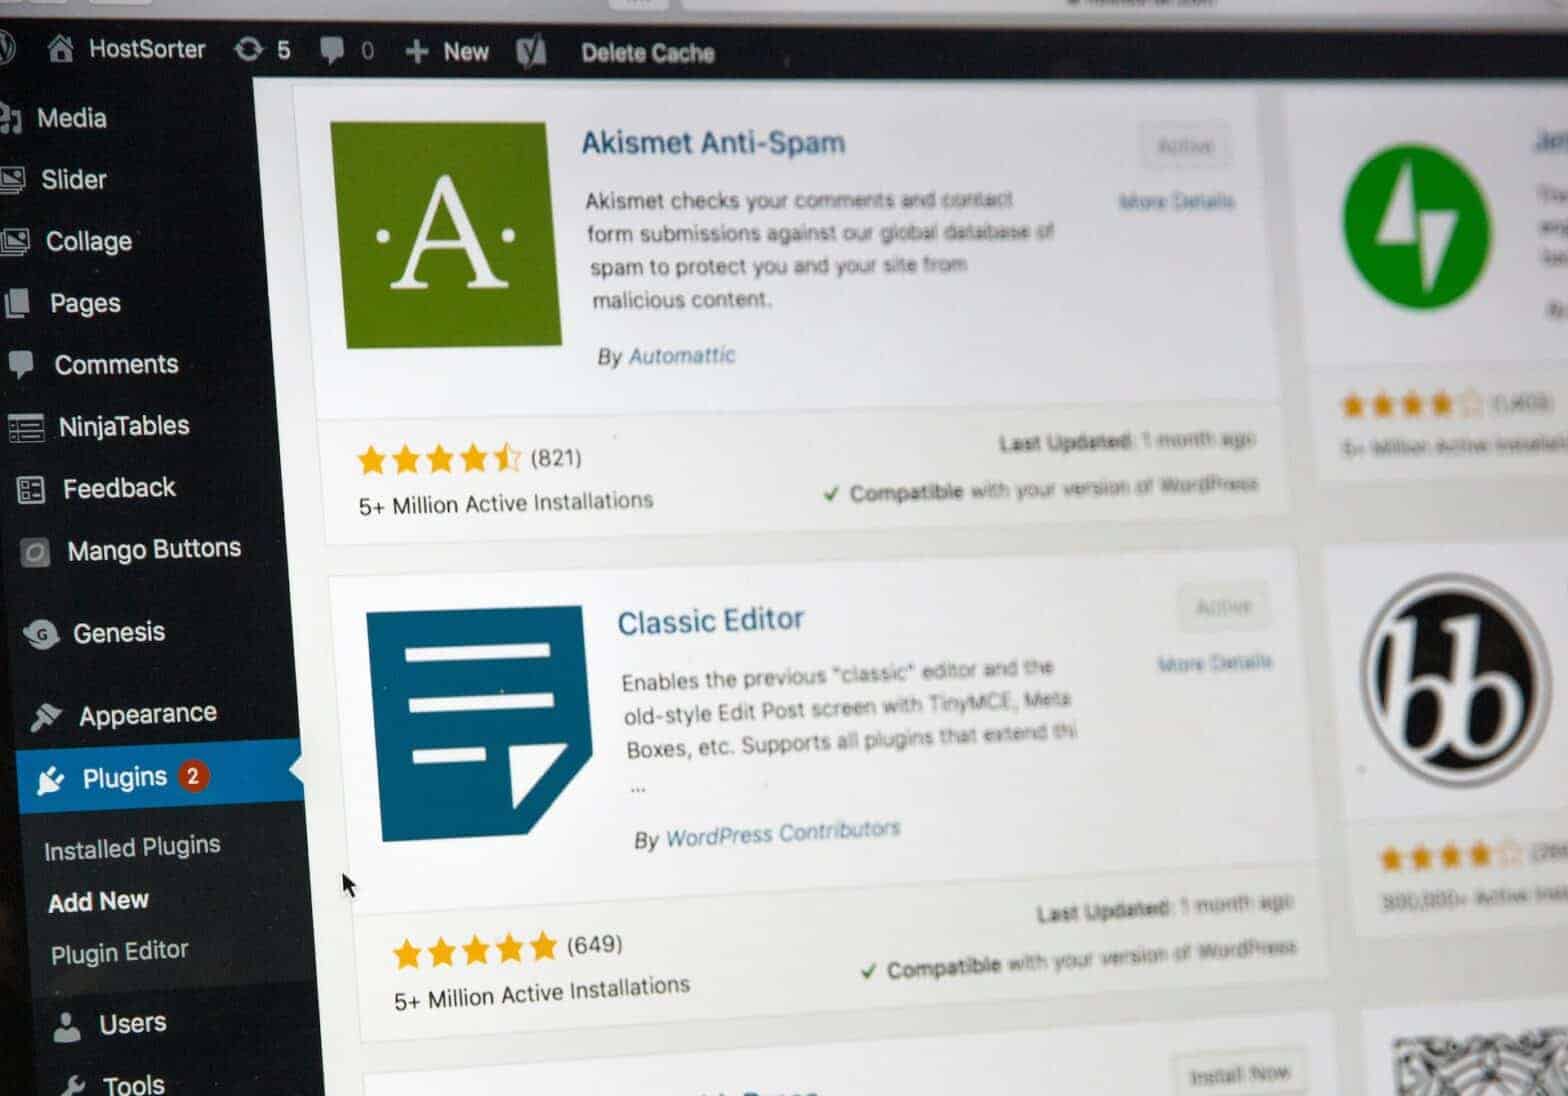
- Install and test themes: Play with different looks for your site without affecting anything live.
- Experiment with plugins: Try out new features, see if they work, and deactivate them if they don't.
- Build and design pages: Get creative with the Block Editor or even dive into page builders.
- Learn about WordPress development: If you're interested in coding, this is the perfect place to start tweaking PHP, CSS, and JavaScript.
- Break things (and fix them!): Seriously, this is the best part. You can mess up, and then you learn how to undo it. It's a learning process, and the consequences are zero.
Setting up a local WordPress development environment is one of the smartest moves you can make if you're serious about building with WordPress. It's a gateway to greater creativity, deeper understanding, and a whole lot less stress. So, go ahead, give it a try. Your digital sandbox awaits!