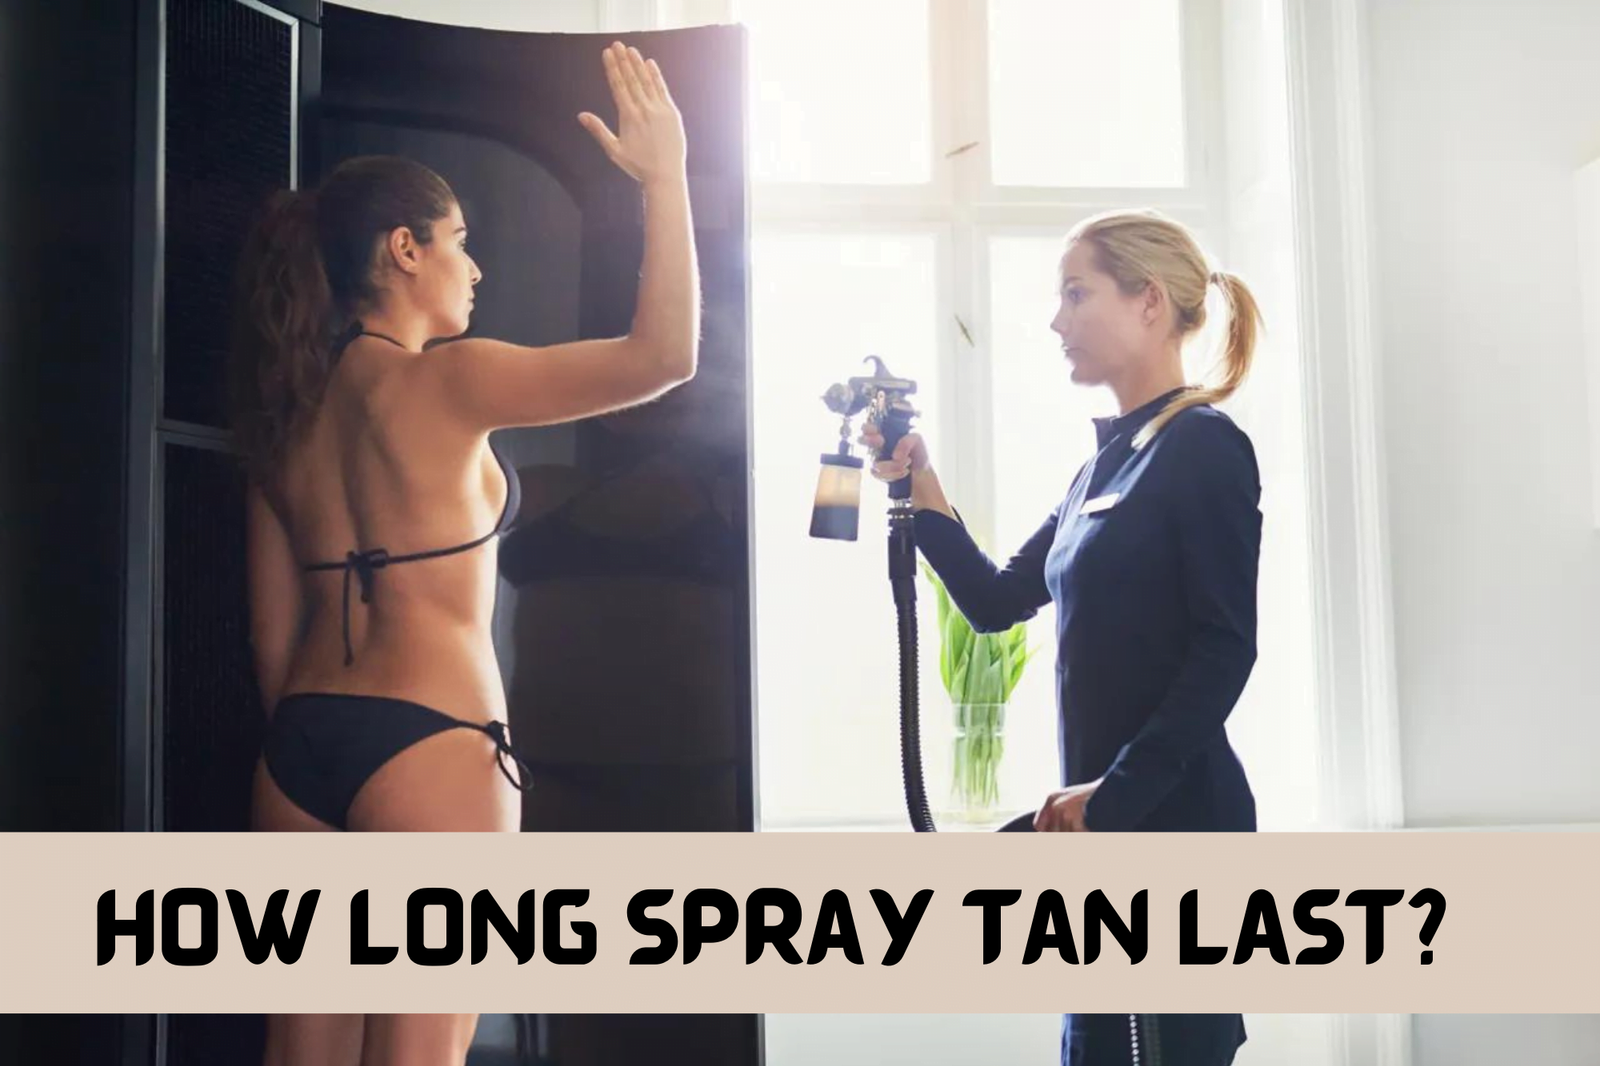
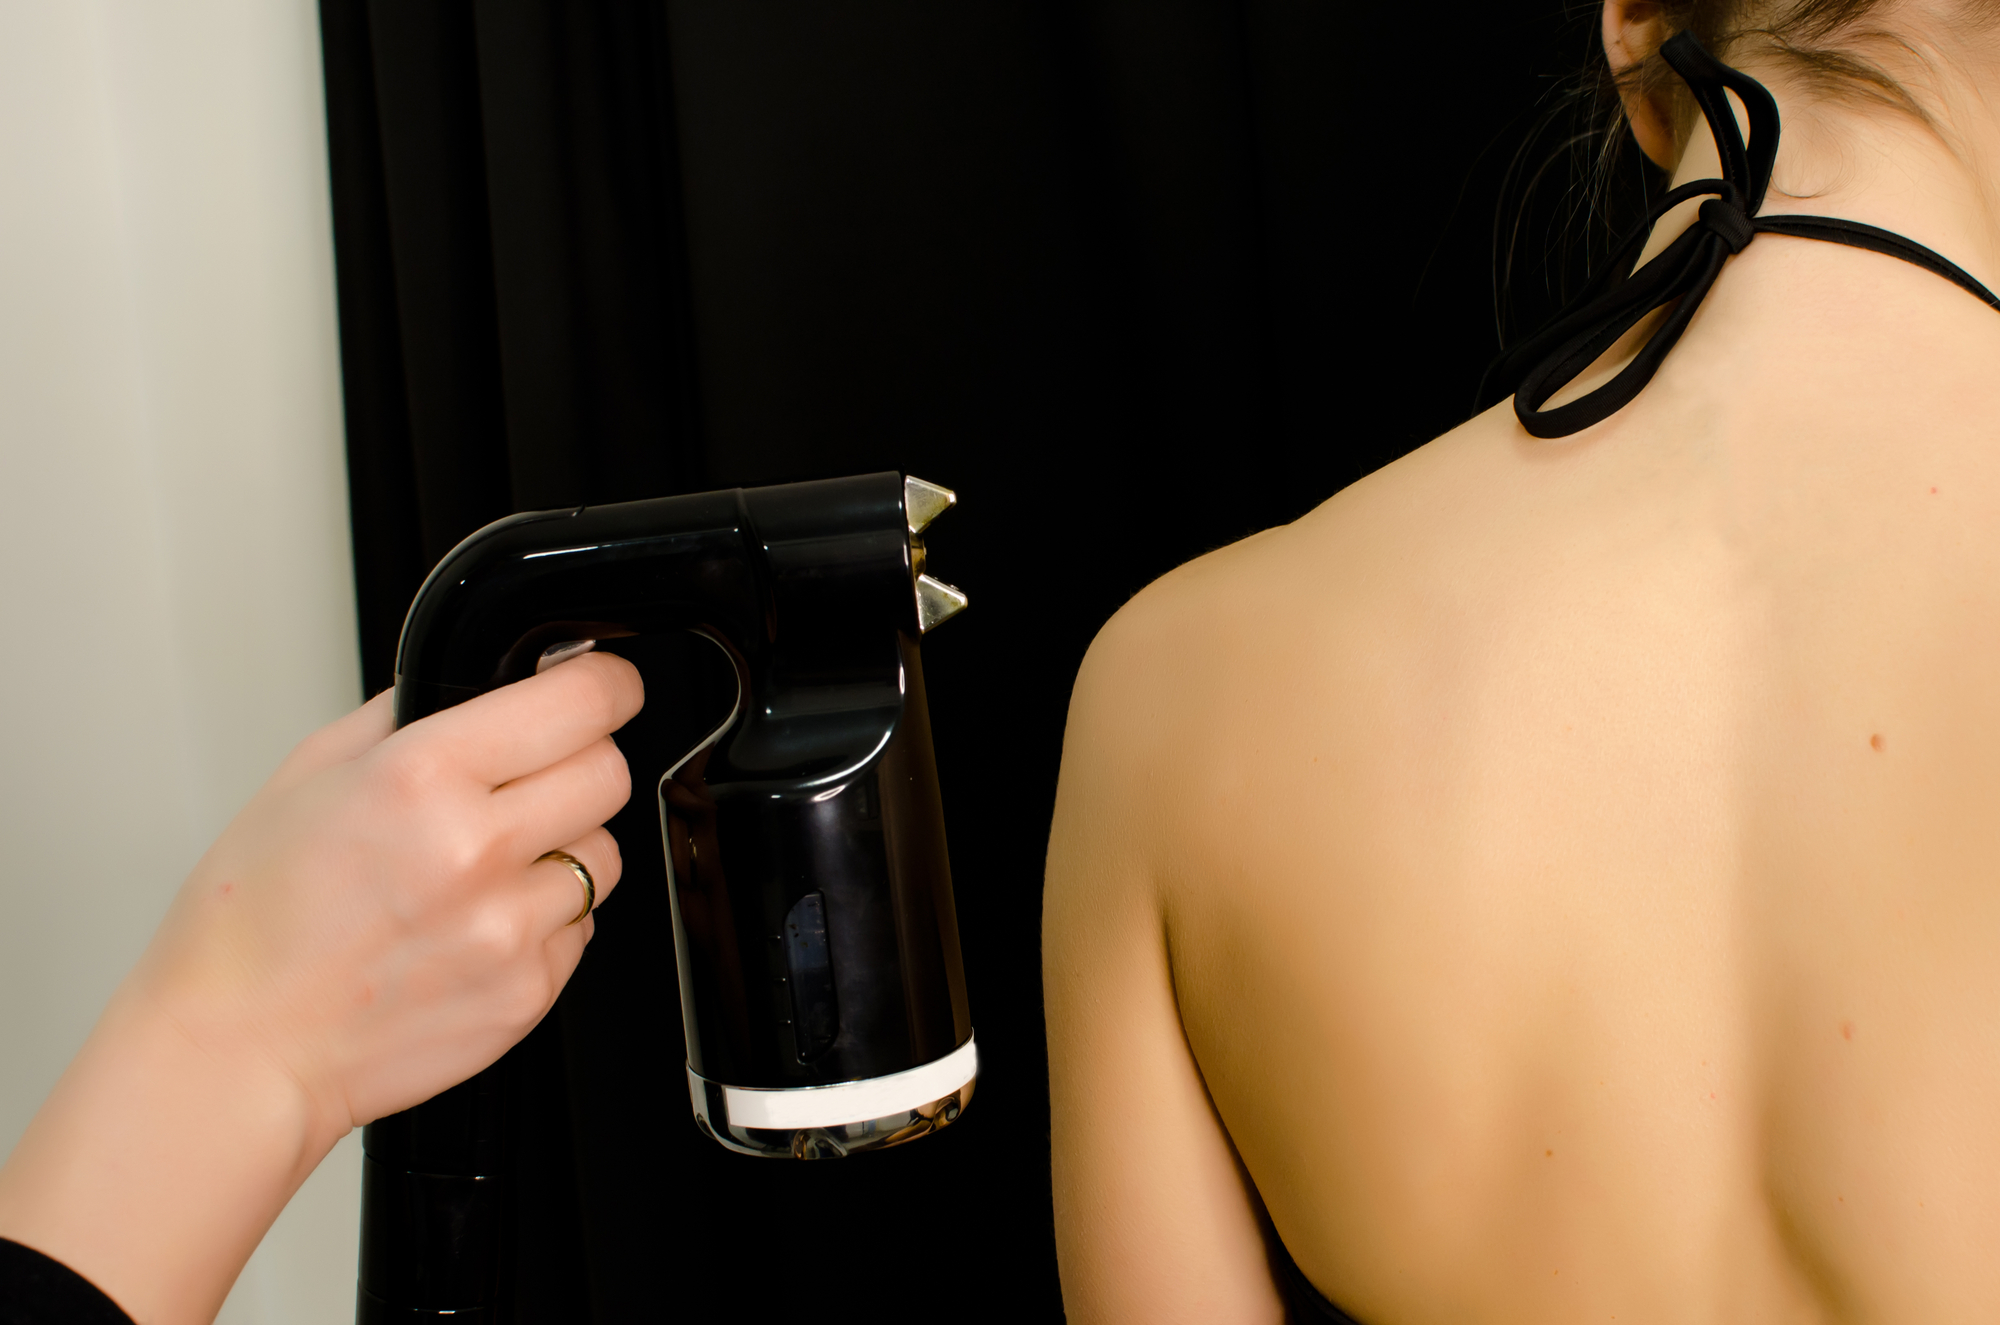
How To Get Rid Of Spray Tan
Ah, the spray tan. That glorious, bronzed glow that promises to make you look like you just stepped off a yacht in the Bahamas, even if your biggest adventure that week was battling the self-checkout at the grocery store. We’ve all been there, right? You walk out of that tent, feeling like a golden goddess, ready to conquer the world. Then, a few days later, the magic starts to fade, and you’re left with… well, let’s just say you resemble a leopard who’s had a very unfortunate run-in with a patchy paintbrush. The dreaded spray tan fade.
It’s like that amazing outfit you bought for a special occasion – it looks incredible for a night, but trying to make it a daily staple? Not so much. And when your spray tan starts going south, it can feel like a minor personal crisis. You start getting asked if you’ve been in a wrestling match with a bag of Cheetos, or if you’ve accidentally dipped your fingers in a vat of caramel. Nobody wants that. So, how do we gracefully exit the spray tan phase and return to our natural, non-streaky selves?
Don’t worry, friend. We’re in this together. Think of me as your trusty guide through the land of questionable tan lines and the quest for an even fade. We’ll tackle this, one gentle exfoliation at a time. No need for harsh chemicals or dramatic scrubbing that leaves your skin feeling like a used loofah. We’re aiming for a smooth transition, like a caterpillar becoming a butterfly, albeit a slightly less vibrant one.
Must Read
The Great Escape: Gentle Methods for a Speedy (But Not Too Speedy) Tan Removal
First things first, let’s talk about what not to do. You might be tempted to grab the nearest industrial-strength scrub and go at it like you’re trying to sand down a table. Resist the urge! Aggressive scrubbing is the quickest way to irritate your skin and potentially cause those dreaded patchy spots to look even worse. We want to pamper our skin, not punish it for its temporary golden ambitions.
The key here is gentleness. Think of it like coaxing a shy cat out from under the sofa – you don’t yank it out; you lure it with treats and soft words. Our skin needs the same kind of tender loving care. We’re looking for methods that will lift the tan gradually, leaving your skin feeling soft and refreshed, not raw and red.
The Power of Exfoliation (But Make It Nice)
Exfoliation is your best friend in this scenario. It’s like sending in the cleaning crew to gradually buff away those temporary bronzed walls. But we’re not talking about sandpaper. We’re talking about creating a gentle, effective scrub that works with your skin, not against it.
DIY Sugar Scrub Magic: My personal favorite involves things you probably already have in your kitchen. Grab some granulated sugar – it’s naturally abrasive enough without being too harsh. Mix it with a good amount of olive oil or coconut oil. The oil not only helps the sugar glide over your skin but also moisturizes it beautifully. It’s like a spa treatment in your own bathroom! You can add a few drops of essential oil, like lavender for relaxation or citrus for a little zing, but keep it minimal if you have sensitive skin.

How to Use It: Hop in the shower, get your skin nice and warm, and then apply the scrub. Use gentle, circular motions. Don’t go wild! Think of it as a gentle massage. You’ll feel the sugar granules working their magic, and the oil will leave your skin feeling incredibly soft. Rinse thoroughly, and you’ll already start to notice a difference. You might need to do this a couple of times over a few days to get the full effect. Consistency is key, but so is patience. No one expects you to be tan-free in 30 minutes. That’s just not how life, or spray tans, work.
The Loofah Approach (with a Caveat): A good old-fashioned loofah can also be a savior. Again, the key is gentleness. Instead of vigorously scrubbing, use it with your favorite body wash and focus on the areas where the tan is fading unevenly. Think of it as a gentle buffing, not an aggressive polishing. If you start to feel any redness or irritation, back off. Your skin is trying to tell you something, and it’s usually a plea for less friction.
Embrace the Bath: Soaking Your Worries (and Tan) Away
Sometimes, a long, luxurious soak is exactly what the doctor ordered – and for your spray tan, it can be a surprisingly effective tool. The warm water helps to soften the skin, which in turn makes it easier for the tan to slough off. It’s like giving your skin a spa day where the main treatment is relaxation and gradual shedding.
The Baking Soda Bath: This is a classic for a reason. Add about half a cup to a full cup of baking soda to your warm bathwater. Baking soda is mildly alkaline and can help to break down the DHA (the active ingredient in spray tans) that’s clinging to your skin. It’s not an instant fix, but after a good 20-30 minute soak, you’ll notice your tan looking a bit lighter and more even. It's like giving your tan a polite eviction notice.
Milk Bath for the Soul (and Skin): Feeling a bit fancy? A milk bath can be incredibly soothing and also helps with tan removal. The lactic acid in milk is a natural exfoliant. Fill your tub with warm water and add a few cups of whole milk. The smell alone is a treat, and as you soak, the lactic acid will gently lift the tan. Plus, your skin will feel impossibly soft afterward. It’s a win-win, like finding a parking spot right in front of the store on a Saturday afternoon.
A Touch of Lemon Juice (Use with Caution!): Some people swear by adding lemon juice to their bath. The citric acid is a natural bleaching agent. However, be careful with this one! Lemon juice can be drying and irritating, especially if you have sensitive skin or any small cuts. If you choose this route, add only a small amount (say, the juice of half a lemon) and don’t soak for too long. Always follow up with a good moisturizer.
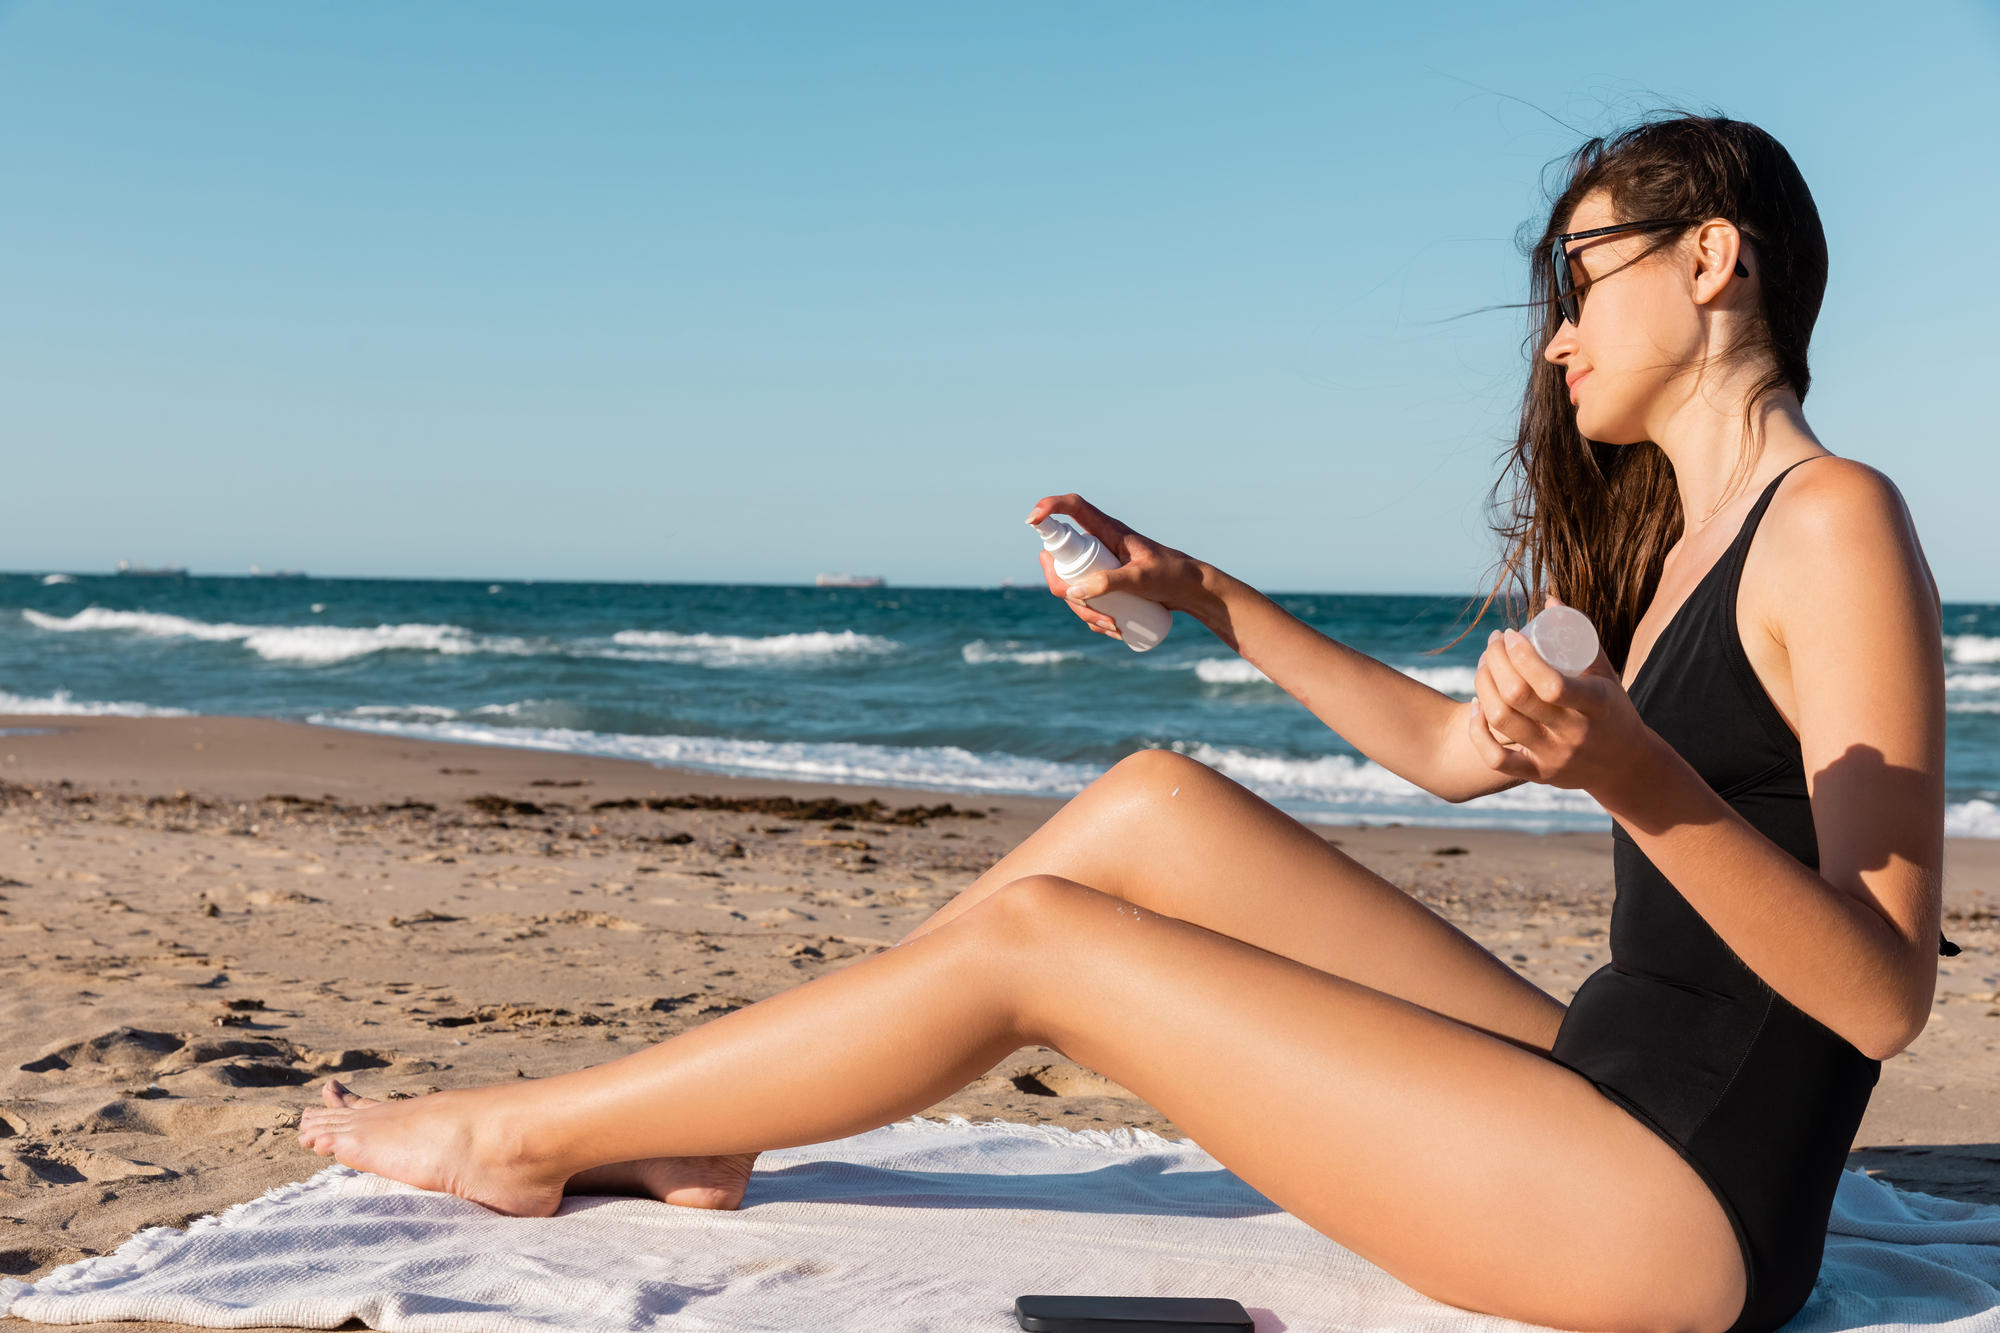
The Daily Routine Upgrade: Moisturize, Moisturize, Moisturize!
This might sound counterintuitive, but moisturizing is actually a crucial part of the spray tan removal process. When your skin is well-hydrated, it exfoliates more effectively. Plus, it helps to prevent those dreadful dry, patchy areas that make a tan look like a road map of a bad driving day.
Hydration is Your Friend: After every shower or bath, and especially after exfoliating, slather on a good, rich moisturizer. Look for ones that contain ingredients like shea butter, cocoa butter, or hyaluronic acid. These will keep your skin supple and help the tan fade evenly. Think of it as giving your skin a comforting hug after it’s been through a tanning ordeal.
The Gradual Tan Moisturizer Trick: This is a bit of a sneaky one, but it can work wonders for evening out a patchy tan. If you have a gradual tanning moisturizer, use it on the areas where the tan is fading. This will help to reintroduce color to those lighter spots, making the overall fade much more seamless. It’s like a gentle touch-up artist for your skin. You’re not trying to reapply the whole spray tan, just subtly blending the edges.

When All Else Fails: The Sunless Tan Remover Products
If you've tried the DIY methods and your tan is still clinging on like that one song you can't get out of your head, there are always products specifically designed for sunless tan removal. These are formulated to break down the DHA more effectively than regular exfoliants.
What to Look For: Many brands offer tan removers in the form of mousses, wipes, or mitts. They often contain ingredients like glycolic acid or salicylic acid, which are chemical exfoliants. Again, the key is to follow the product instructions carefully and to be gentle. These products are more potent, so they can sometimes cause a bit of dryness or irritation if not used properly. Always do a patch test first if you have sensitive skin.
The Mitt Approach: Tan remover mitts are fantastic because they combine an exfoliating surface with the product itself. You’ll typically wet the mitt, apply the remover, and then gently rub it over your skin. You’ll see the tan literally lifting off! It can be a little messy, so doing it in the shower is highly recommended. It’s a bit like peeling off a stubborn sticker – satisfyingly effective.
Post-Removal Care is Crucial: No matter which method you use, remember to follow up with a good moisturizer. Your skin has been through a process, and it needs some TLC to recover and feel its best. Think of it as the soothing balm after a successful, albeit slightly dramatic, mission.
The Anecdotal Evidence: We've All Been There!
I remember one time, I went for a spray tan before a friend’s wedding. I was aiming for that “sun-kissed” look, you know? Well, the next day, I woke up and it looked like I’d had an unfortunate encounter with a tie-dye kit. Streaky doesn’t even begin to cover it. My arms looked like they were wearing separate, darker gloves. I swear, my reflection winked at me and said, “You’re going out like that?”
My first instinct was to panic and scrub my face off. Luckily, my sensible side (which, let’s be honest, sometimes takes a vacation) kicked in. I remembered reading about the sugar scrub method. So, I grabbed my sugar, my olive oil, and some YouTube videos for moral support. I spent a good half hour in the shower, gently working the scrub all over. By the time I rinsed off, the tie-dye effect had significantly lessened. It wasn’t a perfect, brand-new skin situation, but it was a massive improvement. I looked less like a faulty art project and more like someone who’d just spent a little too much time in the sun. Success!
Then there was the time I tried a new brand, and it turned me a shade of orange that was frankly alarming. My mom, bless her heart, asked if I’d fallen into a vat of Cheeto dust. My dog, who usually greets me with boundless enthusiasm, looked at me with a look of mild confusion. It was like he was thinking, “Is this really my human?” That’s when I learned the power of a good, long baking soda bath. It took a couple of soaks, but gradually, the Cheeto orange faded into a more acceptable, human-like hue. It was a slow process, like waiting for a kettle to boil when you’re really thirsty, but worth it.
The moral of these stories? Be patient, be gentle, and don’t be afraid to experiment with what works for your skin. Everyone’s skin reacts differently, and what might work wonders for one person could be a mild irritant for another. It’s all about finding your personal spray tan exit strategy.
So, the next time your spray tan starts to resemble a Jackson Pollock painting or a poorly blended contour, don’t despair! You’ve got this. With a little bit of care, some kitchen staples, and perhaps a relaxing bath, you’ll be back to your naturally beautiful self in no time. And who knows, maybe that whole spray tan experience will have given you a newfound appreciation for your own, perfectly imperfect skin. Or, it might just have given you a good story to tell. Either way, it’s all part of the glamorous, sometimes messy, journey of life. Now go forth, and shed that tan with grace!