How Do You Edit The Footer In Wordpress
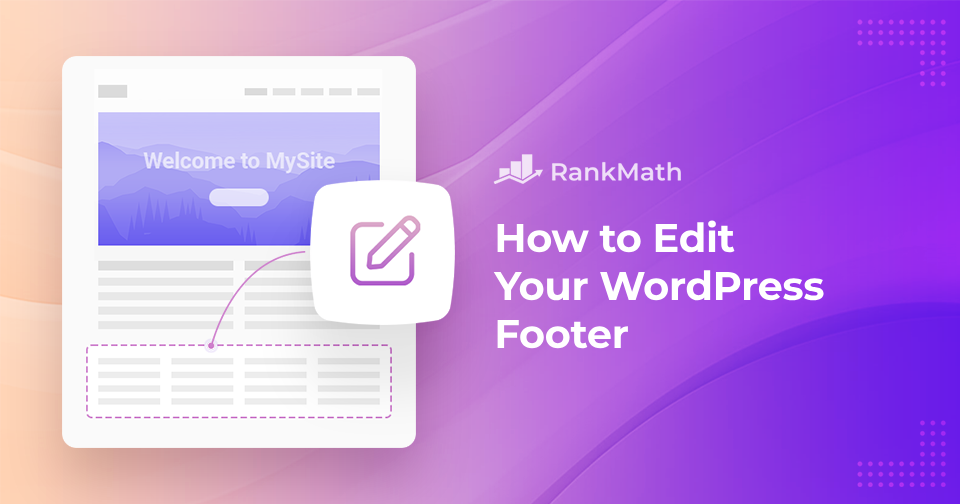
Ah, the footer. It's like the unsung hero of your website, isn't it? That little strip at the very bottom, where all the important (and sometimes not-so-important) bits hang out. Think of it as the website's P.S. section, or maybe its secret diary. And guess what? You, yes YOU, have the power to make it say whatever you want! It's not some mystical land guarded by dragons; it's actually surprisingly simple, and dare I say, a little bit fun.
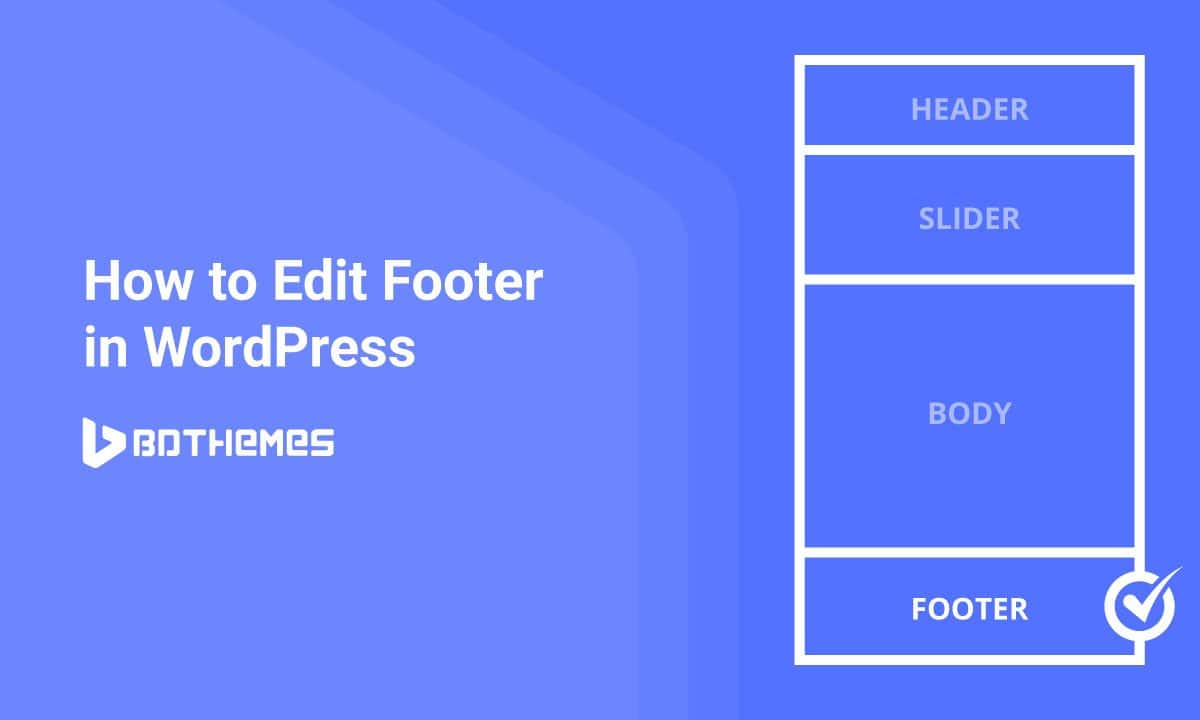
Imagine your website is a grand old house. The header is the fancy entryway, the content is the cozy living room, and the footer? That's like the perfectly manicured garden out back, or maybe the little nook where you keep all your treasured family photos. It’s where you might put your copyright notice, a link to your contact page, or even a little snippet of your website's mission statement. And just like you wouldn't let your garden become a jungle (unless that's your vibe, of course!), you want your footer to be just right.
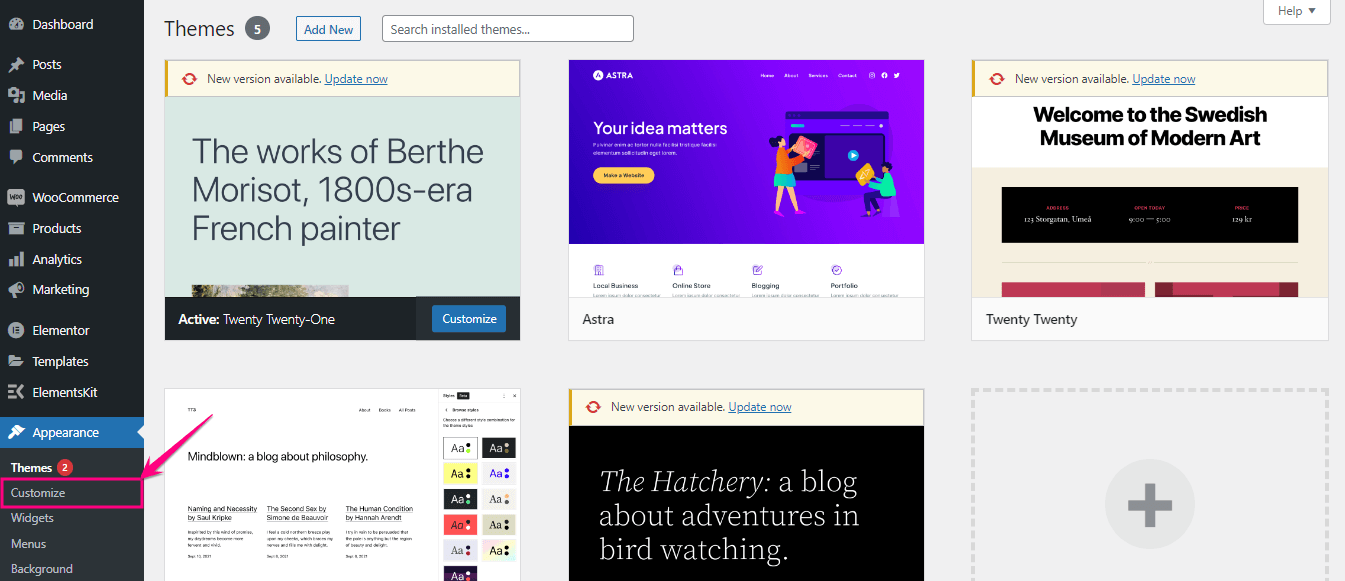
So, how do we get in there and give this digital garden a bit of a tidy-up? Well, most of the time, the magic happens within the mighty WordPress dashboard. Think of this as your house's control center. You log in, and suddenly you're in charge of everything from the color of your virtual curtains to, you guessed it, the wording in your footer.
Must Read
Now, the exact way you tweak your footer can vary a smidge depending on the theme you've chosen. Themes are like the interior decorators of your website. Some are minimalist and chic, others are bursting with personality. And just like a designer might use different tools, different themes offer different ways to customize.
But the most common and often the most straightforward way involves a place called the Customizer. It's like a magical, real-time editing suite. You make a change, and you see it happen right before your eyes on the website preview. No guesswork, no hopping between pages. It's truly a modern marvel.
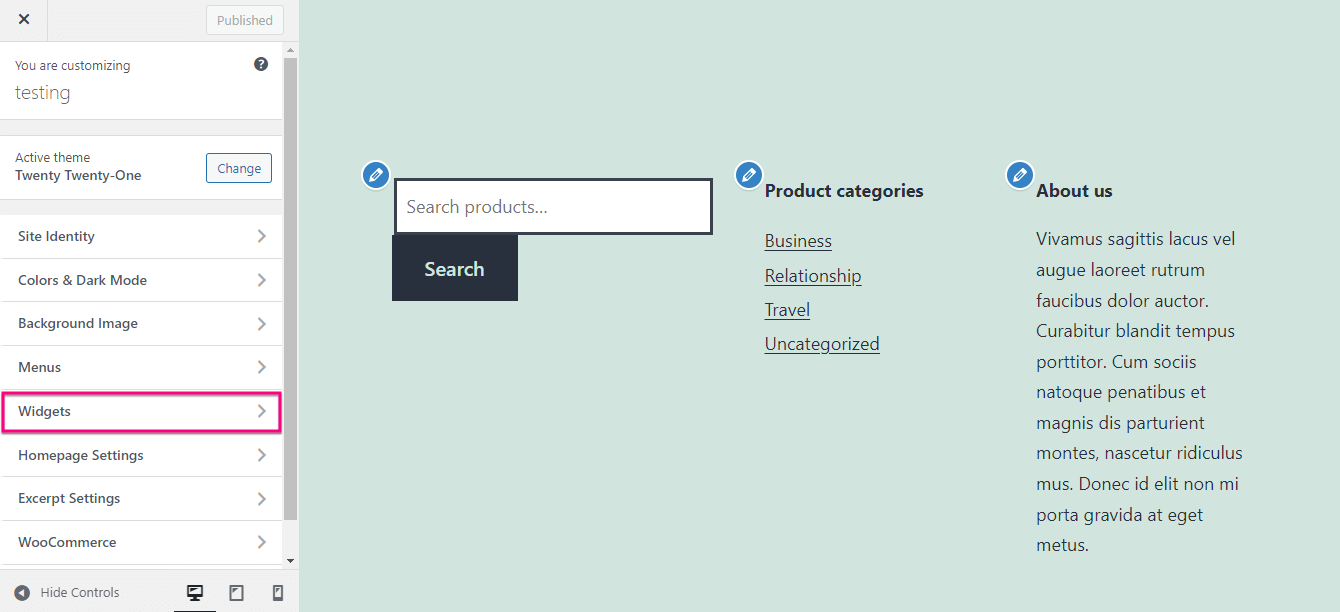
To get there, you'll typically navigate to Appearance > Customize in your WordPress dashboard. Once you're in the Customizer, you'll start hunting for sections that mention "Footer" or "Widgets." Widgets are like little mini-content blocks that you can drag and drop into different areas of your theme, and the footer is often a prime spot for them.
You might find a section called "Footer Bar" or something similar. Click on that, and voilà! You might be presented with a text box where you can type whatever your heart desires. This is where the fun really begins. Want to add a quirky quote that perfectly encapsulates your brand's personality? Go for it! Feeling sentimental? Maybe a heartfelt thank you to your readers or a nod to your humble beginnings. Or perhaps, you just want to ensure that little © 2023 [Your Website Name] is crystal clear.
"It's like having a tiny megaphone at the bottom of your site, shouting out what matters most to you."
Some themes are even more intuitive. They might have a dedicated "Footer Options" area where you can choose how many columns you want in your footer, what color background you prefer, and even where to place specific widgets like your social media links or a newsletter signup form. It's like having a virtual Lego set for your website's bottom section. You click, drag, and build your perfect footer.

Now, what if your theme doesn't seem to have any obvious footer editing options in the Customizer? Don't despair! This is where Widgets become your best friends. Remember those little content blocks? You can usually find them under Appearance > Widgets. Here, you'll see all the available widgets and various areas on your theme where you can place them. One of these areas is almost certainly designated for your footer.
You might see sections labeled "Footer Widget Area 1," "Footer Widget Area 2," and so on. All you need to do is grab a widget from the left-hand side (like a "Text" widget, a "Navigation Menu" widget, or a "Recent Posts" widget) and drag it into the footer area of your choice. Once it's there, you can edit its content. For a "Text" widget, it's back to that lovely text box where you can add your custom message.

It's a bit like sorting through your toolbox. You find the right tool (the widget) and put it in the right place (the footer area). And the beauty of it is, you can rearrange them, add more, or even take them away if you change your mind. It’s your digital sandbox!
Sometimes, the footer will display a default message put there by the theme creator, perhaps something like "Proudly powered by WordPress." While that's perfectly fine, most people prefer to put their own stamp on it. If you want to change that, you might need to delve a little deeper. Some themes offer this option directly in the Customizer under a footer or copyright section. For others, it might involve a tiny bit of code editing, which can sound scary, but for this specific thing, it's usually just a single line or two. But we're not going to get bogged down in that today! The easiest route is almost always via the Customizer or Widgets.
The most heartwarming part? It’s the feeling of ownership. That footer, with your personal touch, your business name, your unique message – it’s a tiny piece of your online world. It's a quiet corner that speaks volumes about who you are or what you represent. So next time you're in your WordPress dashboard, take a moment. Wander down to that footer. It’s not just a line of text; it’s an opportunity to connect, to inform, and to leave your readers with a little something extra. And that, my friends, is a surprisingly delightful feeling.