How To Fit A Wood Burning Stove
There's something undeniably magical about a wood-burning stove. Forget the sterile hum of a central heating system; we're talking about the crackle of real flames, the rich aroma of burning wood, and a cozy warmth that seeps into your bones. It's a lifestyle upgrade, a way to connect with a more elemental form of comfort, and honestly, it’s just plain cool. Whether you're dreaming of snow-dusted evenings spent by a roaring fire, or looking for a sustainable and cost-effective way to heat your home, a wood-burning stove can be a fantastic addition. And guess what? With a bit of planning and the right approach, fitting one yourself can be a surprisingly rewarding DIY project!
So, what's the big deal about these fiery hearths? Beyond the aesthetic appeal, the benefits are plentiful. For starters, there's the sheer joy of being able to create your own heat. On a cold night, there’s nothing quite like tending to your own fire. It’s a ritual, a connection to a time when homes were heated this way, and it adds a unique charm to your living space. Economically, wood can often be a cheaper fuel source than gas or electricity, especially if you have access to a sustainable supply. And let's not forget the environmental aspect. When sourced responsibly, wood is a renewable resource, and modern stoves are designed to burn very efficiently, producing minimal emissions. Plus, the ambiance! That soft, flickering light and the radiant heat create an unparalleled sense of coziness and hygge that no radiator can replicate. It's a conversation starter, a focal point for family gatherings, and a genuine source of comfort.
Now, before you rush out and buy the biggest, most impressive stove you can find, let's talk about the practicalities. Fitting a wood-burning stove isn't just about plopping it in a corner. It involves careful consideration of safety, regulations, and the structural integrity of your home. This isn't a job for the faint of heart or for someone who skips instructions. Think of it as building a miniature, self-contained fireplace that needs to be perfectly integrated into your existing home. The main components you’ll be dealing with are the stove itself, the flue system (which is crucial for safely expelling smoke), and the hearth and surrounding fireproof materials.
Must Read
First things first: planning. You need to choose the right stove for your space. This involves calculating the heat output required for the room (measured in kilowatts, kW) and considering the size and aesthetics. A stove that’s too small won’t heat the room effectively, while one that’s too large can overheat the space and be inefficient. Next, you’ll need to consider the flue. This is the chimney system that takes the smoke and gases away from your home. You might already have an existing chimney, which is great, but it will likely need to be surveyed and potentially lined with a stainless steel flue liner. If you don't have a chimney, you'll be looking at installing a twin-wall insulated flue system, which can be routed through walls and out through the roof. This is a more involved process and might require professional help.
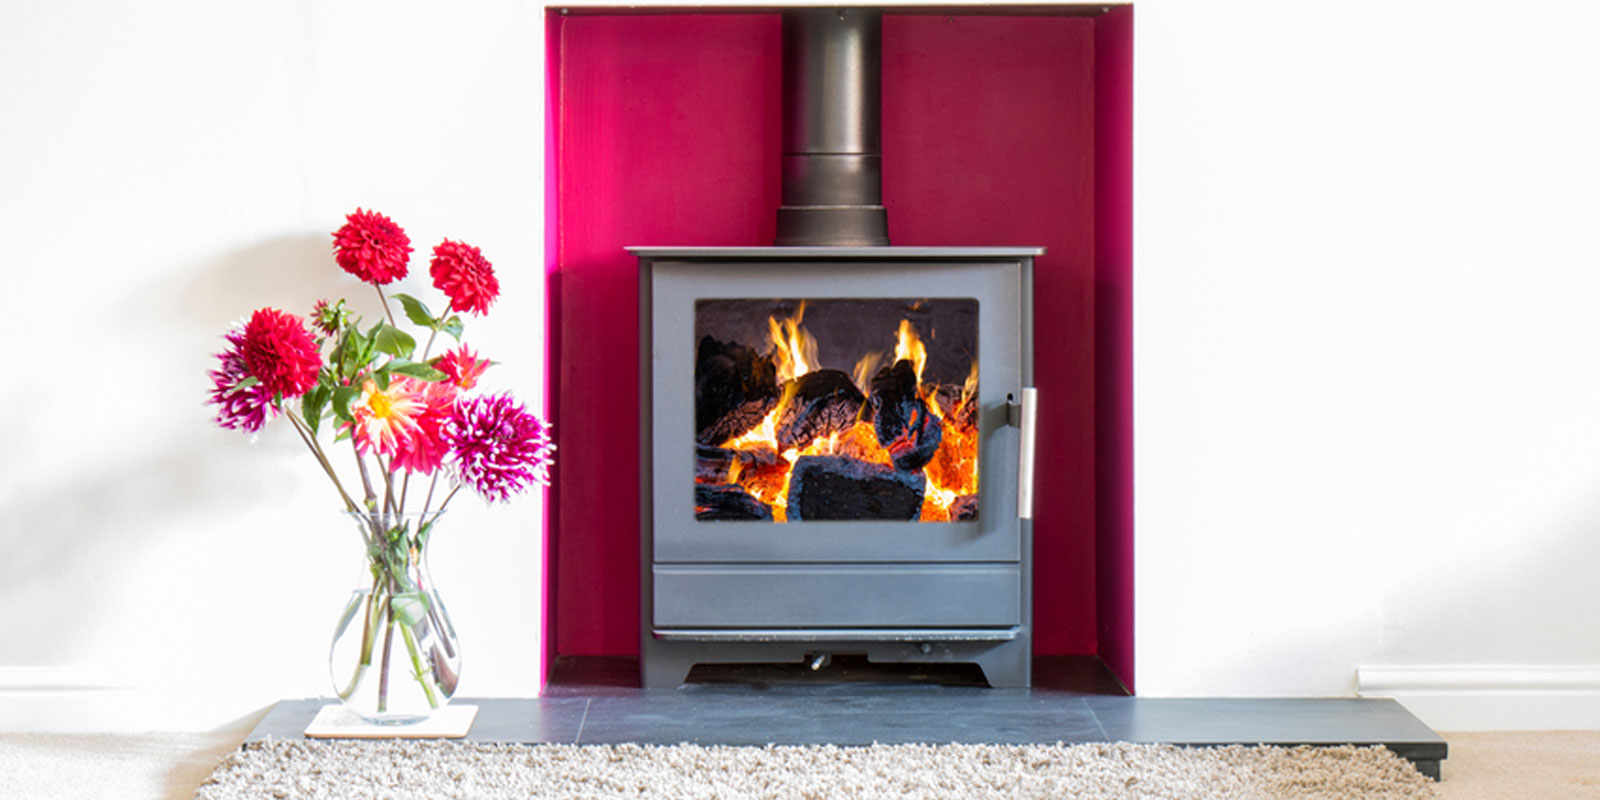
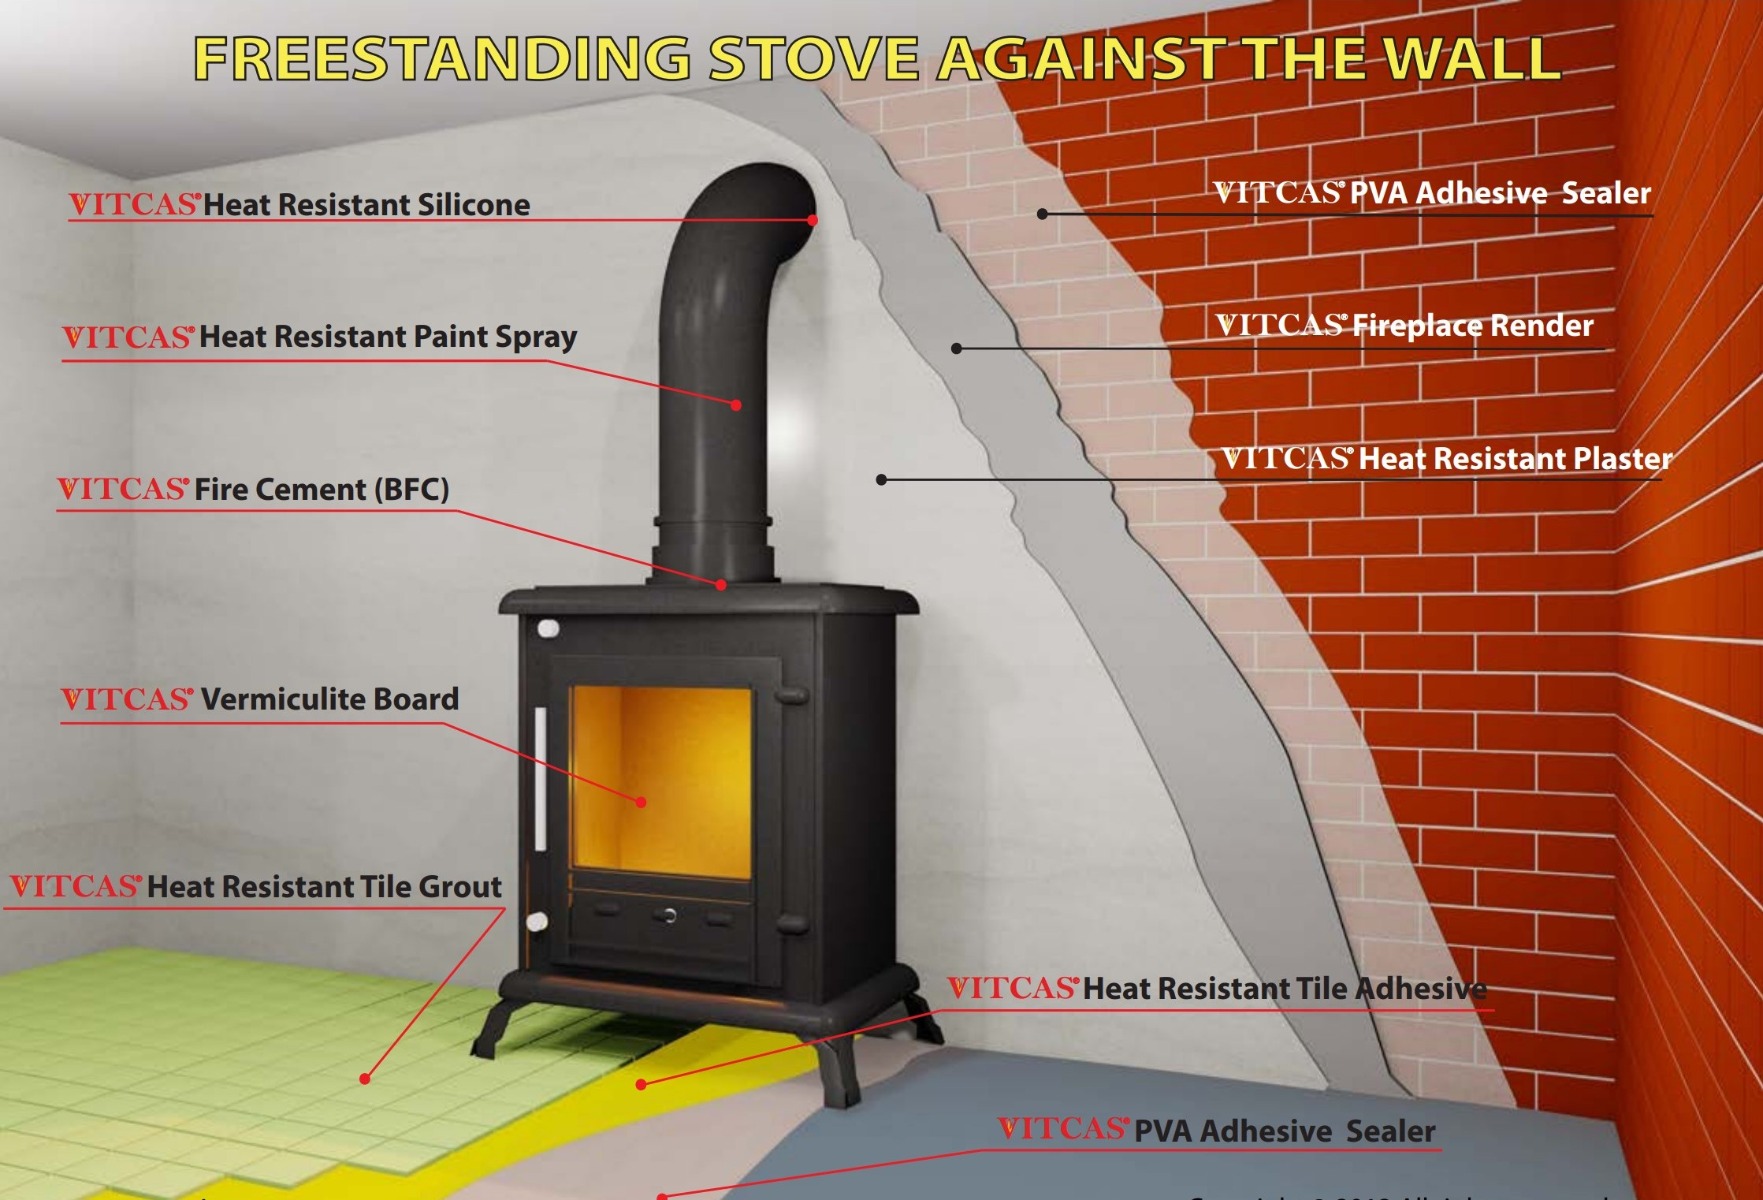
The installation site is equally important. The stove needs to sit on a non-combustible hearth, typically made of stone, brick, or concrete. This hearth needs to extend a certain distance in front of and to the sides of the stove to protect your flooring from stray embers. You'll also need to ensure there are adequate clearances between the stove and any combustible materials, like walls, furniture, or curtains. These clearances are non-negotiable for safety and are usually detailed in the stove manufacturer's manual and in building regulations. Ignoring these can lead to a very dangerous situation.

When it comes to the actual fitting, you’ll be working with firebricks to build or protect the area around the stove, sealing compounds to ensure airtight connections, and a keen eye for detail. The flue pipe needs to be securely connected to the stove and then to the chimney or flue system, ensuring all joints are sealed properly to prevent any leaks of carbon monoxide. If you’re lining an existing chimney, this typically involves carefully lowering a flexible stainless steel liner down the flue and connecting it at the top and bottom. This requires a good amount of dexterity and patience. Don't forget the CO alarm! A working carbon monoxide detector is absolutely essential in any home with a wood-burning stove. It's your invisible guardian, silently monitoring the air for this deadly gas.
For those comfortable with DIY, the process can be incredibly satisfying. You’ll learn a lot about your home, about construction, and about the principles of heat and airflow. It’s a project that requires patience, precision, and a strong commitment to safety. If you’re unsure about any aspect, it’s always best to consult with a qualified HETAS installer. These professionals are certified and have the expertise to ensure your installation is safe, compliant, and efficient. But if you’re ready for a challenge, the reward of a warm, toasty home heated by your own efforts is truly second to none. So, embrace the flame, plan meticulously, and enjoy the cozy glow!