How To Build A Base For Shed
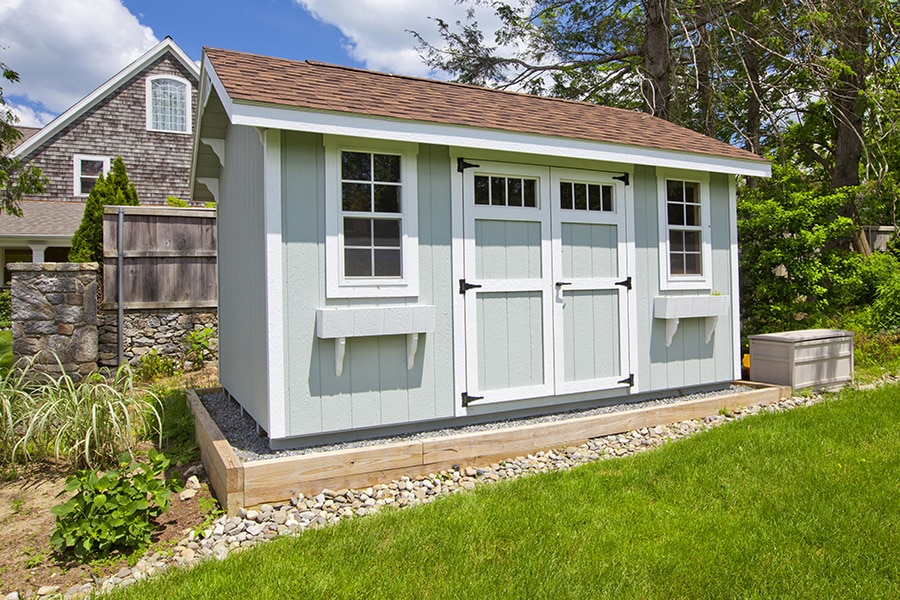
So, you've finally decided to bite the bullet and get that shed. You know, the one that’s going to house all those tools you’ve been meaning to organize since the dawn of time, or maybe that’s where the lawnmower will finally get its own vacation spot instead of being shoved unceremoniously next to the recycling bins. Whatever your shed dreams entail, there’s one crucial step that often gets overlooked, like a forgotten grocery item on your weekly list: building a solid base.
Think of it this way: your shed is like a brand new car. Would you park that shiny beauty directly on a patch of mud after a rainstorm? Probably not! It needs a good foundation, a proper parking spot, something to keep it from sinking into the abyss of your backyard. And that’s exactly what a shed base does. It’s the unsung hero of shed ownership, the quiet guardian that prevents your future sanctuary from becoming a wonky, leaning tower of storage despair.
The "Why Bother?" Section: Because Nobody Likes a Saggy Shed
Let's be honest, the idea of building a base can sound about as exciting as watching paint dry. You're already envisioning the shed itself, the shelves, the perfect spot for your gardening gloves. But trust me on this one, skipping the base is like trying to build a house on a jelly sandwich. Eventually, things are going to get messy, and not in a good, "I found that missing sock!" kind of way.
Must Read
A good base ensures your shed sits level. This is important for all sorts of reasons. Firstly, it prevents water from pooling around the base, which can lead to rot and mildew. Nobody wants their new shed smelling like a damp gym sock, right? Secondly, it stops the shed from shifting or settling unevenly. Imagine opening your shed door one day and having to do a little shimmy just to get in because it’s tilted. Or worse, your shelves are now at a jaunty angle, and your carefully stacked paint cans are performing a daring acrobatic display.
Plus, let's not forget the longevity of your shed. A well-built base can add years to its lifespan. It's like getting good quality tires for your car; you'll thank yourself later. So, while it might seem like an extra hurdle, think of it as an investment in your shed's future happiness, and by extension, yours.
Choosing Your Weapon: Types of Shed Bases
Now, before you start picturing yourself wrestling with concrete mixers like a gladiatorial contender, let's talk about the different types of bases. It’s not a one-size-fits-all situation, and thankfully, some options are way less intimidating than others. We’re going to break down the most common ones, and you can pick the one that best suits your DIY skills and your shed's destined location.
The Classic Concrete Slab: For the Ambitious and the Committed
Ah, the concrete slab. This is the granddaddy of shed bases, the sturdy, no-nonsense option. It’s like the perfectly cooked steak of the shed base world – reliable, durable, and when done right, absolutely fantastic.
Pros: Unbeatable strength and stability. It's pretty much impervious to anything short of a minor earthquake. It also provides a lovely, clean floor for your shed, which is a nice bonus. Think of it as giving your shed its own personal paved driveway, but on a smaller scale.
Cons: This is where things get a bit more involved. It requires a fair bit of digging, mixing (unless you opt for pre-mixed bags, which are a lifesaver, by the way), and leveling. It can be a physically demanding job, especially if you're doing it solo. You’ll need to think about formwork, reinforcement (like rebar or mesh), and making sure it’s all perfectly level. It's a commitment, like choosing a life partner, but for your shed.
Who's it for? If you’re planning a larger, heavier shed, or if you want the absolute most robust and permanent solution, and you don’t mind getting your hands a bit dirty (or a lot dirty), then a concrete slab is your champion. It’s also a good choice if you live in an area with really soft soil or high water tables.
The Timber Frame Base: The Popular Kid on the Block
This is probably the most common choice for DIYers, and for good reason. It's like the comfortable pair of jeans in your wardrobe – versatile, relatively easy to work with, and looks pretty darn good.
The general idea here is to build a sturdy frame out of pressure-treated timber (this is key, folks, you don’t want your base turning into termite chow!). You then fill the inside of this frame with something stable, like compacted gravel or hardcore. It’s like creating a strong wooden box and then filling it with a solid, drainage-friendly material.
Pros: Much easier to tackle than a full concrete pour. You can often build it on-site with basic tools. It offers good drainage because of the gravel fill, which is a big win in preventing dampness. It also allows for a bit of "give" compared to concrete, which can be beneficial if your ground isn't perfectly stable.
Cons: It's not quite as bomb-proof as a concrete slab. Over time, the timber can potentially rot if it's not properly pressure-treated or if it's constantly in contact with wet ground. You still need to ensure it's level and well-compacted.
Who's it for? This is your go-to for most garden sheds, especially if you're a moderately confident DIYer. It's a great balance between effort, cost, and durability. It's like choosing a reliable family sedan – gets the job done, comfortably and safely.
The Paving Slab Base: The Quick Fix Warrior
If you’re looking for a quicker, often simpler solution, paving slabs can be your best friend. You’re essentially creating a level platform using existing paving slabs, often laid on a bed of sand and gravel.
Pros: Relatively quick and easy to install, especially if you're just laying them on existing level ground. You can often reuse old paving slabs you might have lying around, making it a budget-friendly option. It looks tidy and provides a solid surface.
Cons: Can be less stable than a timber or concrete base, especially on uneven ground or if not properly prepared. The ground underneath can still shift or settle over time, leading to wobbly slabs. It’s also generally not recommended for very large or heavy sheds, as the weight can cause the slabs to crack or sink.
Who's it for? Perfect for smaller, lighter sheds, or if you’re placing your shed on a pre-existing patio or very level, firm ground. Think of it as putting your shed on a sturdy dining plate, rather than a wobbly coaster.
The Sleeper Base: Rustic Charm with a Solid Foundation
Railway sleepers (or similar treated timbers) laid directly on the ground can make a surprisingly effective and rather rustic-looking shed base. You'll essentially be creating a rectangular frame out of these chunky timbers.
Pros: Relatively simple to construct. The weight and thickness of the sleepers provide good stability. They can look quite attractive, giving your shed a more traditional feel.
Cons: You need to ensure the ground is as level as possible before you lay the sleepers, as they are quite unforgiving. You might still want to put a layer of gravel underneath for drainage. They are also quite heavy to maneuver.
Who's it for? If you like a more natural, rustic aesthetic and have a reasonably level spot, this can be a great option. It’s like building a sturdy wooden raft for your shed to float on.
Let's Get Down to Business: The Step-by-Step (ish) Guide
Okay, so you’ve picked your base type. Now, the actual doing. Don't panic; we're going to break it down. This is a general guide, and you'll want to adapt it to your chosen method. Think of it like following a recipe – the ingredients might vary slightly, but the cooking process is key.
Step 1: The Grand Excavation (Don't Worry, It's Not That Bad)
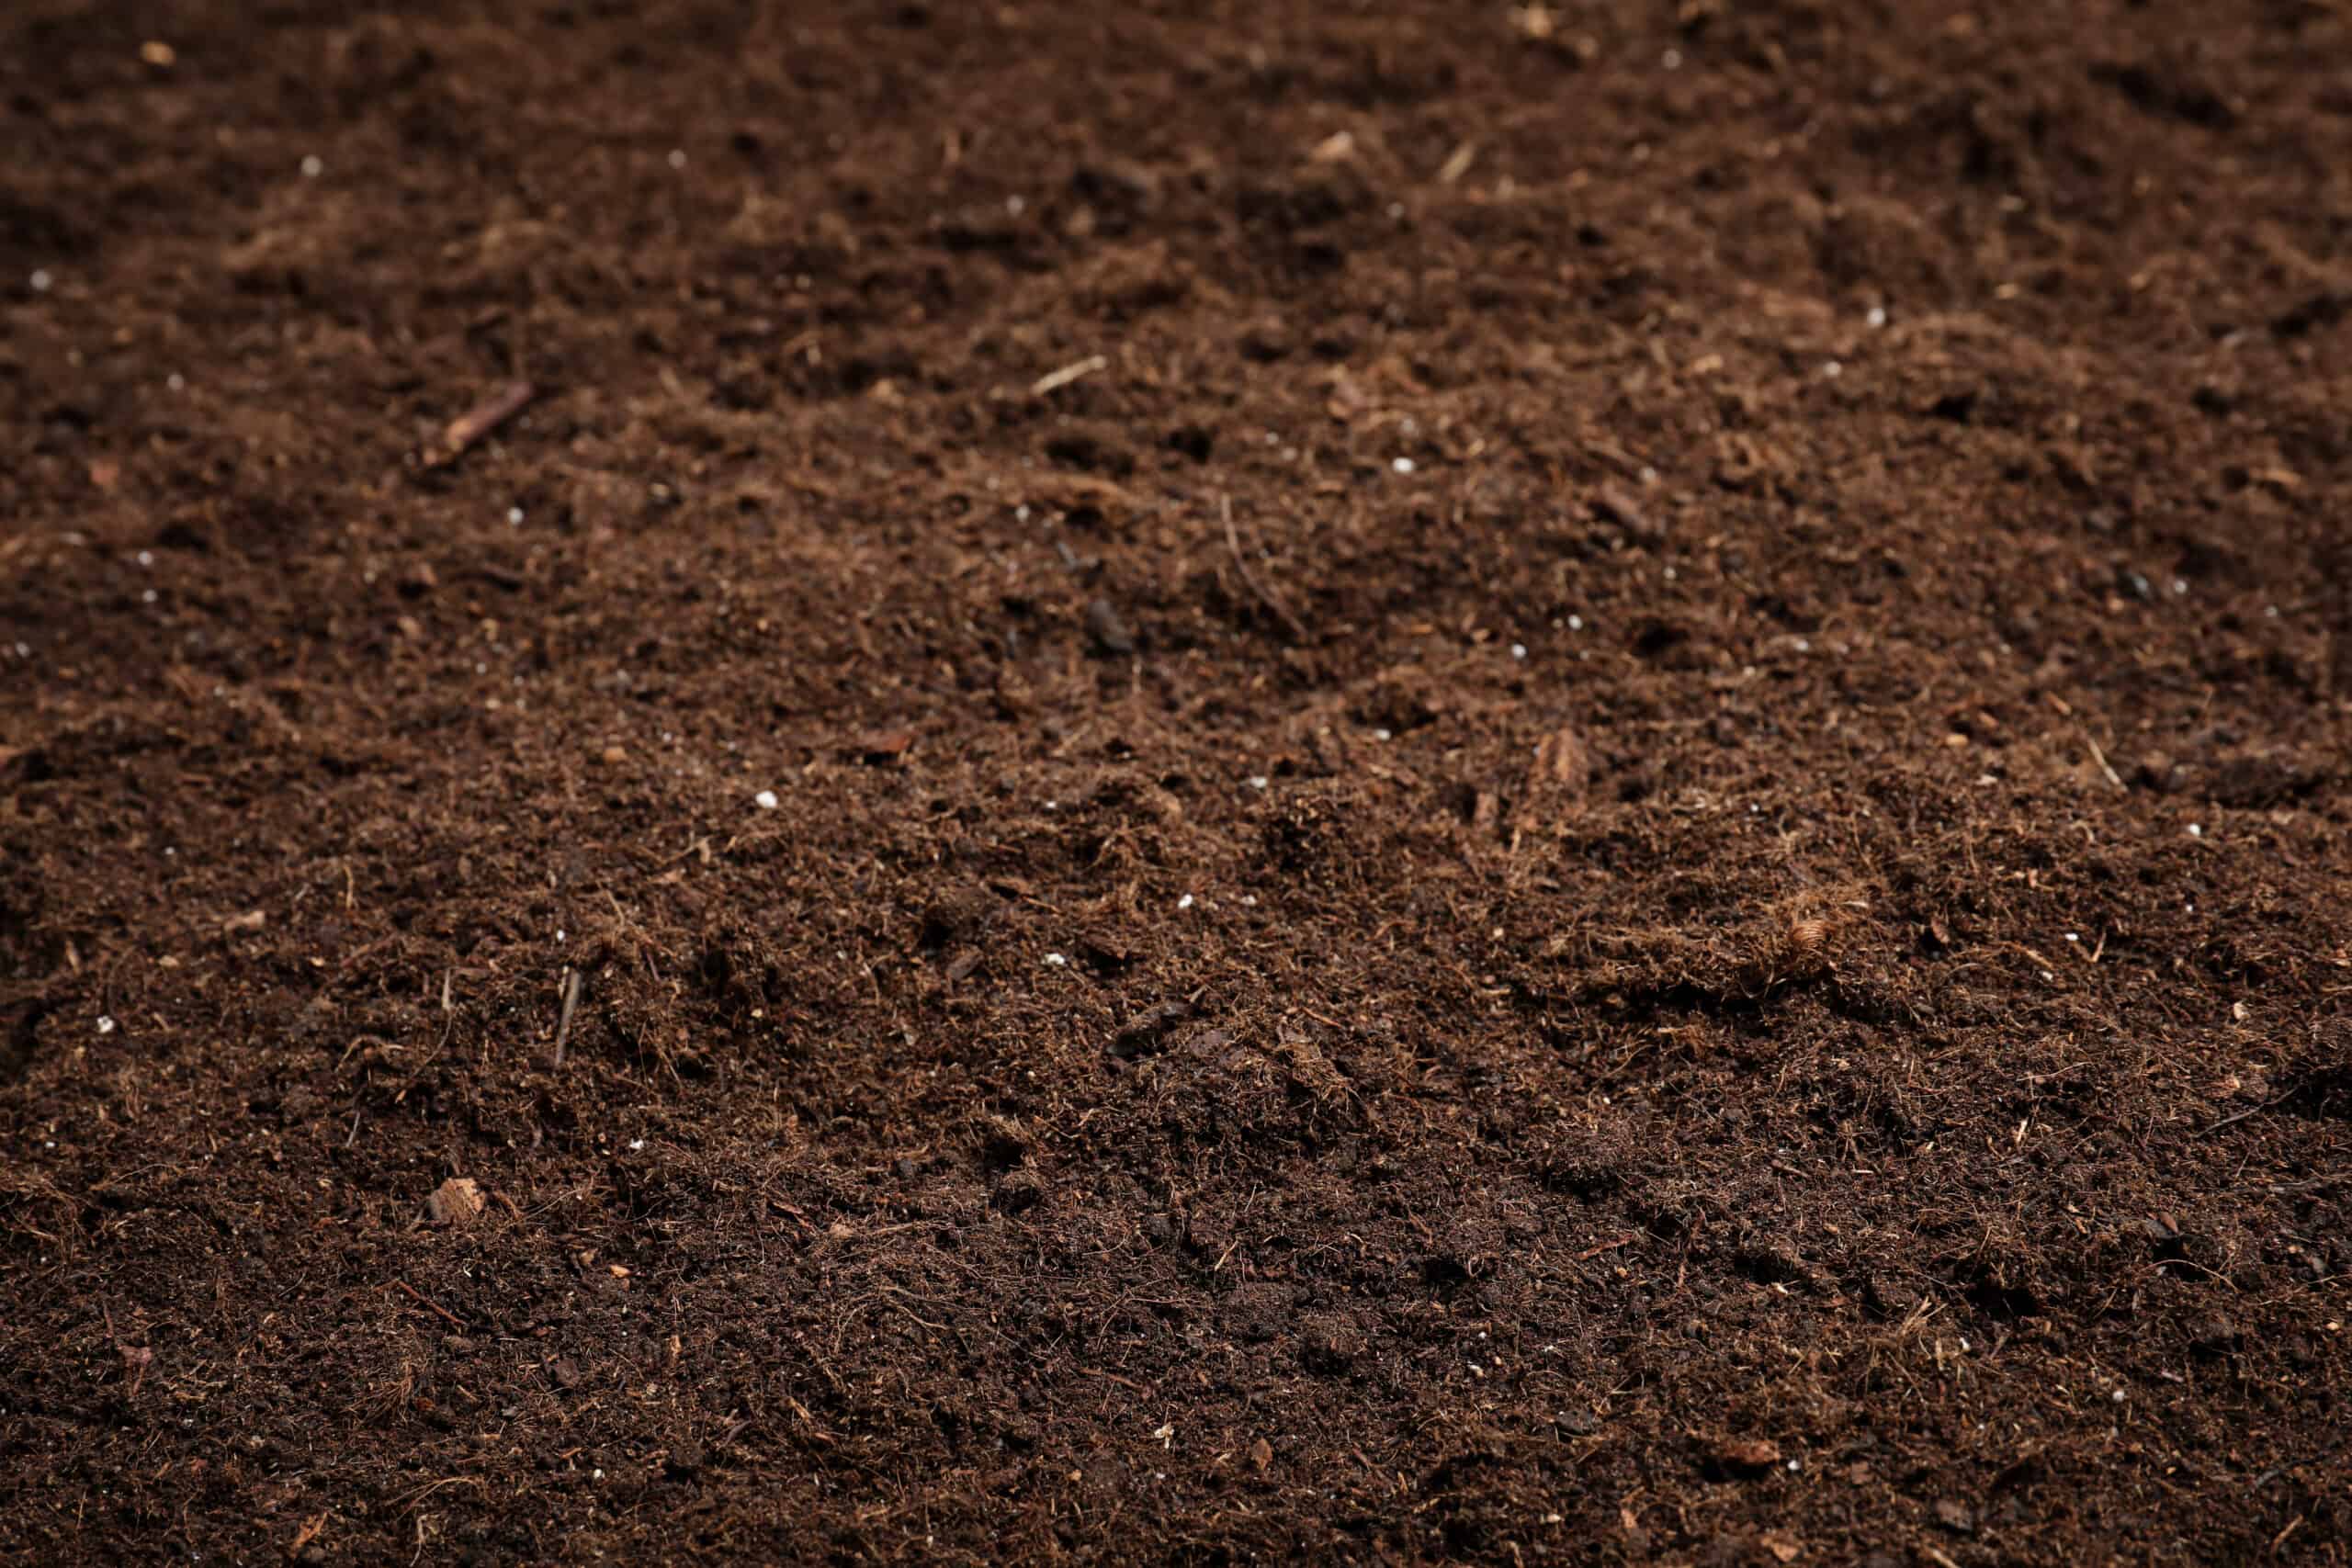
First things first, you need to clear and level the area where your shed will sit. This means removing any grass, weeds, rocks, or anything that looks like it might try to sabotage your shed’s stability. You want a clean slate.
Then, you'll likely need to dig down a bit. How much depends on your base type. For a concrete slab, you'll need to dig deep enough for the slab itself plus a good layer of hardcore for drainage and insulation. For a timber frame, you’ll dig down enough to get your frame sitting nice and flush with the ground, with room for your gravel base underneath.
Pro-Tip: Invest in a good spade and a spirit level. You’ll be best friends with these tools. And maybe a wheelbarrow. Your back will thank you. Imagine you’re excavating for ancient treasure, but the treasure is just a level shed!
Step 2: The Foundation Layer (The "Don't Skip This!" Bit)
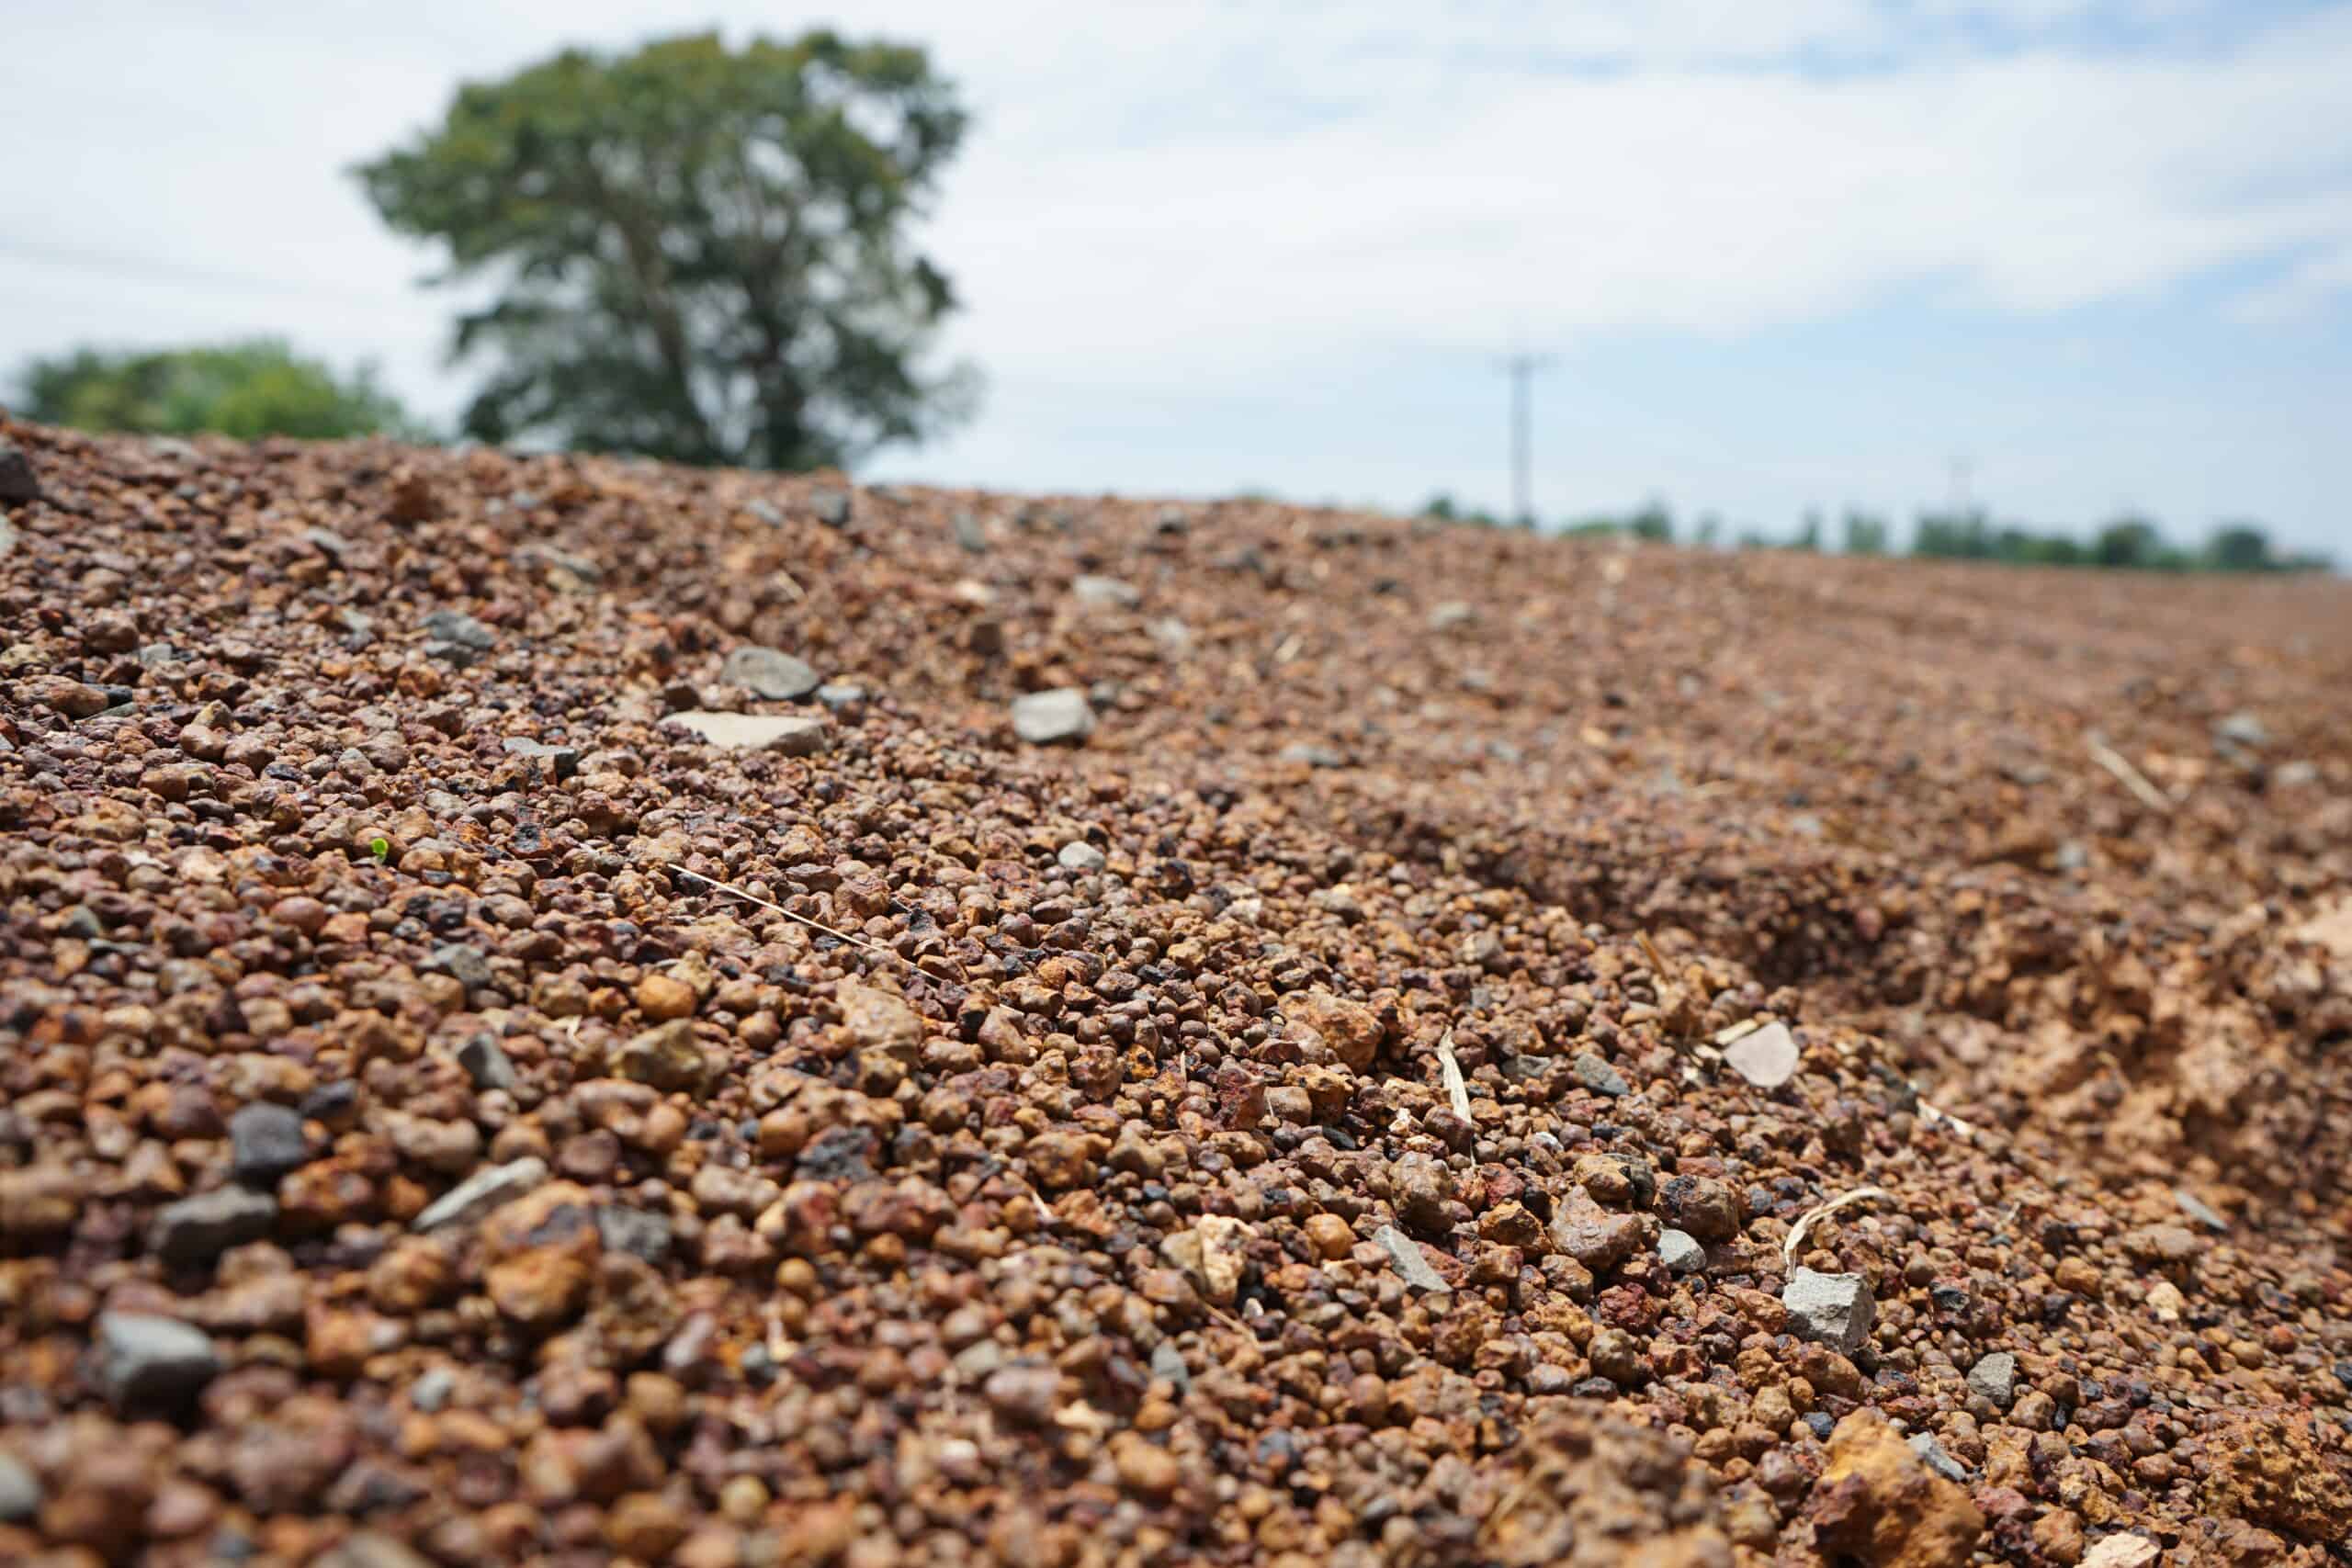
This is where the magic of drainage and stability really happens. For most bases, you'll want to lay down a layer of hardcore or compacted gravel. This material allows water to drain away, preventing your shed from sitting in a soggy puddle.
You'll want to spread this layer evenly and then compact it down really well. You can use a plate compactor (if you're feeling fancy and have access to one) or a hand tamper. The goal is a firm, flat surface. Think of it as building a tiny, very solid road for your shed to park on.

Anecdote: I once saw a guy try to skip this step and just put his shed on top of some old bricks. After the first heavy rain, his shed looked like it was auditioning for a role in a sinking ship documentary. Moral of the story: don't be that guy!
Step 3: Building Your Fortress (The Base Itself)
This is where your chosen method really comes into play.
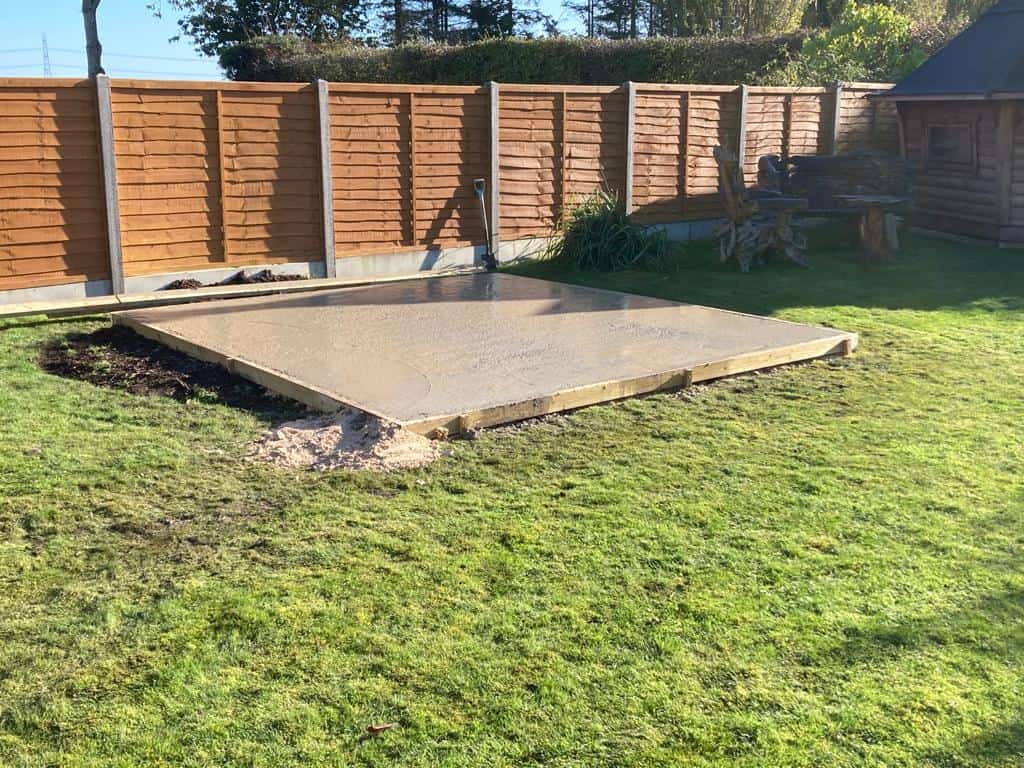
- For a Concrete Slab: You'll construct your formwork (a wooden frame around the perimeter), lay down your reinforcement (mesh or rebar), and then pour the concrete. This is where the mixing and leveling really get serious. It's like baking a very large, very important concrete cake.
- For a Timber Frame: You'll assemble your pressure-treated timber frame, ensuring all corners are square and the frame is level. You'll then lay your timber joists within the frame to provide support for the shed floor. Think of it as building a sturdy wooden skeleton.
- For Paving Slabs: You'll lay down a thin layer of sand over your compacted hardcore, then carefully place your paving slabs, ensuring they are level and tightly butted up against each other. You might need to tap them down with a rubber mallet.
- For Sleepers: Lay your treated sleepers in your desired rectangle shape directly on the prepared ground or gravel base, ensuring they are level and secure.
Key Takeaway: Levelness is king! Whatever you do, constantly check with your spirit level. Even a slight tilt can cause big problems down the line. It's like trying to balance a Jenga tower on a banana – not ideal.
Step 4: The Final Touches (The "Almost There!" Moment)
Once your base is built and set, you're pretty much ready to go. For concrete slabs, you'll need to let them cure properly (check the concrete bag for instructions – usually a few days). For timber bases, you might want to add a layer of weed membrane before you put your gravel down, just to be extra sure no unwanted guests sprout.
Consider Ventilation: Even with a good base, make sure your shed has some form of ventilation. Nobody likes a stuffy shed, and it helps prevent condensation. It’s like giving your shed a little window to breathe!
The Verdict: A Base Worth Building
Building a shed base might not be the most glamorous part of shed ownership, but it’s undoubtedly the most important. Think of it as the sturdy shoulders your shed will rest upon, the reliable friend who’s always there to keep things stable. A little bit of effort upfront will save you a whole lot of headaches, wobbly shelves, and damp smells later on.
So, grab your tools, embrace the dirt (or the gravel, or the concrete!), and build yourself a base that will stand the test of time. Your future organized, dry, and perfectly upright shed will thank you for it. Now, go forth and build something awesome!

