How Do You Move Rows In Excel

Have you ever looked at a spreadsheet and thought, "This is more than just numbers; it's a canvas"? Well, you're not alone! While Excel is renowned for its number-crunching prowess, there's a surprisingly artistic and utterly delightful way to interact with it: moving rows. It might sound simple, but this technique unlocks a world of creative possibilities, transforming your data from static text into dynamic, visually engaging compositions. Think of it as digital origami for your spreadsheets!
For the budding artist, the meticulous hobbyist, or even the casual learner simply looking to spice up a personal project, mastering row manipulation in Excel offers a unique blend of structure and spontaneity. Imagine organizing your art supplies with precision, crafting intricate color palettes, or even designing a whimsical pattern for a quilt by simply rearranging lines of data. It's about finding beauty and order in the familiar, and Excel provides the perfect playground for this exploration. The benefits are immense: you can quickly experiment with different layouts, visualize complex sequences, and even create surprisingly effective visual metaphors, all within the familiar confines of your spreadsheet software.
The beauty of moving rows lies in its versatility. Consider the graphic designer arranging elements for a mood board, moving swatches of color and texture in different orders until the perfect aesthetic emerges. Or perhaps the crafter planning a beading project, meticulously shifting bead colors and patterns row by row to preview the final design. Even a writer might use it to playfully reorder sentences or paragraphs, discovering new narrative flows. Think about creating a visual timeline by shifting historical events, designing a recipe card with ingredient sections that can be instantly reorganized, or even mapping out a garden layout with different plant varieties represented by rows. The variations are as endless as your imagination!
Must Read
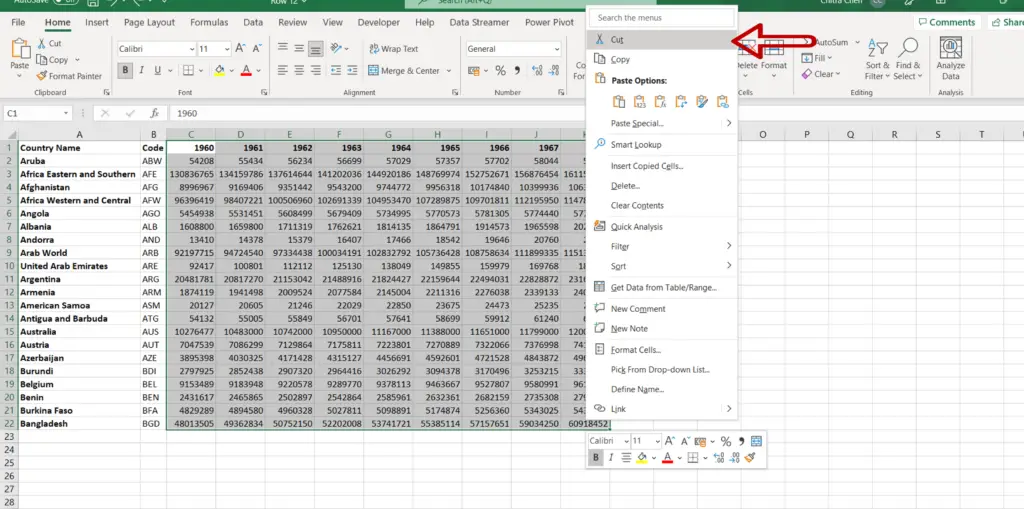
Ready to try this at home? It's surprisingly easy! The most straightforward method is the cut and paste. Simply select the row(s) you want to move, press Ctrl+X (or Cmd+X on Mac) to cut, then click on the row above or below where you want to insert them and press Ctrl+V (or Cmd+V). For a slightly more fluid approach, try the drag and drop method. Hover your mouse over the row number until your cursor turns into a four-headed arrow. Then, click and drag the row to your desired new position. Hold down the Shift key while dragging to see a distinct insertion line appear, guiding you precisely where the row will land. Experiment with both – find what feels most intuitive for you!
Ultimately, moving rows in Excel is an enjoyable and surprisingly meditative process. It’s about engaging with your data in a tactile, visual way, transforming the abstract into something tangible and pleasing. It’s a gentle reminder that even the most utilitarian tools can hold a spark of creativity, and that sometimes, the most inspiring art can be found in the most unexpected places. So go ahead, give it a try. You might just surprise yourself with what you can create!