How Do I Regrip A Golf Club

So, you’ve been out on the course, feeling that familiar rhythm of the swing, the satisfying thwack of the ball. But lately, something’s… off. Maybe your hands are slipping a bit, or the grip just feels tired and worn, like your favorite pair of jeans after one too many washes. If you’ve ever found yourself eyeing your golf clubs with a hint of concern, wondering if they're whispering sweet nothings about a little TLC, then my friend, it’s probably time to talk about regripping.
Think of it as a spa day for your clubs, a refresh that can genuinely elevate your game. It’s not some arcane art reserved for the pros or your local golf guru. Nope, this is a DIY project that’s surprisingly accessible, even if your toolbox consists of little more than a screwdriver and a can-do attitude. We’re talking about a transformation that’s both practical and profoundly satisfying. Plus, who doesn't love a good project that makes you feel like a slightly more capable human being?
The Grip: More Than Just Something to Hold Onto
Before we dive into the nitty-gritty, let’s appreciate the unsung hero of your golf swing: the grip. It’s the single point of contact between you and your club, the conduit for all that power and precision. A worn-out grip can lead to a host of issues, from a loss of control to, dare I say it, a few embarrassing slices. It’s like trying to steer a sports car with bald tires – not exactly conducive to a smooth ride.
Must Read
Think about it. When you’re gripping a club, you’re looking for that confident, reassuring connection. You want to feel like you’re one with the club, not just loosely attached. A good grip provides that crucial stability, allowing you to transfer energy effectively and execute that beautiful swing you’ve been practicing. It’s the foundation upon which your entire game is built.
And let’s be honest, a fresh grip just feels good. It’s like slipping into a brand-new pair of sneakers before a long walk. There’s a tactile pleasure in a grip that’s clean, tacky, and perfectly formed to your hand. It’s a small detail, but in golf, as in life, it's often the small details that make the biggest difference.
When Is It Time for a Change? The Subtle Signs
So, how do you know when your grips have reached their expiration date? It’s not like they come with a printed “best by” date. Instead, you’ll need to rely on your senses, and maybe a little bit of honest self-assessment.
The most obvious sign is slippage. If you feel your hands sliding around during your swing, especially in damp conditions, it’s a glaring red flag. This is not just annoying; it can seriously impact your shot. You might find yourself gripping tighter, which can lead to tension in your arms and shoulders, ultimately hurting your swing tempo. It’s a vicious cycle, and it all starts with a worn grip.
Another tell-tale sign is a shiny or glazed appearance. Over time, the natural oils from your hands, along with dirt and grime, can build up on the grip, making it smooth and slick. It loses that essential tackiness that provides a secure hold. Imagine trying to hold onto a bar of soap – that’s the kind of slipperiness you’re dealing with.
You might also notice cracks or tears. These are pretty self-explanatory. If you see any signs of wear and tear that compromise the integrity of the grip, it's definitely time for a replacement. Think of them as little battle scars, but ones that signal a need for retirement.
Finally, there’s the feel. Does the grip feel hard and stiff, or perhaps a little mushy? A good grip should have a bit of give to it, but still feel firm and responsive. If it feels like you’re holding onto a piece of old plastic, it’s probably time for an upgrade. Your hands will thank you, and so will your score.
The DIY Regrip: Gathering Your Supplies
Alright, decision made. You're ready to embark on this noble quest of regripping. The good news is, you don't need a fully stocked workshop. Here’s what you’ll need:
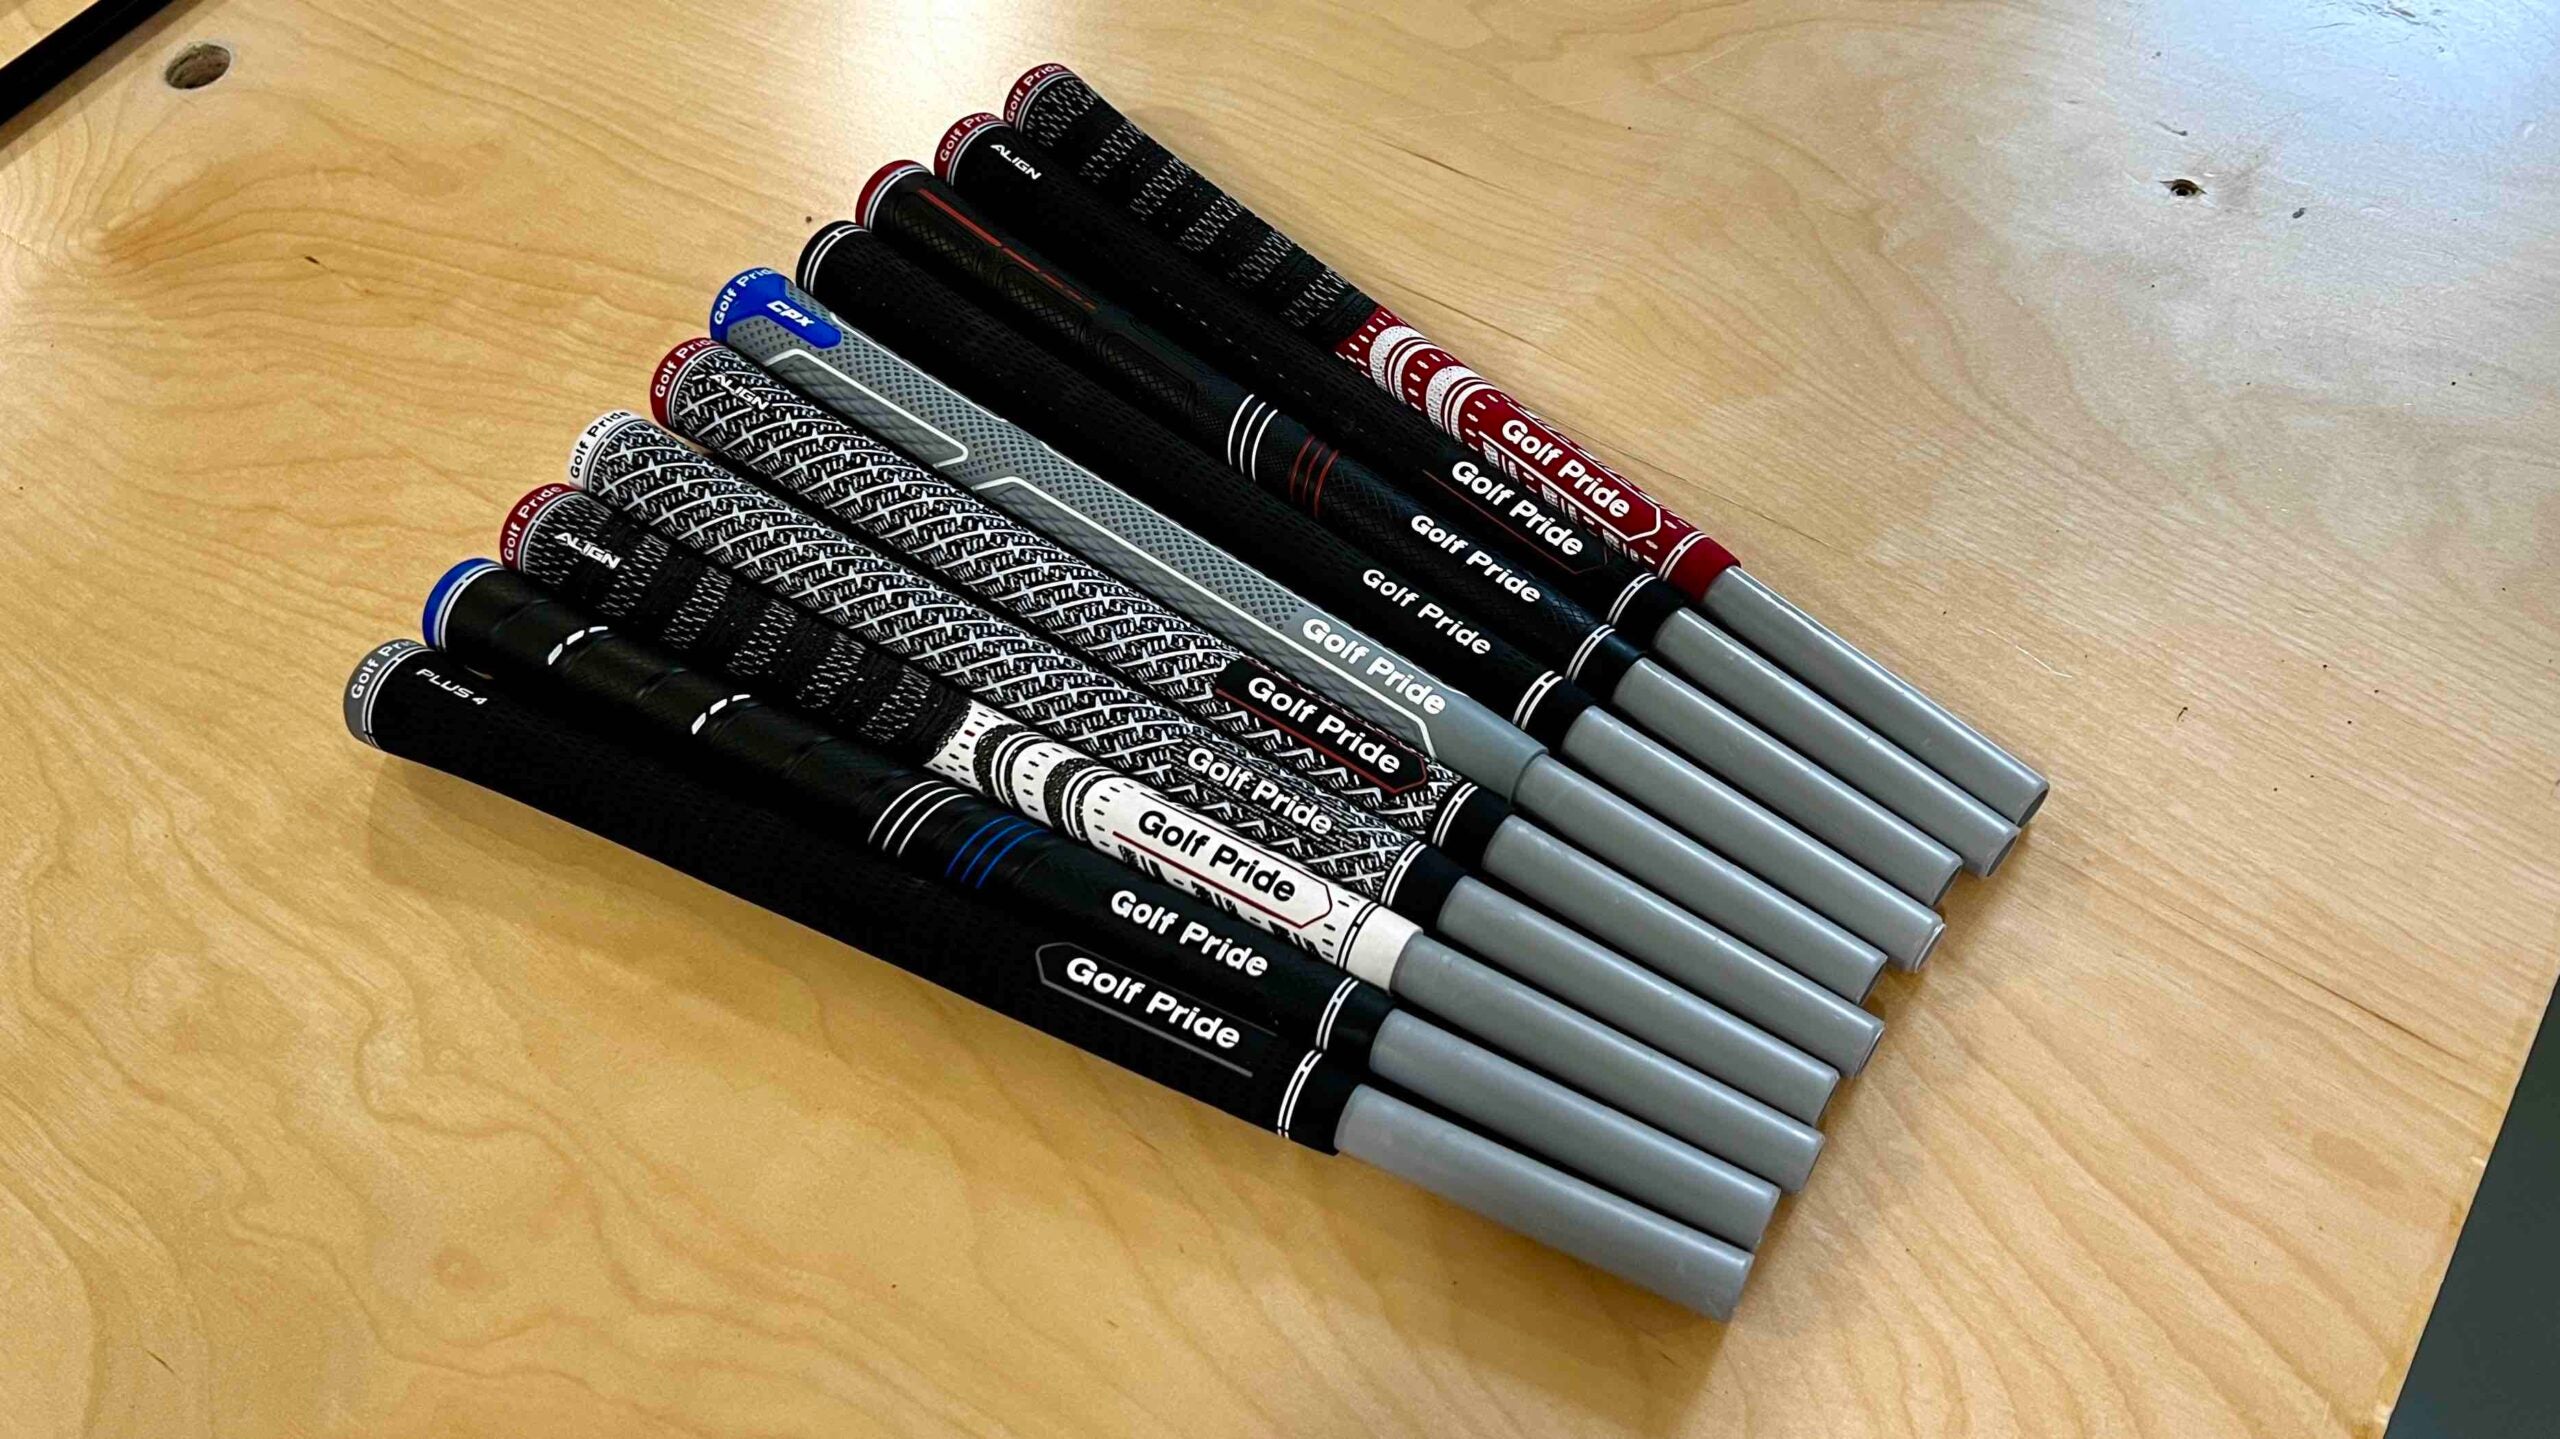
- New Golf Grips: This is your most crucial purchase. Grips come in a huge variety of materials, textures, and sizes. Consider your playing style and preference. Some golfers prefer a softer, more cushioned feel, while others like a firmer, more responsive grip. There are even grips with built-in alignment aids. Have fun exploring!
- Double-Sided Golf Grip Tape: This is specially designed tape that adheres to the club shaft and provides a surface for the new grip to slide onto.
- Solvent or Grip Solvent: This is a specially formulated liquid that temporarily dissolves the adhesive on the grip tape, allowing you to slide the new grip on and off easily. You can often find this at golf stores.
- A Utility Knife or Sharp Blade: For removing the old grip. Be careful with this one!
- A Vice with a Shaft Clamp: This is essential for holding your club securely while you work. You can usually find these at hardware stores or sporting goods stores. Don’t try to do this without one; it’s a recipe for disaster (and potentially a bent shaft).
- A Rag or Paper Towels: For cleaning up any excess solvent or tape.
- A Bucket or Container: To catch excess solvent.
A quick word on grip tape: it's often sold in pre-cut strips, which is super convenient. For solvent, some people swear by WD-40 as a substitute, and while it might work in a pinch, it's best to stick with dedicated grip solvent for optimal results and longevity. Think of it like using the right oil for your car – it’s a small difference that matters.
Let’s Get Our Hands Dirty: The Step-by-Step Guide
Now for the main event! Don your bravest face, and let’s get this done.
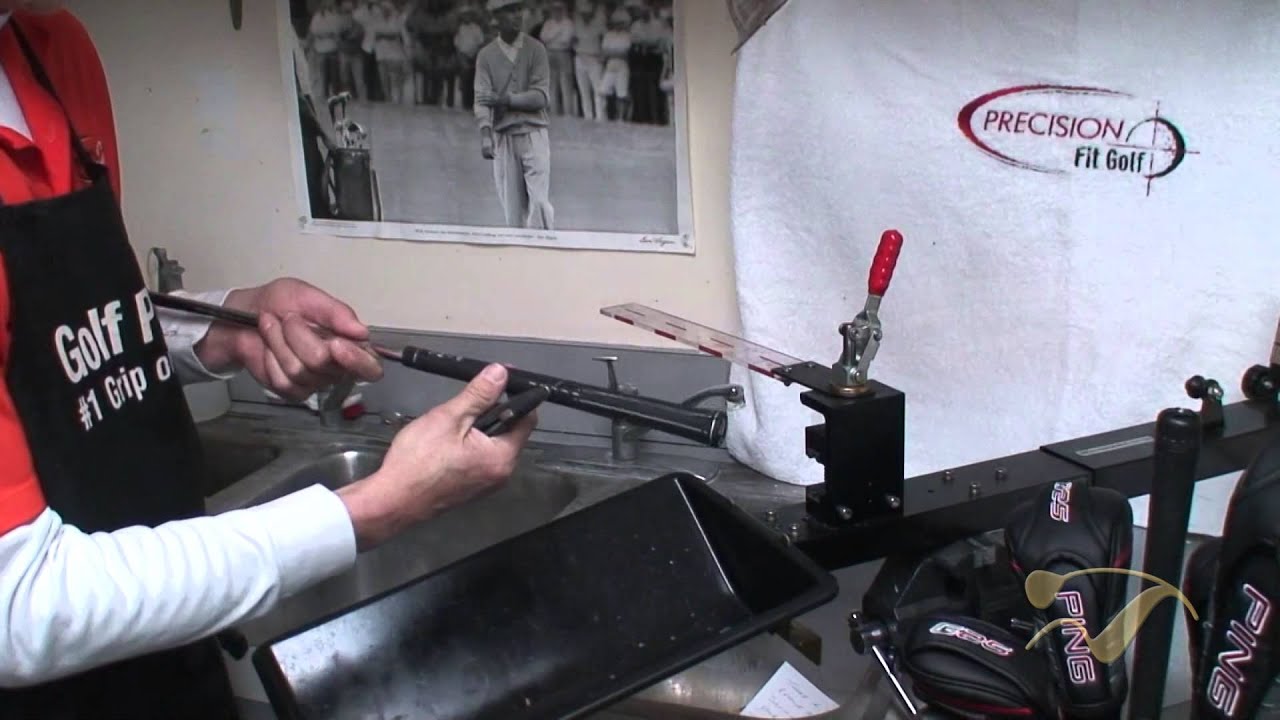
Step 1: Secure the Club
Pop your club into the vice with the shaft clamp. Make sure it’s held firmly, with the butt end of the grip facing upwards, so you have ample room to work. You want the club to be stable, not wobbling around like a nervous dancer.
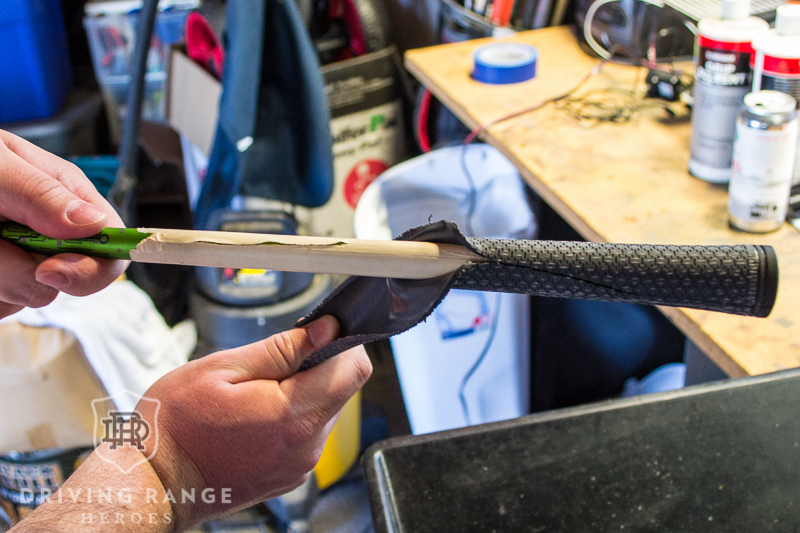
Step 2: Remove the Old Grip
Using your utility knife, carefully slice through the old grip lengthwise. Start at the butt end and work your way down towards the clubhead. Be mindful of the shaft – you don’t want to nick or damage it. Once you’ve made a full cut, you should be able to peel the old grip off.
If the grip is really stubborn, you might need to make a second cut. Some older grips can be like superglue. If you’re having trouble, a little bit of solvent can help loosen things up. Just spray a small amount underneath the grip and give it a wiggle.
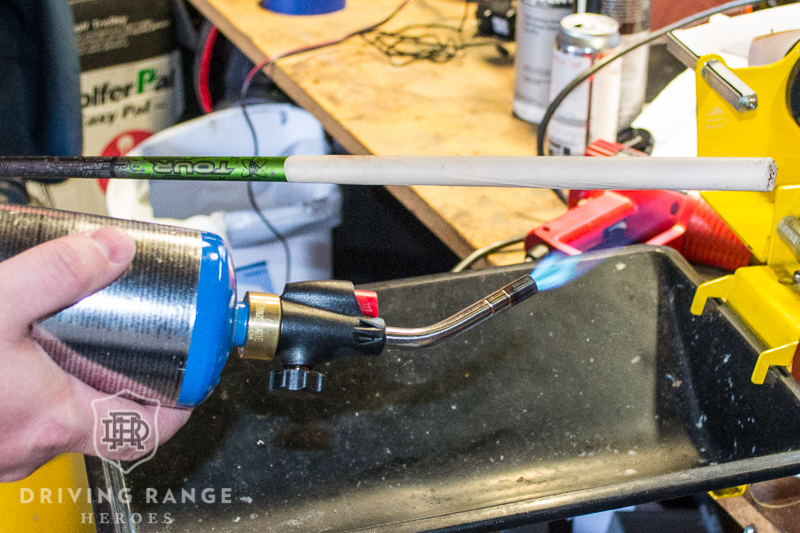
Step 3: Clean the Shaft
Once the old grip is off, you’ll likely have some residual tape and adhesive on the shaft. Use your knife or a bit of solvent and a rag to thoroughly clean the shaft. You want a smooth, clean surface for the new tape. Any bumps or residue can translate into an uneven feel under your new grip.
Step 4: Apply the New Grip Tape
Take your double-sided grip tape and wrap it around the shaft. Start at the butt end and overlap the tape as you wind it down, ensuring it covers the entire area where the grip will sit. Most tapes have guides or marks to help you with this. You want a smooth, even layer. Think of it like wrapping a present – neatness counts!
Make sure the tape extends slightly over the butt end of the shaft. This helps create a nice, clean finish and prevents the grip from slipping off the end. Trim any excess tape at the bottom.
Step 5: The Solvent Magic
Now for the fun part: the solvent. Grab your grip and pour a generous amount of solvent into the butt end. You want enough to thoroughly coat the inside of the grip and the tape. You can also spray some solvent onto the tape itself for good measure. The solvent acts as a lubricant, allowing the grip to slide on smoothly.
You might want to put the clubhead into your bucket or container to catch any drips. It can get a little messy, so wear old clothes!
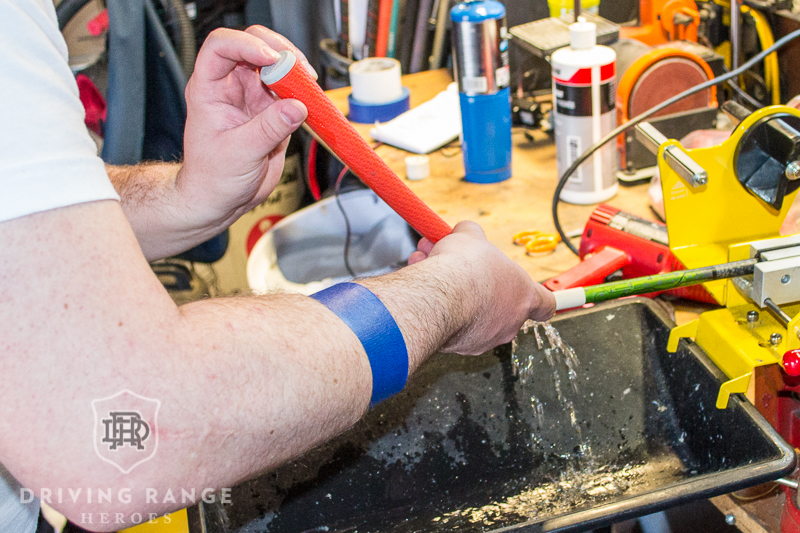
Step 6: Slide on the New Grip
With the solvent doing its work, quickly and firmly slide the new grip onto the shaft. Push it all the way down until it’s flush with the butt end of the shaft. If you’ve used enough solvent, it should glide on like a dream. If it feels like it’s catching, add a bit more solvent.
Make sure the grip is aligned straight. Many grips have alignment markers or textures that should run vertically up the back of the grip. Take a moment to get this right – it’s much easier to adjust now than later.
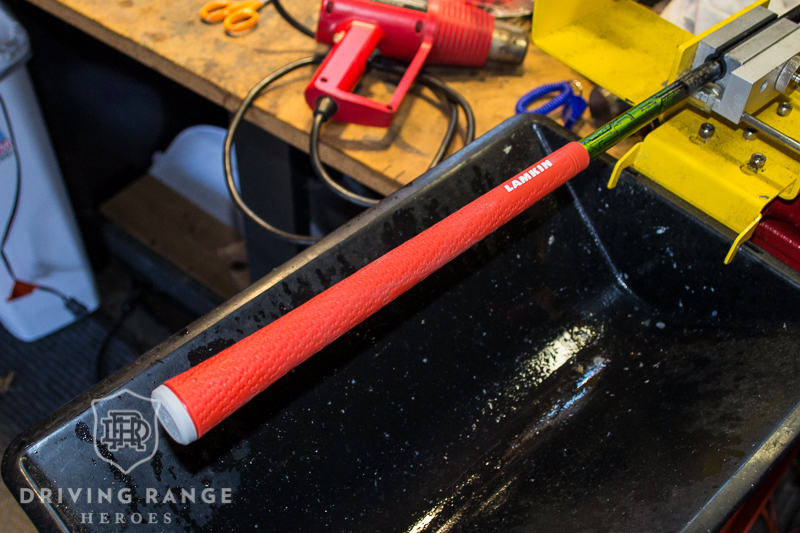
Step 7: Secure and Set
Once the grip is in place, you might want to give it a gentle twist to ensure it’s seated properly and the tape has adhered. Wipe away any excess solvent that might have oozed out. Then, let it sit for at least a few hours, or preferably overnight, to allow the solvent to evaporate and the grip to set firmly.
And there you have it! You’ve just regripped a golf club. Give yourself a pat on the back. You’ve just saved yourself some money and invested in your game. It’s a win-win.
Cultural Quips and Fun Facts
Did you know that golf grips have evolved significantly over the years? Early golf clubs often had wooden or leather grips, which were quite rudimentary by today's standards. The advent of rubber and synthetic materials in the mid-20th century revolutionized grip technology, offering greater consistency and feel. It’s a little like the evolution from dial-up internet to broadband – a game changer!
The iconic "cord" grips, which feature a woven cord embedded in the rubber, were popular for a long time, offering extra traction, especially in wet conditions. They have a certain classic, almost vintage charm, reminiscent of the days of Bobby Jones and Walter Hagen. It’s like finding a cool old vinyl record in a digital age.
Interestingly, the feel of a grip can also be influenced by the “core size.” A larger core size creates a firmer grip, while a smaller core size results in a softer, more cushioned feel. This is why you see so many different grip options out there – it’s all about catering to individual preferences and swing styles.
And for a bit of trivia: the average golfer can hit a ball up to 200 yards. Imagine trying to do that with slippery hands! It really underscores the importance of a good grip, doesn't it?
A Reflection: Grip on Life
This simple act of regripping a golf club, of taking something worn and making it new again, has a curious parallel to how we approach many things in life. We all accumulate wear and tear, our own “grips” on life can become slick with the daily grind, the inevitable disappointments, or even just the passage of time. Sometimes, we don’t even realize how much we’ve started to slip until we’re really struggling to hold on.
Regripping your clubs is a tangible reminder that it’s okay, and indeed necessary, to periodically assess what’s supporting you, what’s allowing you to connect with the world around you. Are your relationships still providing a firm, reliable hold? Is your career still offering the traction you need? Are your personal habits still giving you the grip on your well-being?
It’s about recognizing when something is no longer serving its purpose, when it’s become worn out, and having the courage and willingness to make a change. It doesn’t have to be a dramatic overhaul. Sometimes, just a little refresh, a conscious effort to replace what’s old with something new and supportive, can make all the difference. It’s about proactive maintenance, about ensuring that when the pressure is on, when you’re swinging for the fences, you have a solid, unwavering connection to what matters most.
So, the next time you feel your game, or even your life, slipping a bit, remember the golf club. Remember the simple, satisfying process of shedding the old and embracing the new. It's a small act of self-care, a quiet investment in your future performance, and a gentle reminder that sometimes, all it takes to get a better hold is a willingness to get your hands a little dirty.