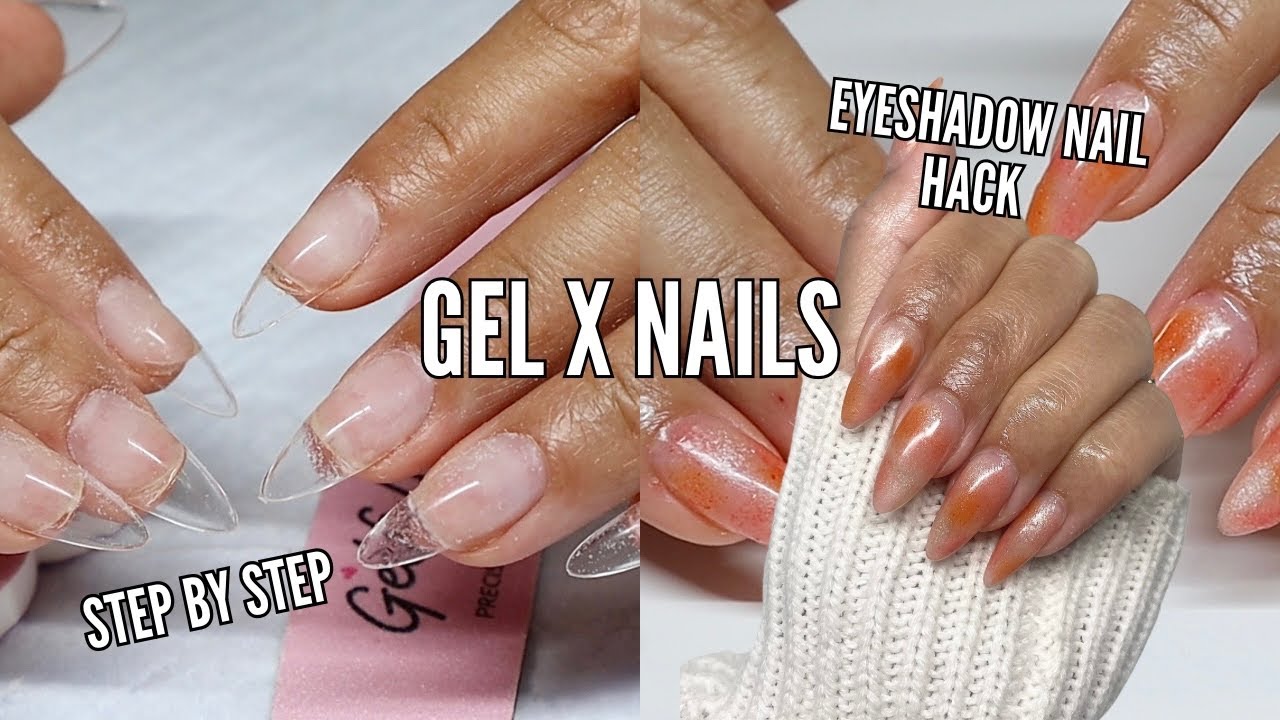
Step By Step Guide To Gel Nails

Hey girl, so you’ve been eyeing those gorgeous, chip-free gel nails on Insta, right? Yeah, me too. They just look so… perfect. Like they were painted by tiny, caffeinated elves. And the best part? You don't have to shell out a fortune at the salon every few weeks. Seriously! You can totally do this yourself. Think of it as a little DIY pamper session, but with way more professional-looking results. Plus, who doesn't love a good craft project that ends with fabulous fingers? So grab your comfiest PJs, maybe a snack (because, priorities), and let’s dive into the magical world of gel nails. It’s not as scary as it sounds, I promise!
First things first, let's talk about what you'll actually need. It might seem like a lot, but trust me, once you have it, you're set for ages. Think of it as an investment in your nail happiness. You'll need a UV or LED nail lamp. These are the magical boxes that cure your gel polish, making it hard and shiny. Most kits come with one, or you can grab one separately. Don't skimp on this; it's kinda crucial. Then, of course, you need the gel polish itself. There are a gazillion brands and colors out there. Start with a few basics, maybe a classic red, a nude, and a fun trendy color. You can always expand your collection later. Oh, and you'll need a gel base coat and a gel top coat. These are non-negotiable. The base coat protects your natural nail from staining (major plus!) and helps the gel adhere. The top coat gives you that super glossy, durable finish that lasts for weeks. It’s like the protective shield for your fabulous nail art.
Beyond the polish essentials, you'll need some tools. Grab a nail file, preferably a fine-grit one, so you don't go all willy-nilly and damage your nails. You'll also need a buffer. This helps create a smooth surface for the polish to stick to. Think of it as prepping the canvas before you start painting. And don't forget cuticle pushers or an orange stick. We want those cuticles looking neat and tidy, not like they're staging a hostile takeover of your nail bed. For cleaning up any stray polish lines (because let's be real, we all have those moments), a lint-free wipe or cotton pad is your best friend, along with some isopropyl alcohol or a dedicated gel polish remover. This stuff is like magic eraser for nail polish mistakes. And finally, for removing the gel polish later, you'll need acetone or a specific gel remover solution. We'll get to that party later, though.
Must Read
Step 1: Prep Work is Key, Darling!
Okay, so you've got your arsenal. Now, the real fun begins. First, let's get those nails in tip-top shape. This is the most important step, people. If you skip this, your gel polish might not last as long, and nobody wants that heartbreak. So, start by shaping your nails. Use your nail file and gently shape them to your desired length and style. Think oval, square, squoval – whatever makes your heart sing. Just be consistent! Then, gently push back your cuticles. You can use a cuticle pusher or an orange stick. Be gentle, though! We’re not trying to cause a nail-related incident here. Push them back, and if you have any excess cuticle skin hanging around, you can carefully trim it. But again, gentle is the word. Messing with cuticles too much can lead to infections, and that’s definitely not on our beauty bingo card.
Next up is buffing your nails. This is where your buffer comes in. You want to lightly buff the surface of your natural nail. Don't go crazy and file it all the way down; we're just aiming for a slightly roughened surface. This helps the base coat grip better, like tiny little micro-hooks. It’s like giving your nail a little textured hug for the polish. After buffing, you must cleanse your nails. Use your lint-free wipe or cotton pad with some isopropyl alcohol. This removes any oils or dust from filing and buffing. Oils are the enemy of gel polish adhesion, so get rid of them! Think of it as giving your nails a fresh, clean slate. This step is super crucial for a long-lasting manicure. Seriously, don't skip this cleansing part. It’s the unsung hero of gel manicures.

Step 2: Base Coat – The Foundation of Fabulousness
Alright, your nails are prepped and clean. Time for the magic to begin! First, we apply the gel base coat. Shake the bottle gently – don't vigorously shake it like you're trying to wake up a sleeping bear. You want an even consistency. Apply a thin layer of the base coat to each nail. Thin is key here, my friends. If it's too thick, it might not cure properly, and then we're back to square one. Think of it like a whisper of polish, not a shout. Make sure you cap the free edge of your nail too. This means running the brush along the very tip of your nail. It helps prevent lifting and chipping. It’s like sealing the deal for your manicure.
Once you've applied the base coat to all your nails, it's time for the UV or LED lamp. Pop your hand under the lamp and cure for the time specified by your lamp manufacturer. Usually, it’s around 30-60 seconds for LED lamps and 2 minutes for UV lamps. Don't peek! Resist the urge to check your progress. Let the lamp do its thing. When it's done, you’ll notice the base coat is still a bit sticky. This is normal. It’s supposed to be sticky! That’s the tackiness that helps the color coat adhere. Don't try to wipe it off. Just embrace the stickiness and move on to the next step. It’s a bit weird the first time, but it’s how the gel magic happens.

Step 3: Color Time – Let Your Personality Shine!
Now for the fun part – the color! Grab your chosen gel polish. Again, give it a gentle roll between your hands to mix it up. Apply a thin, even layer of your gel color to one nail at a time. Just like with the base coat, thin layers are your best friend. If you glob it on, it can wrinkle, bubble, or not cure properly. We want smooth, consistent color, not a textured art project gone wrong. Make sure you cap the free edge again. This is super important for longevity. Getting polish on your skin is a no-no, so try to be precise. If you do get a little on your skin, don't worry. You can clean it up later with your brush dipped in alcohol.
After applying the first color coat to one nail, cure it under the lamp. Cure time will vary depending on your lamp and the polish brand, but typically it's around 30-60 seconds for LED and 2 minutes for UV. It’s a good idea to cure each nail individually, or at least a couple at a time, especially if you’re doing intricate designs. This prevents the polish from moving or pooling before it cures. After the first coat is cured, apply a second thin layer of color. Again, thin and even is the goal. You might need a third coat for opaque coverage, depending on the polish. Just keep it thin, and cure after each layer. This layered approach is what gives you that deep, rich color and the durability of gel. Don't be tempted to skip coats or make them thick. Patience is a virtue, especially in gel manicures!

Step 4: Top Coat – The Glossy Grand Finale!
We’re almost there! The final step is the gel top coat. This is what gives you that amazing shine and protects your beautiful color. Just like with the base and color coats, apply a thin, even layer. Make sure you cap the free edge. This is your last chance to seal in all that hard work. Some top coats are “no-wipe,” meaning they don’t leave a sticky residue. Others are “wipe-off,” and they will have a tacky layer after curing. Be sure to check what kind you have. If it's a wipe-off top coat, you'll need to cleanse it with alcohol or a dedicated gel cleanser after curing. This removes the tacky layer and reveals the glorious shine underneath.
Apply the top coat to all your nails, and then cure them under the lamp. The curing time for the top coat is usually the same as for the color coats. Once it's cured, if you have a no-wipe top coat, you're done! If you have a wipe-off top coat, grab your lint-free wipe soaked in alcohol and gently wipe each nail. You’ll see that tacky layer disappear, and BAM! Hello, super shiny, professional-looking gel nails. It’s seriously satisfying. And there you have it! You’ve officially conquered the gel manicure. Give your nails a little admiring glance. You did that!

Step 5: Maintenance and Removal – Keeping Them Looking Good
Now that you’ve got these amazing gel nails, how do you keep them looking their best? Well, the good news is, they’re super durable! But there are a few little things you can do. Try to avoid using your nails as tools. You know, like opening cans or prying things open. They’re not metal, honey. Also, prolonged exposure to harsh chemicals can weaken the gel, so wear gloves when you’re doing chores like washing dishes or cleaning with strong detergents. And if you notice any lifting or chipping (though with good prep, this should be minimal!), resist the urge to pick at them. That can damage your natural nail underneath.
When it’s time to remove them, and oh, it will be time eventually, do NOT peel them off. I repeat, do NOT peel them off. This is a recipe for disaster and can seriously damage your natural nails. Instead, you’ll need to soak them off. Grab your acetone or gel remover and some cotton balls. Soak a cotton ball in the remover, place it directly on your nail, and then wrap it securely with foil. Let it soak for about 10-15 minutes. The gel should start to loosen. Then, gently push off the softened gel with your cuticle pusher or orange stick. If there’s still some stubborn bits, you can repeat the soaking process for a few more minutes. Once all the gel is removed, you can re-buff and condition your nails. It’s a little bit of a process, but it’s so much better for your nail health than ripping them off. And then you’re ready for your next amazing gel manicure!
See? It’s totally doable! It might take a couple of tries to get the hang of it, but practice makes perfect, right? So go ahead, experiment with colors, try out some simple designs. You’ve got this! And honestly, the feeling of accomplishment when you look down at your own gorgeous, salon-worthy gel nails? Priceless. Now go forth and paint those nails!