How To Migrate Wordpress Site From One Host To Another

Alright, settle in with your latte, or whatever your beverage of choice is. We’re about to embark on a grand adventure, a digital odyssey, a… well, a WordPress migration. Think of it like moving house, but instead of dusty boxes and that weird smell in the basement, you’re dealing with files, databases, and the existential dread of accidentally deleting your entire online empire. Don't worry, though. We're going to tackle this with the grace of a seasoned cat burglar and the wit of a stand-up comedian who’s had a bit too much caffeine.
So, why would anyone willingly put themselves through this? Well, sometimes your current web host starts to feel like that friend who always borrows money and never pays it back. Or maybe your website’s performance is slower than a sloth on tranquilizers. Whatever the reason, you’ve decided it’s time to pack up your digital belongings and find a new, more hospitable digital domicile.
Chapter 1: The Great Digital De-Cluttering
Before we even think about packing, we need to do a little bit of housekeeping. Imagine your WordPress site is your actual house. Are there dusty corners filled with unused plugins you installed back in 2012 because they promised you the moon and delivered a slightly better-looking button? Time to get rid of them!
Must Read
Uninstall unused plugins and themes. Seriously. They’re like those novelty kitchen gadgets you swore you’d use but now just take up valuable drawer space. Plus, fewer files mean a quicker migration. Think of it as Marie Kondo-ing your website. Does it spark joy? No? Then wave goodbye!
Check your media library. Are there 50 blurry photos of your cat from three years ago? While adorable, they might be weighing down your site. Delete any unnecessary images, videos, or documents. This is also a good time to discover that one embarrassing photo you totally forgot you uploaded. Fun!
Chapter 2: The "Backup, Backup, Backup!" Mantra
This is the part where you channel your inner doomsday prepper. Because in the world of website migrations, a backup is your trusty bunker, your emergency canned beans, your… well, you get the idea. Never, ever skip the backup step. It’s like going skydiving without a parachute. You might be okay, but the consequences of not being okay are… significant.
There are two main ways to do this:

Method 1: The Plugin Palooza
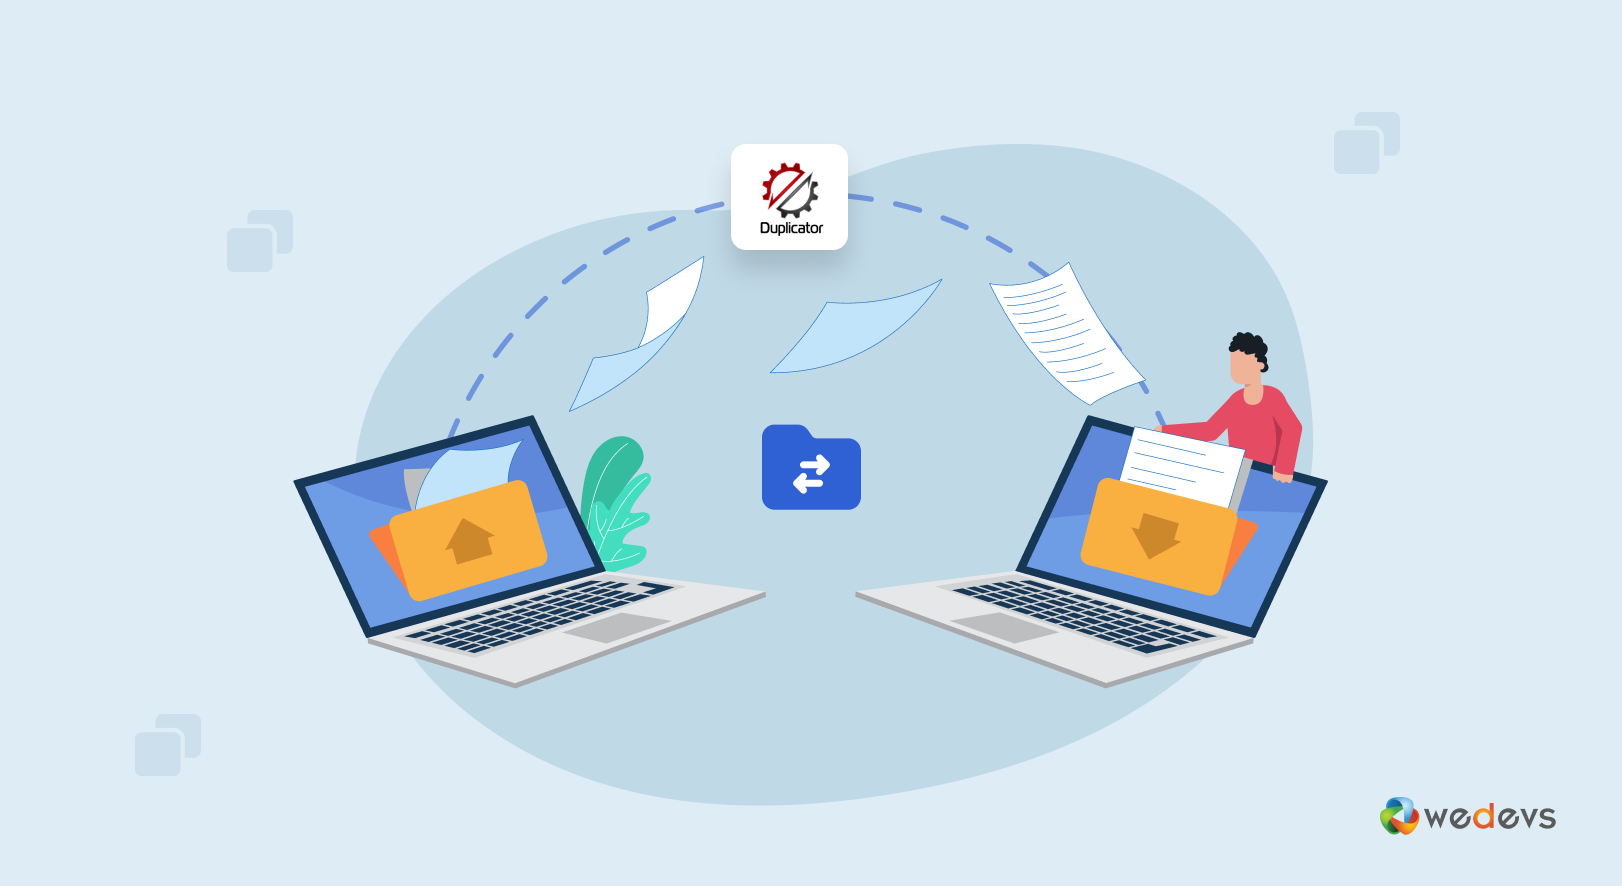
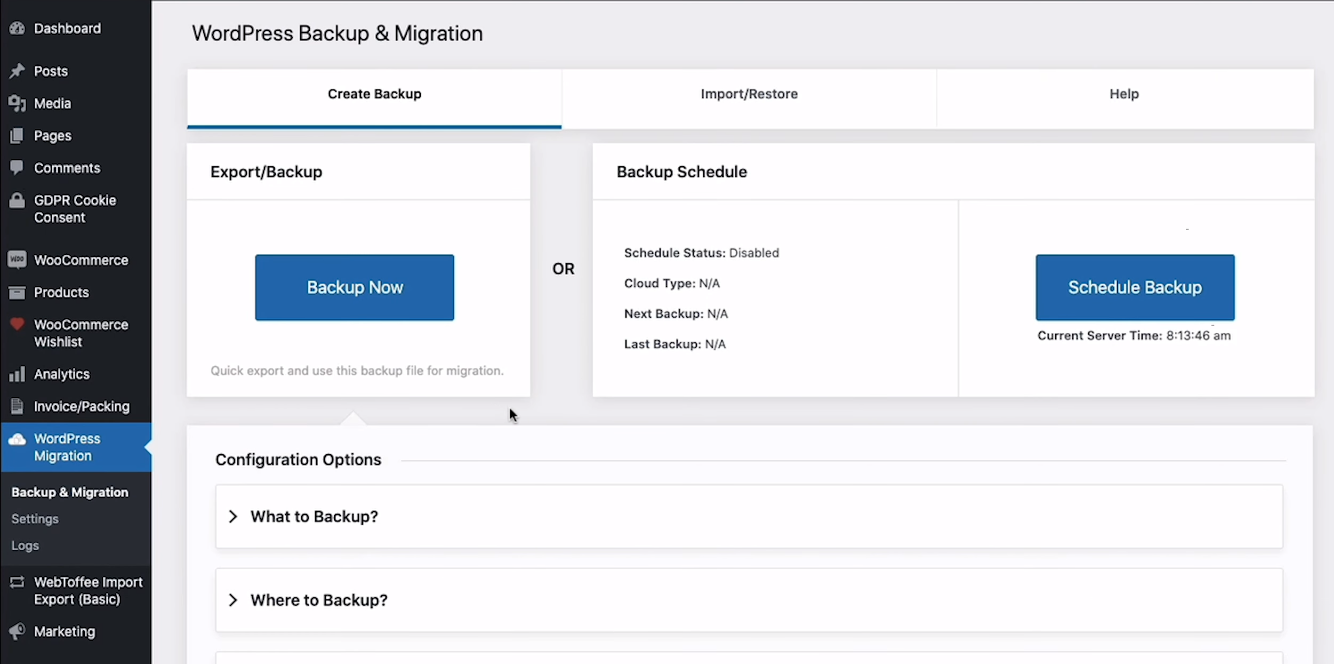
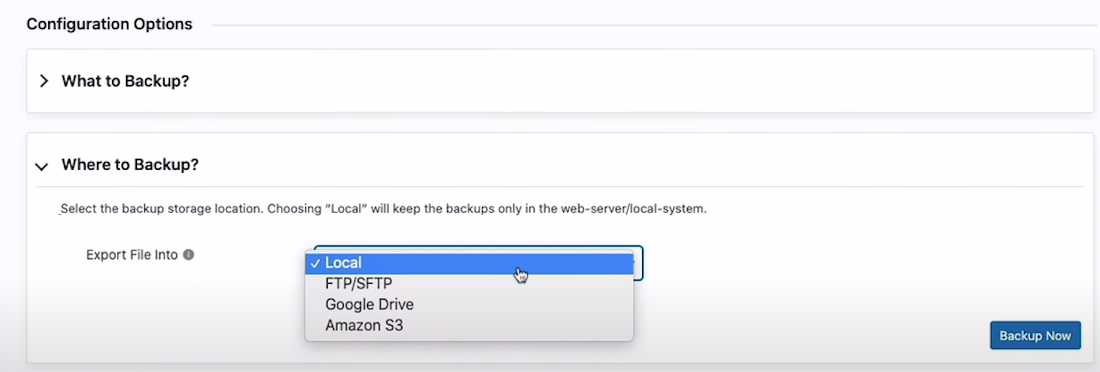
For the plugin-loving folks, this is your jam. There are some absolute rockstars out there that make this process almost ridiculously easy. My personal favorite, and many others', is UpdraftPlus. It’s free, it’s powerful, and it’s about as user-friendly as a fluffy puppy. You can set it up to back up your entire WordPress site – files and database – to a cloud service like Dropbox or Google Drive. It’s like having a digital guardian angel watching over your precious pixels.
Another popular option is All-in-One WP Migration. This one is particularly handy because it often packages everything up into a single, downloadable file, which is super convenient for transferring. Just remember, the free version has some upload size limitations, so if you have a gigantic website, you might need to consider their premium version. Think of it as paying a little extra for a bigger U-Haul.
Method 2: The Manual Marvel
If you’re feeling a bit more adventurous, or if your host is being particularly stingy with plugin access (don’t you hate when that happens?), you can do it manually. This involves two parts:
Exporting your database: Log into your hosting control panel (cPanel, Plesk, whatever mystical beast your host uses) and find phpMyAdmin. It sounds fancy, but it’s basically a tool to manage your database. Select your WordPress database, and then click the “Export” tab. Choose the “Quick” method and hit “Go.” Voila! You’ll have a .sql file. Think of this as the brain of your website.
Downloading your files: Using an FTP client like FileZilla (it’s free and reliable, like a good pair of socks), connect to your current host. Navigate to your WordPress installation directory (usually `public_html` or `www`). Select all the files and folders and download them to your computer. This is the body of your website. Together, they make your digital Frankenstein.
Surprising Fact: Did you know that the average website contains over 1 million lines of code? That’s more lines than most people read in a lifetime. And you’re about to move all of that. You absolute legend.
Chapter 3: Setting Up Shop on the New Digital Frontier
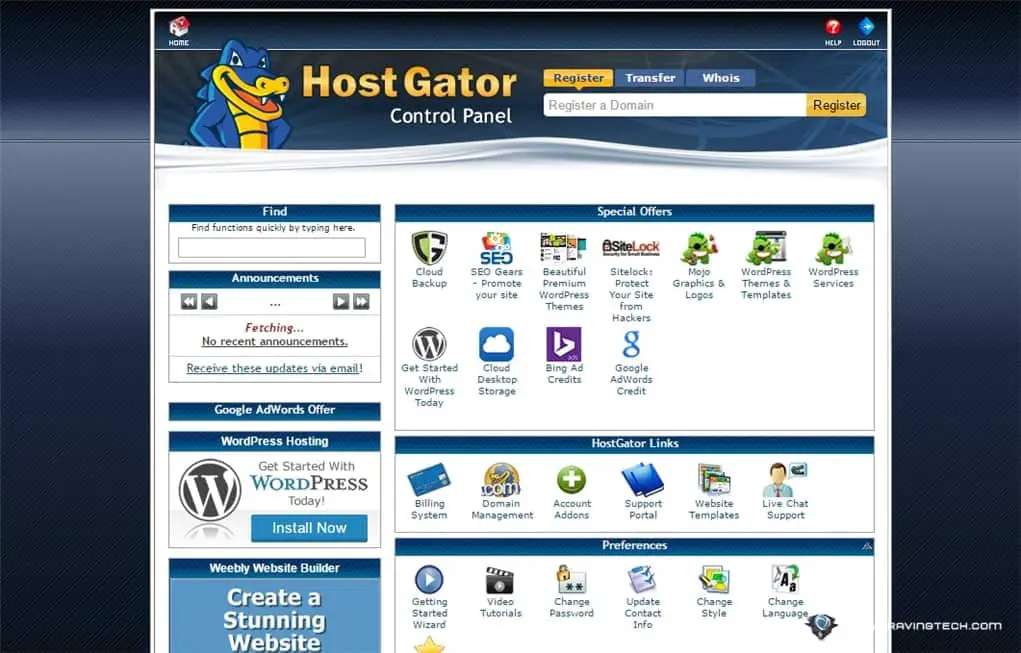
Okay, you’ve got your digital luggage packed. Now it’s time to find a new place to unpack. This involves signing up with your shiny new web host and setting up a fresh WordPress installation. Most hosts offer a one-click WordPress install, which is a lifesaver. It’s like magic, but with less glitter and more servers.
When you sign up with your new host, they’ll give you a new domain name to play with (this might be temporary, or your actual domain if you’re transferring it). You’ll also get new database credentials. Keep these handy. They’re your keys to the new kingdom.
Chapter 4: The Grand Unpacking (Importing Your Website)
This is where the magic (and potential for mild panic) happens. We’re going to bring your meticulously backed-up website back to life on the new host.
Method 1: The Plugin Palooza (Again!)
If you used UpdraftPlus or All-in-One WP Migration for your backup, the import process is usually just as straightforward. You’ll install the plugin on your new WordPress site, and then use its import function to upload your backup file(s). It’s like plugging in a USB drive and watching your life’s work reappear. Easy peasy lemon squeezy!
Important Note: If you’re using a plugin that creates a single export file (like All-in-One WP Migration), you’ll need to make sure your new WordPress installation is brand new and empty before importing. Trying to import over an existing WordPress site is like trying to pour water into a full glass. Messy.
Method 2: The Manual Marvel (Revisited)
This is where we get a little more hands-on. Again, log into your new hosting control panel and find phpMyAdmin.
Importing your database: Select your new WordPress database and click the “Import” tab. Choose the .sql file you downloaded earlier and hit “Go.” This uploads the brain. Make sure the database name is correct for your new WordPress installation!
Uploading your files: Using your FTP client, connect to your new host. Navigate to your WordPress installation directory (again, `public_html` or `www`). Upload all the files and folders you downloaded from your old host. This is the body. Be patient. This can take a while, especially if you have a lot of files. Think of it as waiting for a sourdough starter to rise – it requires patience and a bit of faith.
The Tiny, Tiny, TINY Detail: When you move to a new host, your database name, username, and password will likely change. You need to tell your WordPress site about these new details. Open the `wp-config.php` file (it’s in the root directory of your WordPress installation) with a text editor. Find the lines that define `DB_NAME`, `DB_USER`, and `DB_PASSWORD`. Update them with your new database credentials. This is like giving your website its new address and key.
Chapter 5: The DNS Dance and Final Follies
Now for the part that can feel like you’re playing a cosmic game of musical chairs: the DNS (Domain Name System) change. This is what tells the internet that your domain name should now point to your new host, not your old one. It’s like changing your phone number and then updating your business cards.
Log into your domain registrar (where you bought your domain name). You’ll need to update the Name Servers to point to your new host. Your new host will provide you with these Name Server addresses. They usually look something like `ns1.newhost.com` and `ns2.newhost.com`.
The Waiting Game: DNS changes can take anywhere from a few minutes to 48 hours to propagate across the internet. This means that for a while, some people might still see your old site, while others see your new one. It’s a digital Twilight Zone. Be patient. Pour yourself another coffee. Maybe do some mindful breathing exercises.
Final Checks: Once you think the DNS has settled, start clicking around your website. Check every page, every link, every button. Make sure everything looks and works as it should. Test out forms, comment sections, and any special features you have. It’s like a final inspection of your new digital crib.
And there you have it! You’ve successfully migrated your WordPress site. You’ve wrestled with databases, battled FTP clients, and emerged victorious. You’re a WordPress migration ninja! Now go forth and conquer the internet, one website move at a time. And remember, if all else fails, there’s always the “undo” button… oh wait, there isn’t. Good luck!