How To Zoom In In Premiere Pro
Ever watched a movie or a YouTube video and seen the camera smoothly zoom in on a detail, making you feel like you're right there? That magical effect, the one that pulls your audience closer and highlights the important stuff, is surprisingly achievable, even for us home-video heroes and aspiring content creators. We're talking about zooming in, or as the pros call it, 'keyframes' and 'transform properties' in the wildly popular editing software, Adobe Premiere Pro. And guess what? It's not some secret wizardry; it's a fundamental tool that can take your projects from "meh" to "wow!"
Think about it. You've spent hours filming that epic holiday trip, capturing breathtaking landscapes and hilarious family moments. But maybe some of those shots feel a little… distant. Or perhaps you've got a super important product demo, and you want to really emphasize that shiny new feature. This is where the power of zooming in within Premiere Pro comes to the rescue. It’s your secret weapon for:
- Drawing Attention: Guide your viewer's eye directly to what matters most. Is it a fleeting expression on someone's face? A crucial piece of information on a document? A zoom-in makes it impossible to miss.
- Creating Drama and Excitement: Speed up a zoom-in, and you can inject a jolt of energy or suspense. Slow it down, and you can build anticipation or create a more thoughtful, reflective mood.
- Adding Visual Interest: Static shots can sometimes feel a bit boring. A well-placed zoom can break up the monotony and keep your audience engaged.
- Simulating Camera Movement: Even if your camera was firmly planted on a tripod, you can create the illusion of a dynamic camera move in post-production. This is fantastic for when you didn't quite get the shot you wanted in camera, or when you want to add a professional polish.
- Focusing on Details: Got a close-up of a tiny object? Zooming in further can reveal intricate details that might otherwise be lost.
So, how do we actually do this magical zooming in Premiere Pro? It all boils down to a concept called keyframes. Don't let the fancy name scare you! Keyframes are simply points on a timeline that tell Premiere Pro what a specific setting (like the zoom level) should be at a particular moment. You set a starting point (what you want it to look like at the beginning of your zoom) and an ending point (what you want it to look like at the end of your zoom), and Premiere Pro does the rest, smoothly interpolating between those two points. It's like giving instructions to a very obedient robot!
Must Read
Let's break down the most common and straightforward way to zoom in using the Effect Controls panel. This is your go-to hub for all sorts of tweaks and transformations.
The Keyframe Magic: Step-by-Step
First things first, you need to have your video clip on your Timeline in Premiere Pro. Select that clip. Now, look for the Effect Controls panel. If you don't see it, don't panic! You can usually find it under the Window menu at the top of your screen. Just click on Window and then select Effect Controls.
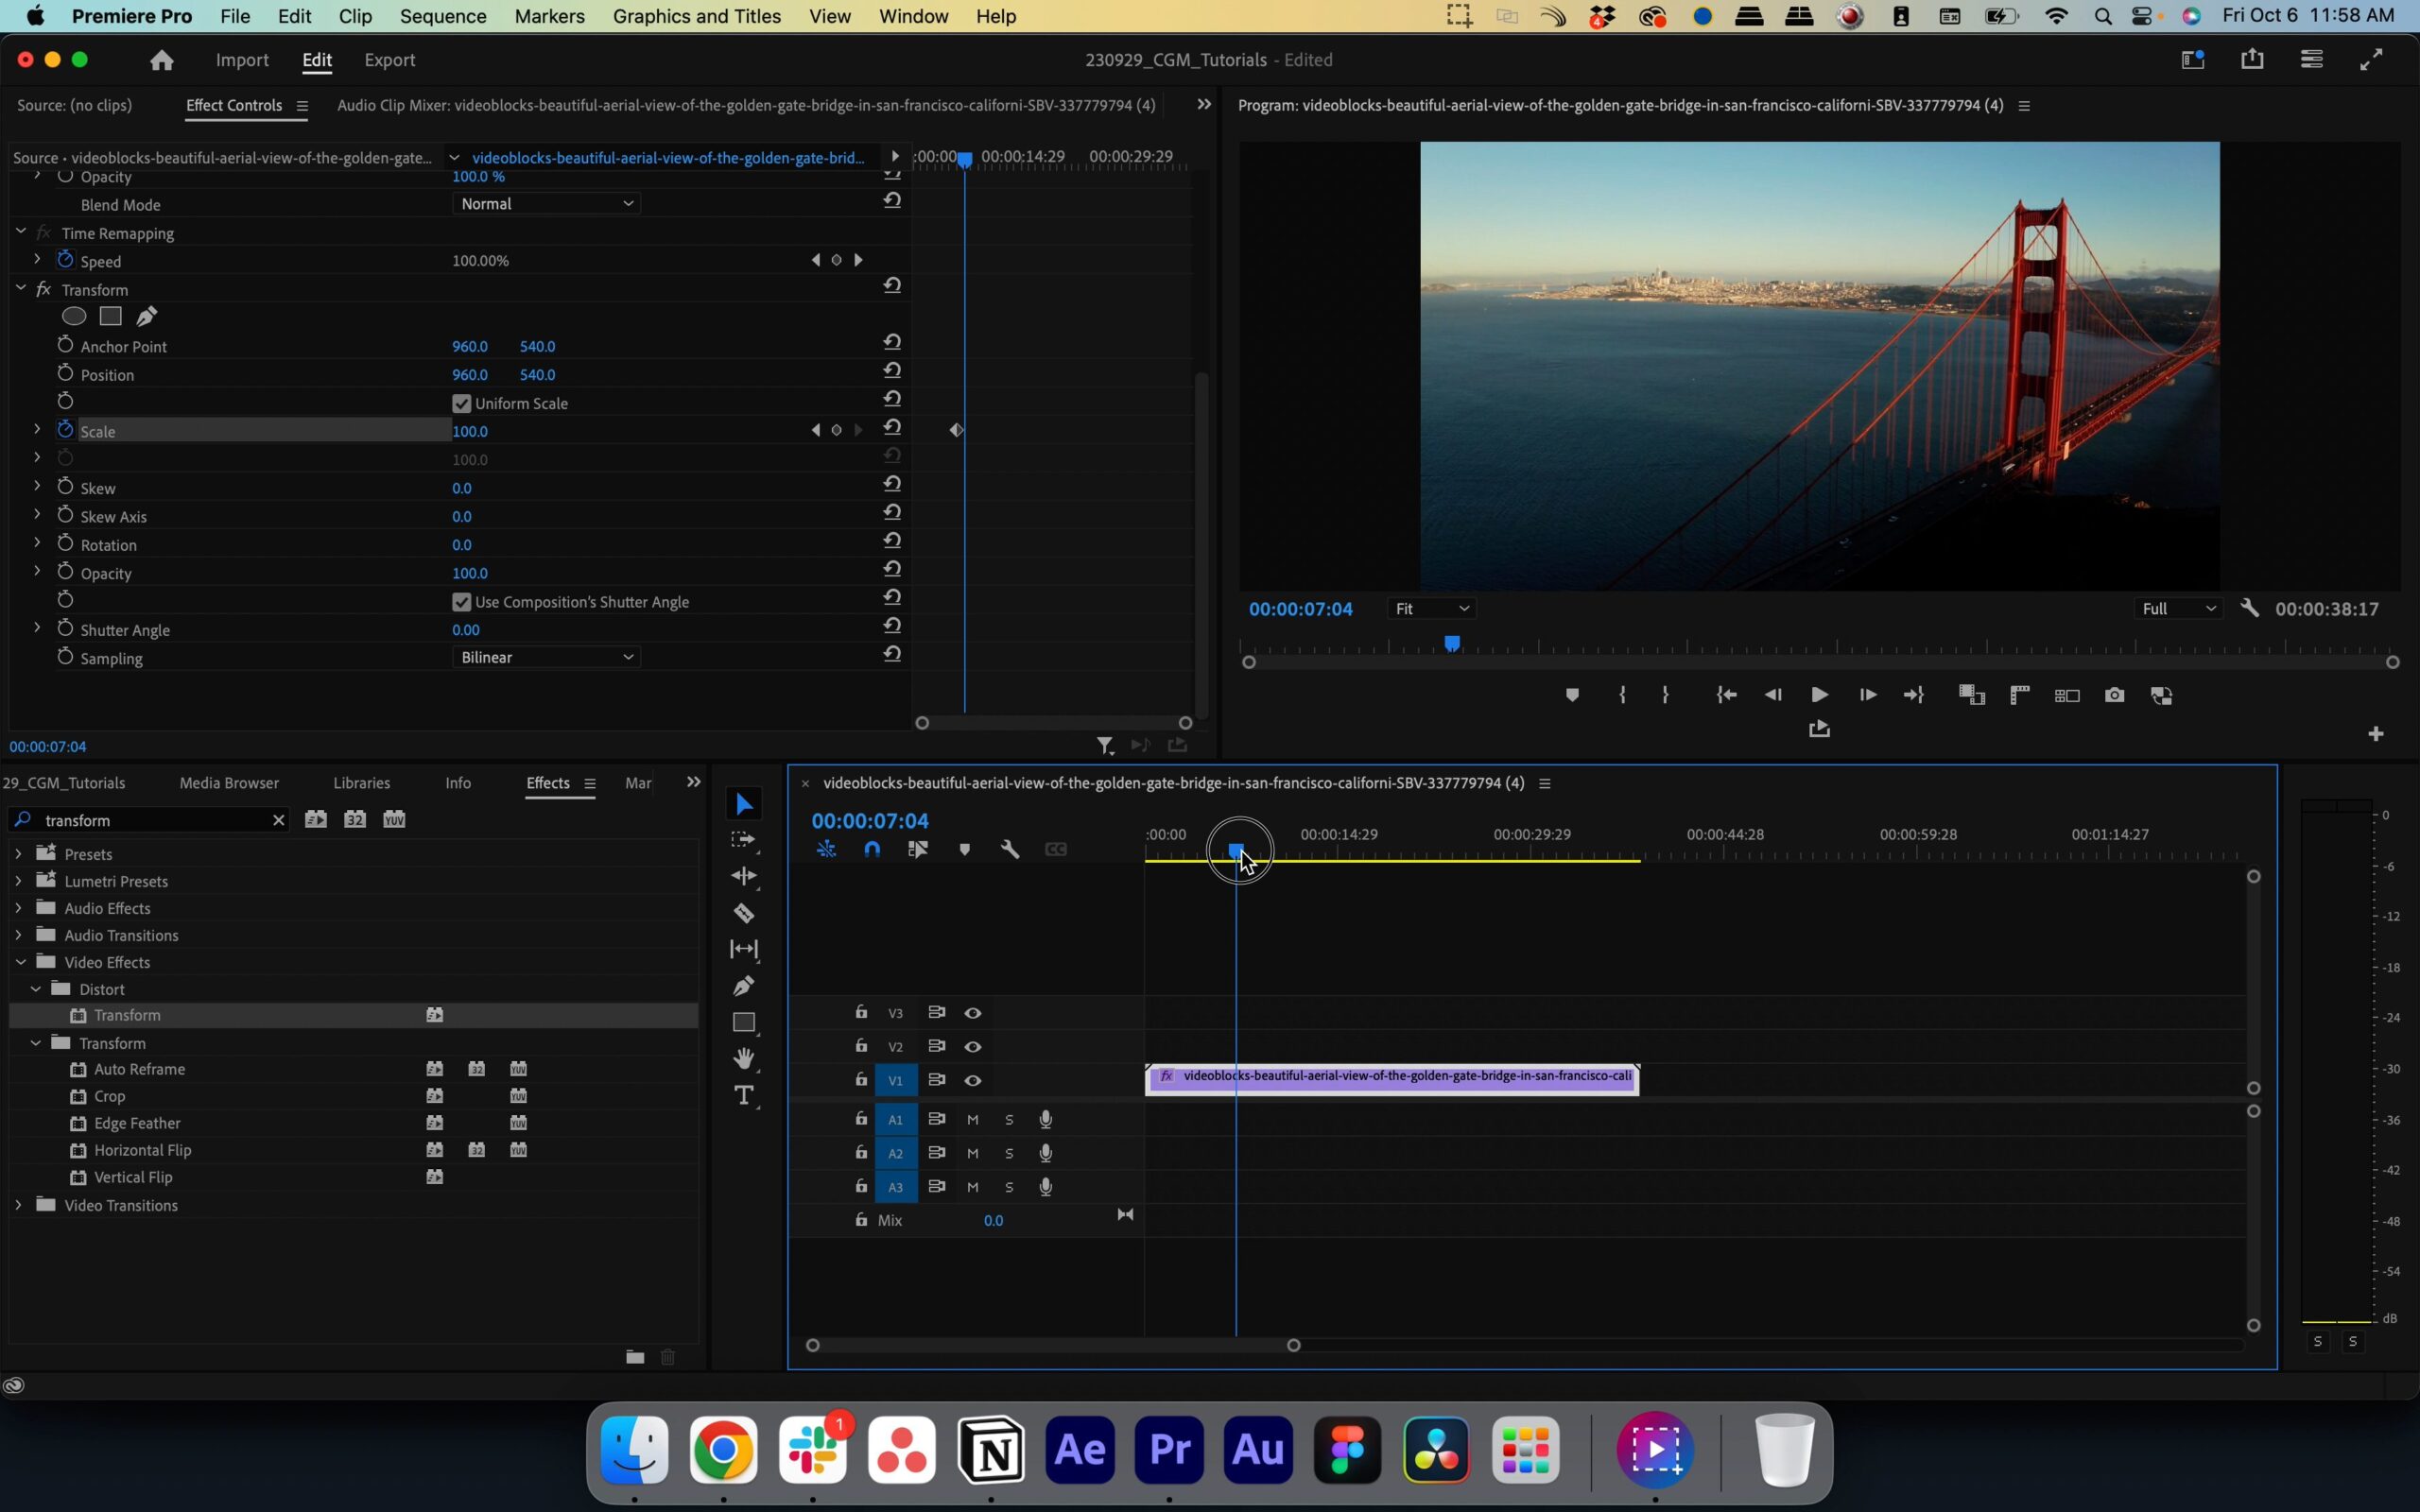
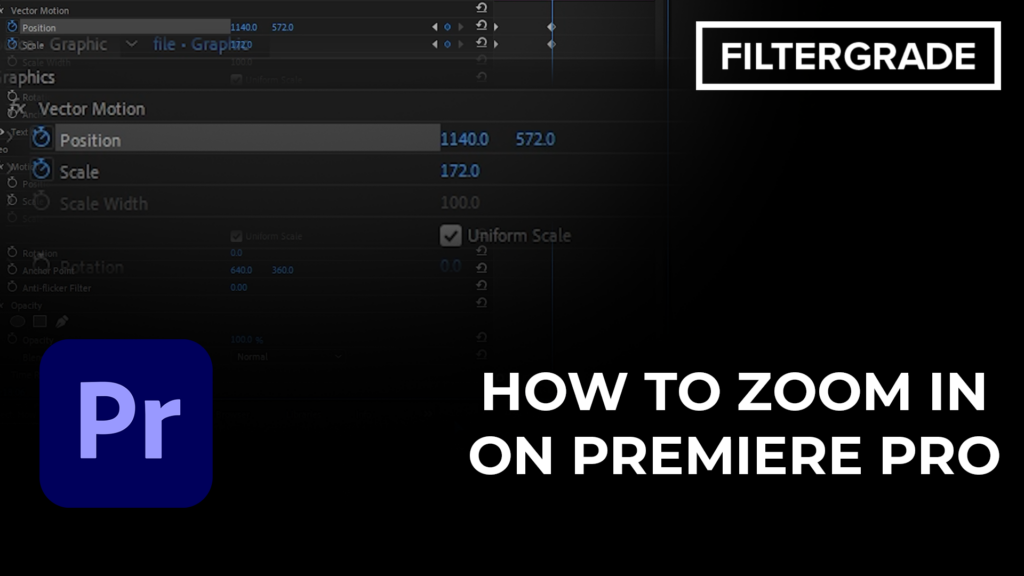
Once the Effect Controls panel is open, you'll see a section called Video Effects. Underneath that, you'll find Motion. Click on the little arrow next to Motion to expand it. Here's where the magic happens. You'll see a few properties, and the ones we're interested in for zooming are Scale and Position.
Let's Talk Scale: The Zoom Factor
The Scale property controls how large or small your clip appears. Normally, it's set to 100%, which is its original size. To zoom in, we need to increase this number.

Step 1: Set Your Starting Point.
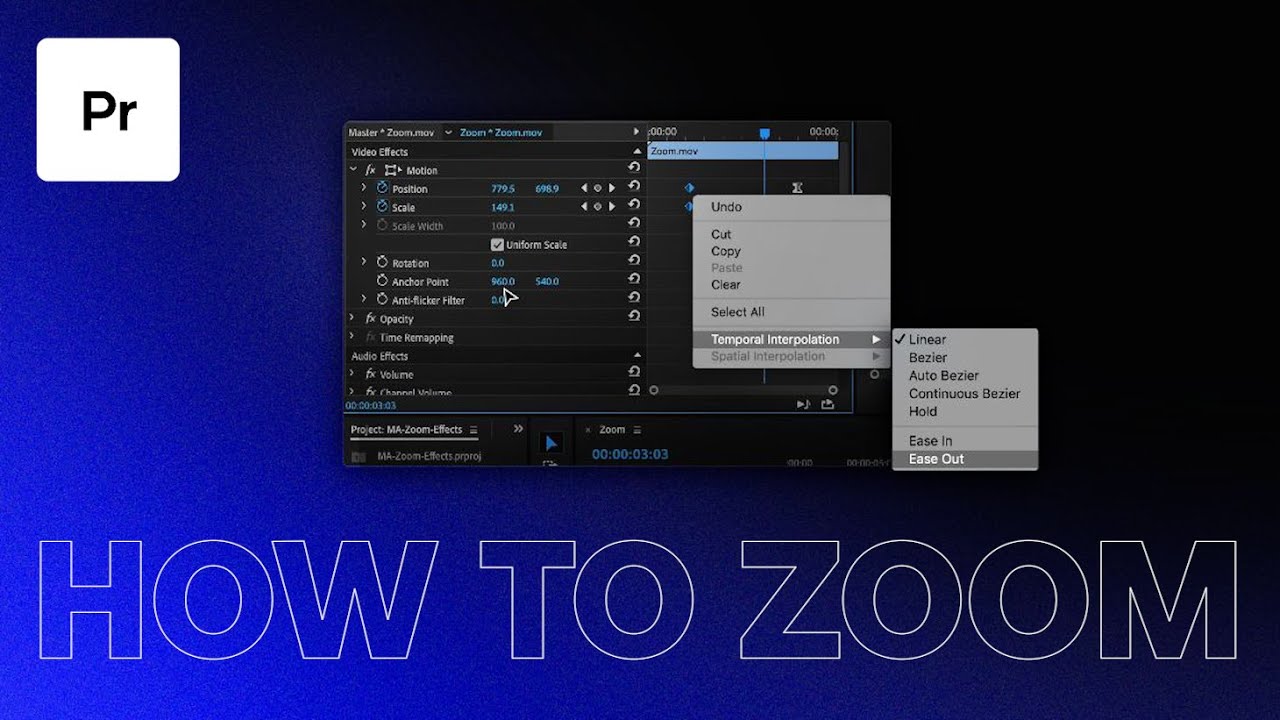
First, move your playhead (that blue vertical line on your timeline) to the exact frame where you want your zoom to begin. Now, look at the Scale property in the Effect Controls panel. To the left of the word "Scale", you'll see a small stopwatch icon. Click this stopwatch icon. When you do, a tiny dot will appear next to it, and this is your first keyframe. This tells Premiere Pro: "At this moment, the scale is exactly what it is now." If it's already at 100%, that's your starting point.
Step 2: Set Your Ending Point.
Now, move your playhead forward on the timeline to where you want the zoom to end. This could be a few seconds later, or just a few frames if you want a quick, punchy zoom. With your playhead at this new position, change the Scale value. For example, if you want to zoom in to make a specific object fill more of the screen, you might change the Scale from 100% to 150% or even 200%. As soon as you change the value while the stopwatch is active, Premiere Pro automatically creates a second keyframe at this new position with the new scale value.
Step 3: Watch the Magic!
Now, play back your video. You should see your clip smoothly zooming in from your starting point to your ending point! Premiere Pro has automatically calculated all the in-between frames to create that seamless transition. It's quite satisfying to watch, isn't it?
Positioning for Perfection
Sometimes, when you zoom in using just the Scale property, the zoom might not be centered on the part of the image you want. This is where Position comes in handy. If you find that your zoom is happening, but it's zooming into the wrong area, you can adjust the Position property between your keyframes.
Step 1: Adjusting After Creating Scale Keyframes.
With your zoom keyframes for Scale already set, move your playhead to any point between your start and end zoom keyframes. Now, look at the Position property in the Effect Controls panel. You'll see X and Y values. Click on the word "Position" to enable keyframing for it. A new keyframe will be created at that playhead position. Now, you can drag your clip around within the frame using the X and Y values or by directly clicking and dragging on the Program Monitor (the window where you see your video playback). As you adjust the position, Premiere Pro will create a keyframe for Position at that playhead location, and it will animate the position along with the scale.
Step 2: Fine-Tuning the Focus.
This allows you to steer the zoom. If your zoom is focused too high, you can adjust the position down slightly. If it's off to the left, you can nudge it to the right. Experiment with this! You can add multiple position keyframes between your scale keyframes to guide the zoom even more precisely.
Pro Tip: Don't be afraid to experiment! The beauty of digital editing is that you can always undo, redo, and tweak to your heart's content. Try different zoom speeds by adjusting the distance between your keyframes. Try different zoom levels by changing the Scale values.
Another Way: The Program Monitor Method
Premiere Pro also offers a more visual, direct way to adjust scale and position, especially when you're working with keyframes. With your clip selected and Motion expanded in the Effect Controls panel, you can actually see your clip's bounding box in the Program Monitor.
Step 1: Enable Free Transform.
If you don't see the bounding box, you might need to enable Show Transform Controls. You can usually find this button as an icon in the top-left corner of the Program Monitor.
Step 2: Adjusting Visually.
With Scale keyframes already set, you can now simply drag the corners of the bounding box in the Program Monitor to adjust the scale and drag the center of the bounding box to adjust the position. Premiere Pro will automatically create keyframes for these properties as you make adjustments, provided the keyframe stopwatch is enabled.
This visual method is often quicker for straightforward zooms and can feel more intuitive for beginners.
Mastering the zoom in Premiere Pro is a fantastic skill that adds a professional touch to any video project. Whether you're creating a vlogging masterpiece, a captivating documentary, or a dynamic advertisement, the ability to strategically zoom in will help you tell your story more effectively and keep your audience glued to the screen. So go ahead, dive into Premiere Pro, start playing with those keyframes, and zoom your way to video editing greatness!