How To Put Out A Fire Pit
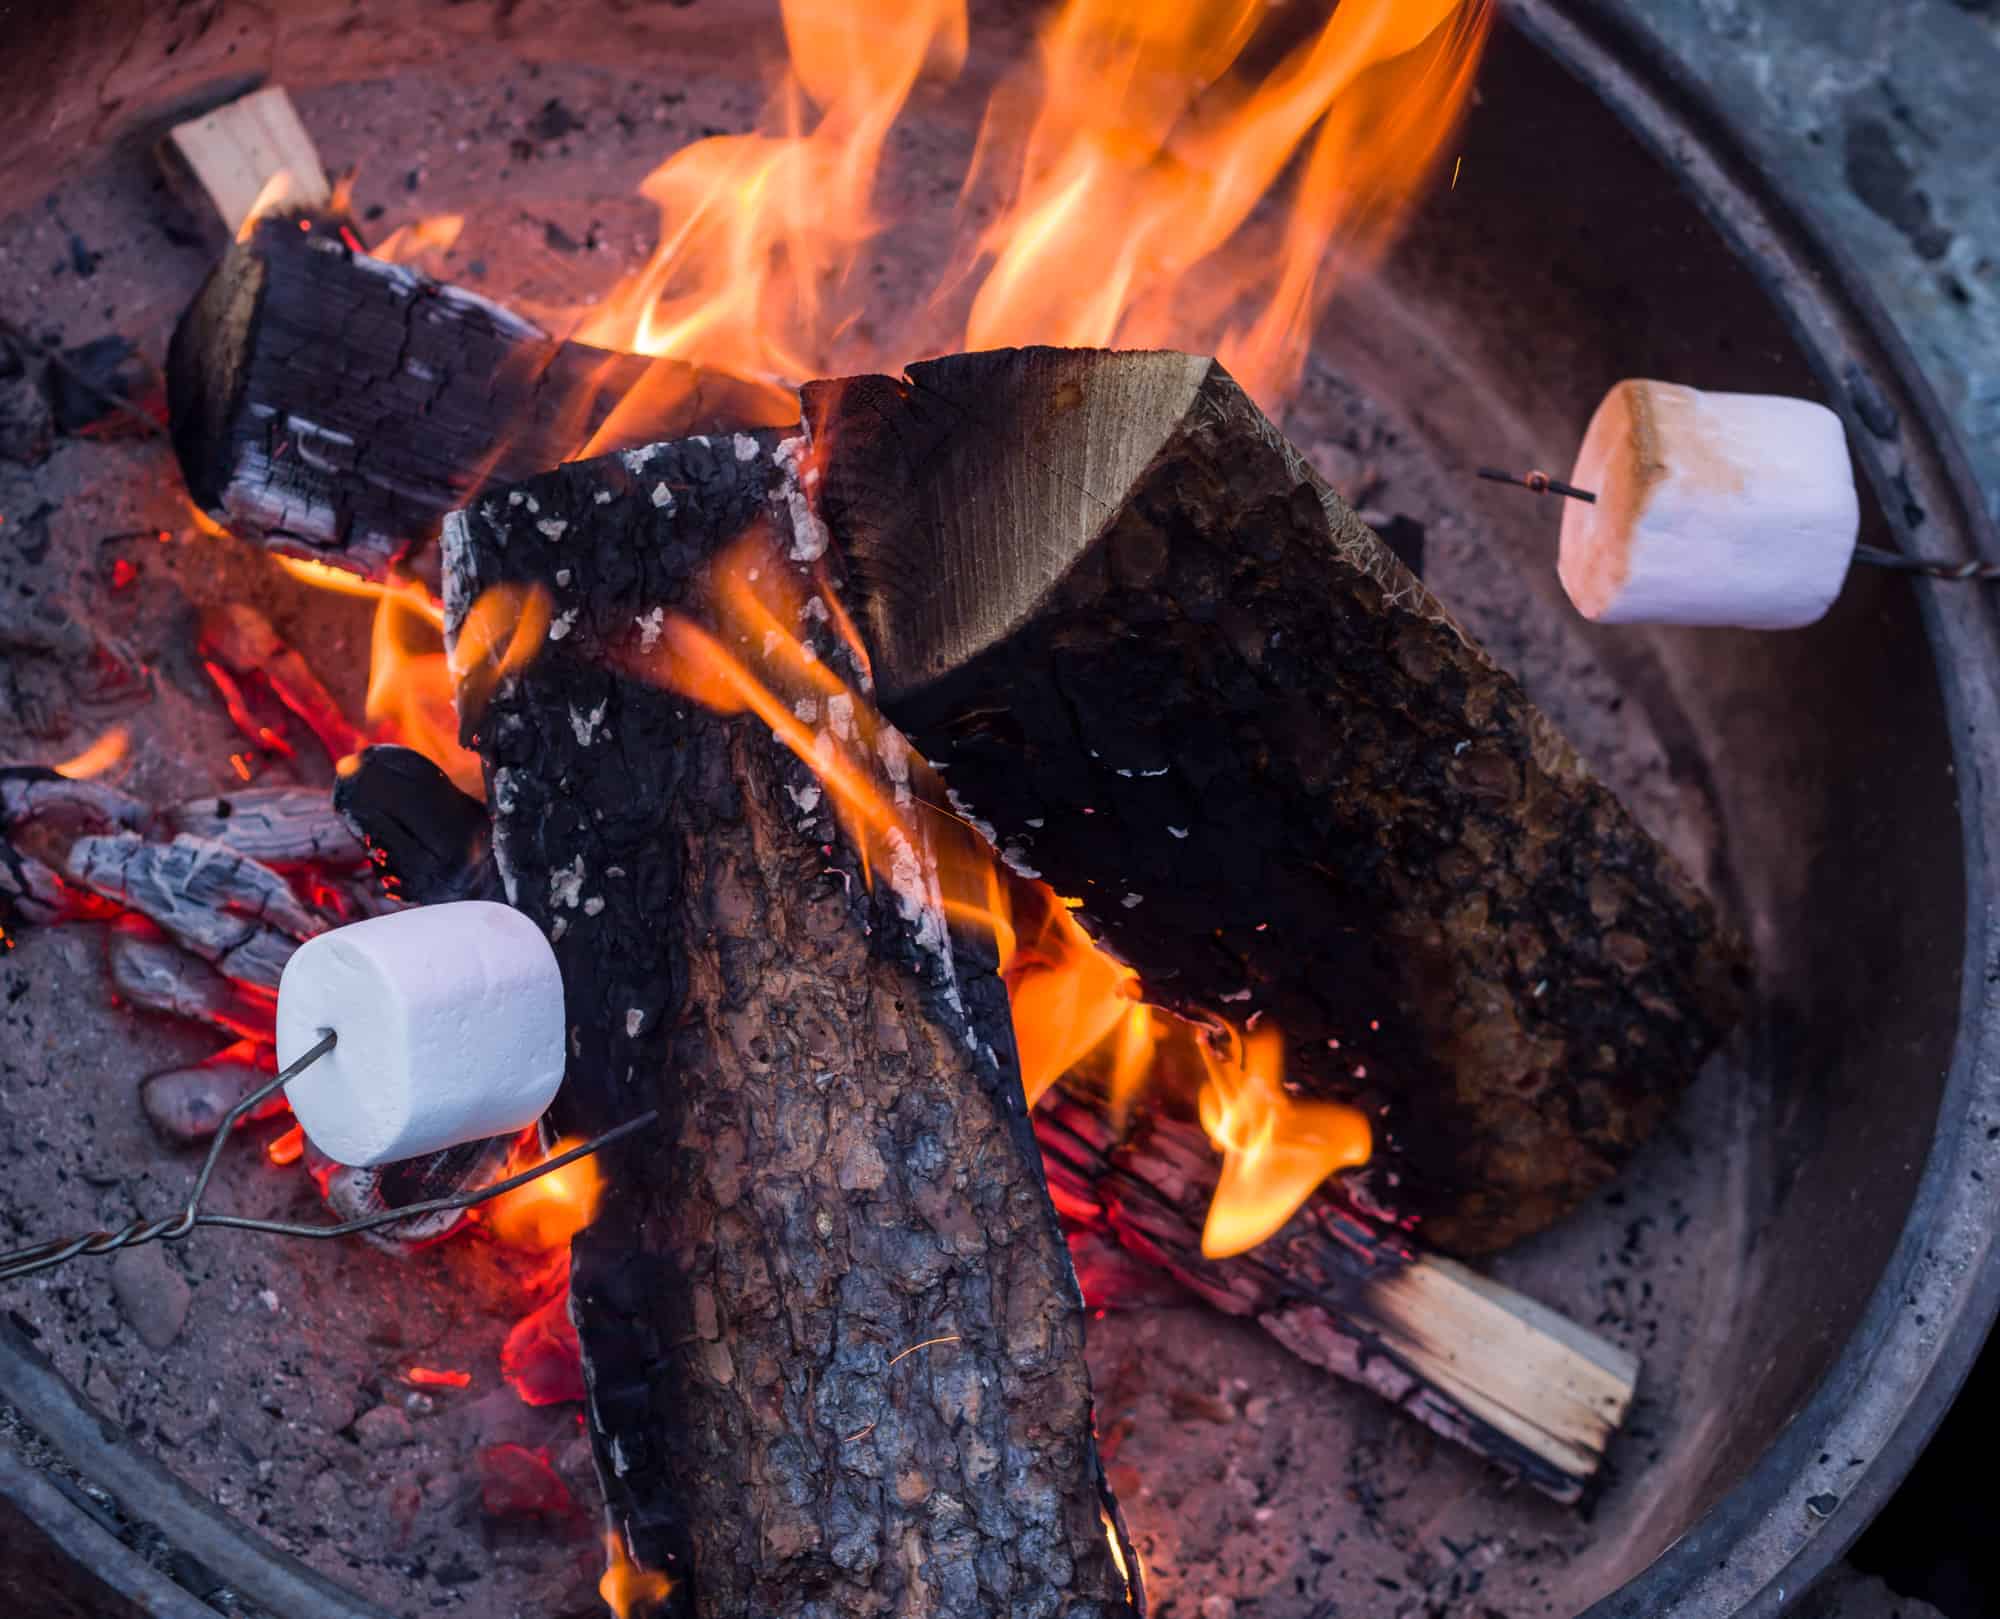
So, you've had a fantastic evening around the fire pit, roasting marshmallows, telling stories, maybe even serenading the stars with your questionable singing. The embers are glowing, casting a magical spell, and you're feeling all cozy and content. But then, the thought creeps in: how do we actually put this thing out?
It’s not exactly rocket science, but there's a little more to it than just… well, not throwing more logs on. And honestly, figuring out the right way to do it is kinda satisfying. It's like solving a tiny, fiery puzzle before you head inside. Plus, doing it right keeps everyone safe, which is, you know, pretty important. Think of it as the grand finale of your fire pit adventure, the responsible curtain call.
Ever wonder about the science behind fire? It’s basically a chemical reaction, needing fuel, oxygen, and heat. To put it out, we gotta mess with that equation, right? We gotta starve it, douse it, or smother it. It’s like being a gentle giant, taming a wild, beautiful thing. Pretty cool, huh?
Must Read
The Gentle Art of Fire Pit Retirement
Alright, so the party's winding down. The flames have shrunk to a playful dance, and you're left with a bed of glowing coals. This is where the fun begins – the responsible fun, that is.
First things first, give your fire pit some space. Don't be huddling right over it like you're trying to absorb its warmth through osmosis. Give it a little breathing room, and more importantly, you give yourself some breathing room. Safety first, always!
Now, the most crucial step: let it burn down. Seriously, this is the easiest and often the best way. Imagine your fire pit as a well-behaved guest at a party. It knows when to wrap things up. Let those logs do their thing and turn into glorious, glowing embers. This reduces the amount of fuel that needs extinguishing.
Why is this so important? Because the bigger the logs, the longer they’ll hold onto that heat. Trying to put out a roaring fire is like trying to give a bear a hug – not recommended. Letting it dwindle down makes your job infinitely easier and safer.
The Mighty Bucket of Water: Your Best Friend (Sometimes)
Okay, so the fire has done most of the heavy lifting and is now a smoldering pile of potential. What’s next? Enter the superhero of fire safety: water. But, and this is a big but, you gotta use it wisely.
Have a bucket of water nearby from the get-go. It’s like having a trusty sidekick for your fire pit. When those flames have significantly died down and you’re left with those glowing red eyes of the embers, it’s time to deploy.
Don't just dump the whole bucket at once like you're trying to put out a forest fire. That can create a ton of steam, which, while effective, can be super hot and surprising. Instead, slowly and cautiously pour water over the embers.
Listen to the sizzle. That hiss is the sound of the fire surrendering. You’re essentially chilling out those hot coals. Keep pouring, gently, until the sizzling stops. It’s like giving a warm hug, but with water. A very effective, very safe water hug.
How much water? Enough to make sure everything is thoroughly wet and cooled. You want to get into all the nooks and crannies. Think of it as giving your fire pit a thorough, calming shower.
And a little pro-tip: if you're using a hose, keep it on a gentle stream. A powerful jet can scatter embers, which is not what we're going for. We’re about control, not chaos.
The Smothering Strategy: For the Particularly Stubborn Coals
What if you’re not supposed to use water? Maybe you’re worried about water marks on your fancy fire pit, or perhaps it’s just a really small fire. Enter the smothering technique. This is all about cutting off the oxygen supply. Think of it as tucking the fire into bed, nice and snug.
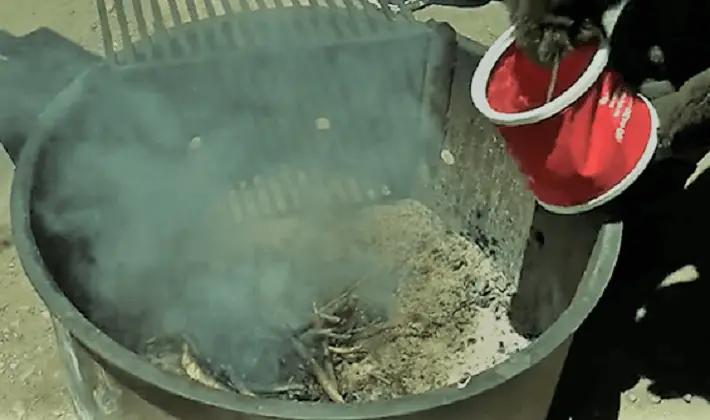
You can use a few things for this. Sand is a classic. It’s like nature’s fire blanket. If you have a bag of sand handy, or if your fire pit area is a sandy one, this is your go-to. Just carefully shovel the sand over the embers and remaining coals.
Another option? Dirt. Yep, good old-fashioned dirt. Just like sand, it’ll suffocate the fire by blocking out the oxygen. Make sure it's loose dirt, not compacted earth. You want it to be able to really envelop those embers.
Some people use a shovel to gently push dirt or sand over the coals. The key here is to be thorough. You want to create a solid barrier. It's like building a little earthen fort around your dying fire.
This method is particularly good for smaller fires or if you want to avoid the steam that water can produce. It's a quieter, more subtle way to say "goodnight" to the flames.
The Touch Test: The Ultimate Confirmation
So, you’ve poured water, you’ve smothered with sand or dirt. How do you really know it’s out? This is where the brave, the bold, and the sensible come in. The touch test.
Grab a long-handled shovel or a stick. Gently prod the ashes and embers. If you feel any warmth, any residual heat, it's not quite done yet. You might need a little more water or a bit more smothering.
This is the moment of truth. It’s like checking if your cake is done by sticking a toothpick in it. You want to be sure. You don’t want any sneaky embers planning a surprise comeback later.
Remember, safety is paramount. If you’re unsure, err on the side of caution. A little more water never hurt anyone, but a stray ember can cause a lot of trouble.
What NOT to Do: The Fire Pit Faux Pas
Just as important as knowing what to do is knowing what not to do. Let’s talk about the fire pit no-nos:

First up: never use gasoline or accelerants to try and speed up the burning process or to “rekindle” a dying fire. This is incredibly dangerous and can lead to explosions and severe burns. It’s like trying to fight fire with more fire, but in the worst possible way. Stick to the wood you started with!
Secondly, don’t just walk away and leave it. Even if it looks like it’s out, there could be hidden embers waiting for their moment. Always make sure it’s completely cold before you leave the area. Think of it as not leaving a toddler unattended in a room full of tempting (and dangerous) things.
Thirdly, avoid putting trash or plastics in your fire pit. These can release toxic fumes and create a whole mess of problems. Fire pits are for wood, not for your general waste. Keep it clean, keep it safe.
And finally, be mindful of the wind. If it’s a particularly gusty night, be extra cautious. Embers can travel far and wide. If the wind is really whipping, it might be best to just let the fire burn out naturally and skip the extinguishing process until it’s calmer.
The Final Glow: A Job Well Done
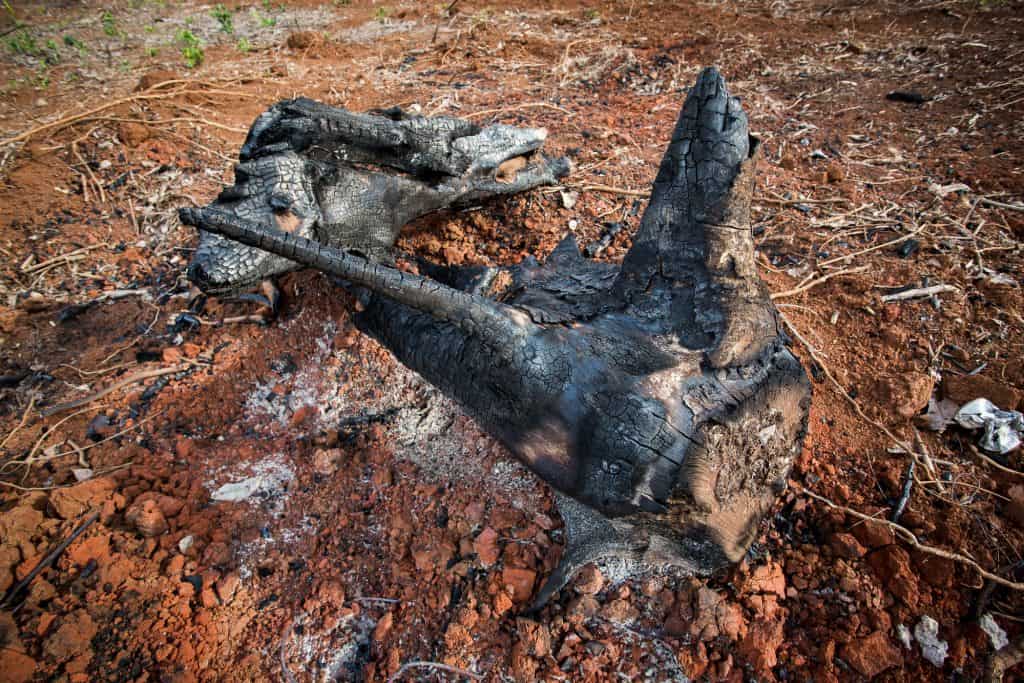
Once you’ve confirmed it's completely cool to the touch, you can then dispose of the ashes properly. Usually, this means waiting for them to cool completely and then disposing of them in a metal container away from any flammable materials. But that’s a whole other adventure for another day.
Putting out a fire pit isn’t just a chore; it’s a responsible ritual. It's the satisfying end to a perfect evening, ensuring that the magic of the fire doesn't accidentally turn into a problem. So, next time you’re enjoying that warm glow, remember these tips. You’ll be a fire pit extinguishing pro in no time, ready to embrace the next cozy night with confidence!