How To Put On A Fuel Filter
So, picture this. I'm on my way to pick up my buddy Dave, the guy who swears he can fix anything with duct tape and a prayer. We're supposed to be heading out for a weekend camping trip, the kind where you escape civilization and pretend you're a rugged outdoorsman, even though your idea of roughing it is when the hotel Wi-Fi is slow.
Anyway, I'm cruising down the highway, feeling pretty smug about my perfectly maintained, albeit slightly rusty, beast of a truck. Then, it happens. A little cough. A sputter. Followed by a lurch. My truck, bless its mechanical heart, decides it's had enough and starts making sounds that would make a dying walrus jealous. I manage to limp it to the side of the road, the engine dying with a final, pathetic sigh. Dave, naturally, calls just as this is happening. "Dude, you okay? Sounds like your truck's having an existential crisis." Oh, Dave. He was right. And the crisis? Turns out, it was probably my fuel filter, playing its final, clogged-up act.
This whole ordeal got me thinking. We rely on our cars for everything, don't we? Getting to work, picking up the kids, escaping to nature (or at least pretending to). And when they decide to stage a rebellion, it’s not just inconvenient, it's downright disruptive. Sometimes, these little hiccups are surprisingly easy to fix yourself. And today, my friends, we're going to talk about one of those surprisingly manageable, yet potentially engine-saving tasks: changing your fuel filter.
Must Read
Now, before you get all dramatic and picture yourself elbow-deep in gasoline, smelling like a refinery, let's just take a deep breath. It's not that bad. Seriously. Think of it as a rite of passage for any car owner who's ever felt that twinge of "maybe I can do this."
Why Bother With a Fuel Filter, Anyway?
Good question! Let's get down to the nitty-gritty of why this little guy is so important. Your fuel tank isn't exactly the cleanest place on earth. Over time, rust, dirt, and all sorts of unmentionables can sneak their way in. Your fuel pump works tirelessly to suck that fuel up and send it to your engine. But imagine trying to drink through a sieve full of sand. Not ideal, right?
That's where your fuel filter comes in. It’s basically the bouncer of your fuel system. Its sole mission is to catch all the nasty debris and gunk before it can wreak havoc on your delicate fuel injectors and other engine components. Think of it as a tiny, unsung hero working tirelessly behind the scenes to keep your engine purring like a kitten (or growling like a healthy V8, depending on your vehicle).
When that filter gets clogged, it’s like trying to run a marathon after eating a giant bowl of mashed potatoes. Your engine starts struggling for fuel. That's when you get those sputtering episodes, the loss of power, and eventually, the dreaded engine failure. So, a clean fuel filter is like a clear path to your engine's happy place.
When Should You Even Think About This?
This is where the plot thickens slightly, because the answer isn't a one-size-fits-all "every 30,000 miles." It can be that, but it depends on a few things:
- Your Car's Manual: This is your bible, people! Seriously, crack it open. It will tell you the manufacturer's recommended interval for fuel filter replacement. This is the gold standard.
- Your Driving Habits: Do you mostly drive in dusty, off-road conditions? Or are you cruising on pristine city streets? Rougher environments mean a shorter lifespan for your filter.
- Fuel Quality: Let's be honest, sometimes the gas you get isn't exactly top-shelf. Lower quality fuel can introduce more contaminants.
- Symptoms: Like my truck's dramatic roadside performance, any of the tell-tale signs of a clogged filter (loss of power, rough idling, difficulty starting) are a big clue.
If you're approaching the mileage recommended in your manual, or if you're experiencing any of those symptoms, it's probably a good time to at least consider changing it. Better safe than sorry, right?

Okay, I'm In. What Do I Need?
Alright, let's gather our tools. Don't worry, it's not a trip to the specialty automotive forge. You'll likely need:
The Essentials:
- New Fuel Filter: This is the star of our show. Make sure you get the exact one for your make, model, and year. A quick trip to an auto parts store with your VIN or old filter in hand will save you a lot of headaches.
- Wrench Set: You'll probably need a socket wrench or a combination wrench that fits the fuel line fittings.
- Pliers: Some fuel filters have clamps holding the fuel lines in place.
- Safety Glasses: Please, for the love of all that is good and clear-eyed, wear these! Gasoline is nasty stuff, and you don't want it in your eyes.
- Gloves: Again, gasoline. And dirt. And general automotive grime. Your hands will thank you.
- Rag/Shop Towels: Spills are inevitable. Be prepared.
- Container for Fuel: You'll need something to catch the fuel that drains out. A small, approved fuel container is best.
The "Nice-to-Haves" (but still pretty darn useful):
- Work Light: Sometimes these filters are in tight, dark spots.
- Penetrating Oil: If your fittings are old and rusty, this stuff is a lifesaver.
- Zip Ties or Hose Clamps: Just in case you need to secure anything temporarily.
Pro tip: Before you even start, check where your fuel filter is located. It varies wildly! Some are under the hood, some are under the vehicle near the fuel tank, and some are even integrated into the fuel pump assembly (which, uh, makes this whole process a bit more involved, but we're focusing on the simpler ones today!). Your car's manual or a quick online search for your specific model will tell you where to look.
The Moment of Truth: Let's Get Dirty (a Little Bit)
Alright, deep breaths. Here’s the general game plan. Remember, always consult your specific vehicle's repair manual for the most accurate instructions for your car. These are general guidelines.
Step 1: Safety First, Always!
This is non-negotiable. Make sure your vehicle is parked on a level surface. Engage the parking brake. And seriously, put on those safety glasses and gloves.
Crucially: The fuel system is pressurized. You must relieve that pressure before you start disconnecting anything. How you do this varies by vehicle. Sometimes it involves pulling a specific fuse or relay (like the fuel pump relay) and cranking the engine for a few seconds until it sputters out. Other times, there's a Schrader valve on the fuel rail. Consult your manual!
This is the step that separates the casual DIYer from the "oops, I've got gasoline everywhere" person. Take your time here. No rushing!
Step 2: Locate and Get Ready
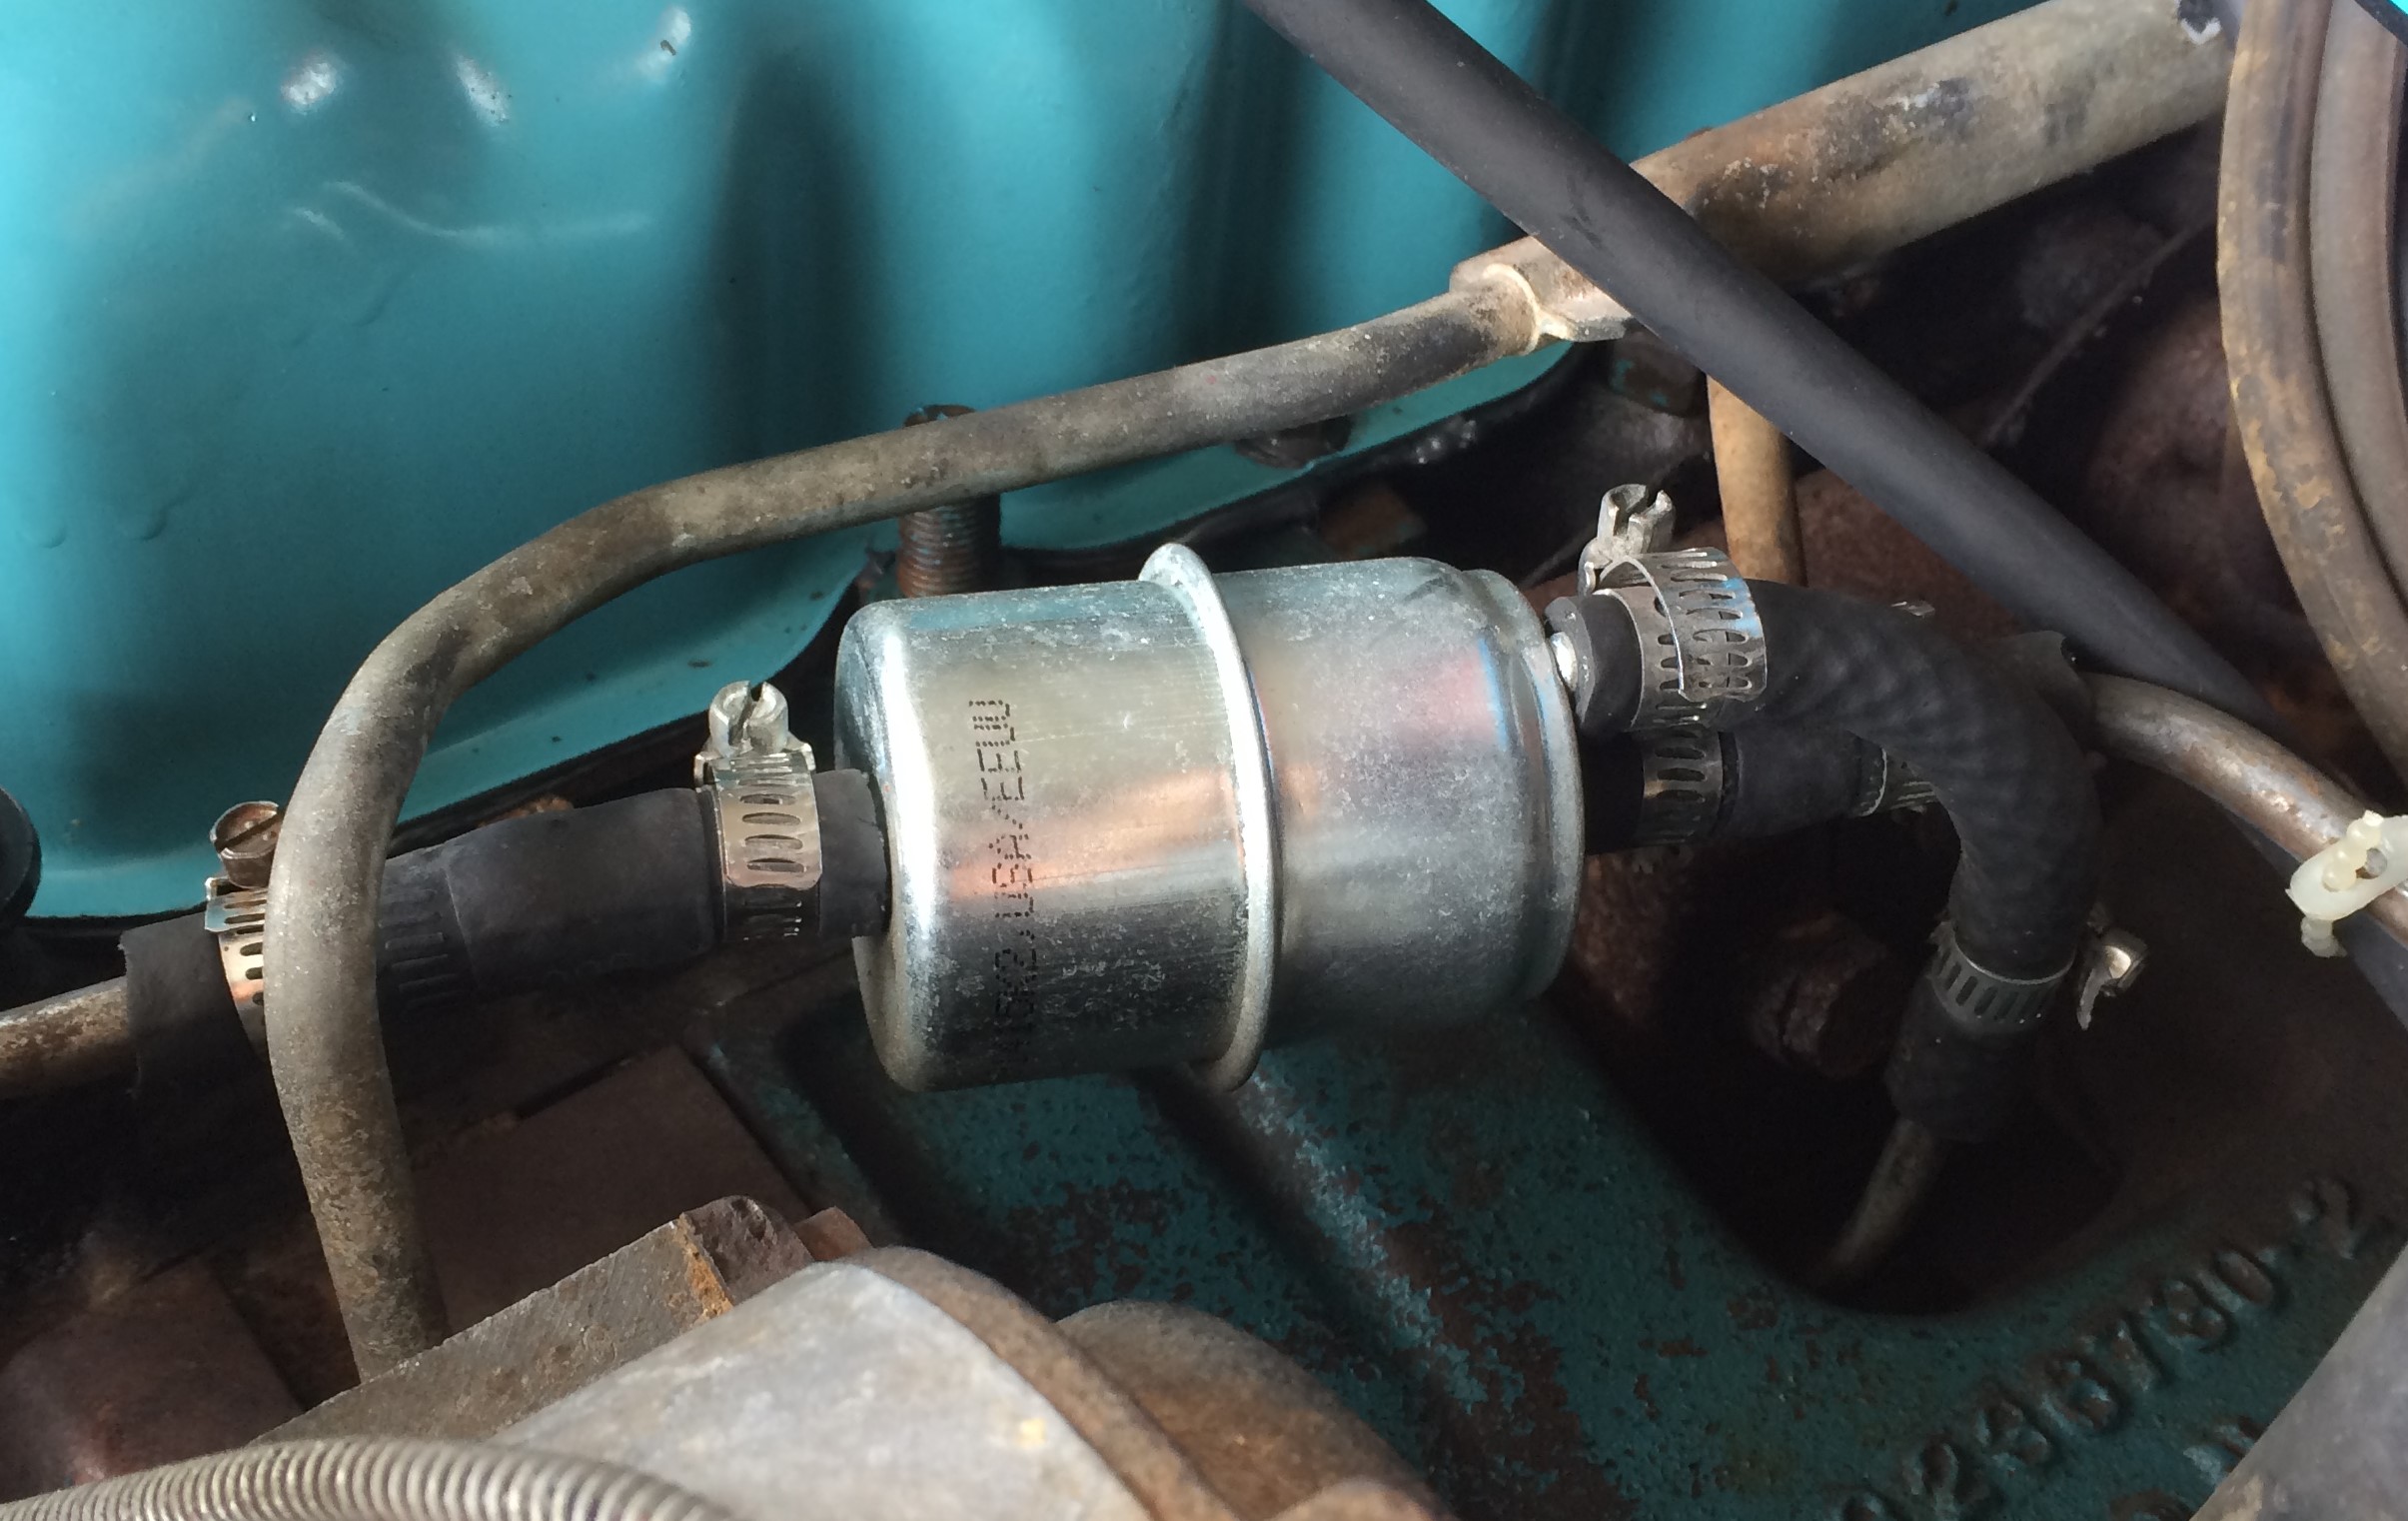
Once you've relieved the pressure, find that fuel filter. It usually looks like a cylindrical canister, made of metal or plastic, with fuel lines connected to both ends. You might see some clips or clamps holding it in place.
Have your rag and your fuel collection container ready. You're going to get some drips, so prepare to catch them. You might want to place the rag underneath the filter area right from the start.
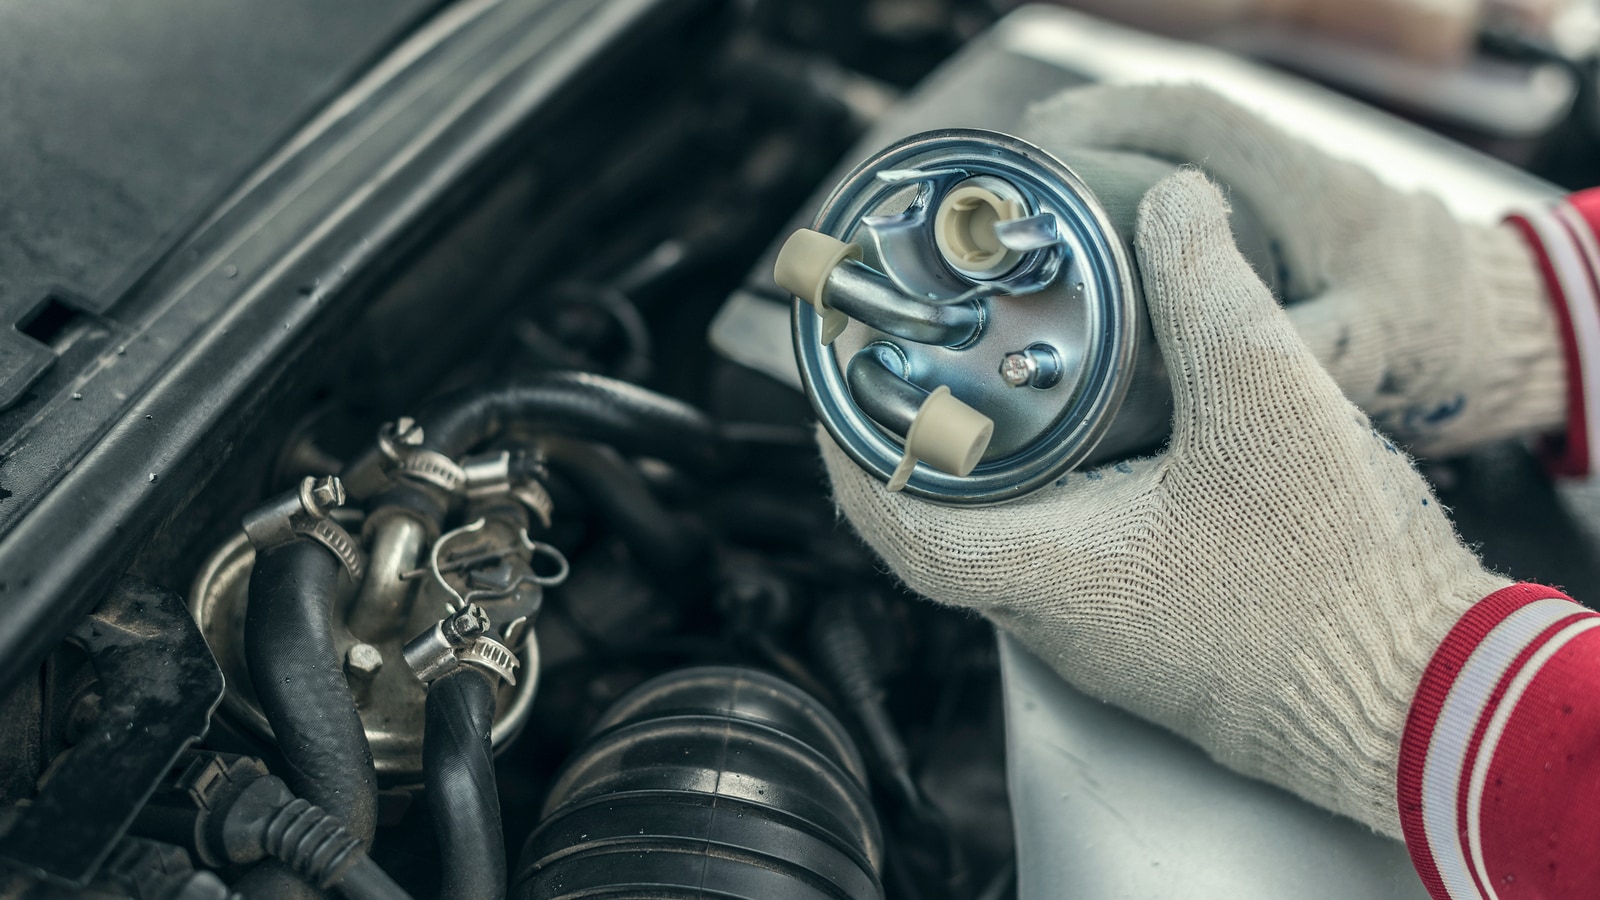
Step 3: Disconnecting the Old Guy
This is where your wrenches and pliers come in. You'll need to disconnect the fuel lines from both ends of the filter. Be gentle but firm. These fittings can sometimes be a bit stubborn.
Pro Tip: Most modern cars use quick-connect fittings. These have little tabs you need to push or squeeze to release. Sometimes they can be a pain in the posterior. If you’re struggling, there are specialized tools for these, but often a bit of wiggling and careful prying with a flathead screwdriver (again, gently!) can do the trick.
As you loosen the fittings, expect a small amount of fuel to drain out. This is what your container and rags are for. Don't panic if you see a little fuel escaping; it's normal. Just make sure you’re catching it and not on your engine.
Also, pay attention to the direction of the fuel flow. Most fuel filters have an arrow on them indicating which way the fuel should travel. You want to install the new one the same way!

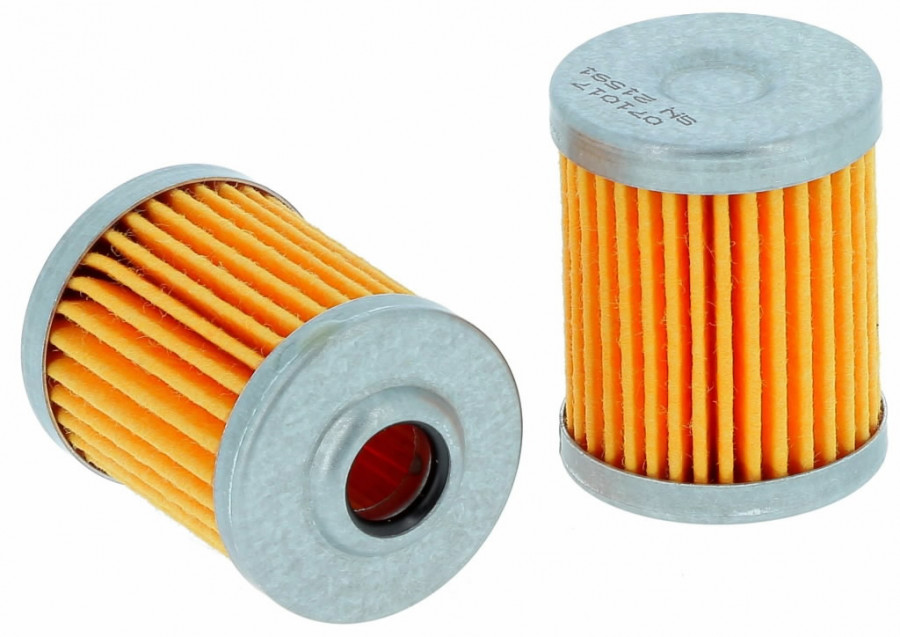
Step 4: Swapping it Out
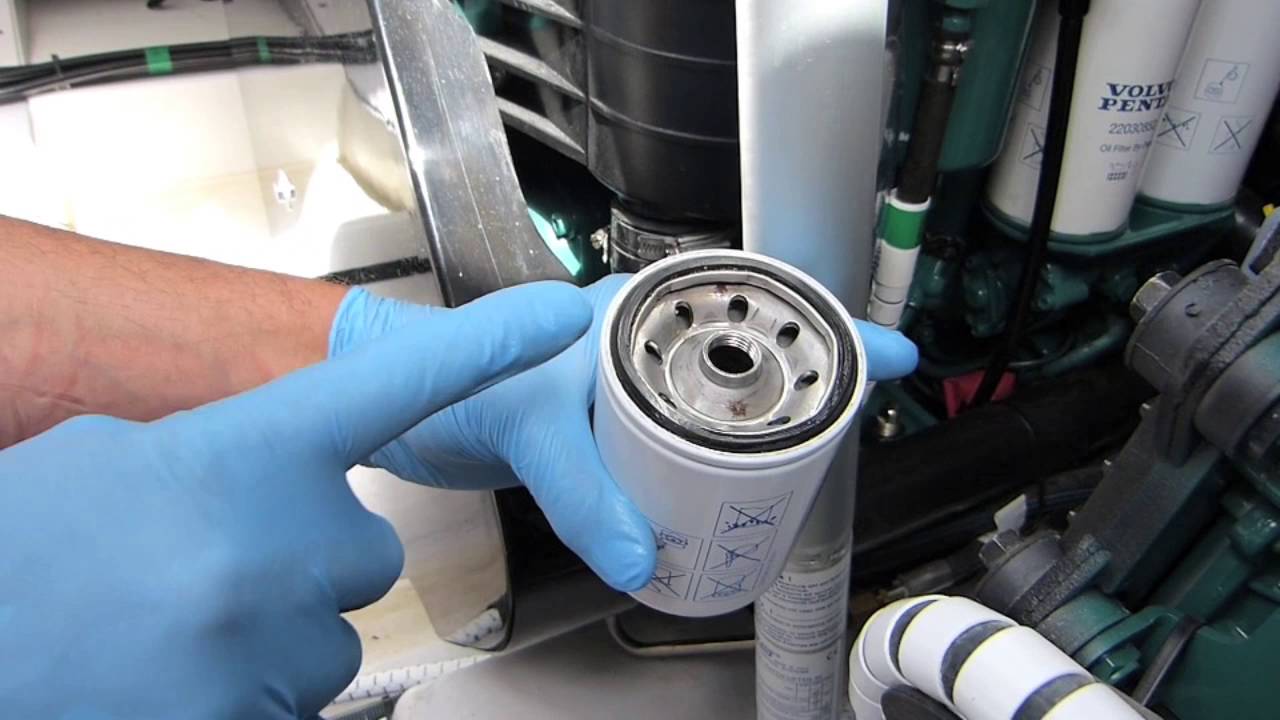
Once the old filter is free, take a moment to compare it to your new one. Make sure they look identical in terms of size and connection types. This is your last chance to catch a mistake before you've got everything reconnected!
Now, take your new fuel filter and carefully attach the fuel lines. Again, be gentle but make sure they're snug. You don't want any leaks!
If your new filter has an arrow indicating flow direction, make sure it's pointing the right way. Usually, it’s towards the engine.
Step 5: Reassembly and Priming
Once the new filter is securely in place and the fuel lines are connected, you're almost there! Double-check all your connections. Make sure there are no kinks in the fuel lines.
Now, you need to prime the fuel system. This means getting fuel to flow through the new filter and into the engine. The easiest way to do this is usually to turn the ignition key to the "on" position (without starting the engine) a few times. You should hear the fuel pump whirring. This builds up pressure in the system and pushes fuel through the new filter.
While you're doing this, keep an eye out for any leaks at the connections you just made. If you see anything, turn the key off immediately and tighten those fittings.

Step 6: Start Her Up!
Once you're confident there are no leaks and the system is primed, it's time for the moment of truth: starting your engine.
It might take a little longer to crank than usual, especially if there's still a bit of air in the lines. But if everything has gone according to plan, it should fire up and run smoothly.
Let the engine run for a few minutes and continue to monitor for any fuel leaks. Give it a little gas, see how it responds. You might be surprised at how much better it feels!
A Few Extra Words of Wisdom
Changing a fuel filter isn't rocket science, but it does require a bit of care and attention. If at any point you feel uncomfortable or unsure, it's always better to stop and seek professional help. A mechanic has the tools and expertise to handle it safely and correctly.
And hey, if you manage to pull this off without a hitch, give yourself a pat on the back! You've just saved yourself some money and gained a little more confidence in your automotive abilities. That's pretty awesome.
So, next time your car gives you that little cough or sputter, don't immediately call for a tow truck. Maybe, just maybe, it's time to roll up your sleeves, grab a wrench, and take on that fuel filter. You might be surprised at what you can accomplish. And who knows, you might even have a funny story about it later. Just try not to get gasoline in your eyes. Seriously.