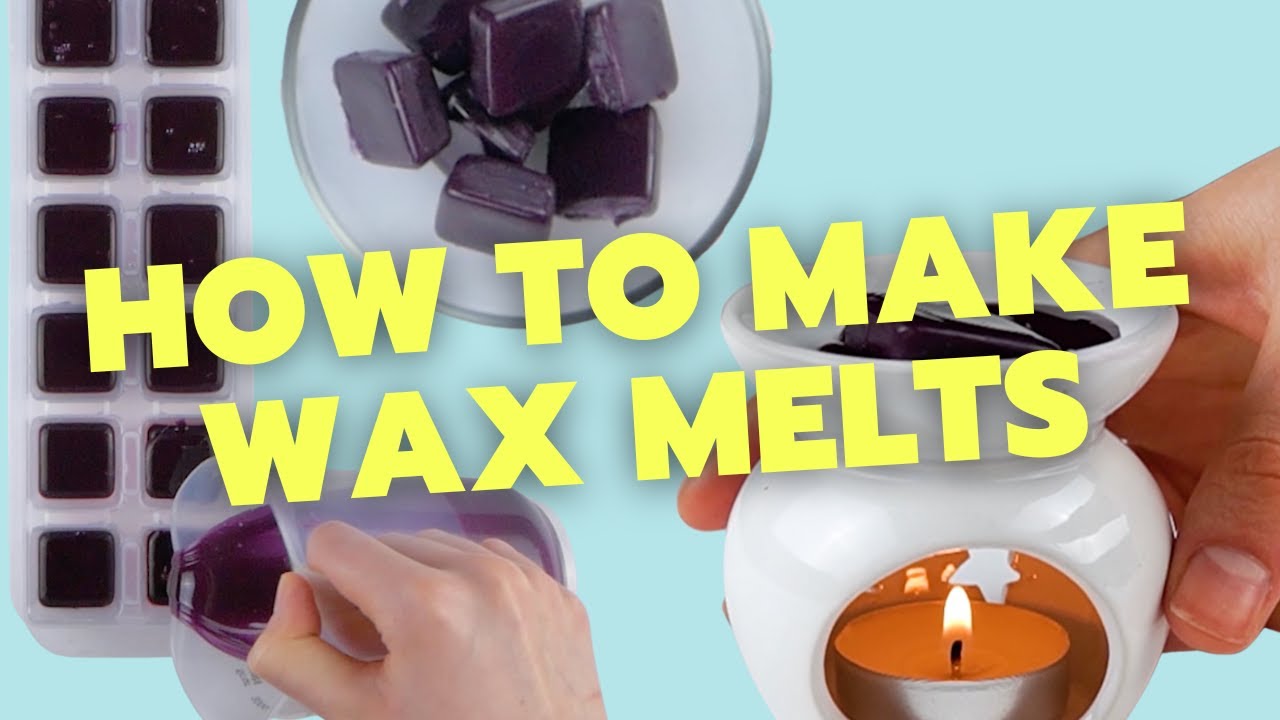
How To Make Your Own Wax Melts
Hey there, scent lovers and DIY dreamers! Ever walk into a room and get hit with that perfect, cozy, or energizing aroma and think, "Wow, I wish my whole house smelled like that?" Well, guess what? You absolutely can! And the best part? You don't need a magic wand or a secret lab. You just need a little bit of wax, some fragrance, and your own two hands. Yep, we're talking about making your own fabulous wax melts!
Seriously, who doesn't love a good scent? It’s like a mood booster, a memory trigger, and a tiny vacation for your senses, all rolled into one. And with homemade wax melts, you’re not just getting a delightful fragrance; you’re getting the pure satisfaction of creating something beautiful and yours. It’s a little bit of alchemy, a touch of artistry, and a whole lot of fun!
Why Bother Making Your Own Wax Melts?
You might be thinking, "But I can just buy wax melts!" And sure, you can. But let's be real, making them yourself is where the magic truly happens. For starters, you get to be the master of your own aroma destiny. Tired of the same old vanilla or lavender? Time to get creative! We're talking about concocting scents that are uniquely you. Think "Rainy Day Reads," "Tropical Getaway," or even "Grandma's Baking Day." The possibilities are as endless as your imagination!
Must Read
Plus, it’s a fantastic way to save a little cash without sacrificing quality. Those fancy designer melts can add up, right? When you DIY, you’re in control of the ingredients and the costs. And let's not forget the sheer joy of it. It’s a wonderfully relaxing and rewarding hobby that can seriously brighten your day. You’ll be looking for excuses to melt your creations, just to enjoy the amazing atmosphere you’ve crafted.
Getting Started: Your Wax Melt Toolkit
Okay, so you're on board, right? Awesome! Now, let's talk about what you'll need to get this scent party started. Don't worry, it's not rocket science, and you probably have some of this stuff already.
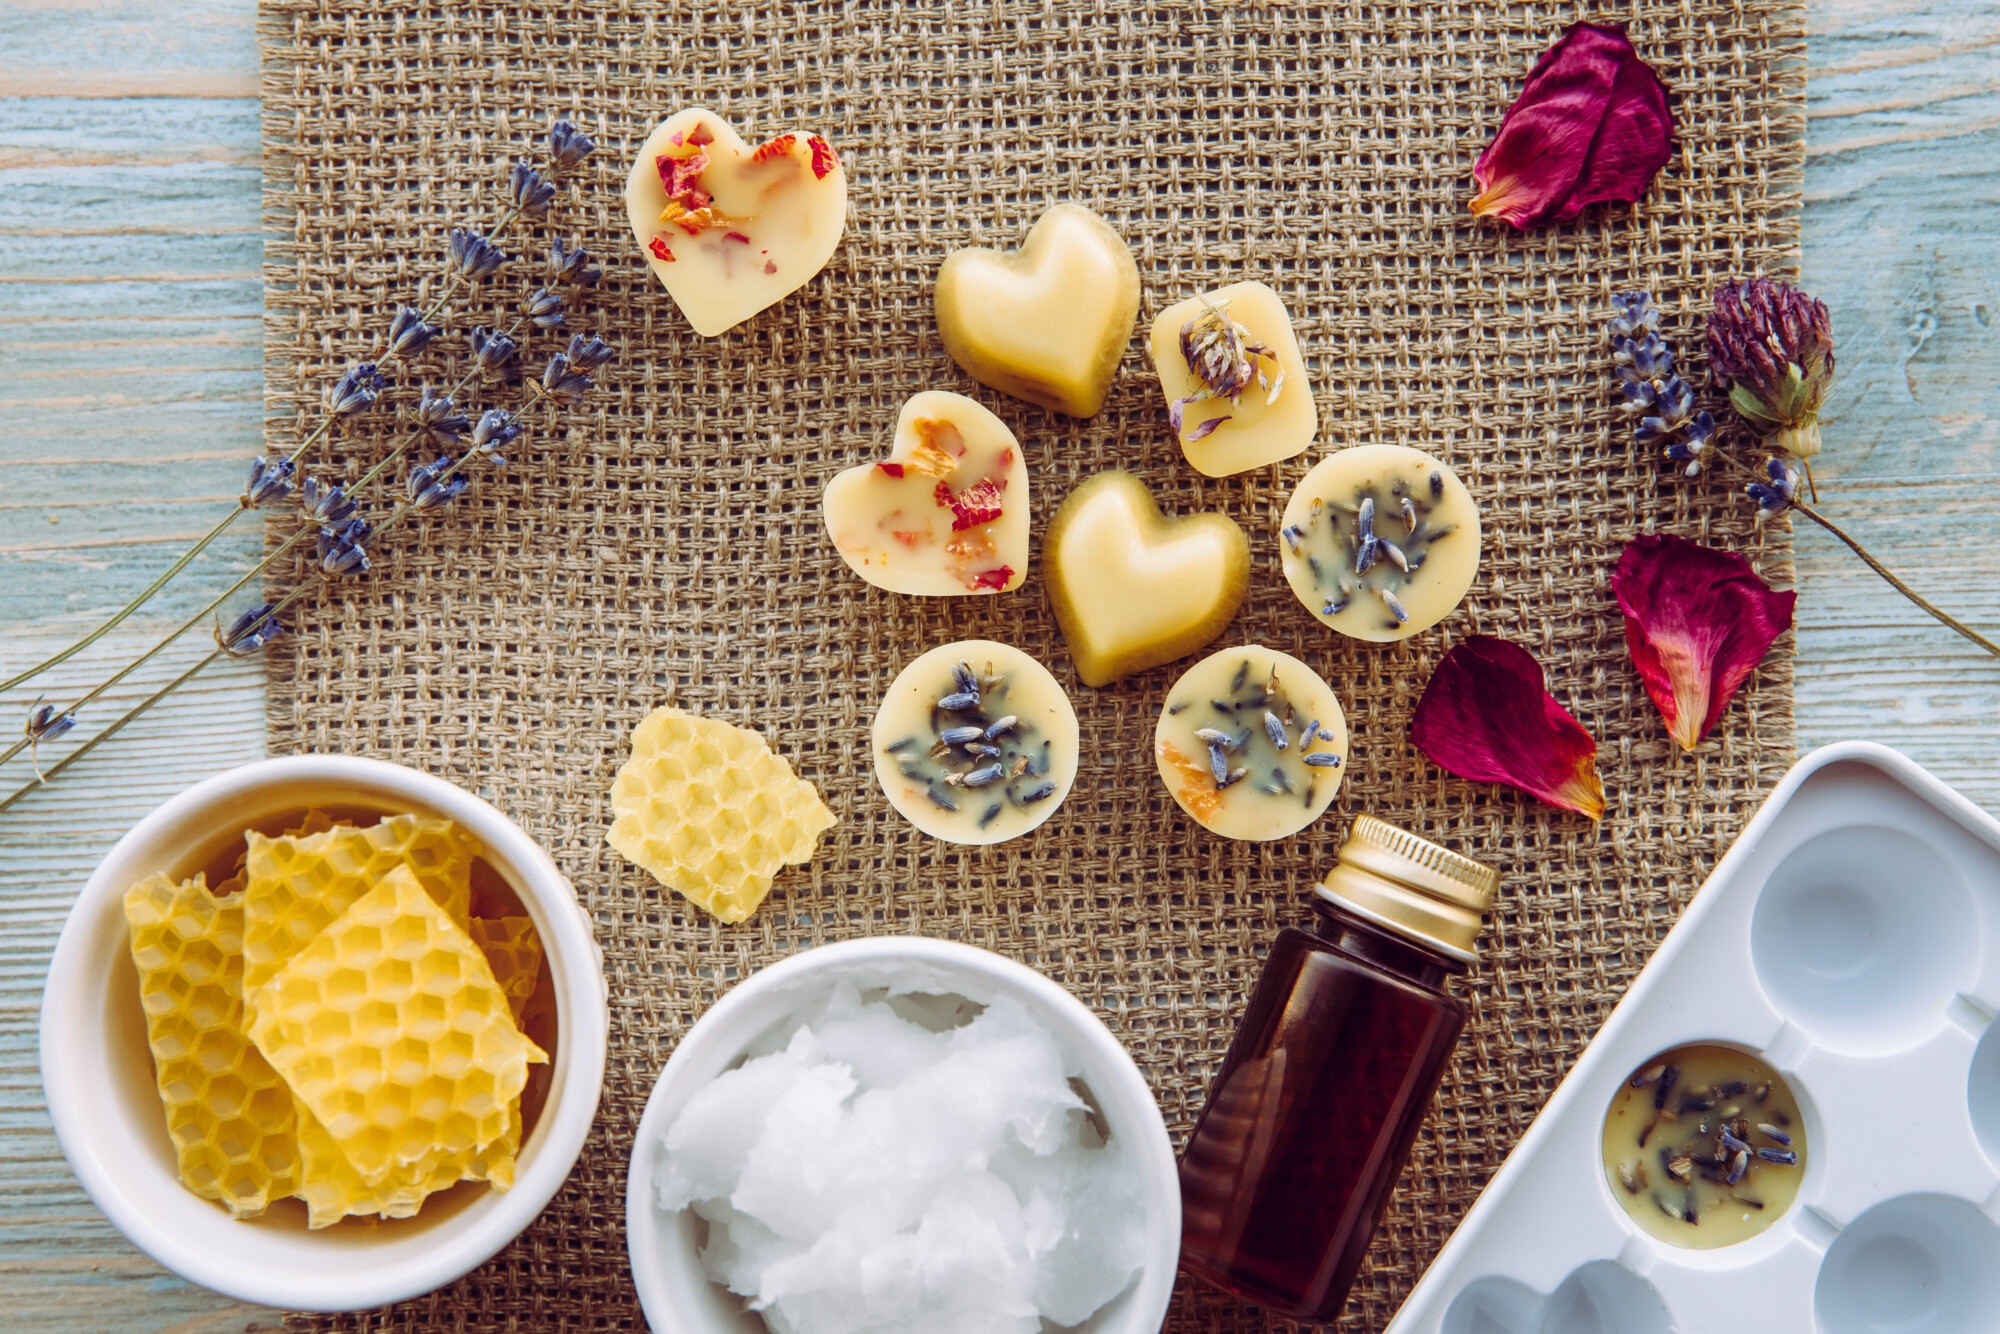
The Essential Ingredients:
- Wax: This is your foundation! The most popular choice for wax melts is soy wax. It's natural, burns cleaner, and holds fragrance beautifully. Paraffin wax is another option, but soy is generally preferred for its eco-friendliness.
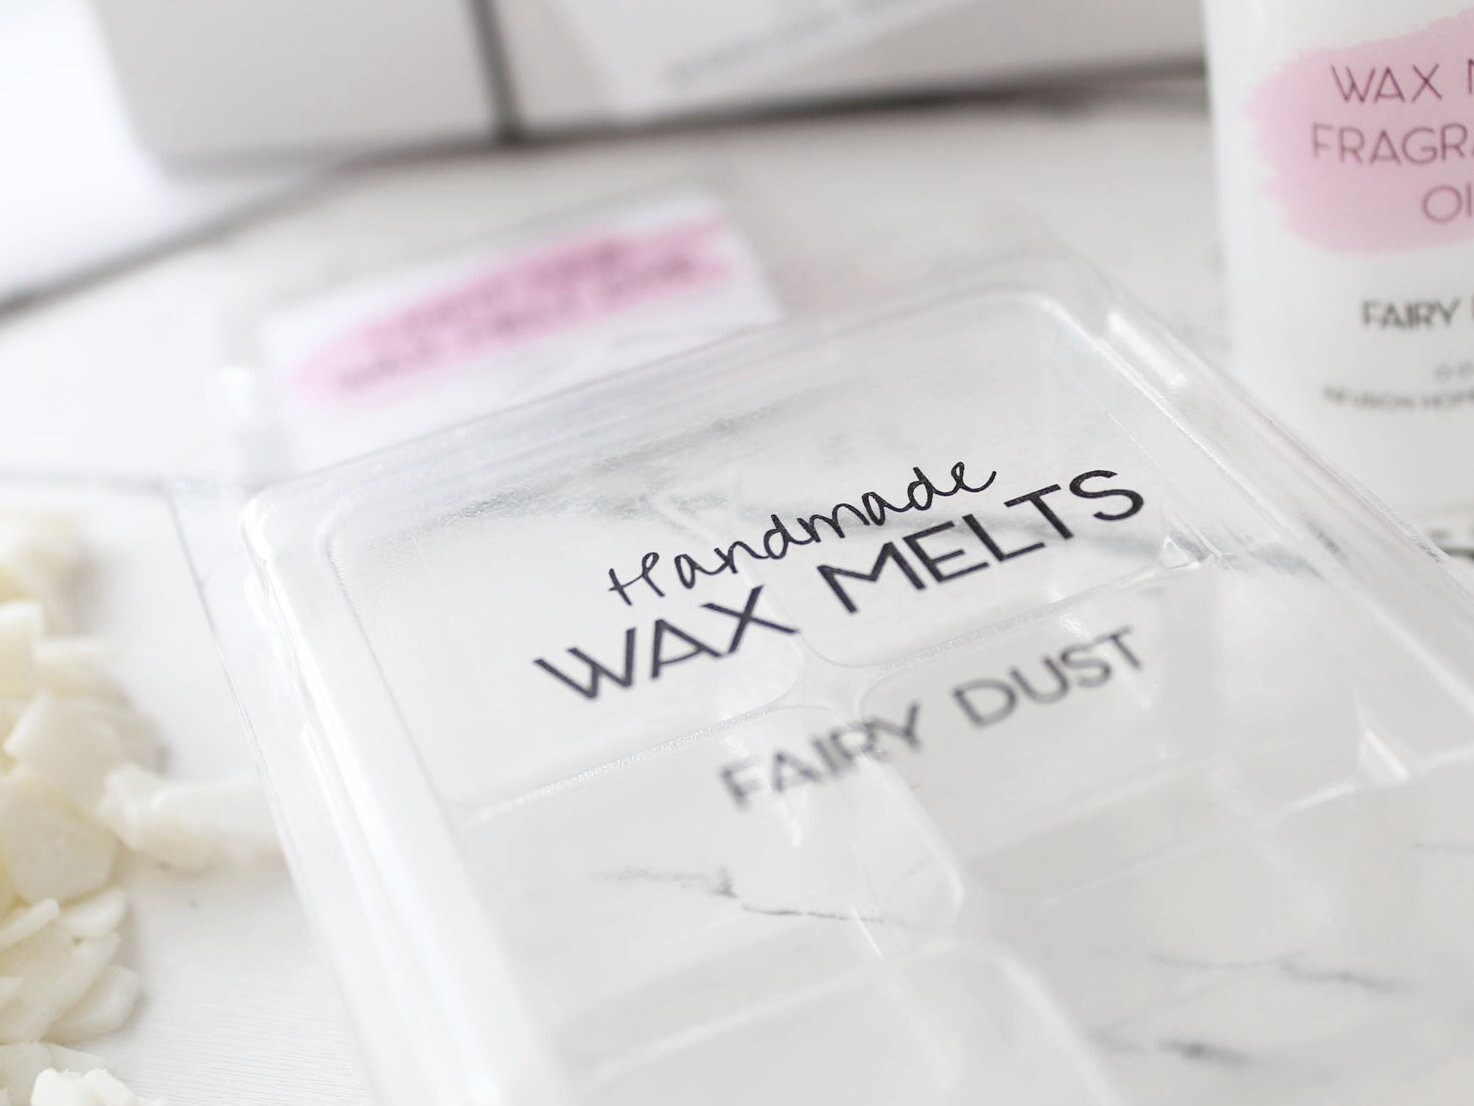
- Fragrance Oil: This is where the scent magic comes in! You can find a huge variety of fragrance oils specifically designed for candles and wax melts. From florals and fruits to gourmands and woodsy scents, the choices are mind-boggling. Make sure you're using oils intended for wax, not essential oils (unless they are specifically formulated for wax melts and you know what you're doing!).
- Color Dye (Optional): Want to give your melts a pop of color? Use dye blocks or liquid dye made for candles and wax. A little goes a long way!
The Necessary Gadgets:
- Double Boiler: This is crucial for safely melting your wax. You can buy a dedicated one, or get creative with a heat-safe bowl perched over a pot of simmering water. Safety first, always!
- Pouring Pot: Once your wax is melted, you'll want a pot with a spout for easy pouring into your molds.
- Thermometer: A candy or digital thermometer is your best friend for ensuring your wax is at the right temperature for adding fragrance and pouring.
- Stirring Utensils: Silicone spatulas or old metal spoons work perfectly for stirring your wax.
- Molds: Silicone molds are your go-to here! You can find them in all sorts of fun shapes – hearts, stars, flowers, even little animals. Check out craft stores or online retailers.
- Scale: To get your fragrance ratio just right, a simple kitchen scale is super helpful.
The Step-by-Step Scent Symphony
Alright, apron on, playlist ready? Let's dive into the fun part – making the melts!
Step 1: Melt That Wax!
Pop your wax (measured out according to your recipe or wax instructions) into the top part of your double boiler. Let it melt slowly and gently over simmering water. Resist the urge to crank up the heat; patience is key here. You want it smooth and clear, like a little liquid gold.
Step 2: Add Your Color (If You're Feeling Fancy!)
Once the wax is fully melted, and while it's still hot, you can add your dye. Start with a tiny amount and stir it in until it's fully incorporated and you’ve achieved your desired shade. Remember, you can always add more, but you can’t take it away! So, go slow and steady.
Step 3: Introduce the Fragrance!
This is where the magic really happens! Take your melted wax off the heat. Now, check your thermometer. You want your wax to be at the recommended temperature for adding fragrance oil (usually around 160-180°F, but always check your wax manufacturer's guidelines). This is important for the fragrance to bind properly with the wax.
Now, weigh your fragrance oil. A good starting point is a 6-10% fragrance load. So, if you have 100 grams of wax, you’d use 6-10 grams of fragrance oil. Pour that lovely scent into your melted wax and stir gently but thoroughly for a good two minutes. This ensures every last molecule of fragrance is happily married to your wax.
Step 4: Pouring Your Masterpieces
Once your wax and fragrance are beautifully blended, it’s time to pour. Let the wax cool down slightly to the recommended pouring temperature for your wax (again, check those instructions!). This helps prevent fragrance loss and ensures a smoother finish. Carefully pour the melted wax into your silicone molds. Don't overfill them!
Step 5: Patience, Young Padawan!
Now comes the hardest part: waiting! Let your wax melts cool and harden completely in the molds. This can take several hours, or even overnight. Resist the temptation to poke them! Once they're solid, you can pop them out of the molds. Aren't they just the cutest?
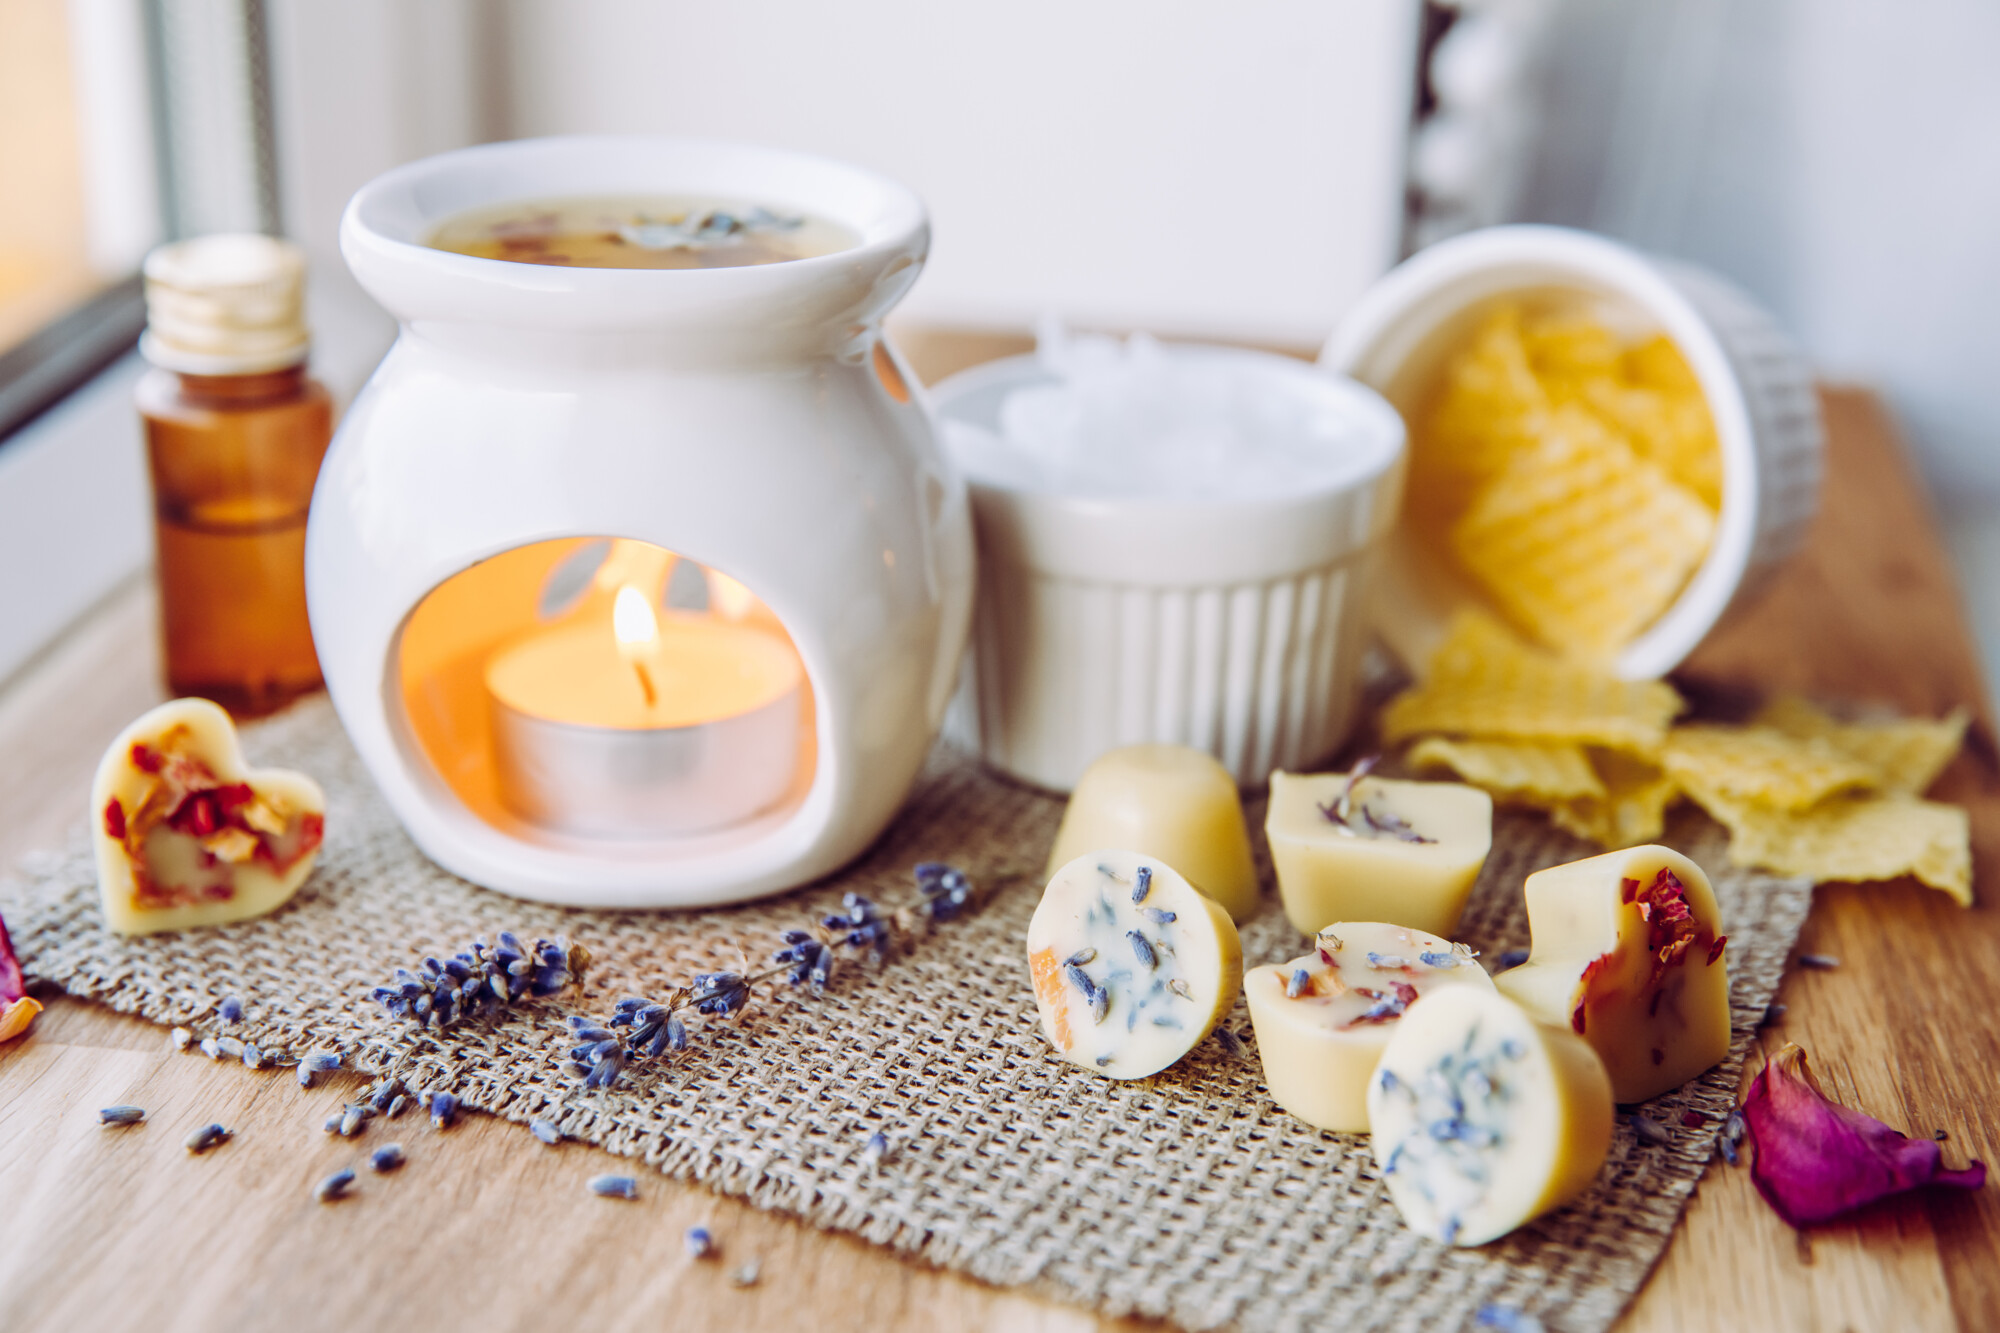
Melting Your Creations and Enjoying the Bliss!
Once your beautiful, homemade wax melts are cooled and hardened, you're ready to enjoy your handiwork. Grab your wax warmer (electric or tealight powered – your choice!) and pop in one of your creations. As it melts, you’ll be greeted with the wonderful aroma you carefully curated. It’s a small act, but it has a big impact on your environment and your mood. Imagine: coming home after a long day, popping a melt into your warmer, and instantly feeling more relaxed and happy. Pure bliss!
Don't be afraid to experiment with scent combinations! Maybe a little bit of "Ocean Breeze" mixed with "Coconut Cream" for a beachy vibe? Or perhaps "Cinnamon Spice" with a hint of "Apple Cider" for ultimate fall coziness. The more you make, the more confident you'll become, and the more adventurous you’ll get with your scent profiles. It’s a journey of discovery, one delightful melt at a time.
So, there you have it! Your very own guide to creating delightful wax melts. It’s a simple hobby that brings immense joy, transforms your living space, and allows you to express your creativity in a wonderfully fragrant way. Don’t let the idea intimidate you; it’s far more accessible and rewarding than you might think. Give it a try, and you might just discover your new favorite pastime. Who knows what amazing scents you’ll dream up next? The world of wax melts is waiting for you to add your unique touch!

