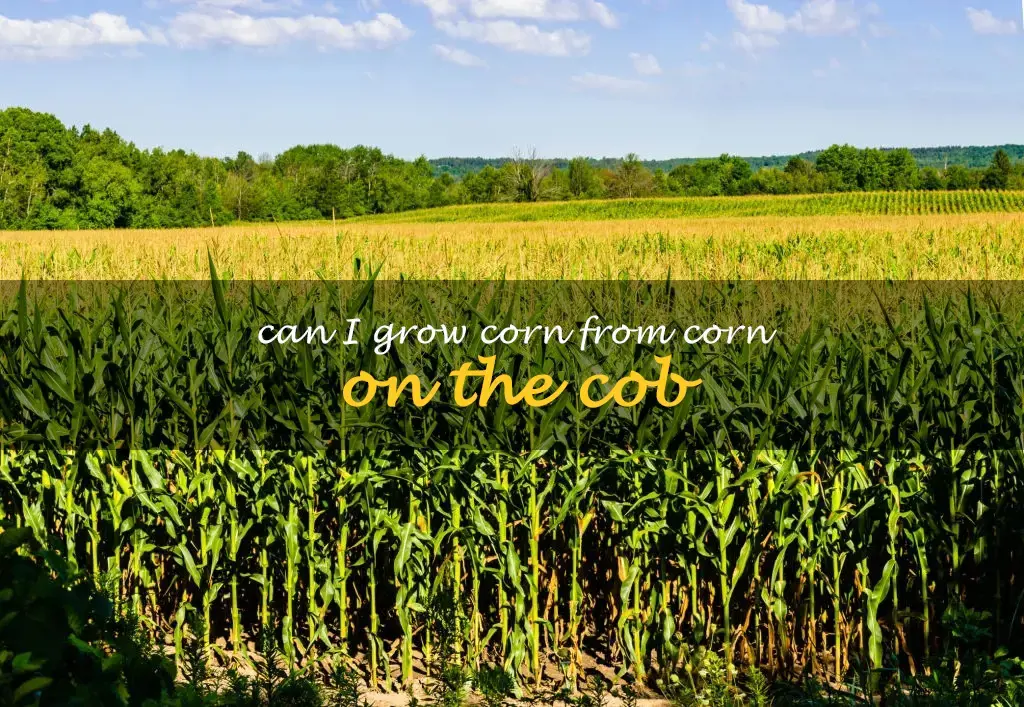
How To Grow Corn On The Cob
I remember the first time I tried to grow corn. It was a disaster, an absolute comedy of errors that my dad still brings up every harvest season. I’d envisioned these glorious, towering stalks, heavy with plump, sweet ears of corn, ready to be slathered in butter and devoured. Instead, I got… well, let’s just say a collection of rather sad, spindly plants that looked more like forlorn green weeds. Some of them even got attacked by, I kid you not, a rogue squirrel who seemed to be mocking my gardening efforts. He’d sit on the fence, nibbling on one of my pathetic corn seedlings, and just… stare. It was a humbling experience, to say the least. But hey, you learn from your mistakes, right? And after a few more (slightly less disastrous) attempts, I think I’ve finally cracked the code on how to grow some decent corn on the cob. So, if you’re ready to ditch the sad squirrel encounters and get ready for some serious sweet corn satisfaction, pull up a chair (or a comfy patch of grass) because we’re diving in.
Growing corn might seem a bit intimidating at first. It’s not like planting a radish that pops out of the ground in a week. Corn takes its sweet time, and it needs a few specific things to really thrive. But trust me, the reward of biting into your own homegrown, sun-ripened ear of corn? Absolutely worth it. It’s a taste that grocery store corn, no matter how fancy, just can’t quite replicate. That sweet, almost creamy texture… chef’s kiss.
Let's Talk About The Star Player: The Corn Seed
First things first, you need seeds. Obvious, I know, but there’s a bit more to it than just grabbing a random packet. For home gardeners, especially if you’re a beginner, I’d highly recommend sticking to sweet corn varieties. There are different types of corn out there – dent corn for flour, popcorn for movie nights, and field corn for livestock. Sweet corn, as the name suggests, is bred for its sugar content, making it perfect for eating right off the cob.
Must Read
When you’re picking your seeds, you’ll see terms like ‘early season,’ ‘mid-season,’ and ‘late season.’ This refers to how long it takes for the corn to mature. If you have a shorter growing season where you live (like, say, in a place that gets real winters), you’ll want to opt for early-season varieties. This gives your corn a better chance to ripen before the frost rolls in. Conversely, if you’ve got a long, hot summer, you can go for mid or even late-season types for a longer harvest. It’s all about matching the seed to your climate, my friend.
Also, look for hybrid varieties. These are often bred for vigor, disease resistance, and consistent yields. Don’t be scared of the word ‘hybrid’; it just means they’ve been cross-pollinated to combine the best traits. Some popular and reliable sweet corn varieties include ‘Silver Queen’ (a classic, though sometimes susceptible to disease), ‘Bodacious’ (known for its sweetness and tenderness), and ‘Sugar Daddy’ (an early, good-tasting option). Do a quick search for what grows well in your region – local garden centers or extension office websites are your best bet for this kind of intel.
Location, Location, Location: Where Your Corn Will Live
This is probably the most important part, and where I probably messed up the most in my early days. Corn is a sun-worshipper. It absolutely craves sunshine. So, your chosen spot needs to get at least 6-8 hours of direct sunlight per day. If your garden gets patchy shade or is nestled under a giant oak tree (lovely for shade, terrible for corn), you’re going to be in for a tough time. Think of it as giving your corn the energy it needs to grow tall and strong, like a little solar-powered super plant.
And speaking of tall, corn plants get… well, tall. They can reach 6-10 feet, sometimes even more! So, you need to make sure you’re not planting them somewhere where they’ll shade out all your other precious veggies. Consider this when you're planning your garden layout. Full sun is non-negotiable for happy corn.
Another crucial factor for corn is wind. While they need sun, they also get pretty top-heavy when they're loaded with ears. A strong wind can easily flatten a field of immature corn. So, if you live in a particularly windy area, consider planting your corn in a spot that has some natural windbreak, like a fence or a small cluster of bushes. If not, well, you might need to get creative with some stakes later on. But let’s not get ahead of ourselves.
Soil Prep: The Foundation of a Bountiful Harvest
Corn is a hungry plant. It’s a heavy feeder, meaning it gobbles up nutrients from the soil like it’s going out of style. So, before you even think about planting those seeds, you need to get your soil in tip-top shape. This is where compost comes in. And not just a little sprinkle. We’re talking a generous amount of well-rotted compost worked into the soil.
Why compost? It adds nutrients, improves soil structure (making it drain well but also retain moisture), and generally makes your soil a happy place for roots to grow. I like to dig in at least a few inches of compost and mix it in thoroughly with the existing soil. If your soil is particularly heavy clay or very sandy, compost is your magic potion. It helps bind sandy soil and loosens up clay.
You can also add some organic fertilizer at this stage. Look for something balanced, like a 10-10-10 or something with a good amount of nitrogen, as nitrogen is key for leafy green growth. Again, mix it in well before planting. Think of it as giving your corn a really nutritious breakfast before it even starts its day.
The ideal pH for corn is between 6.0 and 7.0. If you’re unsure about your soil’s pH, you can get a simple test kit from your local garden center. It’s a quick way to see if you need to add anything to adjust it. Most of the time, though, good compost will help buffer things nicely.
Planting Time: Getting Those Seeds in the Ground
Okay, so you’ve got your seeds, you’ve found the sunniest spot, and your soil is a compost-rich paradise. Now what? It’s time to plant! Corn seeds need warmth to germinate. You don’t want to rush this. Wait until all danger of frost has passed and the soil temperature has consistently warmed up to at least 50°F (10°C), ideally closer to 60°F (15°C). Planting too early in cold, wet soil is a recipe for rotten seeds and disappointment. Been there, done that, got the very wilted seedling to prove it.
How do you plant them? Corn is best planted in blocks or squares, not long rows. This is super important for pollination. Corn is wind-pollinated, and if your plants are too far apart, the pollen from the male tassels won’t efficiently reach the silks on the female ears. Imagine a bunch of single people scattered across a massive ballroom versus a cozy dance floor – you get the idea. Planting in blocks ensures that plants are close enough to share pollen. A square patch of 3-4 rows is a good starting point for a home garden.
Plant the seeds about 1 inch deep. You can sow them directly into the ground after the last frost. Space them about 8-12 inches apart within each row. So, if you’re making a block, you’ll have rows running in both directions, and the plants will be staggered slightly. This gives them room to grow without overcrowding. It’s a bit like planning a neighborhood – everyone needs their own space, but they also benefit from being close together.

Some gardeners like to do a second planting a few weeks after the first. This gives you a staggered harvest, meaning you won’t have all your corn ready to eat at the exact same time. It’s a smart move if you have a large family or just really, really love corn on the cob.
Watering: The Thirst Quencher
Corn needs consistent moisture, especially during its tasseling and silking stages. This is when the tassels (the male flowers at the top of the plant) start to release pollen, and the silks (the fuzzy strands on the developing ears) are ready to catch it. If the plants are stressed by drought during this critical period, you’ll end up with poorly filled ears – those kernels won’t develop properly. Aim for about 1-2 inches of water per week, especially during dry spells. Soaker hoses or drip irrigation are great because they deliver water directly to the roots and help prevent fungal diseases.
Water deeply rather than frequent, shallow watering. You want to encourage those roots to grow down deep into the soil, seeking out moisture. A good, deep soak is much better than a little sprinkle every day. Feel the soil a few inches down; if it feels dry, it’s time to water.
One thing to watch out for is waterlogging. Corn doesn’t like to sit in soggy soil. That’s why good drainage is so important. If you notice water pooling after you water, your soil might be too heavy, or you might need to amend it further.
Feeding Your Corn: Gotta Grow Big and Strong!
As I mentioned, corn is a hungry plant. Even with all that compost, you’ll likely need to give it a boost of fertilizer as it grows. The first feeding can happen when the plants are about 10-12 inches tall. Use a balanced fertilizer, or one that’s slightly higher in nitrogen. Apply it around the base of the plants, being careful not to let the fertilizer touch the stalks directly, as it can burn them. Think of it as giving them a good lunch.
A second feeding is usually needed when the tassels start to appear. Again, a nitrogen-rich fertilizer is good at this stage. This helps the plant produce those beautiful, plump kernels. Some gardeners also like to do a third feeding just before the ears start to fill out. Follow the instructions on your fertilizer packaging for application rates and frequency.
:max_bytes(150000):strip_icc()/20220408_SL_OvenRoastedCornontheCobb_Beauty_1904-2000-4aa6ab6a32954b6d87d3f8834141914b.jpg)
Side-dressing is the term for applying fertilizer around the base of growing plants. It’s like giving them a nutrient boost right where they can access it. Make sure to water the fertilizer in after applying it, so it can dissolve and reach the roots. This is another reason why consistent watering is so key!
Weeding and Mulching: Keeping the Unwanted Guests at Bay
Weeds are the arch-nemesis of any gardener, and corn is no exception. Weeds compete with your corn for water, nutrients, and sunlight. So, stay on top of your weeding! Shallow cultivation is best, as corn has relatively shallow roots that you don’t want to disturb. A hoe can be your best friend here.
Mulching is a fantastic way to suppress weeds and also help retain soil moisture. Once your corn plants are a good size, you can apply a layer of organic mulch around them. Straw, shredded leaves, or grass clippings (as long as they haven’t been treated with herbicides) are all good options. Keep the mulch a few inches away from the base of the stalks to prevent rot. It's like giving your corn a cozy blanket to keep the weeds out and the moisture in.
Pest Patrol: Battling the Critters
Ah, pests. The bane of my gardening existence. Corn can attract a few unwelcome visitors. The most common culprits include corn earworms, armyworms, and flea beetles.
Corn earworms are particularly notorious for burrowing into the ears and munching on the kernels. A common organic control method is to apply a few drops of mineral oil or vegetable oil into the tip of the silk just as it starts to dry. This can trap the worm and prevent it from reaching the kernels. It sounds a bit… fiddly, I know, but it can be effective!
For other caterpillar pests like armyworms, you might need to use an organic insecticide like Bt (Bacillus thuringiensis). This is a naturally occurring bacterium that is toxic to caterpillars but harmless to other insects, pets, and humans. You can also handpick larger caterpillars if you spot them. My dad is ruthless when it comes to handpicking bugs. He’s like a corn-saving ninja.

Flea beetles can chew tiny holes in the leaves, especially on young plants. Row covers can offer some protection early on. Sometimes, if the plants are healthy and growing vigorously, they can outgrow flea beetle damage.
And then there are the squirrels. The little bandits. If they’re a problem in your area, you might need to consider physical barriers like netting or even a scarecrow (though I’m not sure how effective a traditional scarecrow is against a determined squirrel… maybe one with a tiny, menacing rake?). I’m still working on my squirrel-deterrent strategy, honestly. Let me know if you have any brilliant ideas!
Harvest Time: The Sweet Reward!
This is the moment you’ve been waiting for! The payoff for all your hard work. So, how do you know when your corn is ready to harvest? The signs are pretty straightforward, but it’s good to know what to look for.
First, check the silks. They should have turned from a light green or yellow to a dark brown or black. This indicates that the ear is mature. You can gently pull back the husk a little to peek at the kernels. They should look plump and milky when you pierce one with your fingernail. If it’s watery, it’s not quite ready. If it’s starchy or dry, you’ve probably waited too long. Aim for that milky stage.
The husks should also start to feel dry, and the tassels at the top should be brown and brittle. To harvest, grasp the ear firmly and give it a quick, downward twist. It should snap off the stalk relatively easily. If it feels like you’re fighting with it, it might not be quite ready.
And there you have it! Your very own homegrown ear of corn. The taste is incomparable. It's the culmination of sunshine, water, good soil, and a little bit of patience. It’s a taste of summer, pure and simple. So, the next time you're looking at those tall green stalks in your garden, remember the journey, the potential for a squirrel-related mishap, and the ultimate, delicious reward. Happy growing, folks!

/__opt__aboutcom__coeus__resources__content_migration__simply_recipes__uploads__2019__07__Grilled-Corn-on-the-Cob-LEAD-3-2473cd41fbce489fa6d08b74a4334562.jpg)