How To Get Rid Of Fake Tan

Ah, the fake tan. That glorious glow that says, "I've just returned from a sun-drenched holiday," even if your biggest adventure last week was finding the remote. We've all been there, right? That moment you decide to embrace your inner bronzed goddess, only to end up looking more like a slightly overcooked biscuit or, worse, sporting some truly unfortunate streaky patches that resemble a Rorschach test gone wrong.
So, what happens when your temporary tan starts to look less "Hollywood A-lister" and more "I-tried-to-paint-myself-orange-and-it-didn't-quite-work"? Don't fret, my friend! Getting rid of a fake tan that's overstayed its welcome is absolutely doable, and it doesn't require a professional intervention or a magic wand (though wouldn't that be nice?).
Let's be honest, the struggle is real. You meticulously applied that mousse, waited for it to dry, and even resisted the urge to immediately dive into a swimming pool. You were proud! And then, after a few days, the fading starts. It can be patchy, it can be uneven, and sometimes, it just looks…well, a bit sad. Think of it like that cute outfit you bought on impulse that you now realize doesn't quite fit your everyday vibe. It's time to gracefully retire it.
Must Read
Why should we care about removing a dodgy fake tan? Well, aside from the obvious aesthetic reasons (nobody wants to walk around looking like they've got muddy knees and glowing elbows), a stubborn fake tan can be a real confidence killer. It can make you feel self-conscious, and that's the last thing we want. We want to feel fabulous, whether we're rocking a natural glow or a perfectly applied tan. When it's patchy, it just screams "fake" in a way that's less chic and more… well, cringe.
Plus, think of it as a fresh start. A blank canvas. You can then reapply your tan with renewed wisdom, or just embrace your natural skin tone for a while. It’s all about having options, right?
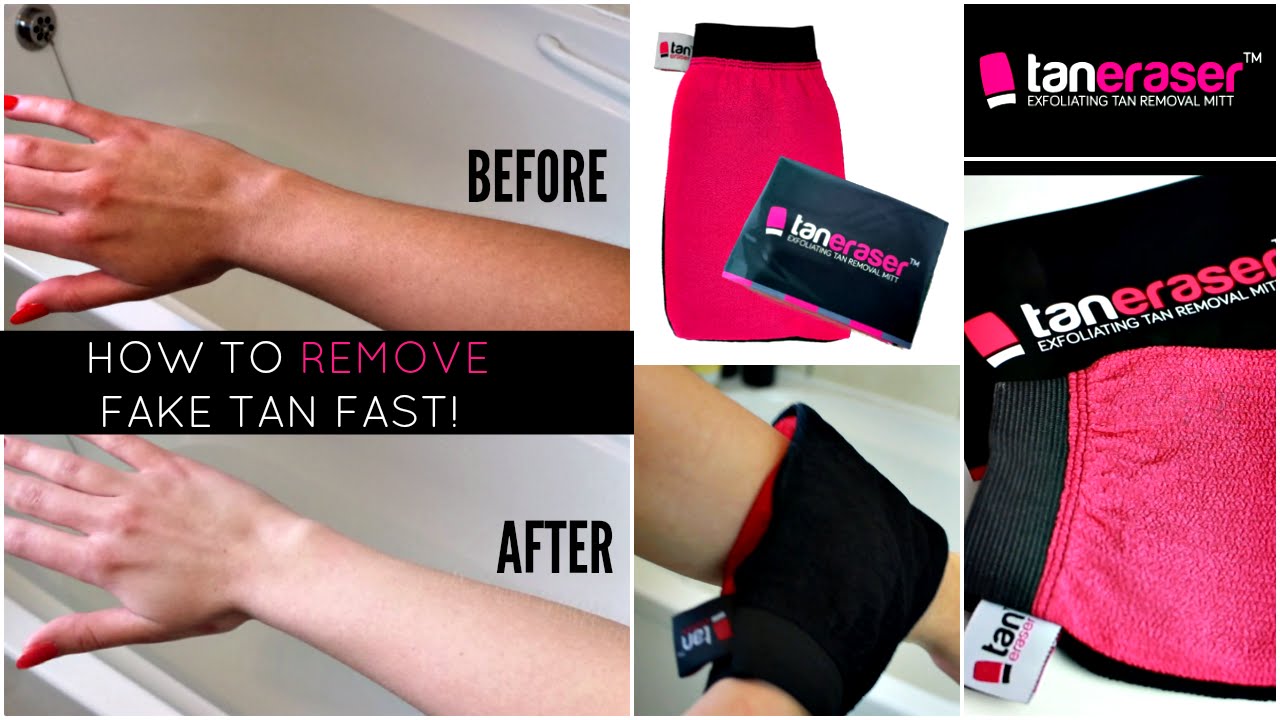
So, let’s dive into the nitty-gritty of banishing those bronzed blunders. The key here is gentle exfoliation. You're not trying to scrub off your actual skin, just persuade that temporary colour to pack its bags and leave.
The Gentle Exfoliation Game
This is your secret weapon. Think of your skin as a well-loved book. The fake tan is the cover that's starting to get a bit scuffed. Exfoliation is like gently wiping down that cover to reveal the pristine pages beneath.

1. The Sugar Scrub Symphony: This is a classic for a reason. You can buy fancy sugar scrubs, or you can whip up your own. Grab some granulated sugar (not icing sugar, that’s too fine!) and mix it with a carrier oil like coconut oil, olive oil, or even your regular body lotion. The sugar crystals are wonderfully effective at sloughing away dead skin cells (and the tan clinging to them), while the oil provides a lovely bit of moisture. It’s like a spa treatment in your own bathroom!
Picture this: you’re in the shower, the steam is rising, and you’re gently massaging this delicious-smelling concoction all over your skin. It’s a moment of pure self-care. Focus on the areas where the tan is heaviest or patchiest – think elbows, knees, wrists, and ankles. These are the usual suspects for dreaded tan lines.
2. The Loofah Love: Your trusty loofah or body brush can also be a great friend in this mission. Use it with your usual body wash, and again, be firm but gentle. Think of it as giving your skin a thorough but loving polish. Don't go at it like you're trying to remove ancient graffiti, though. We’re aiming for smooth, not raw!
It’s a bit like trying to remove dried paint from a wall. You wouldn't grab a wire brush, would you? You’d use something a bit more forgiving, maybe a damp cloth and some gentle cleaner. Your skin deserves the same consideration.

3. The Bath Soak Bonus: Sometimes, a good soak can soften things up, making the tan removal process easier. Add some Epsom salts or even just a generous amount of your favourite bubble bath to warm water. Soak for at least 15-20 minutes. This is the perfect excuse to relax, maybe even read a book or catch up on a podcast. While you’re soaking, the skin gets nicely hydrated, and the tan can start to loosen its grip.
After your soak, you can then proceed with your exfoliation. It’s like prepping your canvas before you start painting – a little bit of softening makes the application of your removal “paint” much more effective.
The Power of Everyday Products
You might be surprised at how many common household items can lend a hand in your fake tan removal efforts. These are often gentler than some of the more industrial-sounding exfoliants, and they’re probably already in your pantry or bathroom cabinet.
1. Lemon Juice Liberation: The natural acids in lemon juice can help break down the DHA (the ingredient that makes fake tan work). Mix fresh lemon juice with a little bit of water and apply it to the patchy areas with a cotton pad. Let it sit for a few minutes (don't overdo it, as lemon can be a bit drying) and then rinse thoroughly. Be sure to moisturise afterwards, as lemon can sting on sensitive skin.
Think of lemon juice as a mild, natural bleach. It’s not going to instantly strip everything away, but it can help fade those stubborn spots. Just be careful if you have any little cuts or scrapes – ouch!

2. Baking Soda Buff: Baking soda is a fantastic natural exfoliant. Mix it with water to form a paste, or mix it with your sugar scrub for an extra oomph. Apply the paste to your skin and gently rub it in a circular motion. Rinse thoroughly. Baking soda is great for giving your skin a thorough clean and buff.
This is like the rough-and-tumble friend of your skincare routine – it gets the job done, but you still need to be mindful of how much you’re using.
3. Baby Oil Bliss: Baby oil is a surprisingly effective tan remover, especially for older, faded tans. Apply a generous amount of baby oil to your skin and let it soak in for at least 10-15 minutes. Then, take a warm, damp washcloth and gently rub the oil away. The tan should start to lift off with it. You might need to repeat this a few times for tougher patches.
This method is wonderfully gentle and leaves your skin feeling incredibly soft. It’s like giving your skin a comforting massage while simultaneously bidding farewell to your overzealous tan.

The Tan Fade Plan: Persistence is Key
Let's be realistic. If you've got a really dark or streaky tan, it might not disappear overnight. It's more of a gradual fading process. Think of it like waiting for a plant to grow. You water it, you give it sunlight, and eventually, it blooms. Your tan removal is similar – consistent effort will yield results.
1. Repeat and Revive: If your first attempt at exfoliation doesn’t completely banish the tan, don't despair! You can repeat your chosen method every couple of days. Just listen to your skin. If it starts to feel dry or irritated, give it a break and focus on moisturising.
2. Moisturise, Moisturise, Moisturise! This is probably the most important step throughout the whole process, and especially after you’ve exfoliated. Well-moisturised skin fades more evenly and looks much healthier. Slather on your favourite lotion or body butter after every shower or bath. This will help to keep your skin happy and hydrated as it sheds the old tan.
Think of your skin like a sponge. When it’s dry and parched, it’s more likely to look cracked and uneven. When it's plump and hydrated, everything looks smoother and more appealing. So, treat your skin to some TLC!
Getting rid of a fake tan that’s gone rogue isn't a chore; it's a mini-adventure in self-care. It's about taking control and ensuring you're rocking a glow that makes you feel amazing, not awkward. So, the next time your fake tan starts to look a little bit, well, off, you'll know exactly what to do. Happy scrubbing, and here’s to your next (hopefully perfect!) tan!