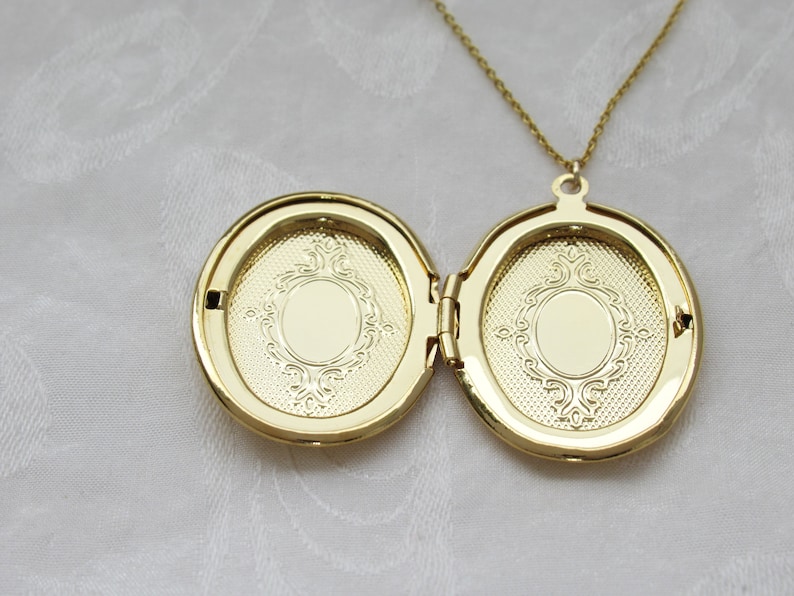
How To Get A Photo For A Locket
Alright, gather ‘round, you lovebirds, you sentimental scribblers, you folks who’ve just acquired a tiny, ornate treasure chest of a locket and now have a burning question: “What in the name of all that is sparkly do I put in here?” Yes, we’re talking about the elusive, the miniature, the downright adorable photo for your locket. It’s a quest, my friends, a miniature adventure that requires a blend of precision, sentimentality, and possibly a magnifying glass. Think of me as your personal locket-photo sherpa, guiding you through this surprisingly complex, yet ultimately rewarding, expedition.
First things first, let's address the elephant in the room, or rather, the tiny, pixelated human inside the locket. You need a picture! Groundbreaking, I know. But not just any picture. We’re not talking about that blurry selfie from last Friday night where you’re mid-sneeze and your best friend looks like they’ve just seen a ghost. Unless, of course, that ghost is your best friend and you’re going for an avant-garde, spectral look. Highly unlikely, but hey, to each their own locket.
So, what kind of photo are we aiming for? Ideally, something that screams love, cherish, or at the very least, “I haven’t forgotten about you, even if I can only see half your face at any given time.” We’re talking about your significant other, your adorable offspring (human or furry!), a dearly departed relative, or even your pet rock collection if that’s your jam. The possibilities are as vast as your affections, or your eccentricities.
Must Read
The Great Photo Hunt: Where to Begin?
Now, where do you unearth this precious photographic gem? Your phone is probably the first place you’ll look. It’s a digital wonderland, a repository of memories, a graveyard of questionable selfies. But here’s the catch: most photos on your phone are *huge. Like, Everest-sized huge compared to the tiny aperture of a locket. You can’t just chop out a corner of a group shot and expect it to work. It’ll look like a game of "Where's Waldo?" but instead of Waldo, it’s your Aunt Mildred’s elbow.
You need a clear, focused image. Think about what you want to be visible. A smiling face? Sparkling eyes? A particularly fetching earlobe? Whatever it is, make sure it’s the star of the show. And for the love of all that’s tiny and precious, avoid photos with busy backgrounds. Nothing screams "I'm trying to hide my loved one in a distracting jungle of floral wallpaper" quite like it.
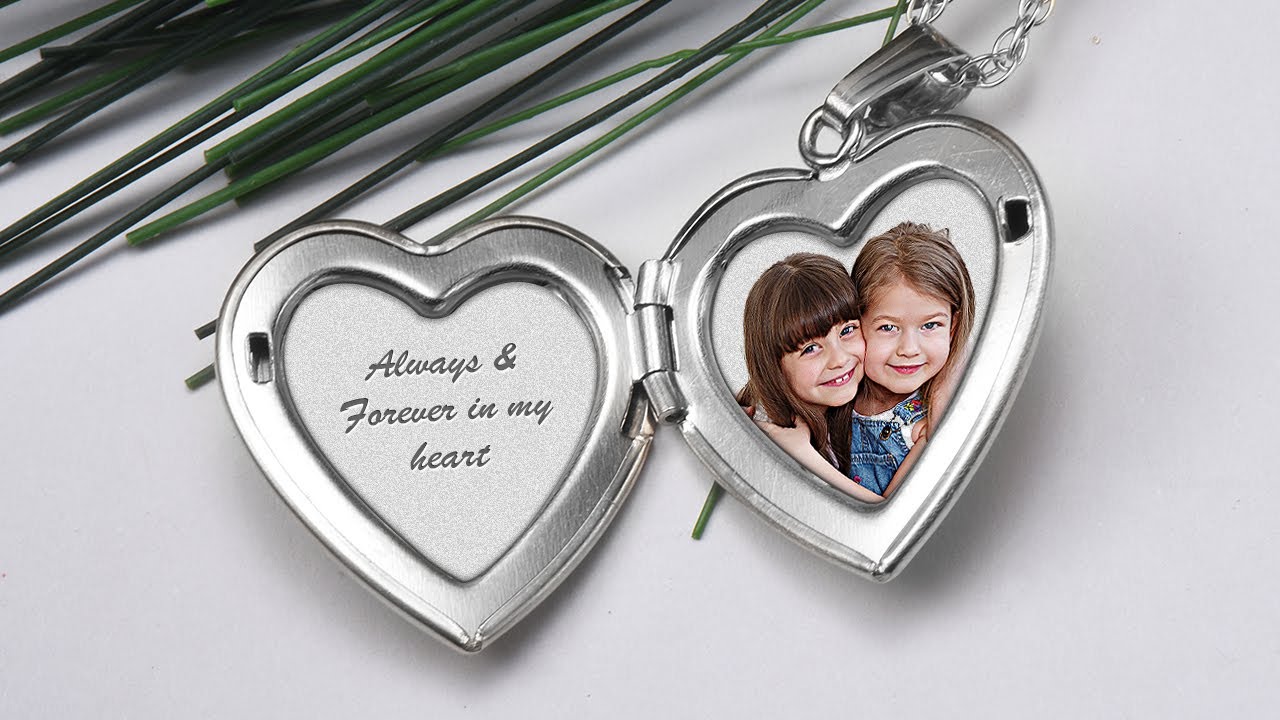
Here’s a little secret weapon: old-school photos. Dig out those dusty albums. Remember the days before digital filters and instant gratification? Those photos, while possibly grainy and a tad sepia-toned, often feature individuals looking directly at the camera, with beautifully simple backgrounds. Plus, there’s a certain romance to using a photograph that’s physically existed for longer than your latest smartphone. It’s like…vintage sentimentality!
The Art of the Crop: Precision, My Friends, Precision!
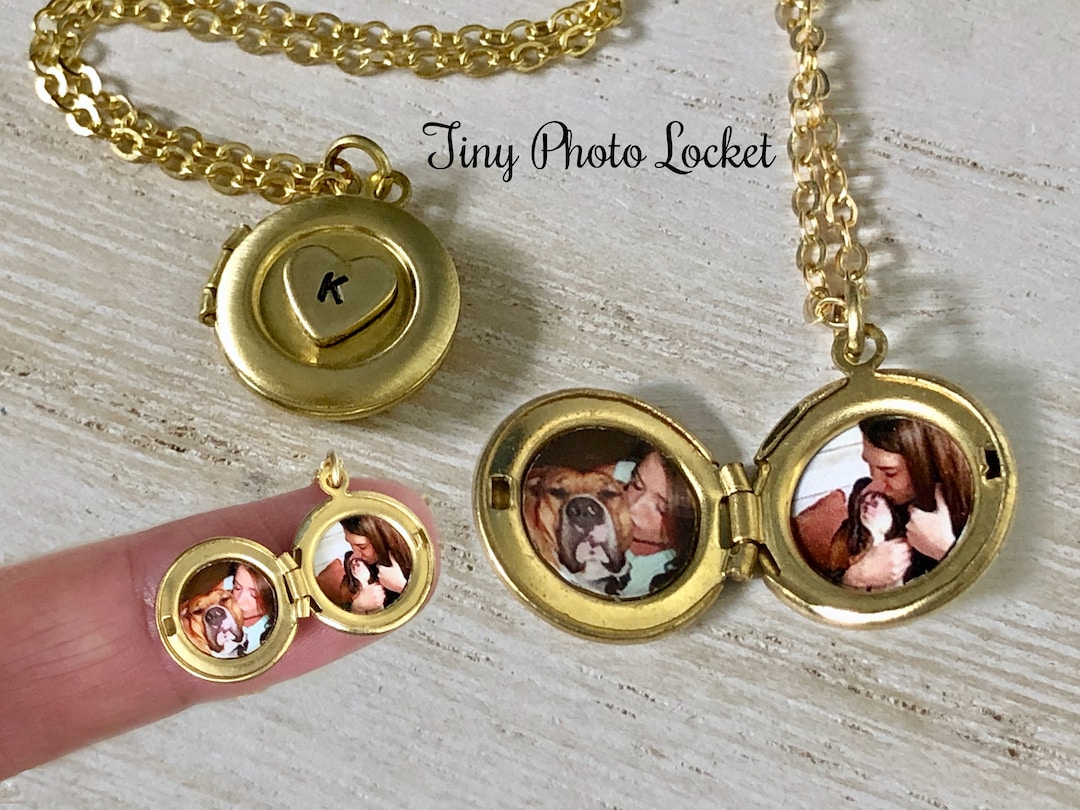
Okay, you’ve found the perfect candidate. It’s a lovely picture of your dog, Buster, looking particularly majestic. But Buster, in all his glory, is currently occupying a 4000-pixel wide frame, and your locket is, let’s be honest, about the size of a ladybug’s dinner plate. This is where the magic of cropping comes in. And I’m not talking about your lawn. This is surgical cropping, people!
Most photo editing software, whether it's on your phone or your computer, has a cropping tool. It’s usually represented by a little square with lines. Don’t be intimidated. Think of it as a digital guillotine, but for bad framing. You want to isolate the subject and get it as close to filling the locket space as possible, without cutting off anything crucial. Imagine the locket is a tiny frame, and you’re creating the perfect picture for it.

Here’s a pro-tip: Print the photo first, even if it's just on your home printer. Then, take your locket (or a very accurate measurement of the locket's interior) and hold it up to the printed photo. Trace around the locket opening. This gives you a tangible target. You’re essentially performing locket-sized surgery on a larger print. It might sound a bit MacGyver, but it’s surprisingly effective. Plus, you get to feel like a tiny detective. "The game is afoot... for a picture of my grandma's thumb!"
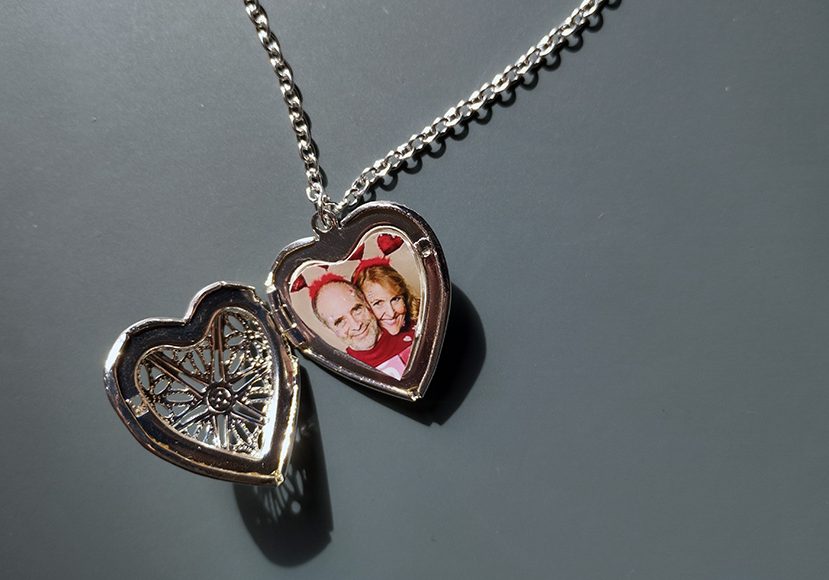
The Shrinking Violet: Actually Getting it Into the Locket
Now for the grand finale! You have your perfectly cropped, miniaturized masterpiece. But how do you get it into the locket? This is where things can get a little… fiddly. If your locket opens with a hinge, you’ll likely have two little wells for photos. You need to cut your photo to fit these wells precisely. This is where those scissors you’ve been neglecting in your junk drawer finally get their moment of glory.
Get a really sharp pair of small scissors. Craft scissors are your best friend here. And for the love of all that is delicate, don't fold the photo. This will create creases that will haunt your locket dreams. You want clean edges. You’re aiming for a professional, custom fit. Think of it like tailoring a tiny suit for your beloved’s face.

Some people swear by using a craft knife and a ruler for ultimate precision. Others, myself included in moments of sheer desperation, have resorted to carefully tearing the photo along a pencil-drawn line. Results may vary. A lot. I once ended up with a locket containing a photo of my cat's left ear and half of a dust bunny. Not quite the romantic statement I was going for.
Pro-tip numero dos: Consider the thickness of the photo paper. If you’re printing on thick cardstock, it might not fit. Opt for standard photo paper. You want it to lie flat and snug. Imagine trying to cram a thick textbook into a matchbox. Not ideal.
And what if your locket has a really intricate design and the photo won’t lie flat? This is where a tiny dab of archival-quality glue or photo-safe adhesive can be your savior. Apply it to the back of the photo, not the locket itself, and press it gently into place. Be sparing! You don’t want your loved one oozing out of the sides like a particularly cheesy pastry.
The Digital Dilemma: Printing for Perfection
If you’re not blessed with steady hands or a burning desire to engage in miniature paper crafting, there’s a modern solution: professional printing services. Many online photo printing services offer custom sizes, or you can even find specialized services that create tiny photos for lockets. You upload your perfectly cropped image, and they send you a perfectly sized, professional-quality miniature print. It’s like magic, but with more algorithms and less glitter.
This is a fantastic option for ensuring a crisp, clean, and accurately sized photo. They can often print on specialized paper that’s thinner and more durable. Think of it as getting your locket photo the royal treatment. It might cost a few extra bucks, but sometimes, peace of mind and a perfectly presented tiny face is worth its weight in gold (or, you know, silver, depending on your locket).
So there you have it! The thrilling, sometimes terrifying, always charming journey of acquiring a photo for your locket. Remember, it's not just a picture; it's a tiny, portable piece of your heart. So take your time, be precise, and when in doubt, just imagine you’re preparing a microscopic feast for a very discerning, very small king or queen. And if all else fails, a well-placed glitter shard can work wonders in a pinch. Just kidding! (Mostly.)