How To Fix Hole On Air Mattress
Ah, the trusty air mattress. For many of us, it’s the unsung hero of impromptu sleepovers, the cozy savior on camping trips, and the guest-bed miracle when your spare room is more of a storage unit. There's something wonderfully versatile about an air mattress – that immediate comfort and portability it offers. But let's be honest, even the most beloved inflatable companions can develop a sneaky leak, turning your plush paradise into a deflated disappointment. Fear not, fellow air mattress enthusiasts! Today, we’re diving into the satisfying world of air mattress repair, turning a potential frustration into a rewarding DIY fix.
The benefits of a well-maintained air mattress are numerous. Primarily, it provides instantaneous sleeping arrangements for unexpected visitors, saving you from a night of couch-sitting or awkward floor-sleeping. For outdoor adventurers, it’s a portable bed that keeps you off the cold, damp ground, offering a surprising level of comfort under the stars. Beyond just sleeping, air mattresses can also be used for makeshift lounging, indoor forts for the kids (or the young at heart!), or even as a temporary seating solution. The purpose is simple: added comfort and flexibility wherever and whenever you need it.
Think about those times: a friend calls saying they're in town early, your family spontaneously decides to extend their stay, or you’re planning that epic camping expedition and need a comfortable place to rest your weary bones. These are all common scenarios where a functional air mattress is a true lifesaver. From dorm rooms to backyard tents, its applications are as varied as your needs.
Must Read
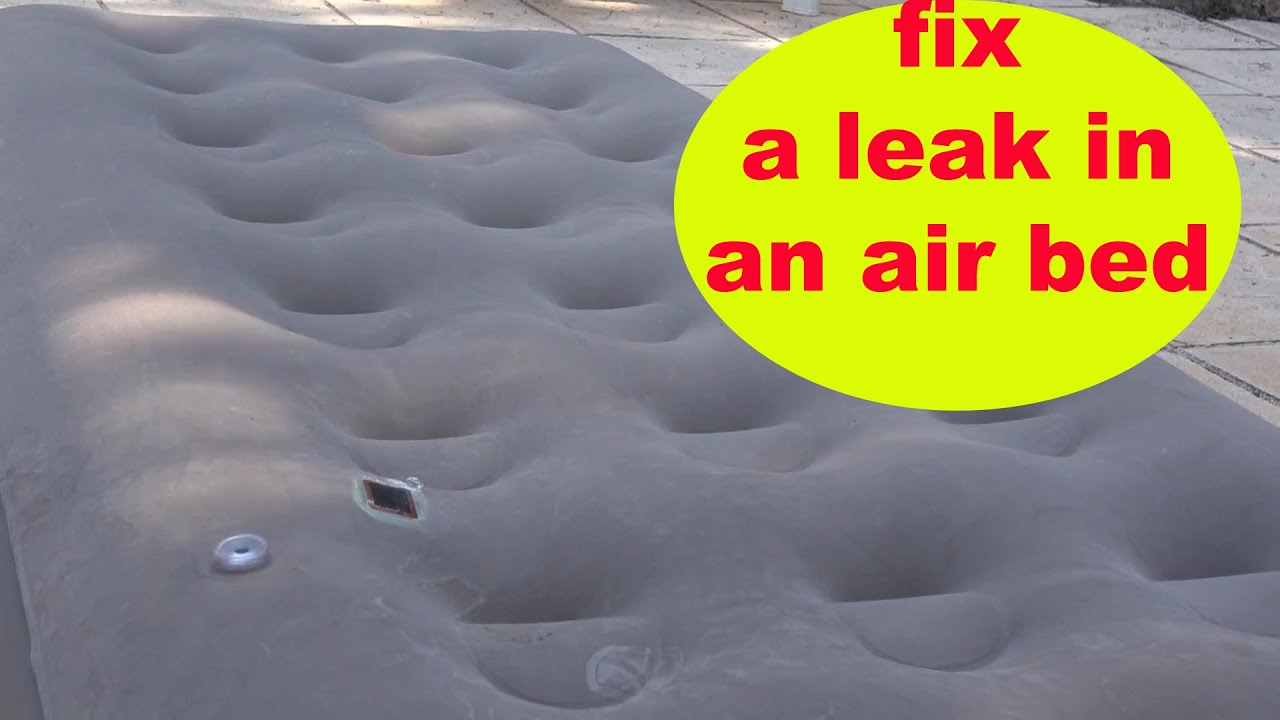
Now, about that inevitable hole. The good news is, fixing an air mattress is often a surprisingly straightforward process, and with a few key tips, you can get yours back to its plump, supportive glory. First, locate the leak. This can be the trickiest part. Inflate the mattress slightly and listen for hissing sounds. If that doesn't work, try the “wetted hands” trick: run your damp hands over the surface, and you’ll feel a cool spot where the air is escaping. Another effective method is to use a spray bottle filled with soapy water; bubbles will form at the leak site.
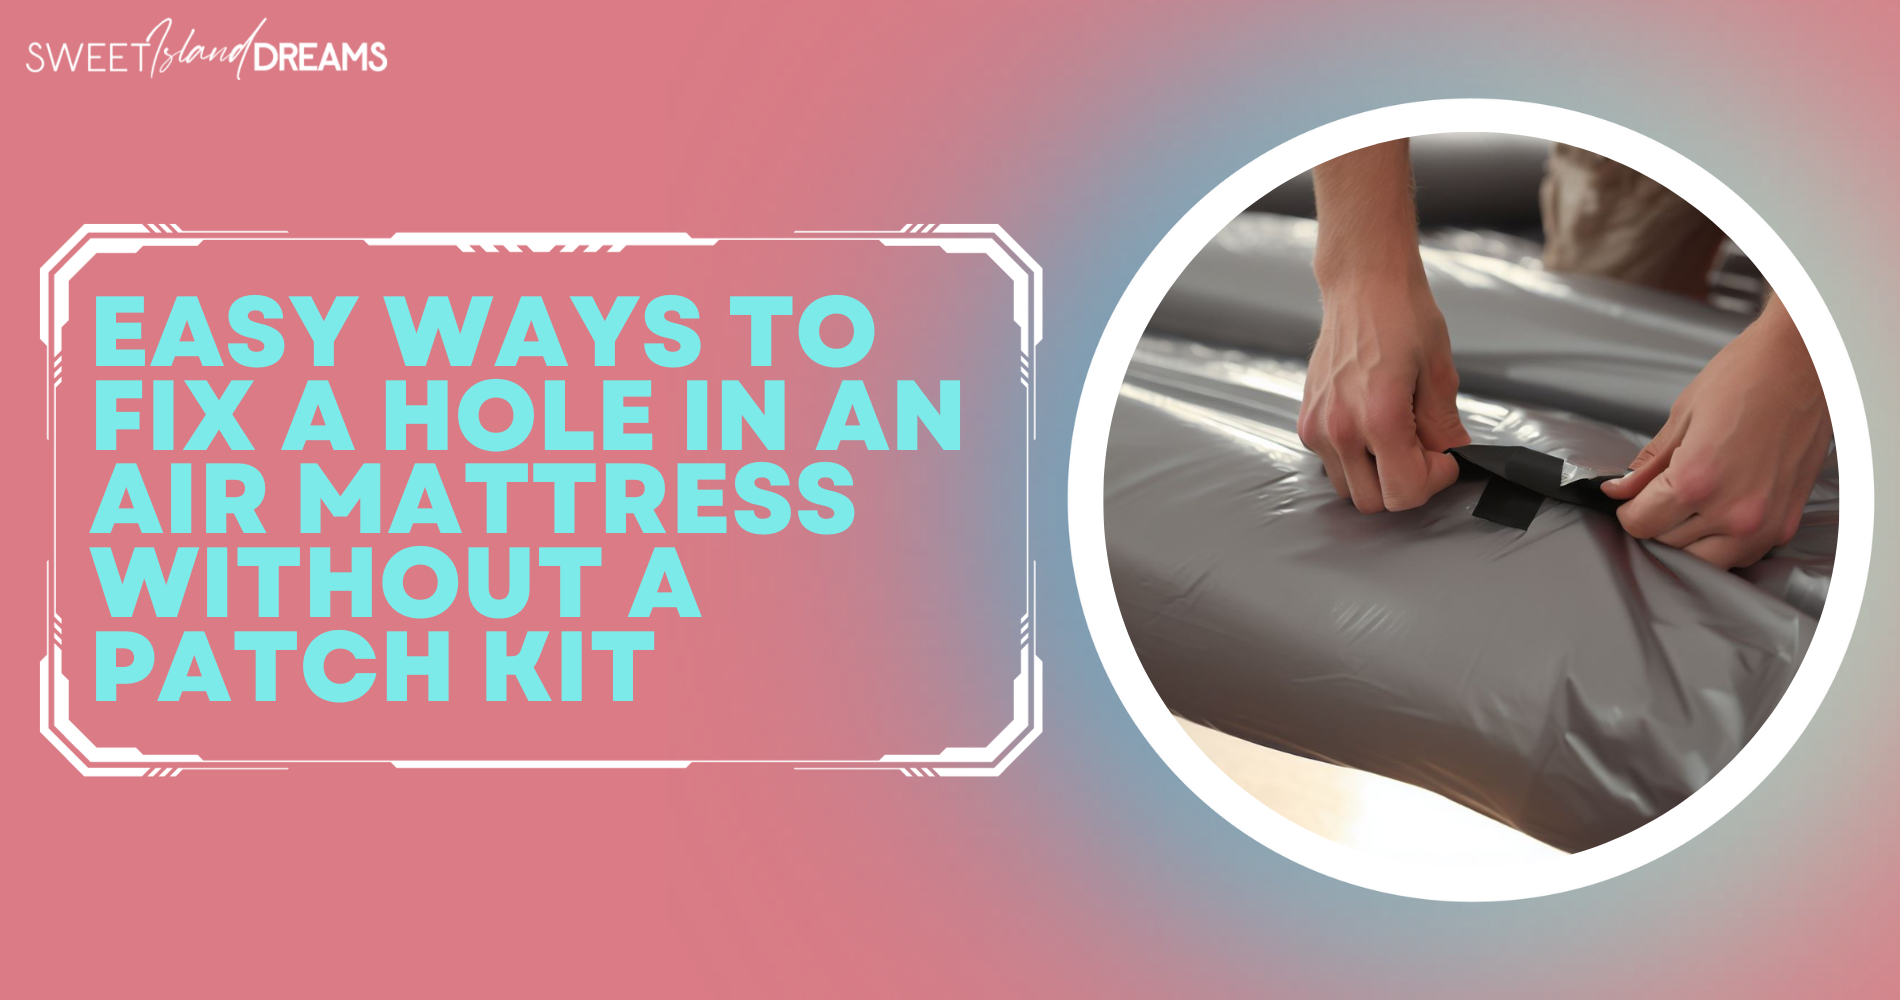
Once you've found the culprit, it's time for the repair. Most air mattresses come with a patch kit, which usually includes adhesive and one or more vinyl patches. Clean and dry the area around the hole thoroughly. Cut a patch that’s larger than the hole, rounding the corners to prevent peeling. Apply the adhesive to both the patch and the mattress surface, following the kit's instructions for drying time. Then, firmly press the patch onto the hole, ensuring a good seal. For a more permanent fix, some people opt for specialized vinyl repair kits available at hardware stores. These often provide a stronger bond. Always let the adhesive cure completely before reinflating the mattress – patience is key here!
To enjoy your air mattressing experience to the fullest, consider these practical tips: store it properly. A clean, dry air mattress, deflated and loosely rolled or folded, will last longer. Avoid storing it in direct sunlight or extreme temperatures. Also, invest in a good pump. A quality electric pump makes inflation and deflation a breeze, saving you time and energy. And finally, be mindful of sharp objects! While your mattress might be durable, it’s not invincible. A little care and a timely patch-up can extend the life of your inflatable comfort, ensuring many more cozy nights and happy adventures.

:max_bytes(150000):strip_icc()/how-to-patch-an-air-mattress-51904431-hero-53f7ca522440487d9939772a020518b1.JPG)

