How To Fix A Puncture On A Bike
Ah, the humble bicycle. Our trusty steeds, our ticket to freedom, our sweat-powered chariot. And then… BAM! A flat tire. It’s the villain in our cycling adventure, the soggy sock of the road. But fear not, fellow pedal-pushers! Today, we’re going to conquer this deflated devil. Think of this as your superhero origin story, where you discover your inner bike mechanic and save the day from a roadside embarrassment. Forget those dramatic movie scenes where the hero is stranded miles from civilization. We’re going to equip you with the knowledge to laugh in the face of a puncture, to wield your tools with the confidence of a seasoned pro (even if this is your first rodeo).
The Great Escape: Tools of the Trade
First things first, let’s gather our arsenal. You don't need a fancy workshop or a PhD in "Tireology." Just a few simple things will make you a flat-tire-fixing ninja. You’ll need a pair of tire levers. These little beauties are your crowbars for the tire. Imagine them as tiny, strong fingers that can pry open the stubborn mouth of a tire. Next up, a spare inner tube. This is the fresh lung for your tire, ready to replace the one that’s taken an unfortunate nap. And, of course, you'll need a way to inflate it. A compact bike pump is your breath of fresh air, literally. Some people even swear by those little CO2 cartridges – like a lightning bolt of air for your tire, but let’s stick with the trusty pump for now, shall we? And for good measure, a few scraps of old rag can be handy for wiping off any grime. Think of these as your superhero cleaning cloths.
Operation: Tire Takedown
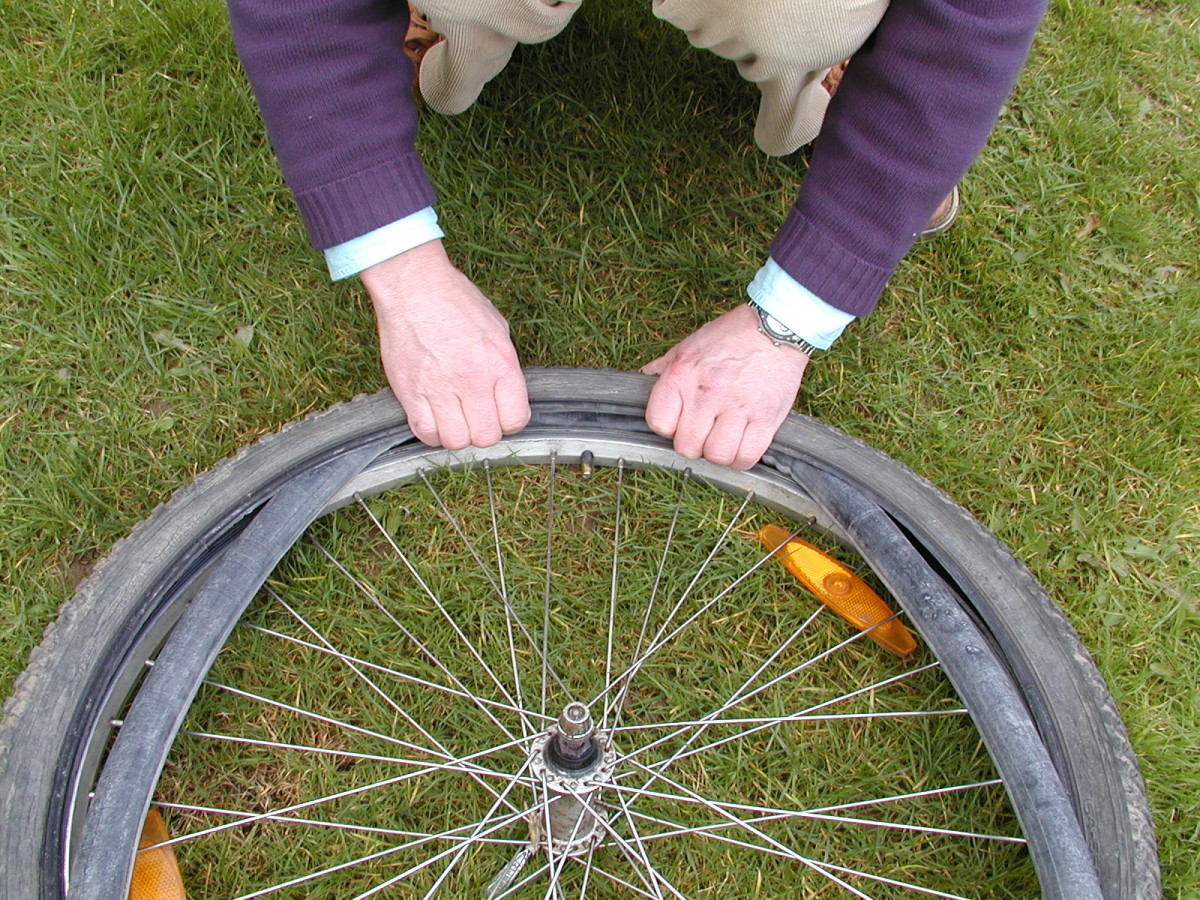
Alright, hero, it’s time to get to work. First, if your wheel is still attached to your bike (which, last time I checked, it usually is), you’ll want to liberate it. Most bikes have a quick-release lever. Just flick it open, and voila! Your wheel is free. If yours is a bit more stubborn and requires a wrench, don’t panic. It’s just a little more elbow grease. Now, with your wheel off, let’s tackle that flat tire. Grab your tire levers. You’ll want to find a spot where the tire is a bit loose against the rim. Jam one lever under the edge of the tire and pry it over the rim. Then, grab your second lever and do the same a little further along. Keep working your way around, like you’re peeling an orange, until one side of the tire is completely off the rim. This is where you might need to show those levers who’s boss!
Must Read
Seriously, don't be afraid to give those levers a good tug. They're built for this kind of thing. Imagine them as your loyal sidekicks, always ready to help you out of a sticky situation.
The Tube Tango: Out with the Old, In with the New
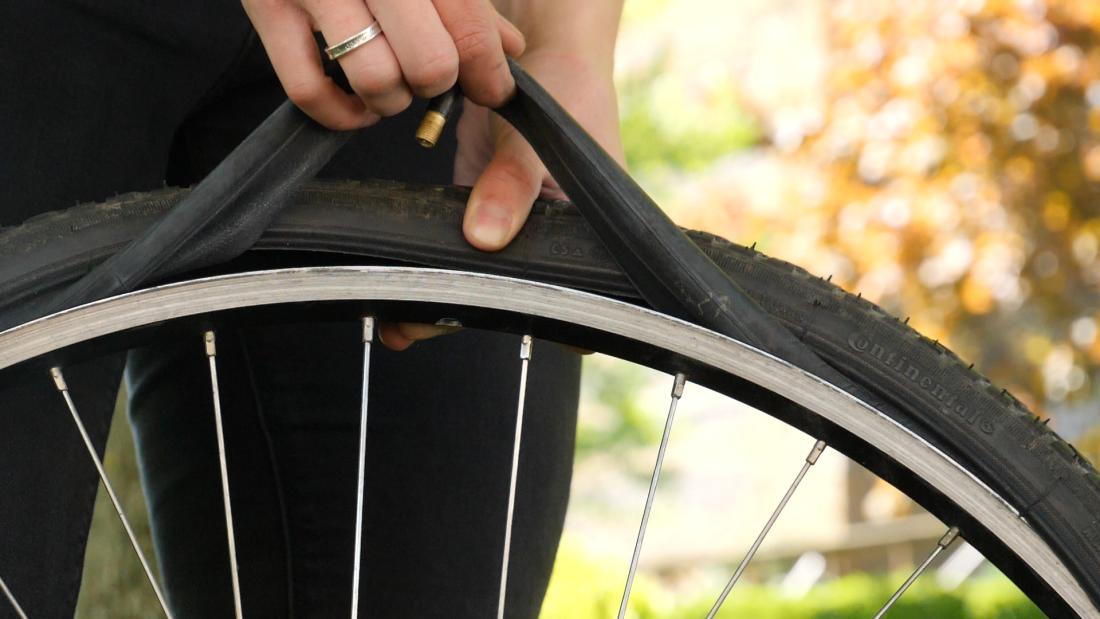
Once one side of the tire is off, you can usually just pull the old, flat inner tube out. It might feel a little squished and sorry for itself, but it’s done its job. Now, before you shove in that shiny new tube, it’s a good idea to give the inside of your tire a quick once-over. Feel around with your fingers for anything sharp that might have caused the original flat. Think of it as a treasure hunt, but the treasure you're looking for is… well, nothing. You want to make sure there are no sneaky culprits lurking in there, ready to puncture your new tube the moment you inflate it. Once you’re satisfied, take your new inner tube and put just a little bit of air in it. Just enough to give it some shape. This makes it a lot easier to get into the tire without it getting all twisted and bunched up.
The Tire Triumvirate: Getting Everything Back Together
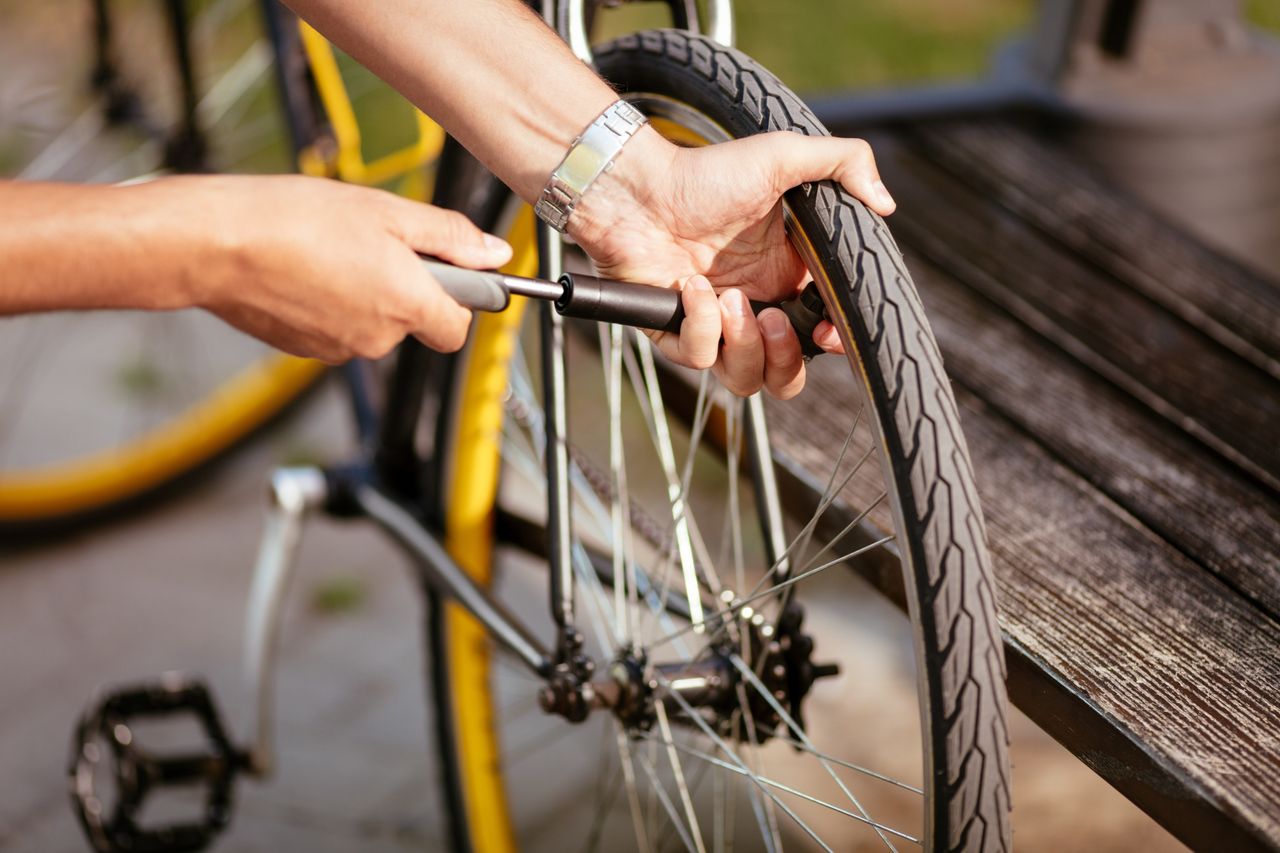
Now for the grand finale! Carefully tuck your slightly inflated inner tube into the tire, making sure the valve stem pokes out neatly through the hole in the rim. Then, starting opposite the valve, begin to push the tire bead back over the rim with your hands. Work your way around, inch by inch. For the last bit, you might need to use your tire levers again, but be gentle! You don't want to pinch that new tube. Once the tire is fully back on the rim, it’s time for the glorious sound of air. Grab your bike pump and start pumping. Pump it up, like you’re filling a majestic balloon for a parade. Keep going until the tire feels firm and ready for action. You'll know it’s good when it’s nice and round and doesn’t feel squishy anymore. Give it a little squeeze to check. It should feel firm, not like a deflated souffle.
The Victory Lap: Back on the Road!
And there you have it! You’ve done it. You’ve faced the flat tire and emerged victorious. Take a moment to admire your handiwork. You’re a certified tire-fixer! You’ve just saved yourself time, money, and the indignity of waiting for a tow truck. This is the kind of skill that will serve you well on countless adventures. So go forth, my friend, and pedal with pride. The road is yours, and now, so is the knowledge to conquer any flat that dares to stand in your way!