How To Fill A Crack In Ceiling
Ah, the ceiling crack. That unwelcome guest that shows up unannounced in your perfectly nice living room. It’s like a tiny, unwelcome wrinkle on the face of your home. You know the one. The one that seems to stare back at you every time you lie down to ponder the great mysteries of life, like where all your socks go or why toast always lands butter-side down. Let’s just admit it. We’ve all been there. Staring up, a little frustrated, a little resigned.
Some people, the real go-getters, the DIY superheroes, they probably have their trusty spackle and their battle-ready putty knife out before the plaster even finishes its dramatic descent. They’re probably humming a triumphant tune, envisioning a perfectly smooth, seamless finish. Bless their hearts. They’re the Martha Stewarts of the ceiling world.
Then there are the rest of us. The contemplatives. The ones who see a crack and think, “Well, that’s… interesting.” We might even develop a fondness for it. It adds character, right? Like a little scar that tells a story. Maybe it’s the story of the night the cat achieved Olympic-level acrobatics. Or perhaps it's the phantom footsteps of a tiny gnome convention. Who’s to say?
Must Read
My personal theory? It’s a portal. A tiny, unassuming portal to another dimension. And who am I to mess with interdimensional travel?
But eventually, even the most seasoned crack-appreciators can succumb to the pressure. You know, when company’s coming. Or when you’ve had one too many glasses of wine and started having existential debates with the ceiling itself. That’s when the conversation shifts from “Oh, look, a crack!” to “Okay, fine. How do I actually do this?”

So, you’ve decided to join the ranks of the ceiling-fixing warriors. Good for you! Take a deep breath. It’s not rocket surgery. Well, it’s not actual rocket surgery, which I’m pretty sure involves more explosions and less… dust. Lots and lots of dust. Prepare for the dust. It’s like glitter for home repair. It gets everywhere. In your hair, in your eyebrows, in your soul.
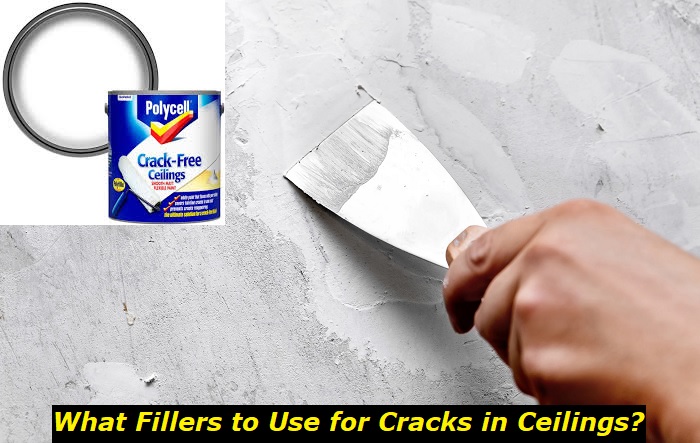
First things first. You need your arsenal. Think of it as your secret weapon against the forces of ceiling imperfection. You’ll need some spackle. It comes in a little tub, all innocent-looking. Don’t be fooled. This stuff is the putty-based equivalent of a tiny superhero. You’ll also need a putty knife. Mine looks suspiciously like a miniature trowel. Yours might too. Embrace the aesthetic.
Now, some people will tell you to meticulously clean out the crack. They’ll talk about razor blades and screwdrivers and things that sound frankly terrifying. They might even suggest cutting a little “V” shape into the crack. A “V” for victory, perhaps? I prefer to think of it as the crack’s signature move. So, let’s just nod politely to those folks and move on. My approach is less “precision demolition” and more “gentle persuasion.”
You take your trusty putty knife, and you scoop a little bit of that magic spackle onto it. Don’t go overboard. You’re not trying to build a new ceiling layer. You’re just trying to coax the spackle into that little gap. It’s like giving the crack a tiny, comforting hug. Press gently. You want the spackle to fill the void, not to become a bulging, unsightly mass.

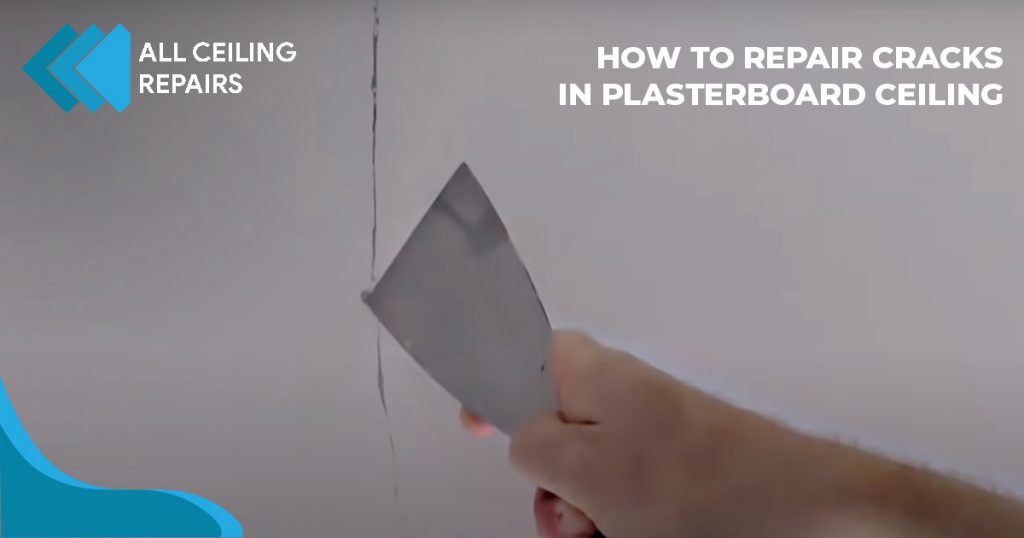
Then, you smooth it out. Think of it like frosting a cake, but with less sugar and a lot more white powdery stuff. You’re aiming for a smooth, even surface. Imagine you’re giving the ceiling a gentle pet. No harsh strokes! This is a delicate operation.
Now, here’s where my unpopular opinion comes into play. Most people will tell you to do this multiple times. To let it dry, then sand it, then add more spackle, then sand again. It’s a whole production. A multi-act play of plaster perfection. And if you’re aiming for that seamless, invisible repair, then yes, that’s probably the way to go. But who has that kind of time? And who enjoys sanding? It’s the dusty nemesis of all home improvement projects.
![How to Fix Ceiling Drywall Crack | DIY 6 Steps [Solution]](https://handyworkshop.com/wp-content/uploads/2022/12/In-Order-to-Fill-Plaster-Cracks-Which-Filler-Is-Recommended.webp)
My philosophy? Do it once. Do it well enough. If it’s mostly smooth, and the crack is no longer a gaping maw of doom, I consider it a win. A qualified win, perhaps. A win with a tiny asterisk. If you squint really hard, and the light hits it just right, you might still see it. But hey, it’s better than it was, right? And honestly, who’s inspecting your ceiling with a magnifying glass when they visit? Probably no one. They’re too busy looking at your dust bunnies under the sofa.
The key is patience. Even my “do it once” method requires a little waiting. You have to let the spackle dry. Don’t poke it. Don’t prod it. Just let it do its thing. It needs time to solidify its commitment to being a crack-filler.
Once it’s dry, you can admire your handiwork. You might even do a little happy dance. You’ve conquered the ceiling crack! Or at least, you’ve significantly reduced its existential dread. And that, my friends, is a victory in itself. Now, if you’ll excuse me, I think I saw a new crack forming over by the light fixture. It’s probably just the gnomes planning their next convention.

![How to Fix Ceiling Drywall Crack | DIY 6 Steps [Solution]](https://handyworkshop.com/wp-content/uploads/2022/12/How-to-Fix-Ceiling-Drywall-Crack.webp)