How To Do Gel Nails At Home
Okay, friends, let’s talk about something truly magical: achieving that salon-smooth, super-shiny, chip-proof gel nail look right in your own cozy castle. Forget those frantic last-minute salon appointments or the soul-crushing disappointment of chipped polish a day later. We’re talking about unlocking your inner nail guru, and guess what? It’s not rocket science, it’s more like… super fun science!
Imagine this: you’re lounging on your couch, maybe with a delightful beverage in hand, and you’re giving yourself a mani that looks like you just stepped out of a high-end beauty boutique. No judgment if your couch has a few mysterious crumbs or if your pet is demanding belly rubs; this is your personal spa zone. We’re about to make your fingertips the envy of… well, everyone you encounter!
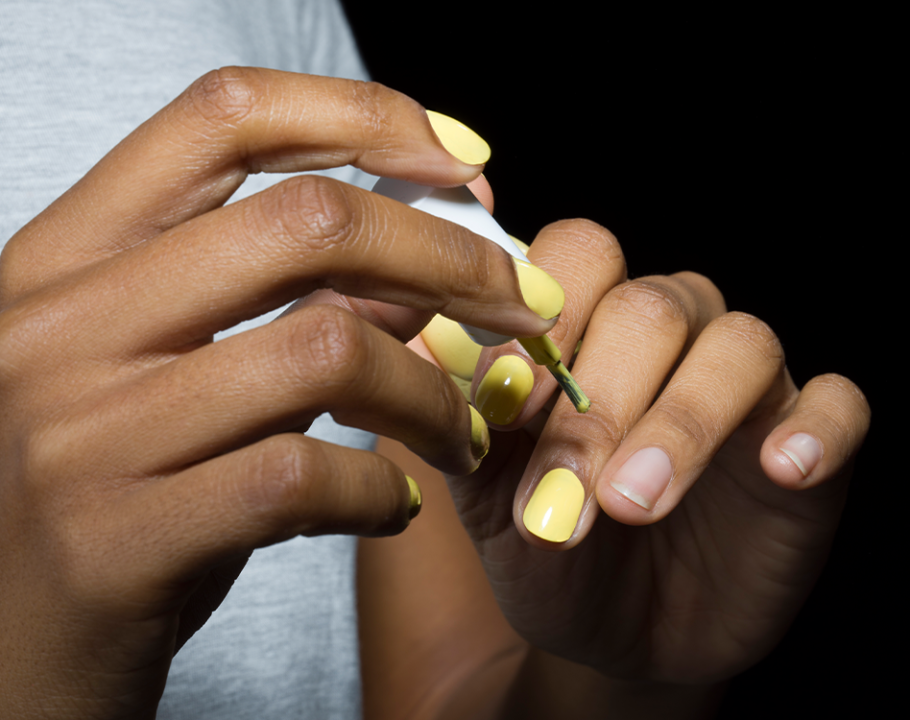
So, what’s the secret sauce, you ask? It’s a little thing called gel polish, and it’s basically a superhero for your nails. Unlike regular polish that dries in the air and can smudge if you so much as breathe on it, gel polish needs a little nudge from a special lamp to become its super-hard, super-shiny self. Think of it as a tiny, glamorous transformation party for your nails!
Must Read
Gathering Your Glam Squad (The Supplies!)
First things first, you need your trusty sidekicks for this nail adventure. Don’t worry, they’re not as intimidating as they sound. You’ll definitely need a UV/LED lamp. This is your nail’s personal tanning bed, but way, way cooler and way, way faster. Make sure it’s big enough for your whole hand!
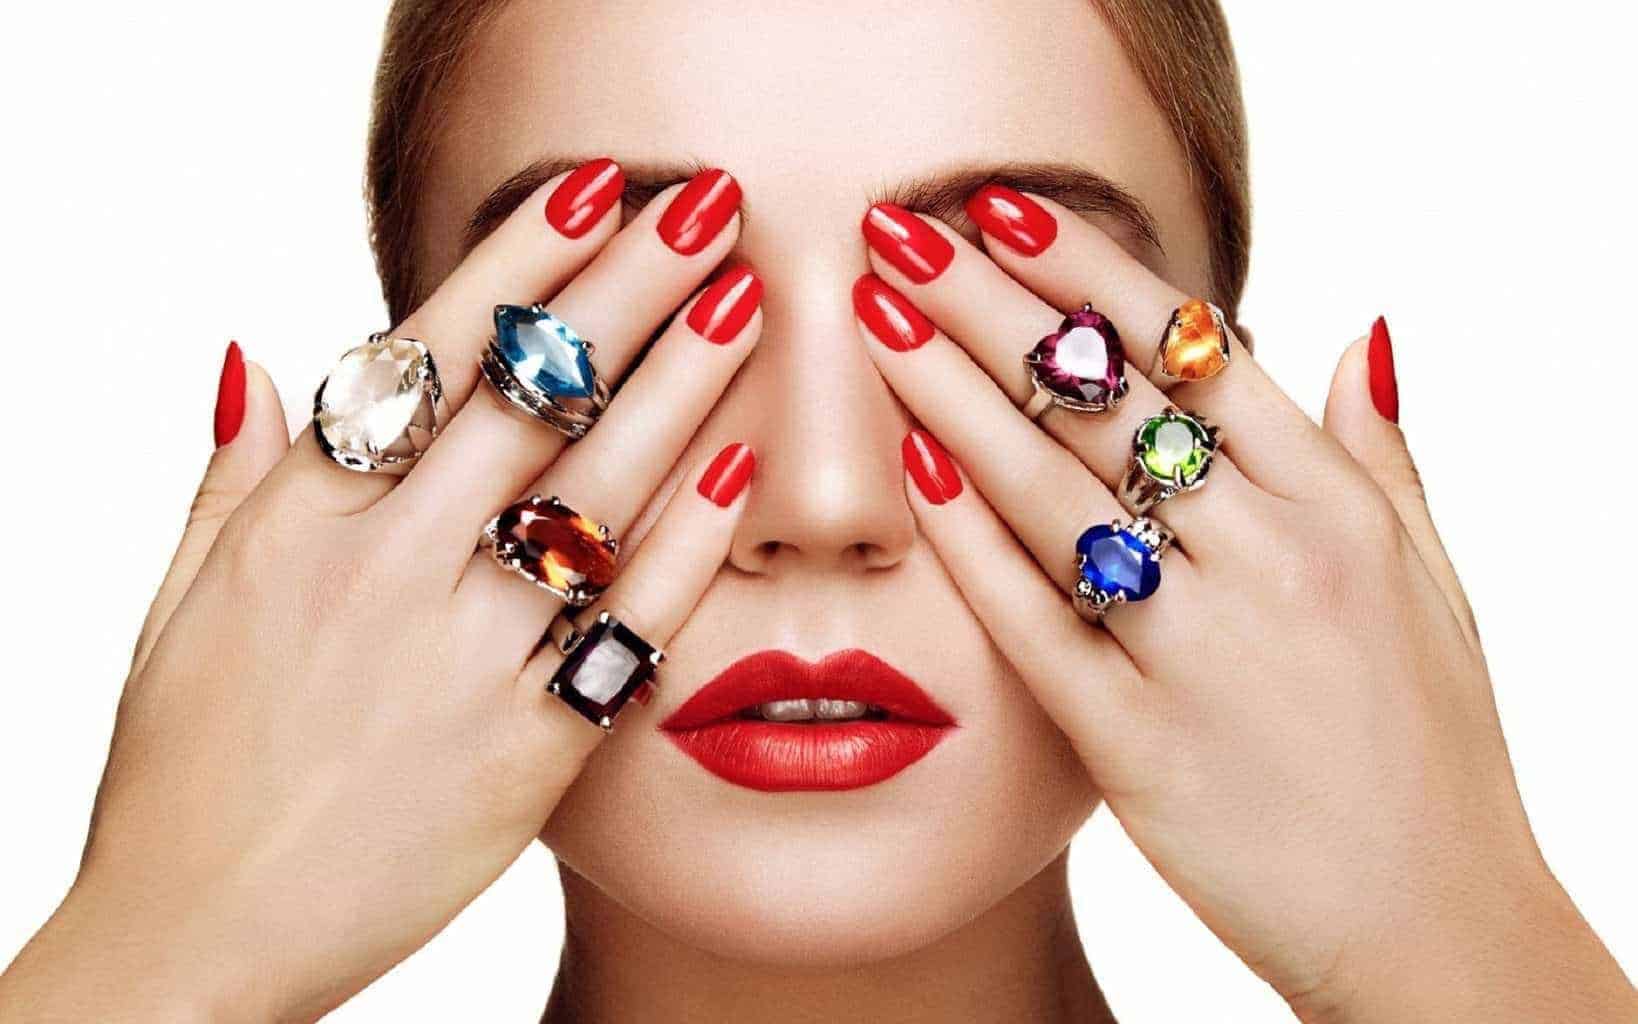
Next up, the star of the show: gel polish itself. These come in a kaleidoscope of colors, so choose wisely, my friend. Do you feel a bold red vibe today, or are you leaning towards a subtle, sophisticated nude? The power is in your hands (literally!).
You’ll also need a few preparation pals. A nail file is essential for shaping your nails. Think of it as sculpting your tiny nail masterpieces. And a buffer block? That’s your secret weapon for making the nail surface super smooth, ready to embrace the gel goodness.
Don’t forget the essential pre-game steps: a cuticle pusher to gently nudge those sleepy cuticles back, and some lint-free wipes. These are crucial for cleaning off dust and residue without leaving little fuzzies behind, which would be, dare I say, a nail tragedy.
And of course, the foundational layers: a base coat and a top coat. These are the dynamic duo that make your gel polish last for eons. The base coat protects your natural nail, and the top coat gives you that dazzling, impenetrable shine. They’re like the protective armor and the sparkling crown for your gel manicure.
The Grand Gel Transformation: Step-by-Step Shenanigans
Alright, ready to dive into the fun? Let’s get these nails ready to party! First, take your nail file and gently shape your nails. Go with the flow, don’t be aggressive; we’re creating beauty, not excavating a diamond mine. Your desired shape is your oyster!
Now, grab your buffer block and give your nail surface a gentle buff. This is just to create a tiny bit of grip, so the gel has something to cling to. Think of it as giving your nails a mini-spa treatment. A light, feathery touch is all you need.
Next, it's time to tame those cuticles. Gently push them back with your cuticle pusher. This makes your nails look longer and cleaner, and it prevents the gel from lifting later. It’s like tidying up the edges of a beautiful canvas.
Now, grab those lint-free wipes and give your nails a good swipe. This removes any dust or oils. We want a perfectly clean slate for our artistic endeavors. Imagine wiping away all the worries of the day!
Here comes the exciting part: the base coat! Apply a thin, even layer to each nail. Don’t get it all over your skin; that’s a no-go. Then, pop your hand under the UV/LED lamp. Follow your lamp’s instructions for curing time – it’s usually about 30-60 seconds. This is the gel’s first wake-up call!

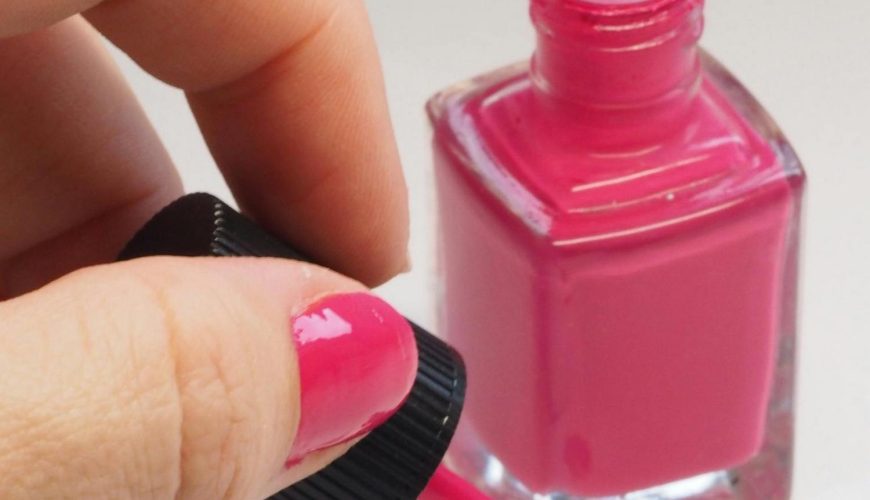
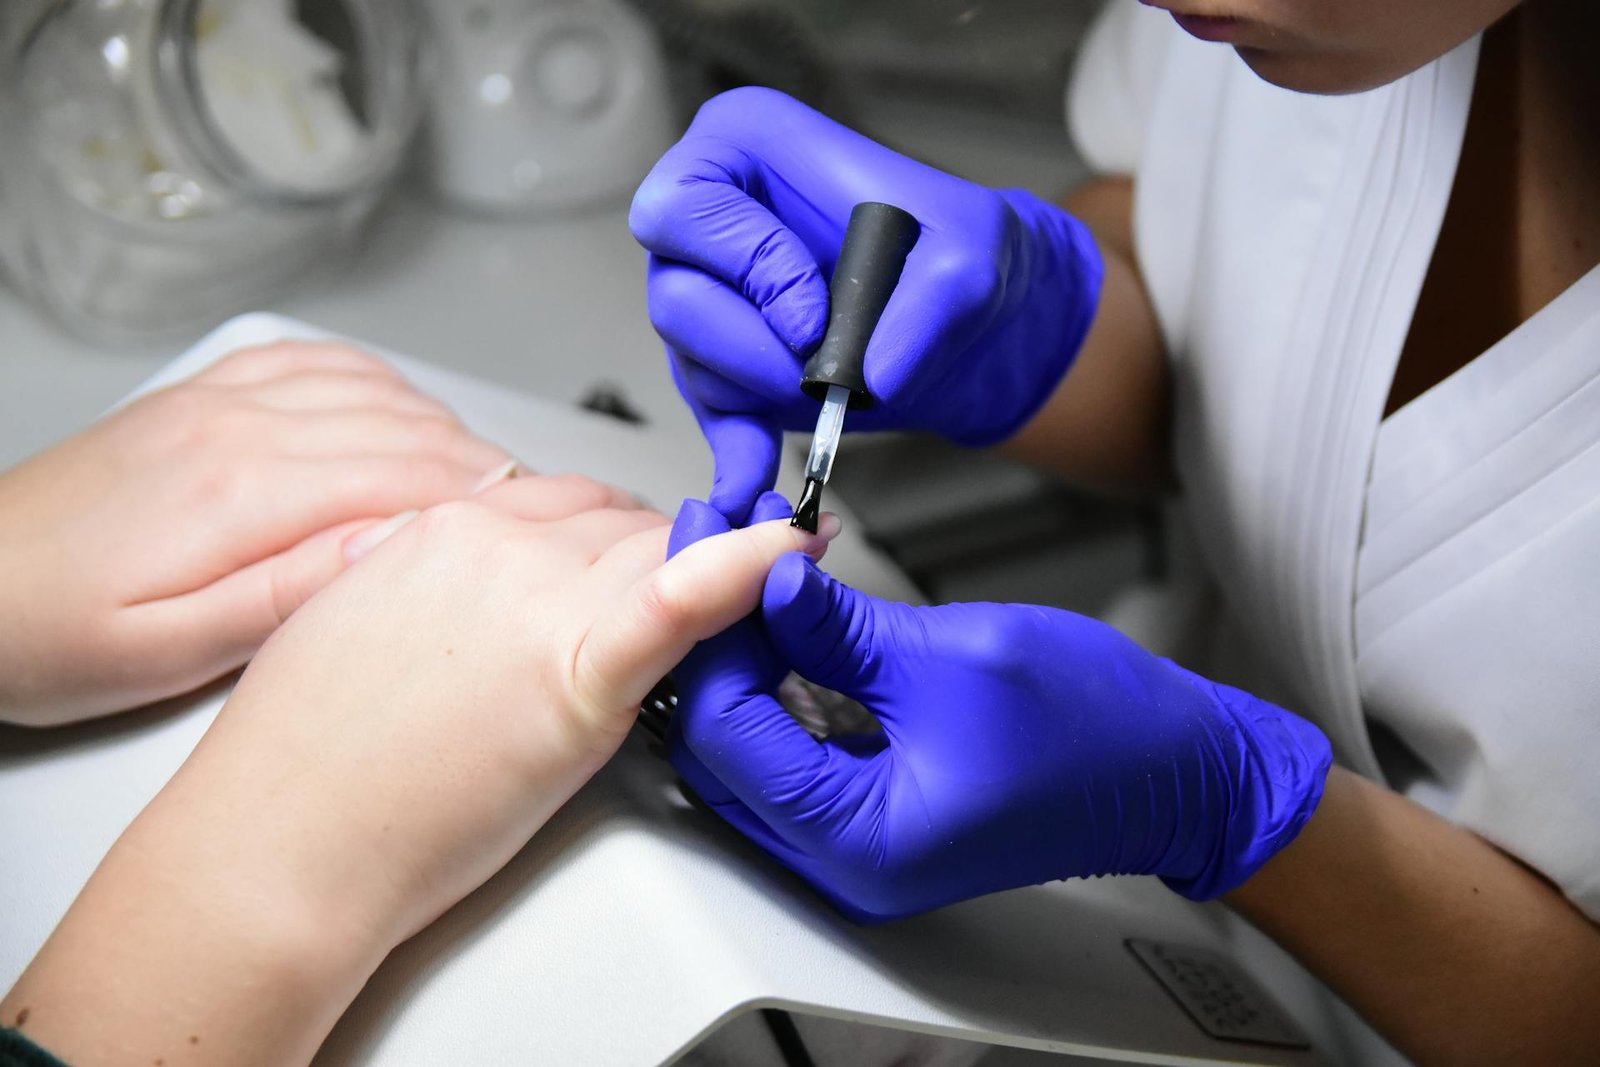
Time for the main event: the gel polish color! Apply a thin layer. Again, thin is key! Thick layers can be lumpy and won’t cure properly. If you do get a little on your skin, a clean-up brush dipped in alcohol can work wonders for precision tidying. Then, cure it again under the lamp. You might need two or even three thin coats for that perfect, opaque color. Each coat is a layer of pure awesomeness being built!
And finally, the grand finale: the top coat! Apply a thin, even layer, making sure to cap off the free edge of your nail. This is your shield against chipping and your ticket to maximum shine. Once cured under the lamp for the final time, you’ll have nails that gleam like a disco ball!
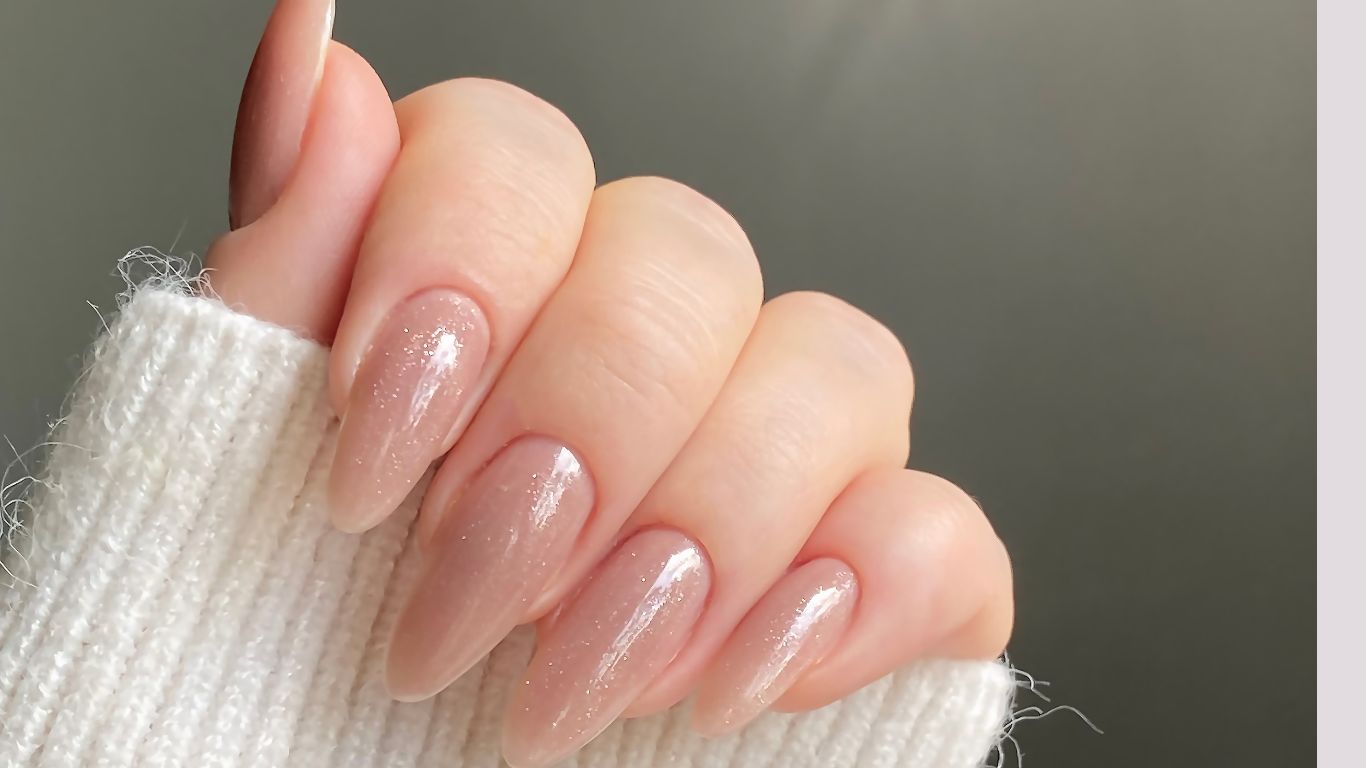
For many top coats, there’s a sticky residue left after curing. Don’t panic! Grab another lint-free wipe, this time soaked in isopropyl alcohol. Gently wipe away the sticky layer, and voila! Behold your magnificent, super-shiny, salon-worthy gel manicure. It’s like peeling back a protective film to reveal pure brilliance!
Pro-Tips for Peak Gel Performance
Remember, thin coats are your best friend. Think of it as applying frosting to a cake – you want smooth, even layers, not a giant glob. This ensures proper curing and a flawless finish.
Always cap the free edge of your nail with each coat, including the base and top coat. This is like sealing the deal, preventing any sneaky chips from starting. It’s the ultimate defense mechanism!
Don’t skip the prep work! Clean nails are happy nails. The better you prepare your nails, the longer your gel polish will last. It’s the foundation of any great manicure.
And when it comes to removing your gel polish? Never, ever peel it off! That’s a fast track to damaging your natural nails. You’ll need acetone and some cotton balls for a gentle soak-off. It’s a bit of a process, but your nails will thank you for it.
So there you have it! Gel nails at home are totally achievable, seriously fun, and will leave you with nails that are ready for anything. Go forth and conquer the world with your dazzling digits!