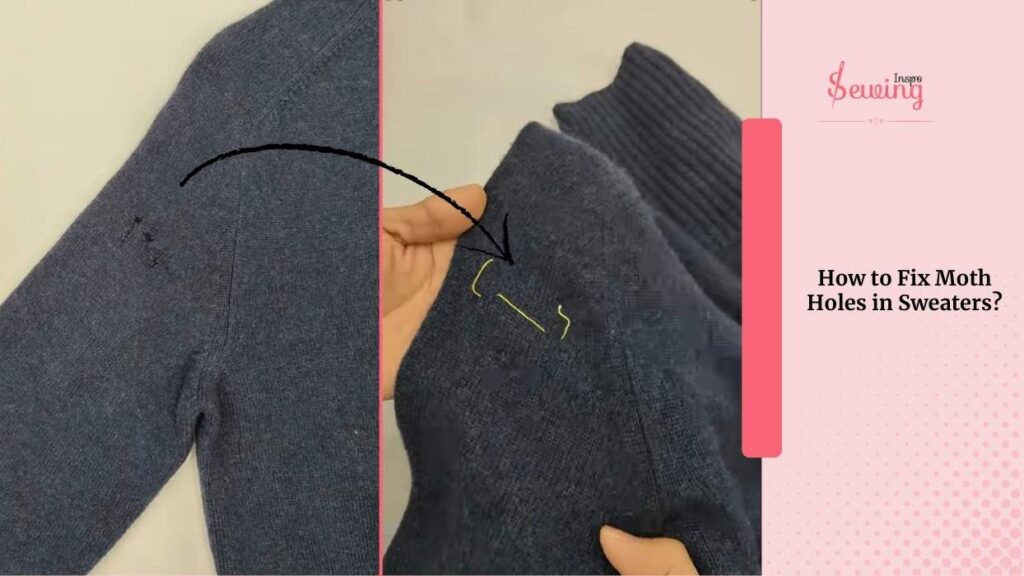
How To Darn A Hole In A Sweater

Oh no! That heart-wrenching moment. You’ve just discovered it. A gaping chasm in your favorite, coziest, most beloved sweater. It might be a tiny mouse-nibbled incident, a rebellious snag from a rogue piece of furniture, or perhaps it’s just the natural, dignified wear and tear of a garment that’s seen more cuddles than a teddy bear at a kindergarten sleepover. Whatever the culprit, that hole is like a tiny, woolen villain, threatening to unravel your entire fashion world. But fear not, my fellow fiber enthusiasts! We’re about to embark on a noble quest, a mission of textile rescue, a daring adventure into the magical land of… darning!
Now, I know what you might be thinking. “Darning? Isn’t that something my grandma did while spinning tales of the olden days?” And while your grandma was undoubtedly a superhero in her own right, darning is not some ancient, arcane art form reserved only for those with magical knitting needles and the patience of a saint. Oh no. Darning is your secret weapon against the fabric fiends. It’s your superpower for sweater salvation. It’s the superhero cape for your knitwear!
Imagine this: you’re getting ready for a super important, world-changing event (okay, maybe just a really important coffee date). You pull out your trusty, hole-free sweater, ready to conquer the day. But wait! There it is. That tiny, mocking hole. Your heart sinks. You’re doomed to a day of feeling… incomplete. Un-darned. But if you’ve armed yourself with the mighty art of darning, you can simply whisk out your darning needle and some matching yarn, and in a matter of minutes (or maybe a leisurely half-hour, depending on your drama levels), that hole will be but a distant, fuzzy memory.
Must Read
Let’s talk about the tools of our trade, shall we? It’s not exactly a blacksmith’s forge. You’ll need a darning needle, which is basically a needle with a nice, big eye. Think of it as a friendly tunnel for your yarn to waltz through. And then there’s the yarn. Now, the ideal yarn is one that’s as close as possible to your sweater’s original yarn in both color and thickness. It’s like finding a long-lost twin for your sweater’s fibers. If you can’t find an exact match, don’t fret! A slightly different shade can be a charming, artistic statement. Think of it as giving your sweater a little personality, a tiny, woven scar that tells a story of resilience and resourcefulness.
And for those who truly want to elevate their darning game, consider a darning mushroom or a small, smooth object like an egg or a lightbulb. This little helper acts as a firm surface to stretch the fabric over. It’s like a tiny, supportive stage for your mending masterpiece. It makes the whole process smoother, less fiddly, and frankly, a bit more professional-looking. You'll feel like a genuine textile surgeon, performing delicate surgery on your beloved knitwear.
:max_bytes(150000):strip_icc()/Sweaterhole-GettyImages-1009956120-88d971e310b74640b161f00d836d8c44.jpg)
So, how do we do this marvelous mending? First, take a deep breath. You’ve got this. Turn your sweater inside out. This is where the magic happens, behind the scenes, where no one will judge your slightly wobbly stitches. Now, gently push the edges of the hole outwards. You want to create a small, manageable area to work with. Imagine you’re gently persuading a tiny, shy creature to come out of its hiding place.
Next, using your darning needle and yarn, you’re going to create a sturdy foundation. Think of it as laying down the first, brave planks of a bridge. You’ll weave your needle back and forth across the hole, creating a series of parallel lines. These are your warp threads, the unsung heroes of your repair. Don’t pull too tight, or you’ll distort the fabric. We’re aiming for gentle, supportive tension, like a reassuring pat on the back. You want to cover the entire hole with these threads, leaving a little bit of extra fabric around the edges for good measure. This is your safety net, your extra bit of courage.
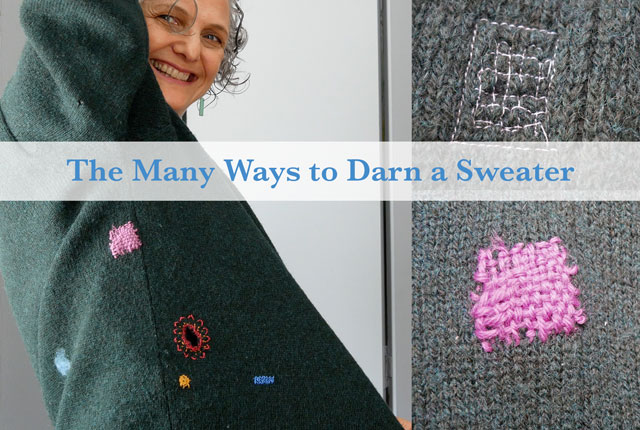
Once your foundation is laid, it’s time for the weaving. This is where the true art unfolds. You’ll now weave your yarn back and forth, over and under the foundation threads. It’s like a tiny, intricate dance between your needle and the fabric. Go slowly, and enjoy the process. You’re not just fixing a hole; you’re creating something new, something strong, something beautiful. Think of each stitch as a little act of love for your sweater. You’re literally weaving love back into its fibers!
Continue this weaving pattern until the hole is completely covered. You might need to go back and forth a few times to ensure it’s nice and solid. Don’t worry if it’s not perfectly invisible. In fact, sometimes a slightly visible mend is even better. It’s a badge of honor, a testament to your skills, a subtle “I’ve got this” whispered to the world. As you weave, try to keep your stitches close together, filling in any gaps. This is where that darning mushroom really comes in handy, giving you a nice, taut surface to work on. It’s like having your own personal mending assistant!
When you’re finished, gently pull the yarn through and tie a small knot on the inside of your sweater. Trim any excess yarn. And then, with a flourish, turn your sweater right side out. Behold! The hole is gone. Replaced by a patch of perfectly darned goodness. You’ve done it! You’ve conquered the gaping void. You’ve become a sweater-saving superhero. Your sweater is whole again, ready for more adventures, more cuddles, and more cozy moments. So go forth, my friends, and darn with glee! Your sweaters (and your wallet) will thank you!