How To Clean An Infant Car Seat

Alright, mamas and daddies (and anyone brave enough to volunteer for baby duty), let's talk about something that might sound a little less glamorous than a photoshoot with your tiny human. We're diving deep into the abyss of the infant car seat.
Yep, that cozy little pod that's supposed to be a sanctuary for your precious cargo. But let's be real. It's also a magnet for… well, everything. Think spilled milk. Think mysteriously sticky patches. Think… you know.
So, how do we tackle this epic cleaning quest? Grab your favorite beverage. Let's make this fun, shall we?
Must Read
The Car Seat Chronicles: A Journey into the Grime
First off, acknowledge the absurdity. Your car seat. It's basically a tiny, fabric-lined vehicle for a mini-dictator who demands snacks and occasionally projectile vomits them. It’s a miracle of modern engineering that it also doubles as a… biohazard containment unit.
But fear not! Cleaning this beast is actually kind of like an archaeological dig. You never know what treasures (or horrors) you're going to uncover. And hey, a clean car seat means a happier baby, which means a happier you. It’s a win-win-win!
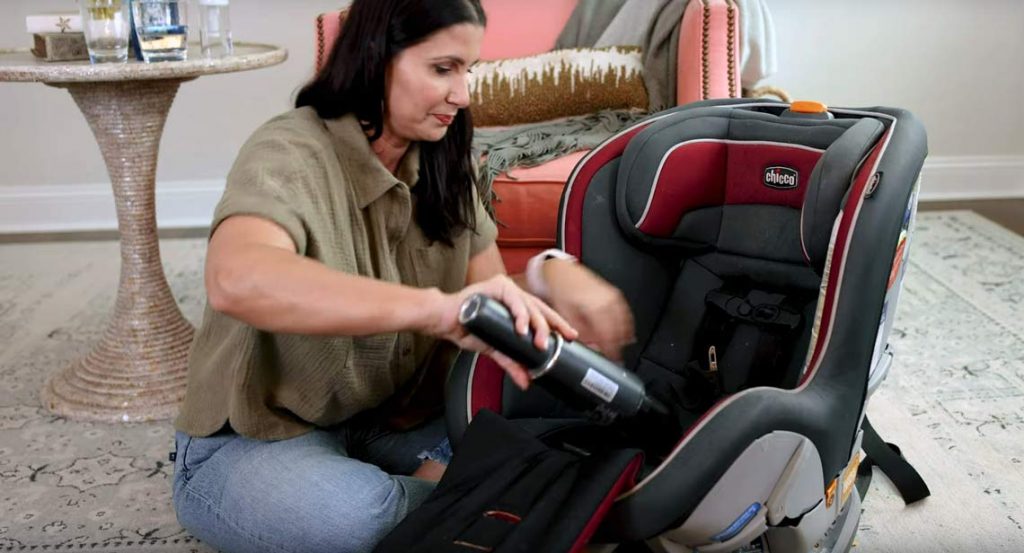
Step 1: The Great Unzipping and Undoing
This is where the adventure truly begins. Most infant car seats have removable fabric components. Look for zippers, snaps, or velcro. It’s like a puzzle! Your mission, should you choose to accept it, is to liberate all the fabric from the plastic shell.
Sometimes, this feels like wrestling an octopus. The straps have a mind of their own. The padding insists on re-attaching itself. Just breathe. You've dealt with a newborn's demands; you can handle this.

Pro Tip: Take a quick photo with your phone before you start taking things apart. It’s like a cheat sheet for reassembly. Future You will thank Present You. Trust me on this.
Step 2: The Fabric Frontier - Washing Woes and Wins
Okay, the fabric is out! Now what? Most car seat manufacturers will tell you to hand wash or use a gentle cycle on your washing machine. Always, always, always check the manual or the care tag. They know their stuff, even if their instructions sound like they were written by a robot.
If you're hand-washing, think gentle soap and cool water. Think of it as a spa treatment for the seat. You wouldn’t want to shock your delicate skin, would you? Neither does your baby’s car seat.
For the washing machine warriors out there, use a mild detergent and the gentlest cycle your machine offers. And for the love of all that is holy, do NOT use bleach. We’re aiming for clean, not… radioactive.

Quirky Fact: Did you know that some car seats are made with materials that are surprisingly resistant to stains? It’s like they were designed with future meltdowns in mind. Science is pretty neat, huh?
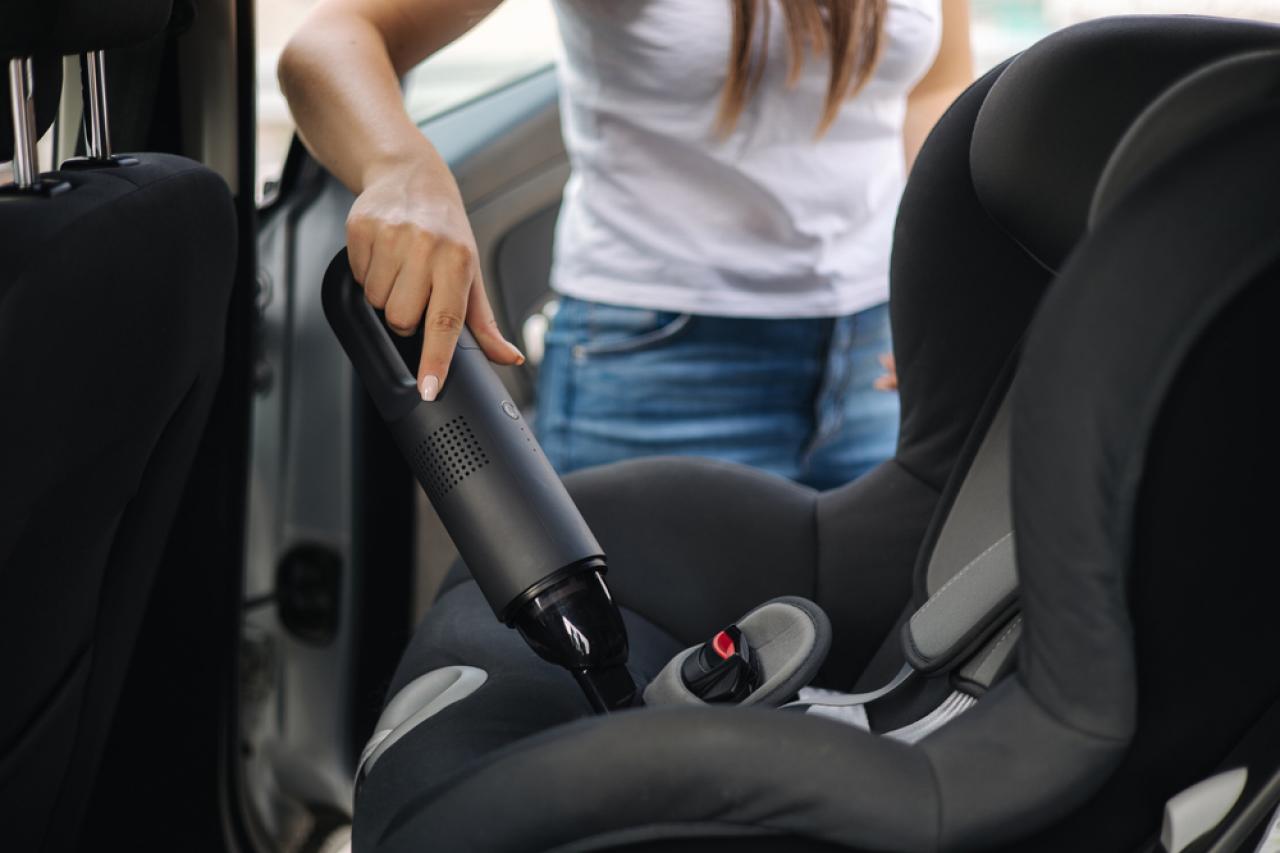
Step 3: The Plastic Plains - Wiping Away the Evidence
While the fabric is air-drying (let’s embrace the natural aesthetic!), let’s tackle the plastic shell. This is where you’ll likely find the real evidence of your baby’s… enthusiasm. Crumbs. Spilled juice. That weird, sticky residue that defies explanation.
Grab a damp cloth. A mild soap solution is your friend here. Think about what you’d use to clean a high chair tray. Same principle, just a bit more… intense.
For those stubborn spots, you might need a soft-bristled brush. Think toothbrush for the car seat. It’s oddly satisfying to scrub away the remnants of a particularly enthusiastic snack session.
Funny Detail: Have you ever found something truly bizarre in the nooks and crannies of your car seat? A lost Lego? A rogue cheerio? A tiny, forgotten pacifier? It’s like a treasure hunt, but with slightly less treasure and more… lint.
Step 4: The Strap Struggle - Getting into the Grooves
The straps are tricky. They’re often made of a different material and can be a pain to get truly clean. You can usually wipe them down with a damp cloth and mild soap. If they’re particularly gnarly, you might need to get creative.
A Q-tip can be your best friend for getting into those tight spots. Or a dental floss pick. Who knew dental hygiene would be so relevant to car seat cleaning?
Important Note: Never ever soak the harness straps. They are designed to be strong and safe, and excessive moisture can compromise their integrity. So, gentle wiping is the name of the game here.
Step 5: The Grand Reassembly - Back to the Future!
Once everything is completely dry (this is crucial! Nobody wants a moldy car seat!), it's time to put it all back together. Refer to your cheat sheet photo. This is where you earn your stripes.

This can sometimes be more challenging than taking it apart. The zippers might snag. The snaps might refuse to cooperate. Just keep at it. You're a pro now.
Why is this fun? Because you’re literally transforming a grubby mess into a sparkling clean haven. It’s a visual representation of your efforts. Plus, the feeling of accomplishment when it’s all back together is immense.
Step 6: The Final Inspection - A Fresh Start
Give everything a final once-over. Are all the straps securely fastened? Is the fabric sitting just right? Does it smell… fresh?
Admire your handiwork. You’ve conquered the infant car seat! You’ve battled the grime and emerged victorious. Now, go forth and embrace the inevitable future spills and crumbs with the confidence of a seasoned car seat cleaner.
Remember, this isn't just about cleanliness. It's about creating a safe and pleasant environment for your little one. And honestly, a clean car seat just feels better. It’s one of those small victories in the chaotic world of parenting that makes a big difference. So go on, give yourself a pat on the back. You’ve earned it!