How To Change Washer On A Tap
Ever found yourself staring at a dripping tap, a persistent, rhythmic annoyance that whispers "fix me" in the dead of night? Well, that little drip, drip, drip isn't just a sound; it's often a signal from your tap that a tiny, unsung hero, the washer, needs a bit of attention. Learning how to change a tap washer might sound like a purely utilitarian skill, but honestly, there's a certain quiet satisfaction, a dash of domestic wizardry, in being able to tackle these small, everyday problems yourself. It’s like unlocking a secret level in the game of homeownership!
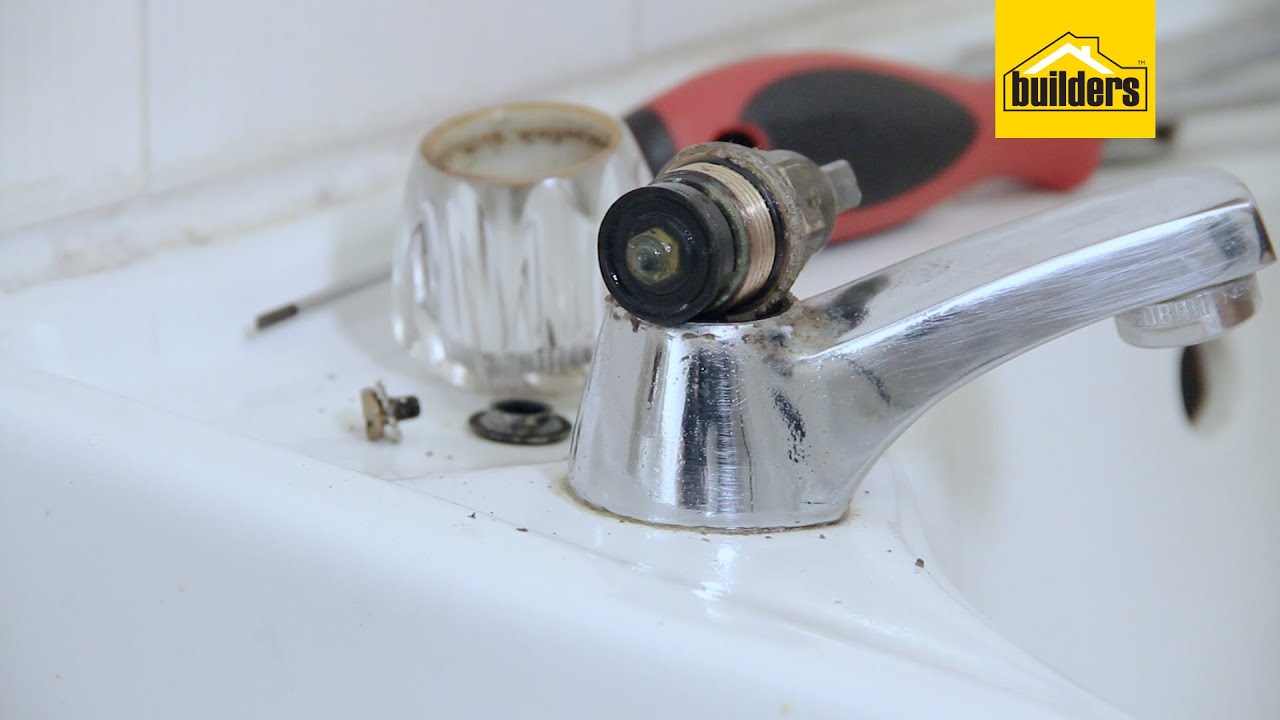
So, what exactly is this magical washer, and why is its well-being so crucial? At its heart, a tap washer is a simple rubber or silicone seal. Its primary purpose is to create a watertight barrier when the tap is turned off. When you lift the tap handle, you're essentially moving a spindle that presses down on this washer, stopping the flow of water. Over time, however, these humble washers can become worn, hardened, cracked, or compressed, losing their ability to form a perfect seal. This is when the dreaded drip begins. The benefits of addressing this are clear: you save water, which is good for the planet and your water bill. You also prevent that maddening sound, contributing to a more peaceful home environment. Plus, you gain the confidence that comes from knowing you can handle a common household repair.
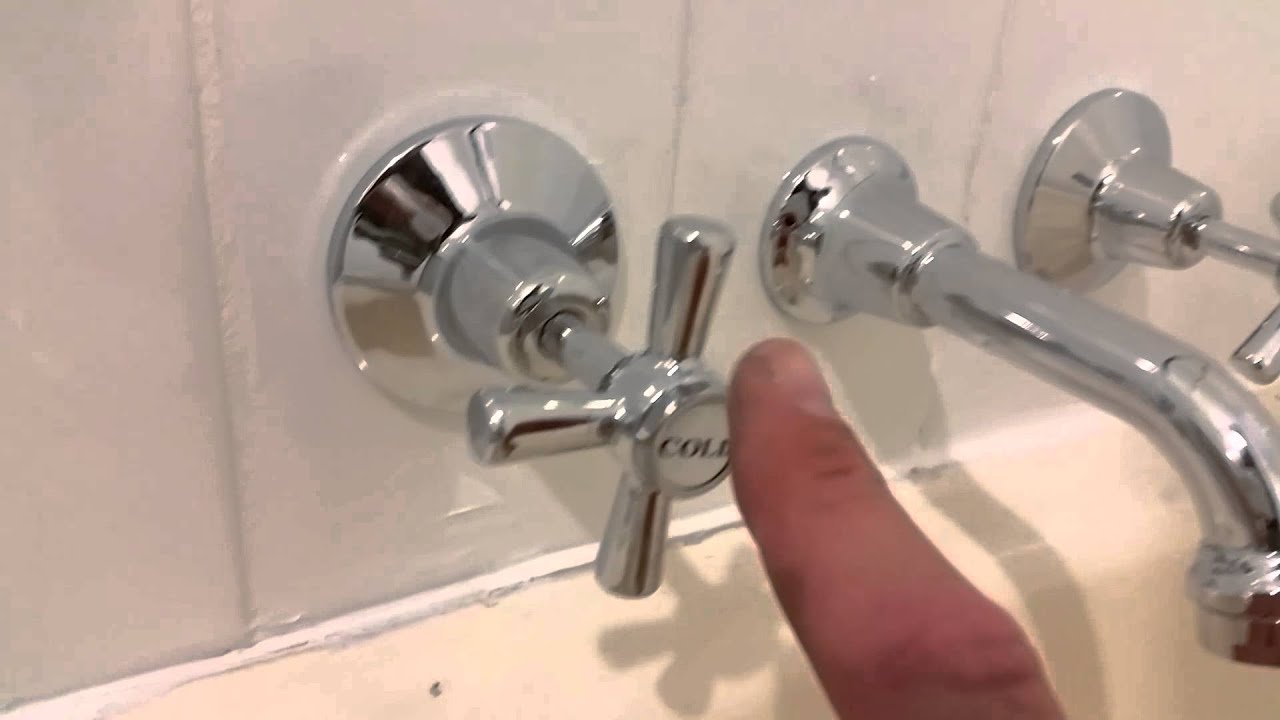
Think about it in educational terms. For younger folks, it's a fantastic introduction to basic mechanics and problem-solving. It teaches them the concept of cause and effect – a worn part leads to a specific problem, and a replacement part fixes it. They learn about tools, patience, and the satisfaction of a job well done. In daily life, beyond the obvious drip-fixing, understanding tap mechanics can demystify other simple plumbing issues. Perhaps you've encountered a tap that's stiff to turn? Often, this is another sign of a washer (or its accompanying components) needing a refresh. It empowers you to be a more proactive and less reactive homeowner.
Must Read
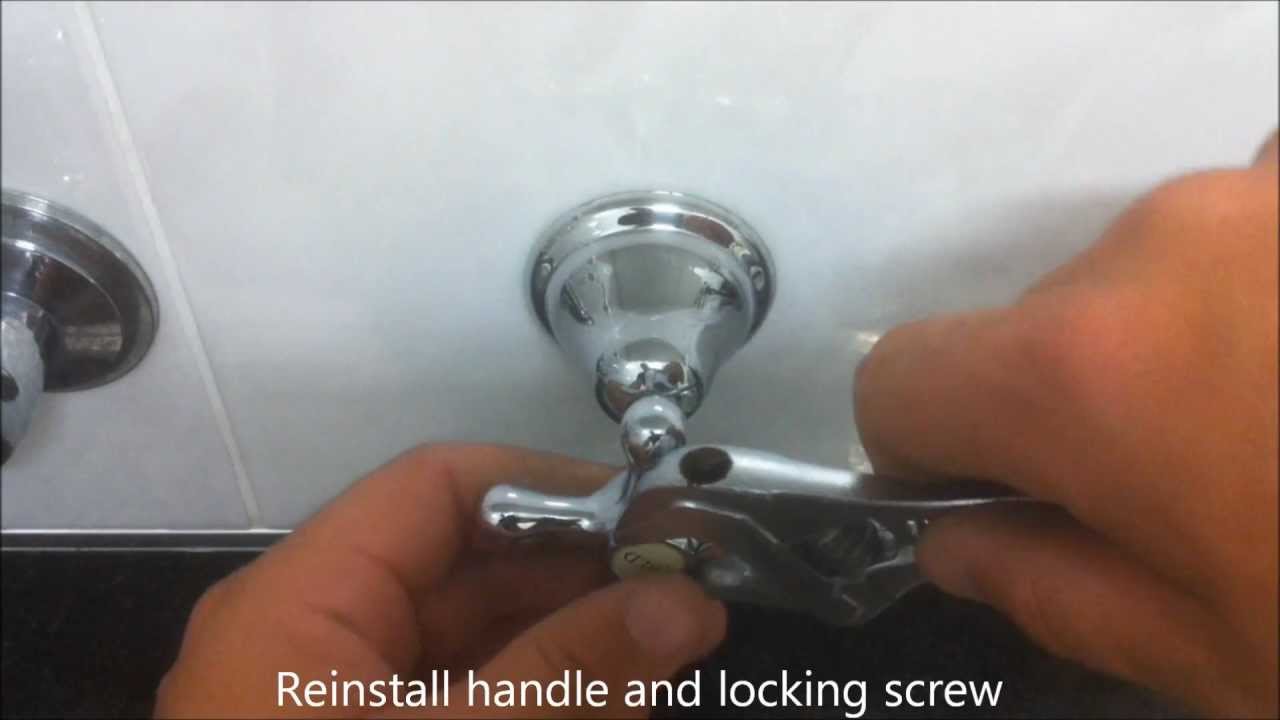
Ready to explore this little skill yourself? It's surprisingly straightforward. The best way to start is to simply observe. Watch a YouTube tutorial or two – the visual aspect is incredibly helpful. You’ll see that most taps follow a similar pattern: unscrewing a decorative cap, then a main body or screw, to reveal the spindle and the washer at its base. When you’re ready to try it, gather your supplies. You'll likely need a screwdriver (often a flathead), possibly a wrench, and, of course, a new tap washer. You can often buy a mixed pack of assorted washers from a hardware store, which is a great way to be prepared for different tap types. If you’re unsure about your tap's specific type, taking a photo or even the old washer with you to the store can be a lifesaver. And remember, gentle pressure is key. Don't force anything; if a part feels stuck, it's usually best to pause and re-evaluate. This simple act of changing a washer is a stepping stone to a more capable and confident you, all while silencing that persistent drip.