How To Change Pedals On A Bike

There’s something incredibly satisfying about a bike. Whether you’re a seasoned cyclist who lives for the open road, a commuter navigating the urban jungle, or simply someone who enjoys a leisurely spin through the park, a well-maintained bike is a gateway to freedom and fitness. And sometimes, that gateway needs a little tune-up. Today, we're diving into a surprisingly accessible and rewarding DIY task: changing your bike pedals.
Why would you want to swap out your pedals? Well, the benefits are as varied as the types of bikes out there! For starters, upgrading your pedals can significantly enhance your riding experience. Imagine clipping in with a pair of lightweight, performance-oriented pedals that offer superior grip and power transfer. Or perhaps you’re looking for a more comfortable ride, and a wider, more cushioned platform pedal is the answer. Beyond performance, changing pedals is also a fantastic way to refresh the look of your bike. A pop of color or a sleek new design can make your ride feel brand new without breaking the bank. Plus, if your old pedals are worn out or damaged, replacing them is essential for safety and efficient pedaling. It’s a small change that can have a big impact on your enjoyment.
Think about it: a daily commuter might switch to pedals with built-in reflectors for increased visibility in traffic. A mountain biker might opt for burly platform pedals with aggressive pins for maximum foot security on rough terrain. Even a casual rider might switch from stock pedals to something with a bit more grip to prevent their feet from slipping on damp days. The common thread is personalization and optimization. You're tailoring your bike to your specific needs and preferences.
Must Read
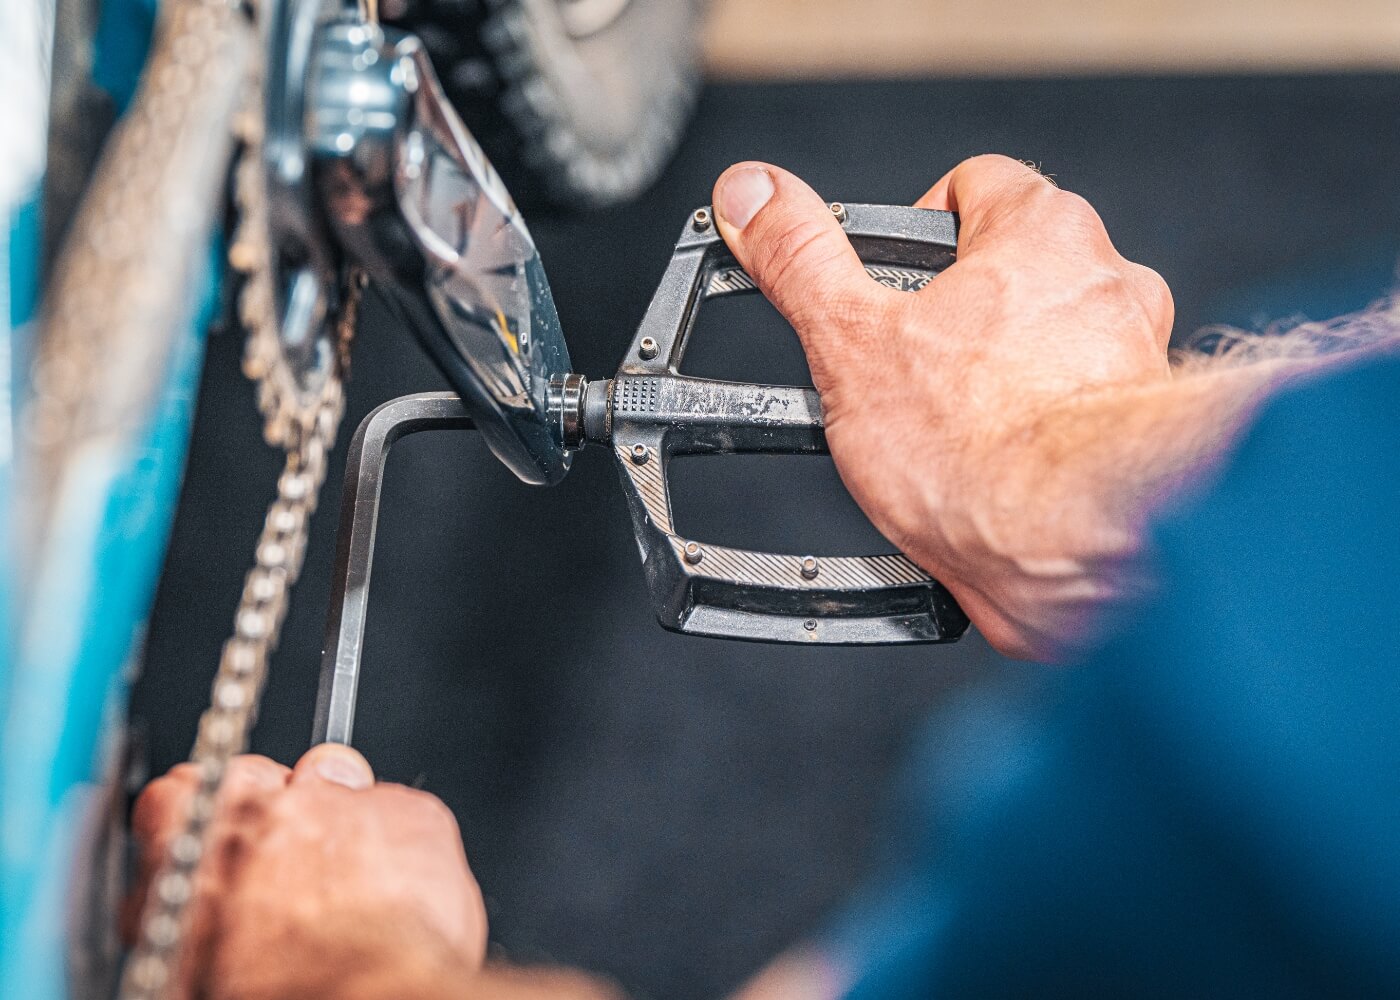
Now, for the practical tips to make this process not just doable, but enjoyable. First things first, you’ll need the right tools. Typically, this involves a 15mm pedal wrench or an Allen key (usually 6mm or 8mm), depending on your pedal type. Don’t skimp on quality tools; they’ll make the job easier and prevent frustration. Before you start, clean the crank arms where the pedals attach. A bit of grit can make removal a pain. When you’re ready to install new pedals, remember the golden rule: righty-tighty, lefty-loosey for the right pedal, and the opposite for the left pedal. This is where many beginners get tripped up! The right pedal (driveside) tightens clockwise, while the left pedal (non-driveside) tightens counter-clockwise. It sounds counterintuitive, but it’s designed this way to prevent them from loosening as you pedal. Apply a thin layer of grease to the pedal threads before screwing them in; this will make future removal much easier and prevent seizing.
And finally, to truly enjoy this process: take your time. Don’t rush. Put on some good music, a podcast, or just enjoy the quiet focus. Consider this a moment of connection with your beloved bike. Each turn of the wrench is a step towards a more comfortable, efficient, and visually appealing ride. Celebrate your accomplishment afterward with a nice spin – you’ve earned it!