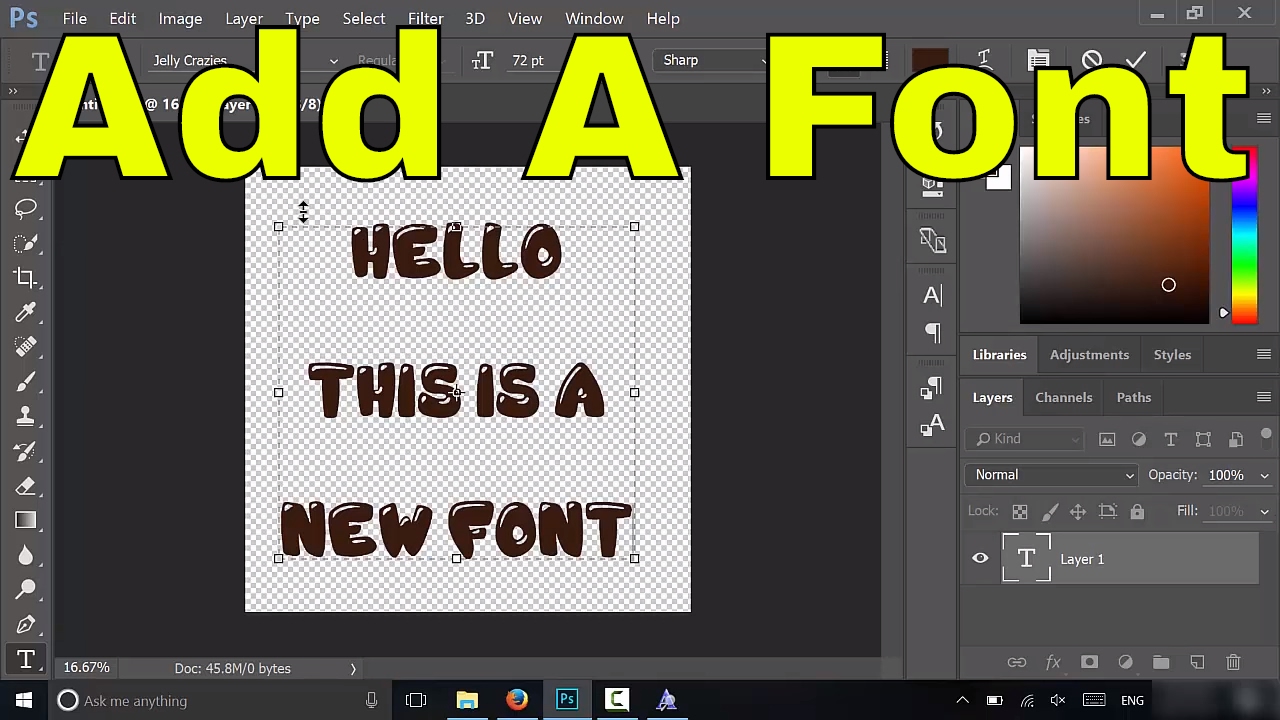
How To Add A Font To Photoshop

Alright, gather 'round, my fellow pixel-pushing adventurers and those who’ve bravely navigated the labyrinthine wilds of Photoshop! Today, we’re diving into a topic that might sound drier than a forgotten slice of toast in a dusty attic: adding a font to Photoshop. But fear not, for this isn't going to be a lecture. Think of it more like a cozy chat over a triple-shot latte, where I, your friendly neighborhood font fairy (minus the wings, sadly), will guide you through this mystical process.
You know that feeling? You're deep in a creative flow, conjuring up a masterpiece. You've got the colors singing, the layers dancing, and then… BAM! You need a font. Not just any font, but that perfect font. The one that screams "chic sophistication!" or "quirky fun!" or perhaps even "this is definitely a ransom note!" You scour Photoshop's pre-installed offerings, and your soul wilts. It’s like being at a buffet and only finding plain crackers. You whisper, “There must be more!”
Well, my friends, there is more! And it’s glorious! The internet is a veritable font-tastrophe (in the best possible way) of typographic treasures, just waiting to be unleashed upon your designs. So, let’s talk about how we tame these digital beasts and get them playing nicely with our beloved Photoshop.
Must Read
The Great Font Hunt: Where to Find Your Typographic Soulmate
Before we can add a font, we need to, well, find one. This is where the real adventure begins! Websites like Google Fonts are a fantastic starting point. They're like a free buffet for your eyes, with thousands of beautiful fonts that you can download and use for pretty much anything, from personal projects to, yes, even making those slightly embarrassing holiday cards. Plus, they’re generally well-behaved and won’t cause your computer to spontaneously combust. Probably.
Then there are sites like Dafont and Font Squirrel. These are the slightly wilder cousins. Dafont is like a quirky thrift store – you’ll find some absolute gems, but also some… questionable choices. (Seriously, I once saw a font called "Bloody Terror" that looked like it was typed by a caffeinated spider. Use with caution!) Font Squirrel tends to be a bit more curated, focusing on free fonts that are generally commercial-use friendly. Think of it as a curated vintage boutique. Just be sure to read the licensing information, folks! We don't want any grumpy font designers showing up at your door demanding royalties for your amazing cat-themed meme.
And let's not forget the paid options! Sites like MyFonts and Adobe Fonts (if you have an Adobe Creative Cloud subscription) offer a dizzying array of professional-grade fonts. These are like the Michelin-starred restaurants of the font world. Expensive, yes, but often worth every penny for that extra touch of polish. Just remember, a fancy font won't magically make your cat meme funnier, but it might make it look very serious about being funny.
The Download Dance: Getting Your Font Onto Your Computer
Once you've found "the one" – that glorious font that makes your heart sing and your design pop – it's time to get it onto your machine. This is usually as simple as clicking a download button. Poof! A tiny file appears, usually in a zipped folder. Zipped folders are like little digital gift boxes, protecting your font until you’re ready to open them. To open them, you just need to double-click them. It’s like a tiny digital unveiling ceremony. How fancy!
The downloaded font will typically be in a `.ttf` (TrueType Font) or `.otf` (OpenType Font) format. These are the VIPs of the font world, the ones Photoshop recognizes and adores. Avoid anything that looks like it was typed on a typewriter powered by hamsters; those are probably not going to work.
The Installation Ignition: Making Photoshop Aware
Now, here’s where things can get a little different depending on your operating system. But don’t sweat it! It’s not rocket science, it’s just… computer science. Which is still pretty cool.

For the Windows Warriors:
This is usually pretty straightforward. You’ve downloaded your font, you’ve unzipped it. Now, simply right-click on the font file (that `.ttf` or `.otf` one). You’ll see an option that says “Install.” Click it. Boom! It’s installed. It’s like sending your font to a tiny, digital finishing school. They learn all the proper etiquette for appearing in your design software.
Alternatively, you can open your Control Panel, go to Appearance and Personalization, and then click on Fonts. You can then drag and drop your font files directly into that folder. It’s like giving your font a new home. A very organized, very alphabetical home.
For the Mac Mavericks:
Mac users, you’ve got a slightly more elegant approach. Double-click that `.ttf` or `.otf` file. This will open up the Font Book application. It’s like a fancy digital library for all your fonts. You’ll see a preview of the font. At the bottom, there’s a button that says “Install Font.” Click it, and voilà! Your font is now part of your Mac’s typographic family.

You can also open Font Book directly from your Applications folder. Then, it’s just a matter of dragging your font files into the Font Book window. It’s all about keeping things neat and tidy, you know?
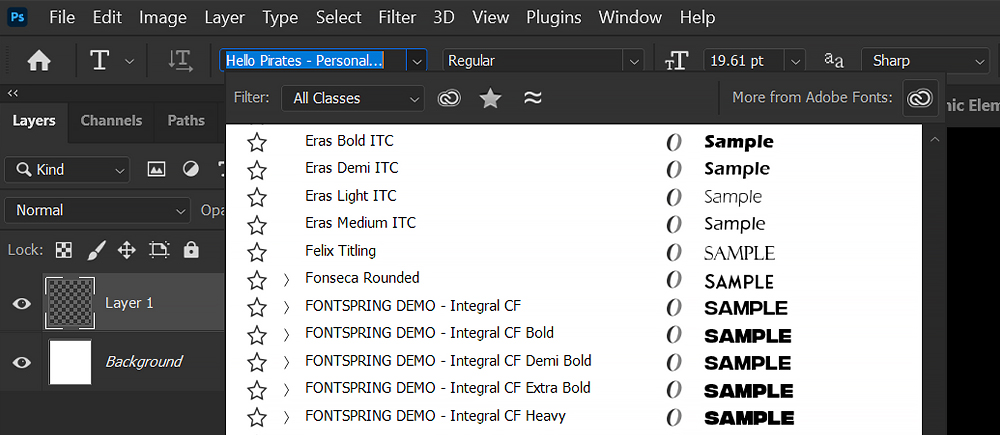
The Photoshop Pilgrimage: Finding Your New Font
Okay, you’ve downloaded, you’ve installed. You’re probably bouncing in your seat with anticipation. But here’s a crucial, sometimes frustrating, step: close Photoshop and then reopen it. I know, I know! It feels like putting on your favorite socks only to realize they’re inside out. But Photoshop needs a little kick in the digital pants to recognize that new font has joined the party. Think of it as Photoshop waking up from a nap and being pleasantly surprised by all the new toys.
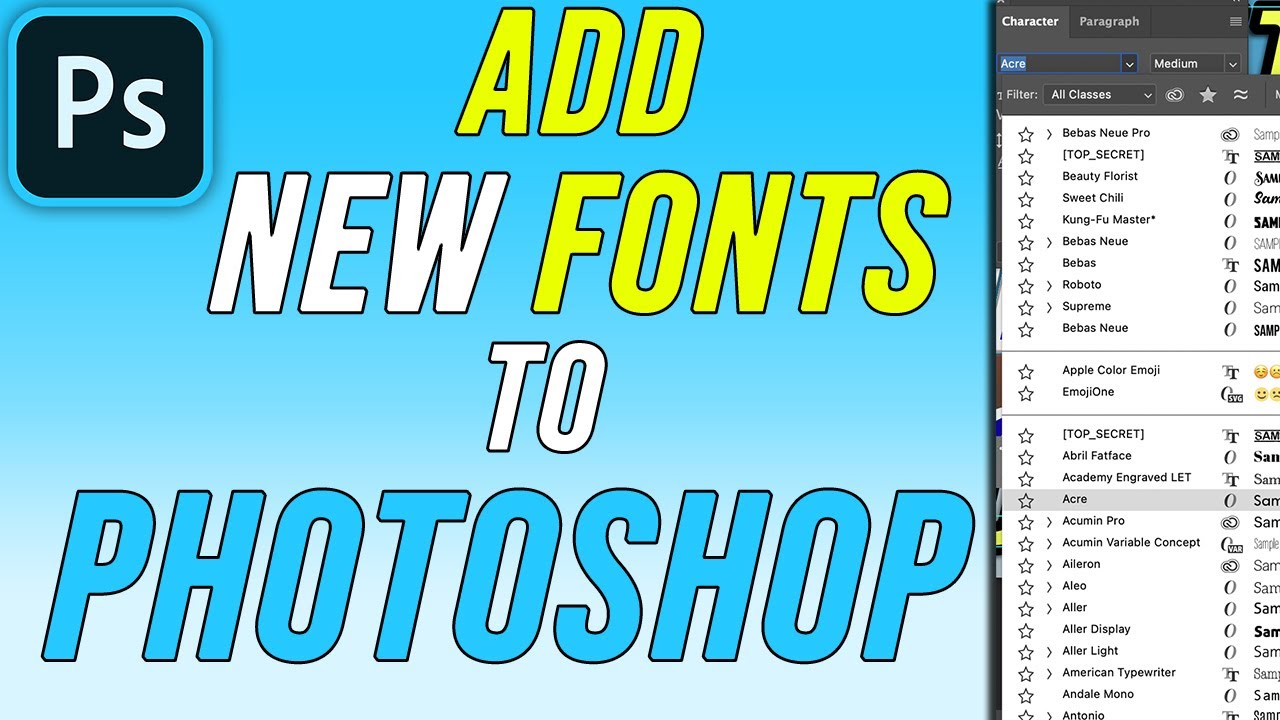
Once Photoshop has been reborn (or at least reloaded), open your project. Grab your Type Tool (that T icon that looks like it's perpetually sighing). Click on your canvas. Now, look at your font dropdown menu. You might have to scroll quite a bit, especially if you’ve been on a font downloading spree. It’s like searching for Waldo in a sea of identical red-and-white striped shirts. But there it is! Your beautiful, glorious, new font. Select it, and start typing away like the design genius you are!
A Few Final Font Follies:
Sometimes, things get a little… quirky. If you’ve installed a font and it’s just not showing up, even after restarting Photoshop, try installing it again. Sometimes the digital universe just needs a gentle nudge. If you’re still having trouble, search online for your specific operating system and the font name, along with "Photoshop not recognizing font." You’re not alone in this font fight!
Also, a word to the wise: don’t go download every single font you see. Your font menu will become a monstrous, unmanageable beast. You’ll spend more time scrolling than creating. Curate your collection! Keep the fonts you actually use. Think of it as decluttering your digital life. It’s good for your soul, and it’s good for your Photoshop sanity.
And there you have it! You've successfully navigated the thrilling, sometimes bewildering, world of adding fonts to Photoshop. Go forth and create! Make beautiful things! And remember, the perfect font is out there, waiting for you. Now, if you'll excuse me, I think I saw a font called "Sparkle Unicorn Disco Ball" that needs my immediate attention.