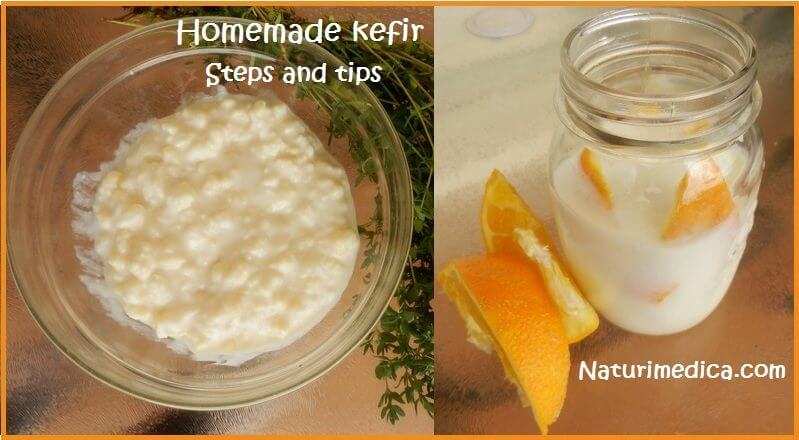
How Do You Make Kefir At Home
Ever scrolled through Instagram and seen those fancy-looking bottles of milky goodness, or heard friends raving about how it’s their secret weapon for a happy tummy? We’re talking about kefir, my friends. And let me tell you, it’s not some mystical potion only brewed in far-off lands. Nope, you can totally whip up this delightful, tangy drink right in your own kitchen. Think of it as your friendly neighborhood probiotic powerhouse, and making it is surprisingly as easy as, well, making a cup of tea.
So, why should you even bother with this fermented milk magic? In a nutshell, it's like giving your gut a tiny, happy dance party. We’re bombarded with stuff that can mess with our delicate internal ecosystem – stress, processed foods, maybe that questionable street food you tried on vacation. Kefir is packed with a super diverse range of beneficial bacteria and yeasts, way more than your average yogurt. It's like a whole orchestra of good guys, working together to keep your digestive system humming along like a well-oiled machine. And a happy gut? That often translates to more energy, better moods, and just generally feeling good.
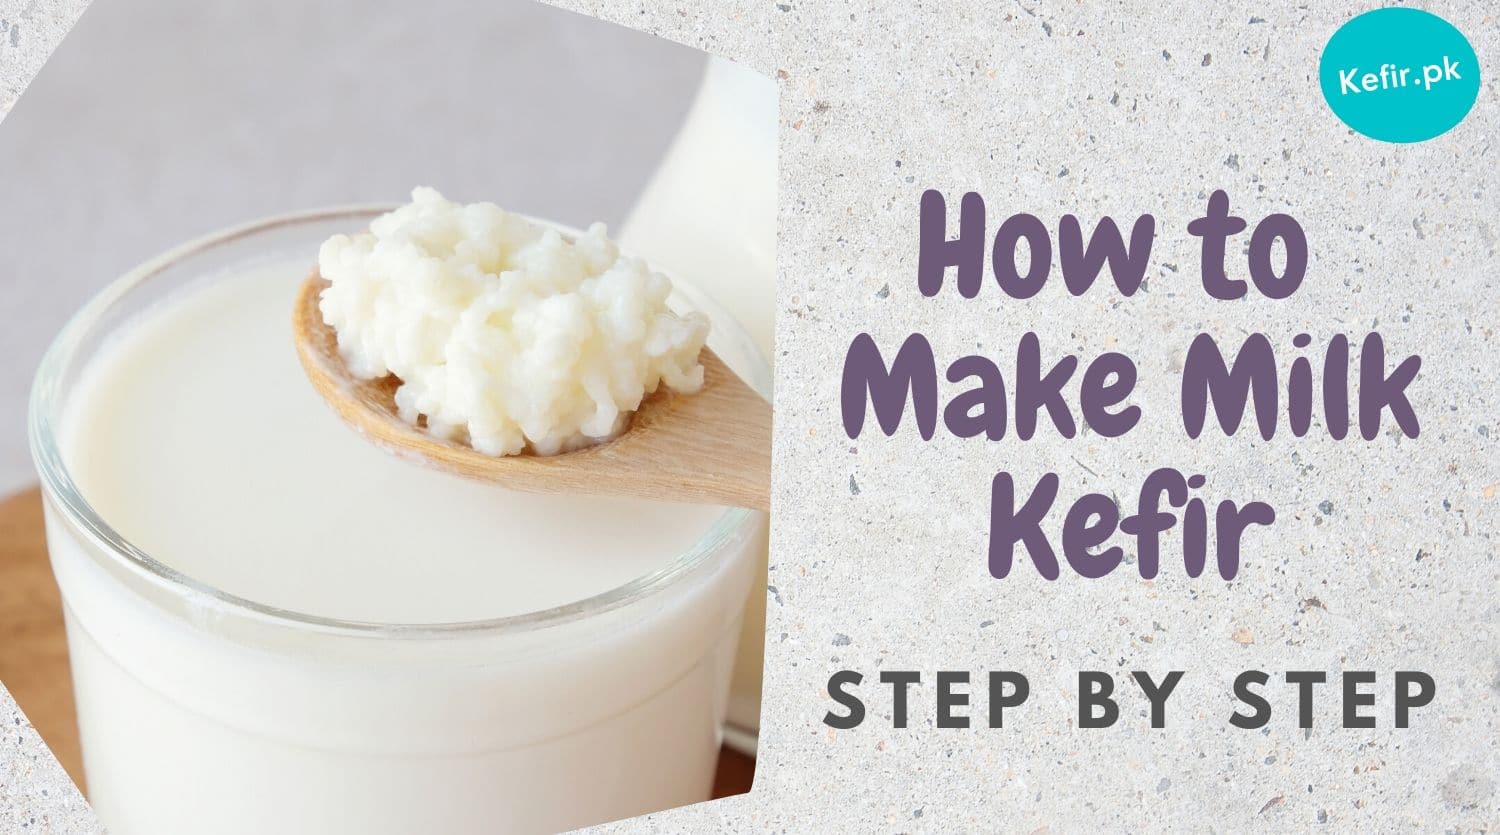
Now, let’s get down to business: making kefir. The magic ingredient, the absolute star of the show, are what we call kefir grains. Don't let the name fool you – they’re not like the grains you bake bread with. These are actually little clusters of bacteria and yeast, and they’re living, breathing (well, sort of!) organisms. They look a bit like lumpy, tiny cauliflower florets, and they’re the tiny chefs who transform milk into kefir.
Must Read
Where do you get these magical grains? The most common way is to get them from a friend who already makes kefir. It's a bit like passing down a sourdough starter – a lovely tradition! You can also buy them online from various specialty retailers. Just make sure to get the milk kefir grains, as there are also water kefir grains for a different kind of bubbly beverage.
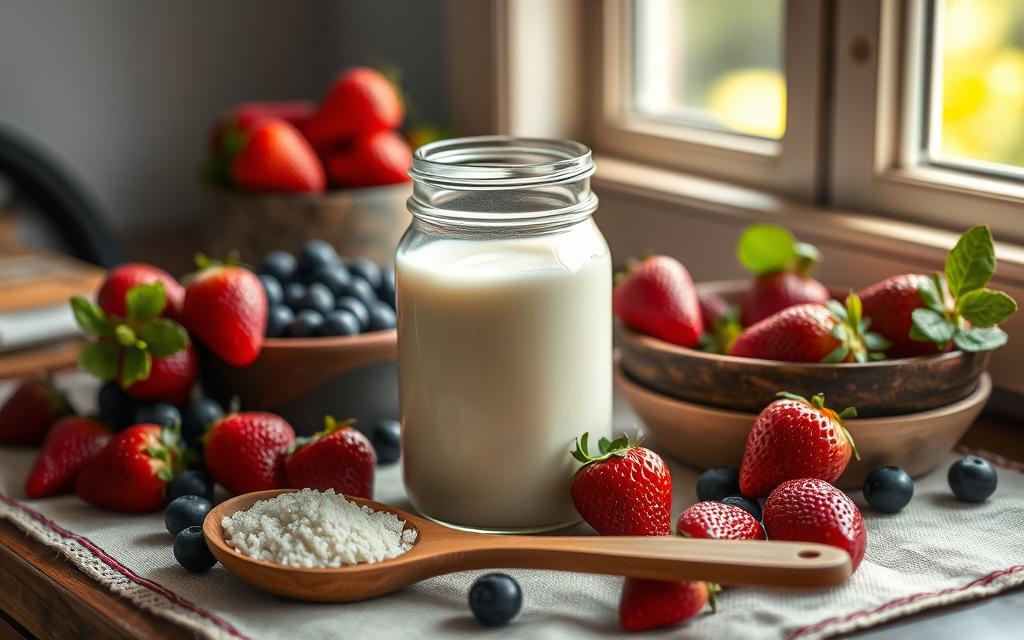
Once you have your precious grains, the process is wonderfully simple. You'll need milk – any kind of dairy milk will work, from whole milk to skim, cow's milk to goat's milk. Some people even use non-dairy milks like coconut or almond, but dairy is generally the easiest starting point. You'll also need a jar, a non-metal strainer (important! Metal can sometimes react with the grains), and a lid or some cheesecloth to cover the jar.
Here’s the basic recipe, and I promise, it’s not complicated enough to make you break a sweat:

Step 1: The Milk Bath
Take your kefir grains and put them in a clean glass jar. Then, pour in your milk. How much milk? It depends on how many grains you have, but a good starting point is about one tablespoon of grains for every cup of milk. So, if you have a couple of tablespoons of grains, use a couple of cups of milk. It’s like setting up a cozy little home for your grain colony.
Step 2: The Waiting Game (The Easy Part!)
Cover the jar. You can use a tight lid, or if you want a bit more airflow, some cheesecloth secured with a rubber band works beautifully. Then, you let it sit. Where? In a warmish spot in your kitchen, out of direct sunlight. Think of it as letting the grains have a nice, long nap. This usually takes 24 to 48 hours. The exact time depends on the temperature of your kitchen – warmer means faster, cooler means slower. You'll know it's ready when the milk has thickened and smells a little tangy, like buttermilk or even a mild cheese.
This waiting period is actually quite exciting. You might even start to see a little separation – a clear liquid (that’s whey!) forming on top. This is totally normal and a good sign your fermentation is happening. It’s like watching a tiny science experiment unfold on your countertop, but way tastier!

Step 3: The Strain and Repeat
Once your milk has transformed into kefir, it’s time to strain out those precious grains. Grab your non-metal strainer and a clean bowl or jar. Pour the kefir mixture through the strainer. The kefir liquid will drip into your bowl – that’s your delicious, ready-to-drink kefir! The grains will stay behind in the strainer. Give them a gentle rinse with fresh, room-temperature water if you like, and then immediately put them back into a clean jar with fresh milk. And guess what? You start the whole process again!
This is the beauty of kefir grains: they’re reusable. It’s like having a magical milk-transforming machine that keeps on giving. You’re not buying a new batch every time. You’re cultivating your own. It’s so sustainable and satisfying!
Step 4: Enjoy Your Creation!
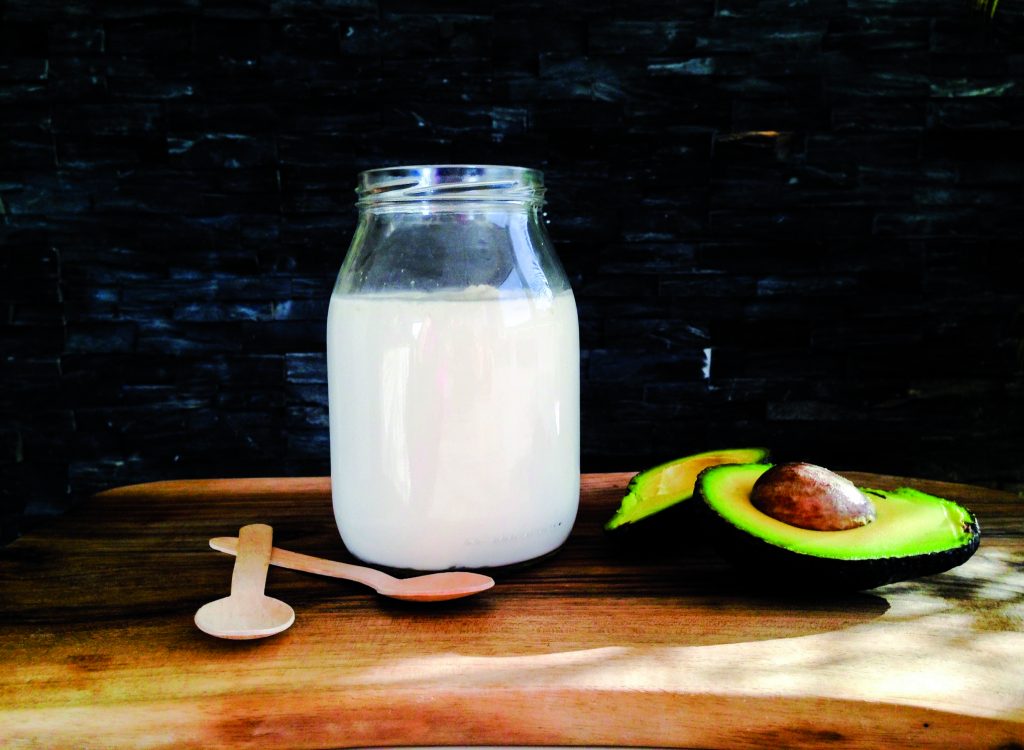
The kefir that dripped into your bowl is now ready to be enjoyed. You can drink it straight up – it has a wonderfully refreshing, tangy flavor. Or, you can get creative! Blend it into smoothies for a creamy, probiotic boost. Use it as a base for salad dressings, or even mix it into pancake batter for a lighter, fluffier result. It’s incredibly versatile.
Think of it this way: making kefir is like adopting a tiny, low-maintenance pet that rewards you with delicious and healthy drinks. You feed it milk, it does its magic, and then you get to enjoy the fruits (or, well, the fermented milk!) of its labor. It’s a win-win situation.
Now, a couple of handy tips to keep in mind:
Temperature Matters
As I mentioned, temperature is your friend (or sometimes your slight adversary) when it comes to kefir making. If your kitchen is super warm, your kefir might ferment faster, and you might need to shorten the fermentation time to avoid it getting too sour. If it’s cooler, it will take longer. You’ll get a feel for it after a couple of batches.
Don’t Over-Ferment
Leaving the milk with the grains for too long can make the kefir very sour and can eventually stress out your grains. If you notice it separating a lot and looking very watery, it might be a sign of over-fermentation. Just strain it, rinse your grains, and start again with fresh milk. Your grains are resilient!
Give Your Grains a Break (If Needed)
Heading out of town for a few days? You can store your kefir grains in the fridge in milk. They’ll go into a sort of hibernation. When you get back, just take them out, let them come to room temperature, strain off the old milk, and start with fresh milk at room temperature. They’ll perk right back up.
Don’t Be Afraid to Experiment
Once you’re comfortable with the basic process, feel free to play around! Try different types of milk. Let it ferment for a little longer for a tangier taste, or shorter for a milder one. Add fruit to your smoothie creations. The possibilities are pretty much endless, and that’s part of the fun.
Making kefir at home is more than just a DIY project; it’s a little act of self-care. It’s about taking a moment to nurture something living, to create something wholesome and nourishing with your own hands. And the taste? Well, let’s just say it’s a happy, tangy reward that’s far more satisfying than anything you’ll find on a supermarket shelf. So, ditch the worry, grab some grains, and join the wonderful world of homemade kefir. Your gut (and your taste buds!) will thank you!