How Do You Lay A Garden Path

Alright, gather 'round, you magnificent garden enthusiasts and anyone who's ever tripped over a rogue dandelion on the way to the compost bin! Today, we're diving headfirst into the glorious, sometimes gritty, and surprisingly less-than-terrifying world of laying a garden path. Think of it as the red carpet for your petunias, the runway for your wheelbarrow, or just a civilized way to avoid squelching through mud after a rogue sprinkler incident. And trust me, we’ve all been there.
So, you’ve got a vision, right? A winding, enchanting trail leading to… well, to somewhere more delightful than the current dirt track you’re navigating. Maybe it’s a secret seating area, a prize-winning gnome village, or just a more direct route to the fridge for that well-deserved iced tea. Whatever your destination, the journey starts with a plan. And no, staring wistfully at your garden and humming softly doesn’t count as a plan. Though it's a lovely start, let's be honest.
The Grand Blueprint: Where Do We Even Begin?
First things first: sketch it out. Grab a piece of paper, a crayon if you’re feeling artistic (no judgment here!), and map your proposed path. Think about its purpose. Is it for a gentle stroll, or will it need to withstand the weight of a small army of garden gnomes being relocated? Consider the flow. Does it make sense? Does it lead to something exciting, or does it just… end? Nobody wants a path that dramatically drops off a cliff, unless that’s your thing. We’re not here to judge your dramatic landscaping choices.
Must Read
Now, for the slightly more serious bit: measure twice, dig once. This is like the golden rule of DIY, right up there with "don't use duct tape to fix your plumbing" and "never try to out-dance a badger." Measure the intended width and length. Think about the materials you’ll use. Gravel? Paving stones? Recycled flip-flops? (Okay, maybe not the flip-flops, but who knows what’s trendy next year!). Each material has its own personality and installation quirks.
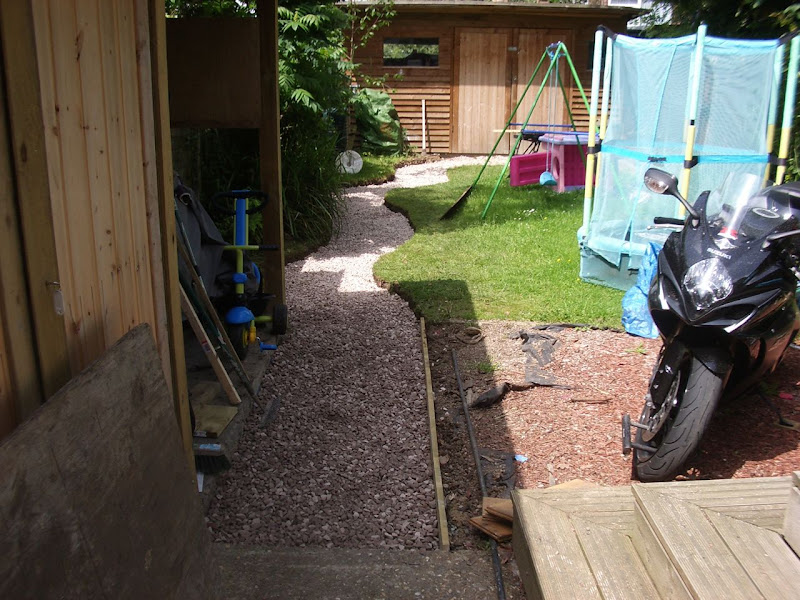
The Great Excavation: Getting Your Hands Dirty (Literally!)
This is where the real fun begins, or at least the part that will make your biceps ache in a way that feels vaguely productive. You’ll need to dig out the trench for your path. How deep? This is crucial! For most paths, especially those made of loose materials like gravel or mulch, you’ll want to go about 6 to 8 inches deep. This gives you room for a solid base layer, which is the unsung hero of any good path. Think of it as the foundation of a tiny, charming, garden-sized skyscraper.
If you’re using pavers or flagstones, you might need to dig a bit deeper, perhaps 8 to 10 inches, to accommodate a sturdy sub-base. And let’s talk about those pesky roots! Unless you enjoy a path that subtly heaves itself out of the ground like a sleepy troll, you’ll need to get rid of them. Think of it as a root-ectomy for your garden. It’s a tough job, but someone’s gotta do it. And that someone, my friends, is you!
The Foundation of Friendship (and Paths): Sub-base and Edging
Once you’ve excavated your glorious trench, it’s time for the sub-base. This is where the magic happens. For gravel or mulch paths, you’ll want to fill the trench with a layer of crushed stone or hardcore, about 4 to 6 inches deep. This is your drainage layer, your stability layer, your "this path isn't going to turn into a swamp" layer. Tamp it down like you mean it! Use a tamper, or even a heavy plank. Give it a good whack, like you’re trying to negotiate peace with a stubborn mole.
For paved paths, you’ll add a layer of sand on top of the crushed stone, about 1 to 2 inches thick, which will act as a leveling bed for your pavers. And then, we talk about edging. This is like the pretty trim on a fancy dress. Edging keeps your path materials from escaping like tiny, mischievous garden sprites. You can use wood, metal, stone, or even those slightly alarming concrete garden borders. Whatever you choose, make sure it’s sturdy and securely installed. We don't want our path looking like it's been attacked by a particularly enthusiastic squirrel.
The Main Event: Laying Your Chosen Material
Now for the pièce de résistance! If you're going for the charmingly rustic look of gravel, simply spread it evenly over your tamped sub-base. Use a rake to smooth it out. You might need a few bags, so get ready for a workout! A fun fact: the average garden path uses enough gravel to make a small, very pointy, sandcastle. Or at least that’s what I tell myself when my back starts complaining.
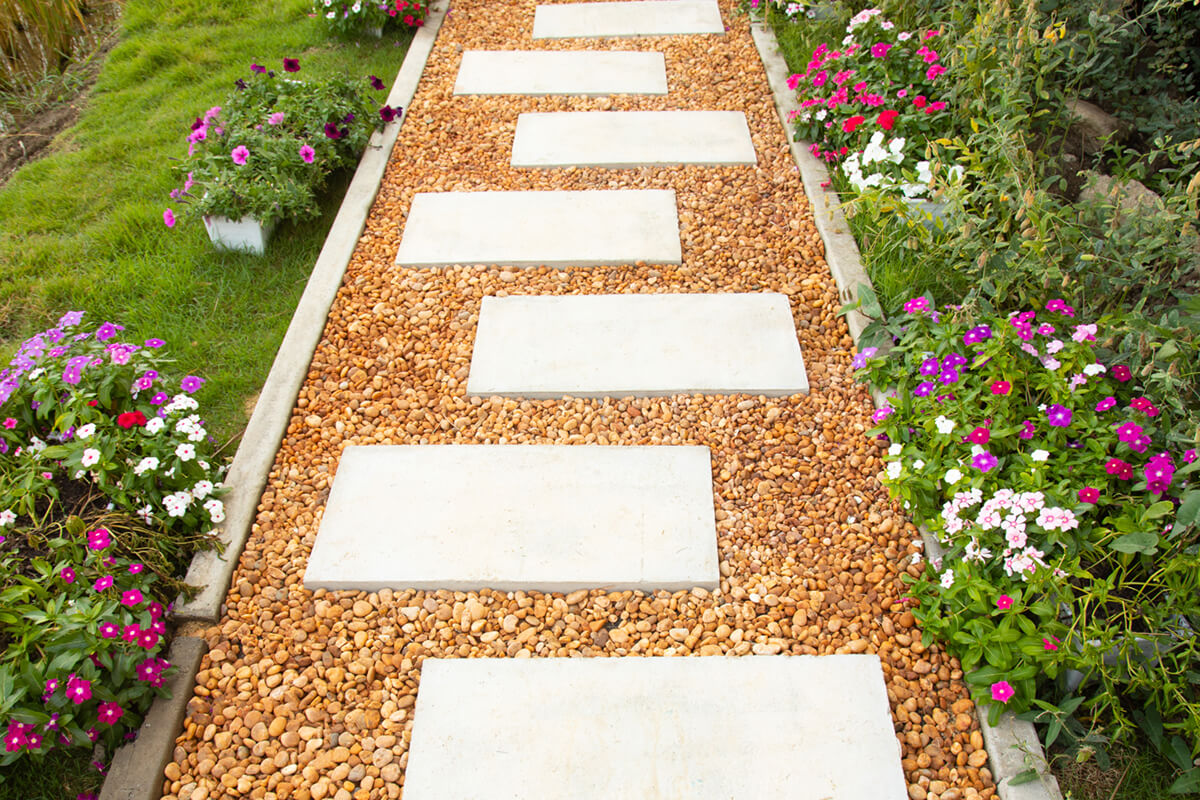
For the sophisticated appeal of paving stones or flagstones, this is where you get to be a master mosaic artist. Lay them carefully, one by one, onto your sand bed. Use a rubber mallet to gently tap them into place, ensuring they’re level and snug. Step back and admire your handiwork. It's like solving a giant, incredibly satisfying jigsaw puzzle, but instead of a kitten, you get a functional walkway.

Don't forget to fill in the gaps! For gravel paths, you'll fill the spaces between the stones with more gravel. For pavers, you'll usually fill the gaps with sand or polymeric sand (which is basically super-glue for patio stones and a lifesaver in windy areas). This stops weeds from staging a hostile takeover and makes your path look all polished and professional. It’s the horticultural equivalent of a good hair day.
The Finishing Touches: Sealing the Deal (and the Path!)
Once your path is laid and looking fabulous, you might want to consider sealing it. For stone or paver paths, a sealant can protect them from stains, weathering, and those mysterious green things that seem to sprout out of nowhere. It’s like giving your path a protective, invisible superhero cape. Gravel paths might benefit from a light watering to help settle them in, but generally, they’re pretty low-maintenance.
And there you have it! You’ve gone from a muddy mess to a magnificent pathway. Give yourself a pat on the back. You’ve conquered the garden path! Now, go forth and stroll with pride, knowing you’ve created something both beautiful and incredibly useful. Just try not to trip on the way to the fridge. You’ve earned that iced tea!