How Do I Store A Stool Sample
Hey there, curious minds! Ever found yourself staring at a little container, a tiny specimen cup, and wondering, "Okay, so what's the deal with storing this... uh... sample?" Yeah, it's not exactly a topic that pops up at dinner parties, but hey, it's a super common part of healthcare, and understanding the little details can actually be pretty fascinating. Think of it like being a tiny detective, piecing together clues about what's happening inside your amazing body.
So, you've just been given the mission, should you choose to accept it: collect a stool sample. Maybe it's for a routine check-up, or maybe your doctor's trying to figure out something specific. Whatever the reason, the next question that usually pops into your head is, "Alright, but how do I keep this thing safe and sound until I can get it to the lab?" It's a valid question, right? We’re not exactly tossing it in the fridge next to the leftover pizza, are we? Well, usually not! But let’s dive into the intriguing world of stool sample storage, and you'll see it's not as mysterious as it might sound.
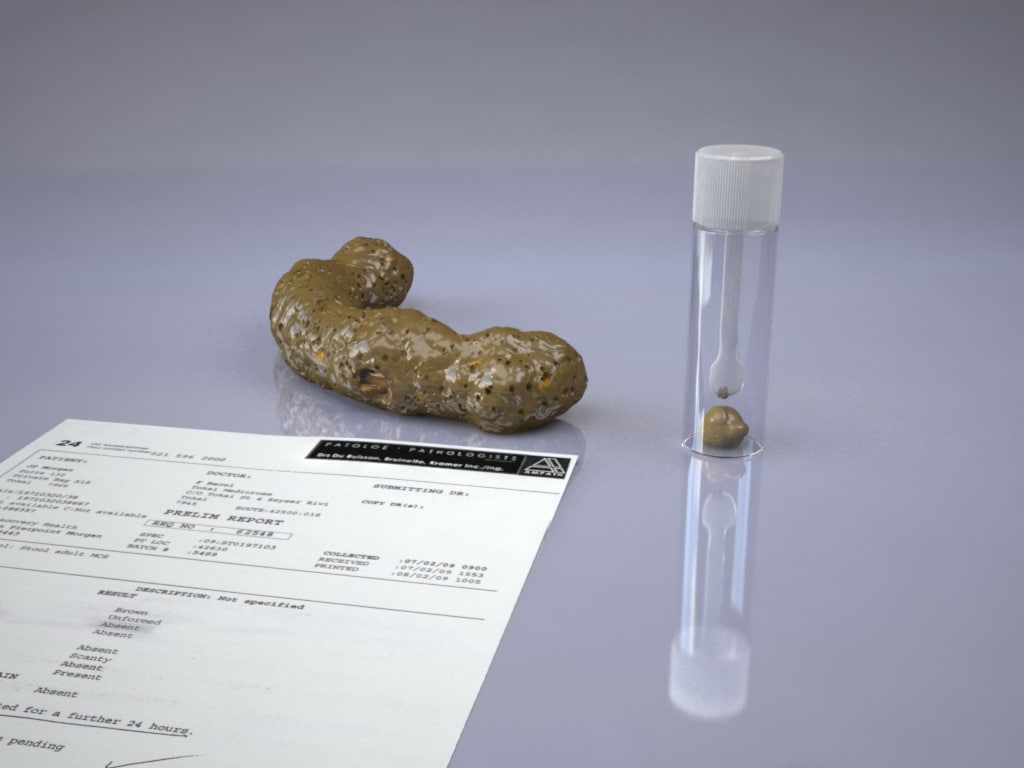
First off, let's give a little nod to why this whole process is even a thing. Your poop, or stool as the fancy folks call it, is like a little treasure trove of information. It’s a snapshot of what’s going on in your digestive system, and by extension, a whole lot about your overall health. Think of it like a weather report for your gut! Scientists and doctors can look at it and see all sorts of things – from tiny critters (microbes, not the monster kind!) that might be causing a ruckus, to signs of inflammation, or even hints about how well you're absorbing nutrients. Pretty cool, huh?
Must Read
Now, onto the main event: storing this precious cargo. The most important thing to remember is that instructions are your best friend. Seriously. Your doctor's office or the lab will almost always give you specific instructions on how to store the sample. Why? Because different tests require different conditions. It's like how you wouldn't store ice cream in a warm oven, right? The same applies here. These instructions are tailored to ensure the sample remains stable and the results are accurate.
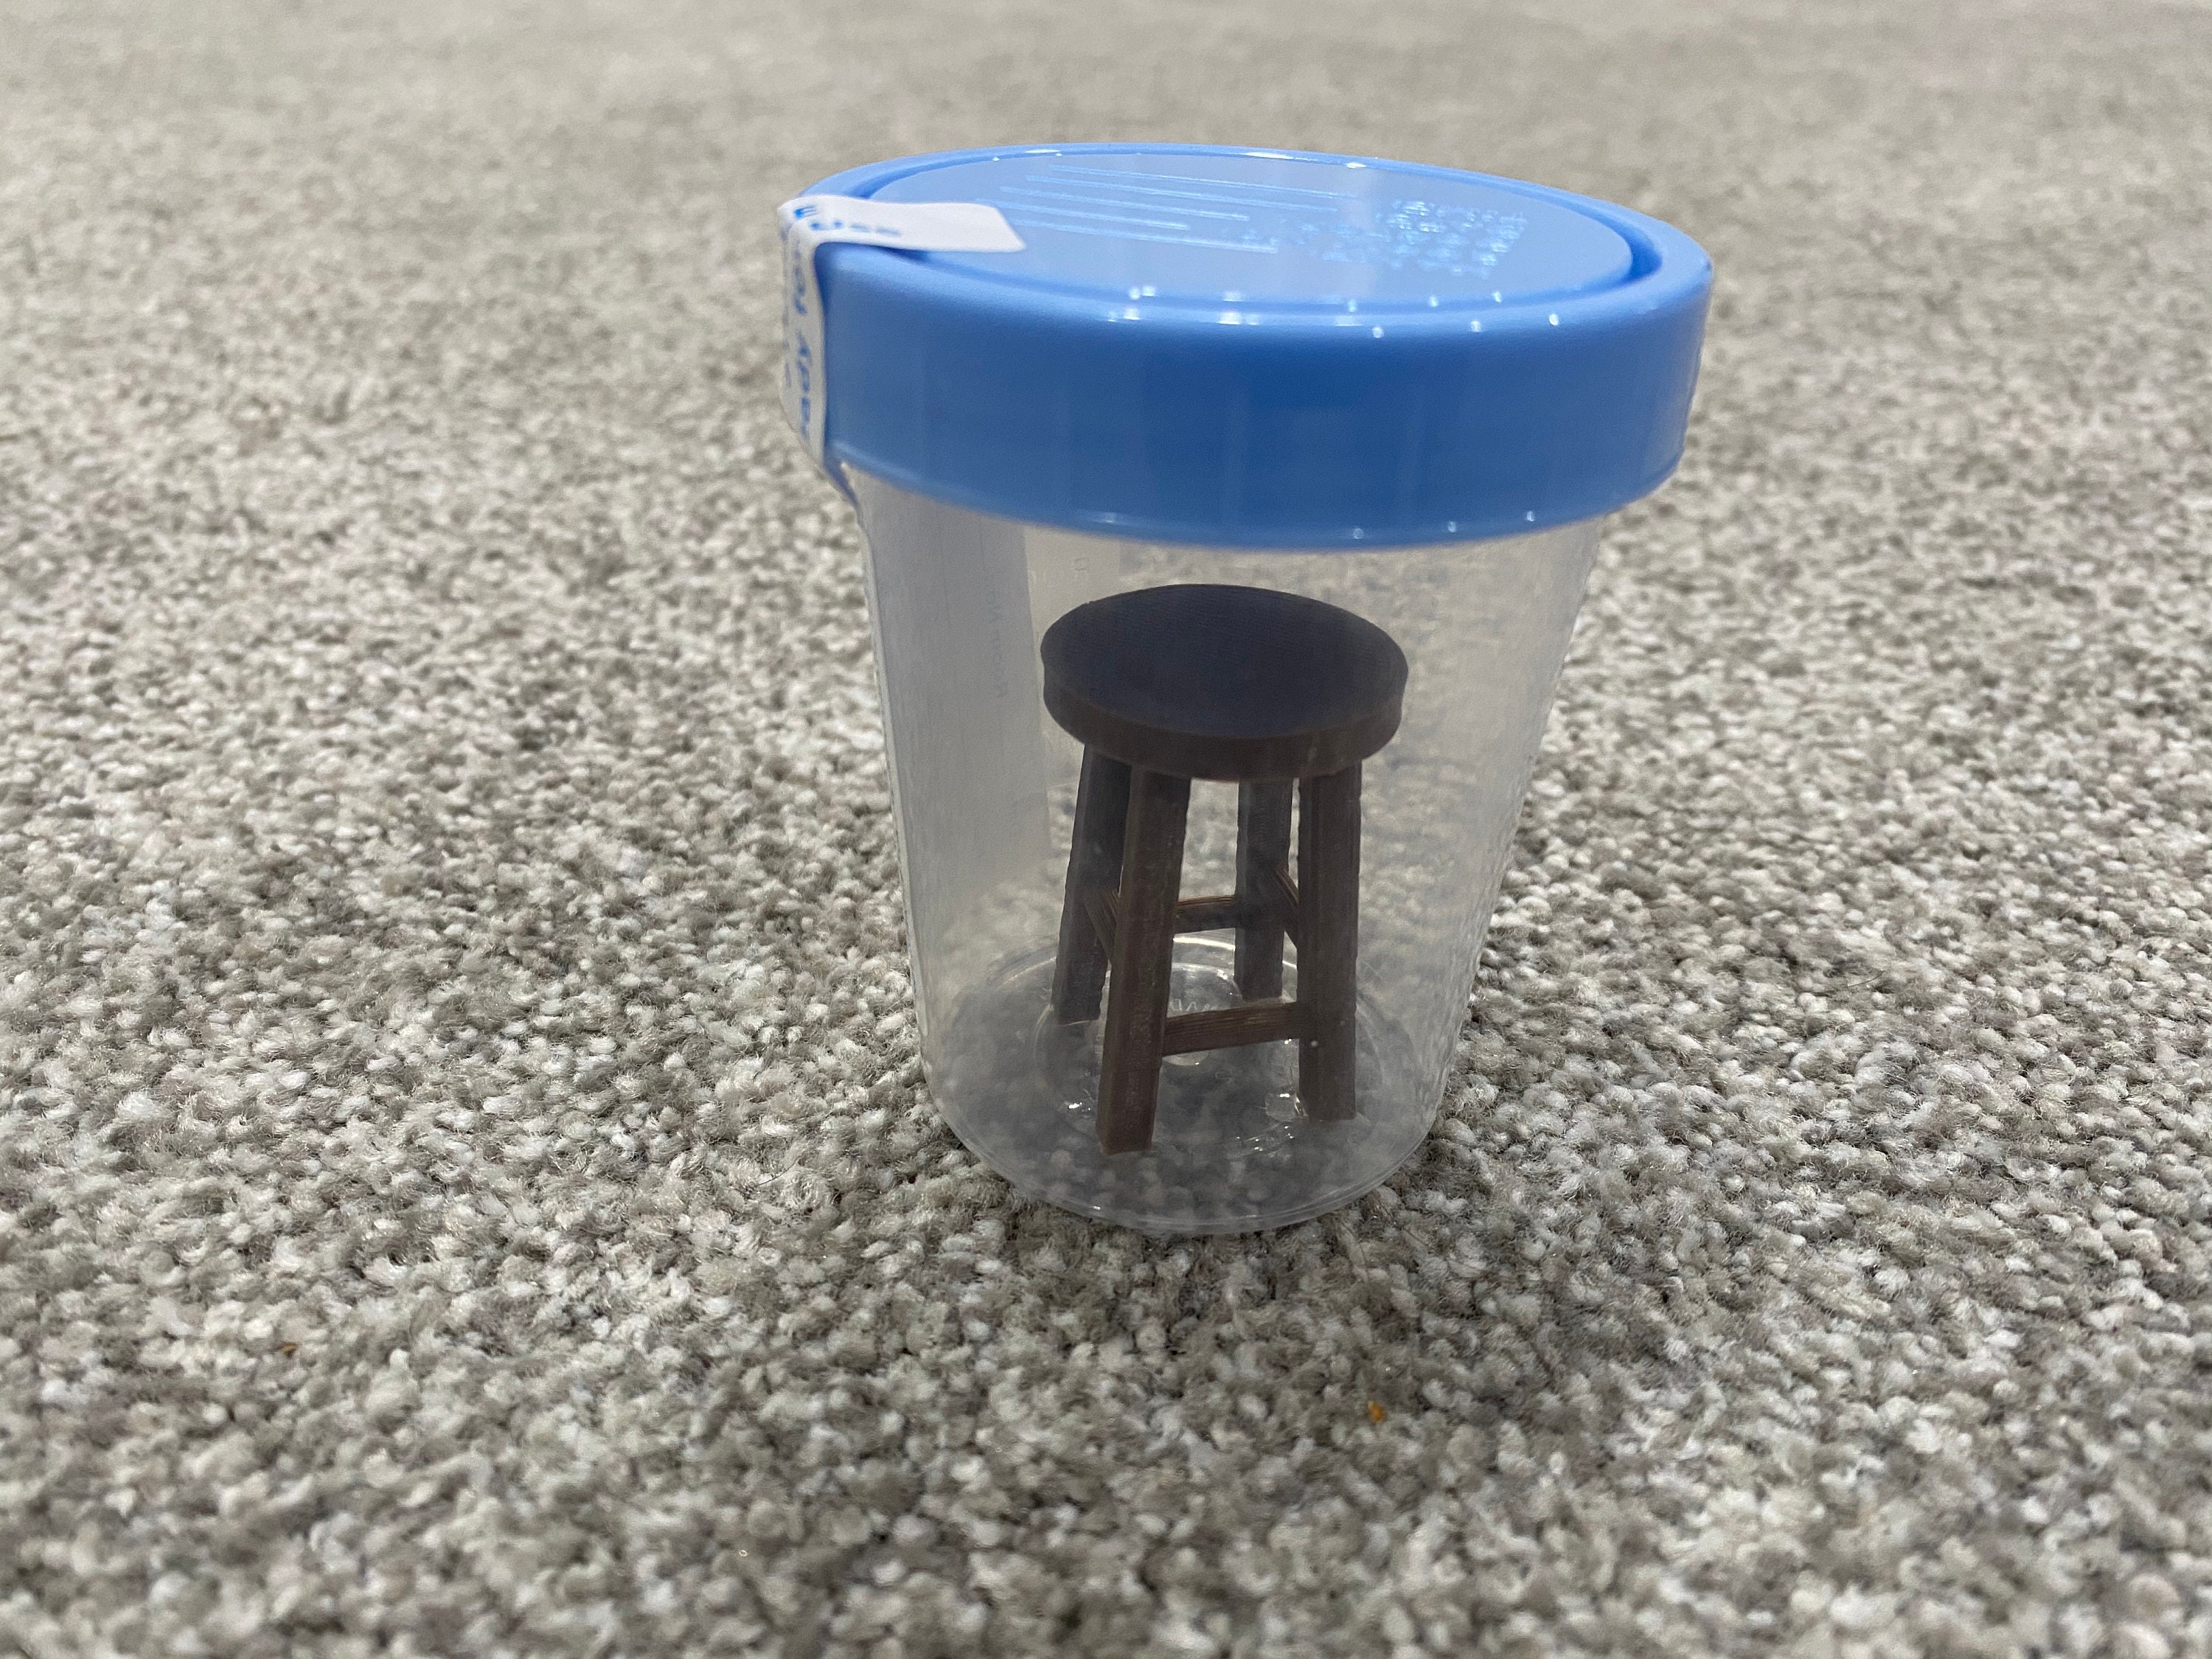
Often, the instructions will say something like, "Keep the sample at room temperature until you can deliver it within X hours." This is probably the most common scenario. So, you've done your business, carefully collected the sample using the provided kit (which usually has a special lid designed to prevent leaks and keep things tidy – genius, really!), and now it's just chilling in its little container. Where to put it? Away from direct sunlight and extreme heat, of course. Think of it like a delicate plant; it needs a stable environment. A kitchen counter, a shelf in your bathroom (away from the steam!), or a desk drawer are usually good spots.

But wait, what if you can't get it to the lab right away? This is where things get a tiny bit more interesting. Sometimes, for certain tests, the sample might need to be kept cooler. You might see instructions like, "Refrigerate the sample until delivery." Now, here's a crucial point: do NOT freeze it unless explicitly told to do so. Freezing can actually damage certain components of the sample, making the tests unreliable. So, if it says refrigerate, pop it in your fridge. Just make sure it’s not directly next to the pickles or anything that could accidentally spill into it. Maybe find a designated spot, like in a clean container or a resealable bag, to keep it separate and safe.
Think of it this way: when you take a photo, you want the developed picture to look exactly like the scene you captured, right? You don't want the colors to be all washed out or distorted. Storing a stool sample is similar. The goal is to preserve the sample in its original state so that the lab can get a true reading of what's going on. If it's too warm, some of the delicate biological markers might break down. If it's frozen when it shouldn't be, that could mess with the cells or the DNA. It's all about maintaining the integrity of the sample, which is pretty vital for getting accurate diagnoses.
What about those super-duper specific tests? Occasionally, you might encounter instructions that are a bit different. For example, some tests might require the sample to be kept at a specific temperature, or even to be processed immediately. In those rare cases, the instructions will be crystal clear. You might even be given a special collection kit with a built-in cooling element, almost like a tiny, personal cooler for your sample. How's that for high-tech bodily fluid handling?
So, let's recap the big secrets to successful stool sample storage. First, read those instructions carefully. They are your roadmap. Second, follow them precisely. If it says room temperature, stick to room temperature. If it says refrigerate, do just that. Third, label everything clearly. Make sure your name, date of birth, and the date and time of collection are all written down. This is like putting your name on your lunchbox at school – you don’t want your important sample to get lost or mixed up!
It’s also good to be aware of the timeframe. Most labs have a window of time within which they can accept a collected sample. This can range from a few hours to a couple of days, depending on what’s being tested. If you’re unsure about the timeframe, don't hesitate to call your doctor's office or the lab. They are there to help you navigate this process, and they'd much rather you ask a question than submit a sample that can't be tested. It’s all part of the collaborative effort to keep you healthy!
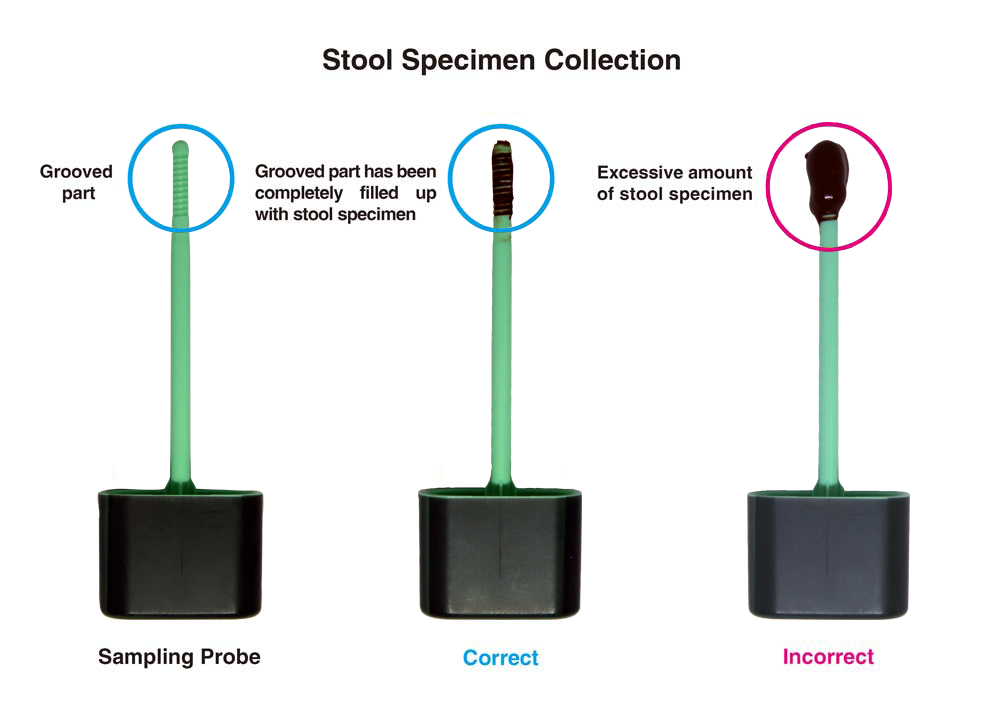
And let's not forget the practicalities. When you're collecting, make sure you’re using the kit provided. These kits are designed for a reason. They usually have a collection paper that fits into the toilet bowl to catch the sample without it mixing with toilet water, or a special spoon or swab. Once collected, transfer it to the designated container. It might seem a bit… messy… but the kits are usually pretty user-friendly and minimize the mess factor. Think of it as a miniature scientific experiment you're conducting in your own bathroom!
Ultimately, storing a stool sample isn't rocket science, but it does require a bit of attention to detail. It’s a small but significant step in understanding your health. So, the next time you're tasked with this mission, remember that you're not just storing a sample; you're preserving a vital piece of information that can help you and your doctor make informed decisions about your well-being. It's a quiet, behind-the-scenes hero of the healthcare world, and now you know its secrets. Pretty neat, right?