How Do I Change A Door Handle

Hey there! So, you’re staring at that wobbly, ancient door handle, right? The one that’s seen better days, maybe even better decades. You know, the one that groans like a haunted house relic every time you turn it. Yeah, that one. And you’re thinking, “Can I actually do this myself? Like, without calling a handyman and owing them my firstborn?” The answer, my friend, is a resounding YES! It’s totally doable. Think of it as a mini DIY adventure, way less stressful than assembling IKEA furniture, promise.
Honestly, changing a door handle is one of those super satisfying little projects. It’s like giving your door a much-needed spa day, a glow-up if you will. Plus, it’s a great way to boost your confidence, proving to yourself that you can totally conquer these little home improvement battles. Who needs superhero capes when you’ve got a screwdriver and some elbow grease? Seriously, let’s get this done!
First things first, let’s talk about why you might want to change your handle. Is it loose? Does it feel like it’s about to surrender to gravity? Maybe it’s just plain ugly, an affront to all that is modern and chic. Or perhaps the finish has faded, leaving it looking all sad and patchy. Whatever the reason, a new handle can completely transform the look and feel of your door. It’s the jewelry for your entryway, the finishing touch to your fabulous abode.
Must Read
Alright, ready to roll up your sleeves? Don’t worry, I’m not going to ask you to weld anything. We’re talking basic tools here. You’ll probably have most of this stuff lying around already. So, what do you need to embark on this grand handle-changing quest? Grab a screwdriver. Most door handles use Phillips head screws, but sometimes they go for the flathead. It’s like a tiny surprise! You might also want a pair of pliers, just in case things are a bit stubborn. Think of them as your trusty sidekicks. And, of course, your new door handle. Duh!
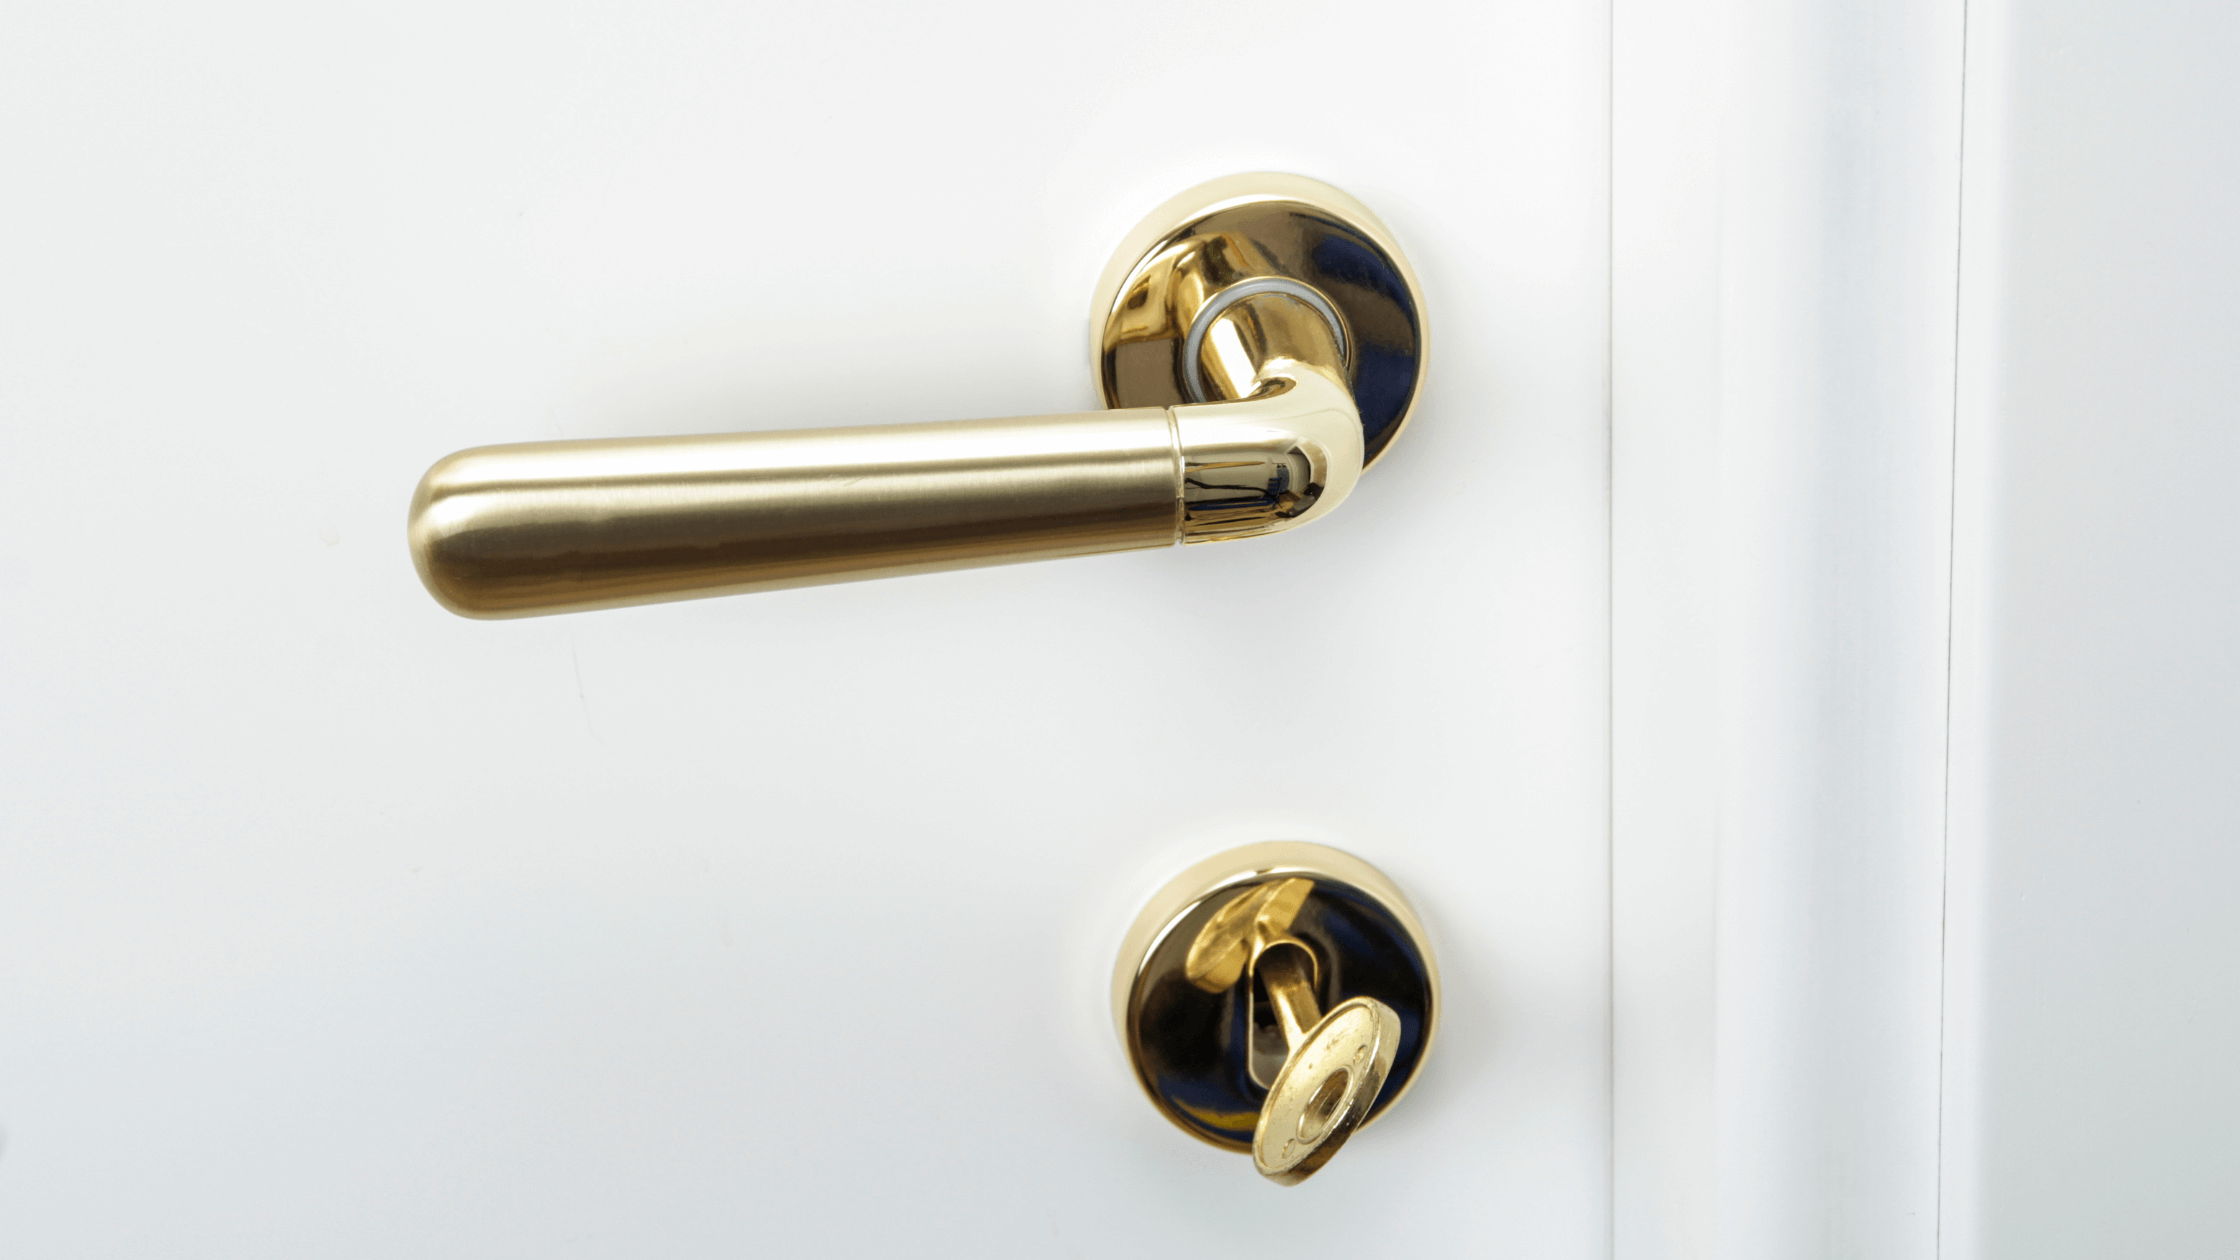
Choosing a new handle is actually part of the fun! It’s like picking out a new accessory for your outfit. Do you want something sleek and modern? Or something with a more vintage vibe? There are so many styles, finishes, and brands out there. Think about the overall style of your room or house. You don’t want a super ornate brass handle on a minimalist modern door, right? Unless you’re going for a very specific, eclectic look, of course! Matchy-matchy is good, but so is a little bit of playful contrast. It's your house, your rules!
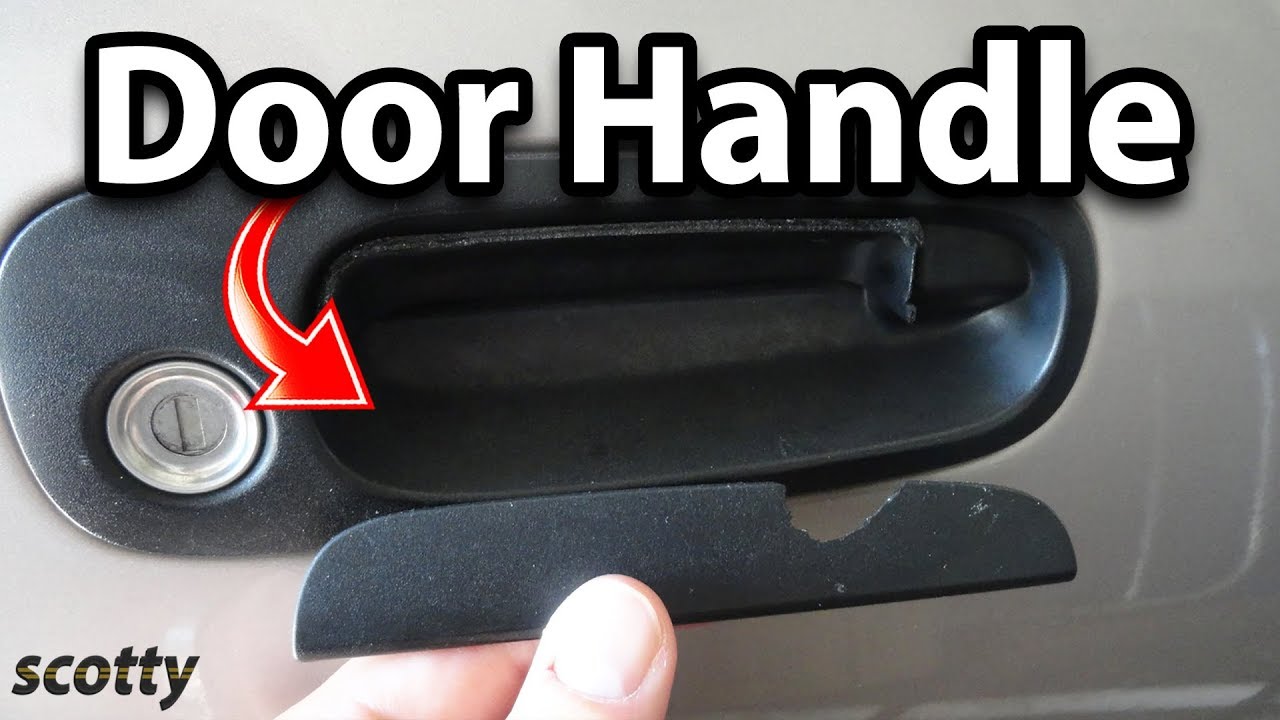
Okay, so you’ve got your tools and your shiny new handle. Now, let’s tackle the old one. This is the part where we say goodbye to the past. Don’t get sentimental. It’s served its purpose, but it’s time for retirement. Most door handles are held in place by a couple of screws. And guess what? They’re usually pretty obvious. Look on the face of the handle, the part you actually touch. See any little screw heads? Bingo! That’s your starting point.
Sometimes, the screws are hidden. Sneaky, right? If you don’t see them right away, don’t panic. Look at the rose – that’s the circular or decorative plate behind the handle itself. Some roses have tiny little set screws on the underside or the side. These are often so small you almost miss them. You might need a really small screwdriver, or even one of those tiny hex keys that come with furniture. If you’re really stuck, a quick Google search for your specific handle type can be a lifesaver. “Hidden screw door handle” – you’ll find loads of tips!

Once you’ve located those elusive screws, it’s time to unscrew them. Turn them counterclockwise, just like you’re unscrewing a jar lid. Easy peasy. Do this for both sides of the door handle, if there are screws on both. Sometimes, one side has visible screws, and the other has hidden ones, or even just a smooth plate. It’s like a little puzzle, and you’re the detective!
As you’re unscrewing, keep an eye on the screws themselves. They can be small, and they have a tendency to disappear into the abyss of the carpet or your workshop floor. Maybe have a little dish or a magnetic tray handy to keep them all in one place. Or, if you’re feeling brave, just balance them on your nose while you work. Just kidding! Please don’t do that. Safety first, even in casual DIY.
So, you’ve unscrewed everything. Now what? The handle should feel loose. You might need to give it a gentle wiggle. Sometimes, the two halves of the handle assembly come apart easily. Just pull them away from the door. Don’t yank it like you’re trying to win a prize. Be gentle, remember? We’re not breaking things here, we’re replacing them.
Underneath the handle, you’ll find the latch mechanism. This is the metal bit that slides into the doorframe and keeps your door shut. You’ll see a faceplate on the edge of the door, usually with two screws holding it in. Take those screws out too. Again, keep them safe! This entire latch assembly usually slides right out of a hole in the edge of the door. Sometimes it’s a bit stiff, so a little wiggling might be in order. If it’s really stuck, a gentle tap with the handle of your screwdriver might help, but don’t go full Hulk. We’re aiming for smooth, not demolished.
So now you have your old handle, its latch mechanism, and all the little screws spread out in front of you. Take a moment to admire your work. You’ve successfully disassembled a door handle! High five! Now, you’re ready to put the new one on. It’s pretty much the reverse of what you just did, but with shiny new parts. Exciting!
First, let’s get the new latch mechanism in. If your new handle came with a new latch, you’ll use that. If not, you can reuse your old one, as long as it’s in good working order. Slide the new (or old) latch mechanism into the hole in the edge of the door. Make sure the faceplate is flush with the edge of the door. Then, screw it back in place. Two screws, remember? Keep them nice and snug, but don’t overtighten. We don’t want to strip those threads.
Now, for the fun part: attaching the new handles! Your new handle will likely come in two pieces, one for each side of the door. They’ll have a spindle that runs through the latch mechanism. You’ll need to insert the spindle through the hole in the latch. Line up the handle on one side of the door with the spindle and the screw holes.
Now, this is where things can get a little… fiddly. You’ll need to screw the two halves of the handle together. Usually, there are screws that go through the rose on one side and screw into the other side. Or, as we saw with some older handles, there might be set screws on the underside that you tighten onto the spindle. Follow the instructions that came with your new handle, because they can vary a bit. If you lost the instructions, don’t despair! Most manufacturers have them available online. Just type in the brand and model name.
Hold one side of the handle in place, and carefully align the spindle. Then, take the other side and push it on. You might need to turn the spindle slightly to get it to catch properly. Then, line up your screws. This is where your screwdriver becomes your best friend. Screw them in until they’re snug. You want them to be tight enough that the handle doesn’t wobble, but not so tight that you feel like you’re going to break something.
Once both handles are on and screwed in, give them a test run. Turn them. Do they move smoothly? Does the latch retract and extend properly? Open and close the door. Does it latch? Does it unlatch? Does it work? If yes, congratulations! You are officially a door handle changing pro. You’ve conquered the beast. Go you!
If, however, things aren't quite right, don’t throw your new handle out the window just yet. Sometimes it’s just a matter of a slight adjustment. Are the screws too tight? Too loose? Is the latch mechanism aligned correctly? Take a deep breath. Go back to step one (of the reassembly, not the complete removal). Sometimes you just need to unscrew a little and try again, perhaps with a slightly different angle.
A common issue can be with the spindle. If it’s not quite the right length, or if it’s not seated correctly, the handles might feel loose or not engage the latch properly. Sometimes the spindle needs to be inside the latch mechanism, and the handles screw onto the ends of the spindle. Other times, the spindle is part of one of the handles, and you just slide it through the latch. Pay close attention to how the old one came out, and try to mimic that with the new one.
Another thing to check is the door thickness. While most handles are pretty standard, if you have a very thick or very thin door, you might need a special kit or a different type of handle. But for the vast majority of standard interior doors, you’re golden. Just make sure the spindle is long enough to bridge the gap between the two handles with the latch in between.
And what about those pesky set screws? If your handle has them, make sure they’re tightened onto the spindle, not just loosely sitting there. These little guys are crucial for keeping the handle from spinning freely. Some set screws are Phillips head, some are hex. Make sure you have the right size screwdriver or hex key for the job. They’re usually located on the underside of the handle, where it meets the rose.

If you’ve tried everything and it’s still not working quite right, and you’re starting to feel a bead of sweat forming on your brow, don’t be afraid to step away for a bit. Go grab another coffee, or a snack. Sometimes a little break helps you see things with fresh eyes. Then, come back and take another look. Maybe you’ll spot that one screw you missed, or that one piece that’s slightly out of alignment. It happens to the best of us!
And remember, there’s always a YouTube video for everything. Seriously. Type in “how to install [your brand/type of door handle]” and you’ll find a plethora of visual guides. Seeing someone else do it can be incredibly helpful, especially if you’re more of a visual learner. You can pause, rewind, and watch it as many times as you need. It’s like having a personal DIY tutor, but without the awkward small talk.
Changing a door handle is a fantastic way to feel accomplished. You’ve gone from a wobbly, outdated handle to a brand new, functional, and probably much prettier one. You’ve saved yourself a call to the handyman, which means more money for, I don’t know, more coffee! Or maybe a new plant for your living room. You’ve earned it. So go ahead, strut past that door with pride. You did that!
Think about it, you’ve mastered the art of the screwdriver. What’s next? Maybe changing a light fixture? Or perhaps tackling that squeaky hinge? The world of DIY is your oyster, my friend. Just start with the little wins, like this door handle. Each successful project builds your confidence and your skills. So, next time you see a handle that’s past its prime, you’ll know exactly what to do. You’ll be like, “Oh, this old thing? Please. I got this.” And you’ll be absolutely right.
So, no more excuses! That creaky, old handle is calling your name. It’s time for an upgrade. Grab your tools, pick out a handle that makes your heart sing, and get to it. You’ve got this. And hey, if all else fails, at least you’ll have a good story to tell. But I have a feeling you won’t need it. You’re going to nail this. Happy handle hunting, and even happier handle changing!

:max_bytes(150000):strip_icc()/GettyImages-1553836702-c9153816be05422fbabcf4cfbeb671c8.jpg)