Format An Sd Card On A Mac
Alright, so you've got this tiny little memory card, right? An SD card. It's like the secret superpower of your camera, your gaming console, or even that fancy dashcam. And you’ve got a Mac. Awesome combo! But sometimes, things get a little… fuzzy. You want to use it for something new. Maybe you’ve filled it up with a gazillion photos of your cat doing something vaguely amusing. Or maybe it’s just acting a bit grumpy. Whatever the reason, you’re here because you need to format that SD card on your Mac. Don't sweat it! It's easier than wrestling a squirrel for a peanut.
Think of formatting like giving your SD card a fresh start. A total spa day. It wipes all the old junk off, like that embarrassing playlist you made in high school. And then it sets up a nice, clean system for it to work with your Mac. No biggie, but super important if you want everything to run smoothly. It’s like tidying up your digital closet. You know, the one that’s overflowing with old downloads and forgotten files.
Now, why is this even fun to talk about? Honestly? Because it's a little bit of digital magic. You take something that’s full of data, maybe a bit chaotic, and with a few clicks, you make it pristine and ready for anything. It’s like being a digital wizard. Abracadabra! Poof! New card!
Must Read
Plus, there’s a weird satisfaction in taming technology, isn't there? You're not just a user; you're a master of your devices. And formatting an SD card is like learning a secret handshake with your Mac and your storage. It’s a tiny victory in a world that can sometimes feel a bit overwhelming.
The Grand Adventure Begins: Plugging It In
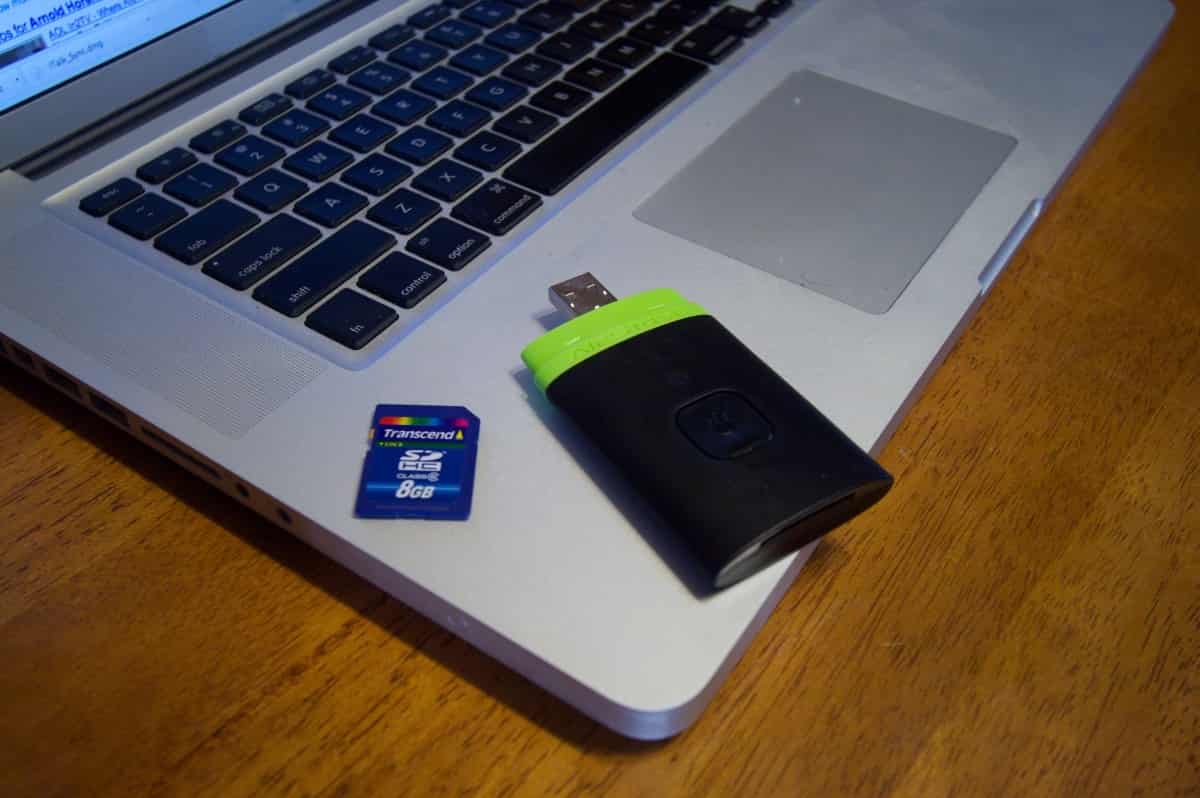
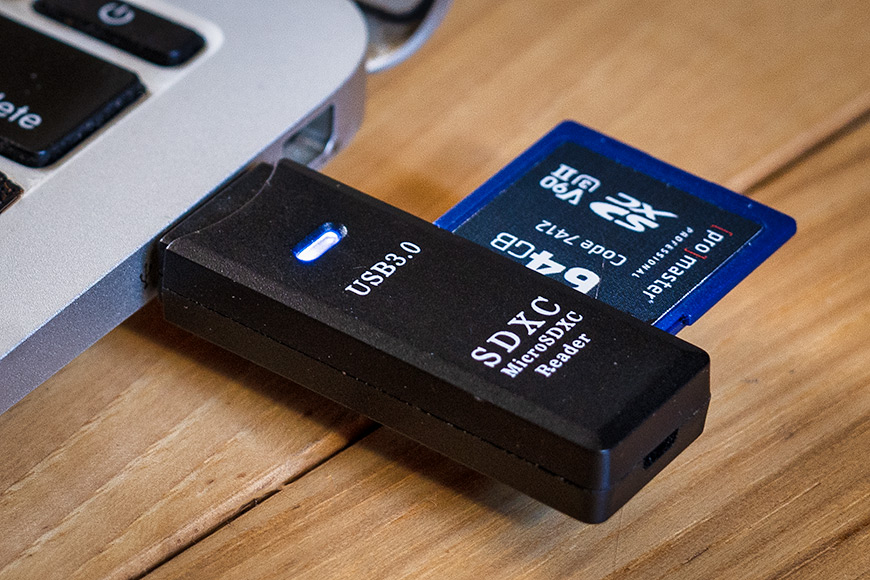
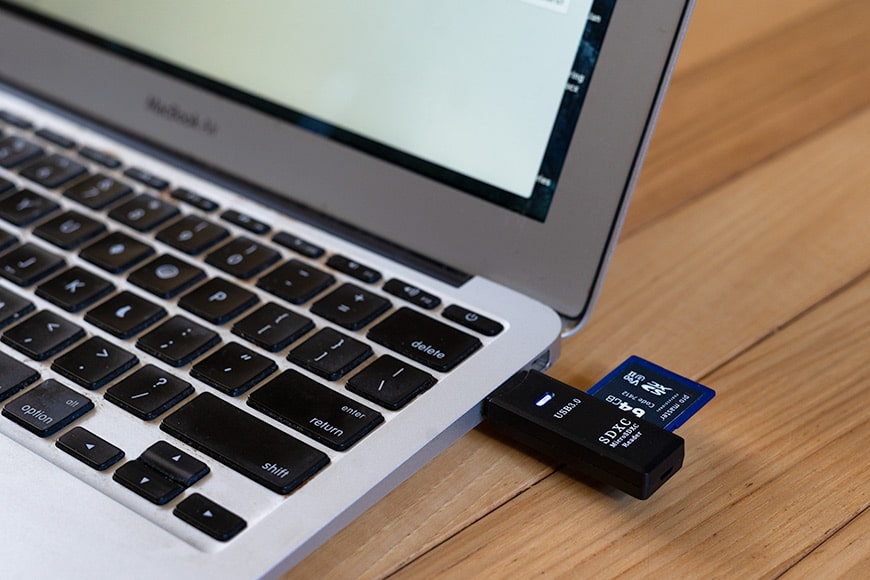
First things first. You need to get that little card into your Mac. Most Macs, especially the older ones, have a little slot on the side. It's usually hidden away, looking all shy. Slide that SD card in there. Make sure it clicks nicely. If your Mac is a bit more modern and sleek, you might need a little USB adapter. Think of it as a tiny translator for your SD card.
Once it’s plugged in, your Mac will probably notice it. It might pop up a little notification. Or it might just appear on your desktop like a new friend. If it doesn't show up, don't panic. Sometimes technology likes to play hard to get. We'll get to that later. For now, let's assume the best. It's there. You can see it. It's ready for its close-up.
And hey, speaking of cards, did you know that the term "SD" stands for "Secure Digital"? Fancy, right? It’s got a little bit of security built into its DNA. Though, for formatting, we're going to erase that security, along with everything else. So, not that secure in the end, but a cool origin story nonetheless.
The Magic Tool: Disk Utility
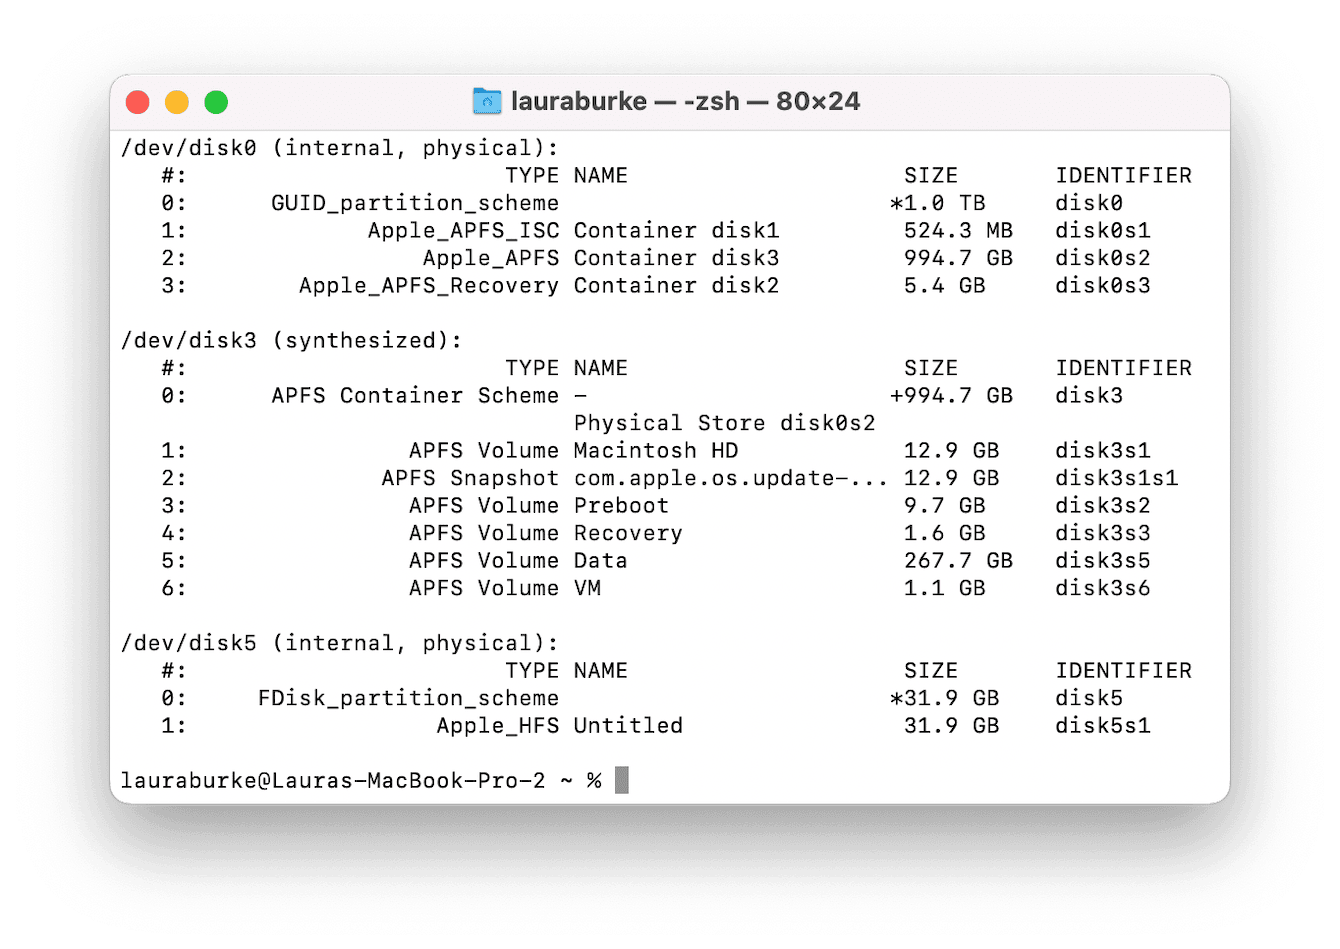
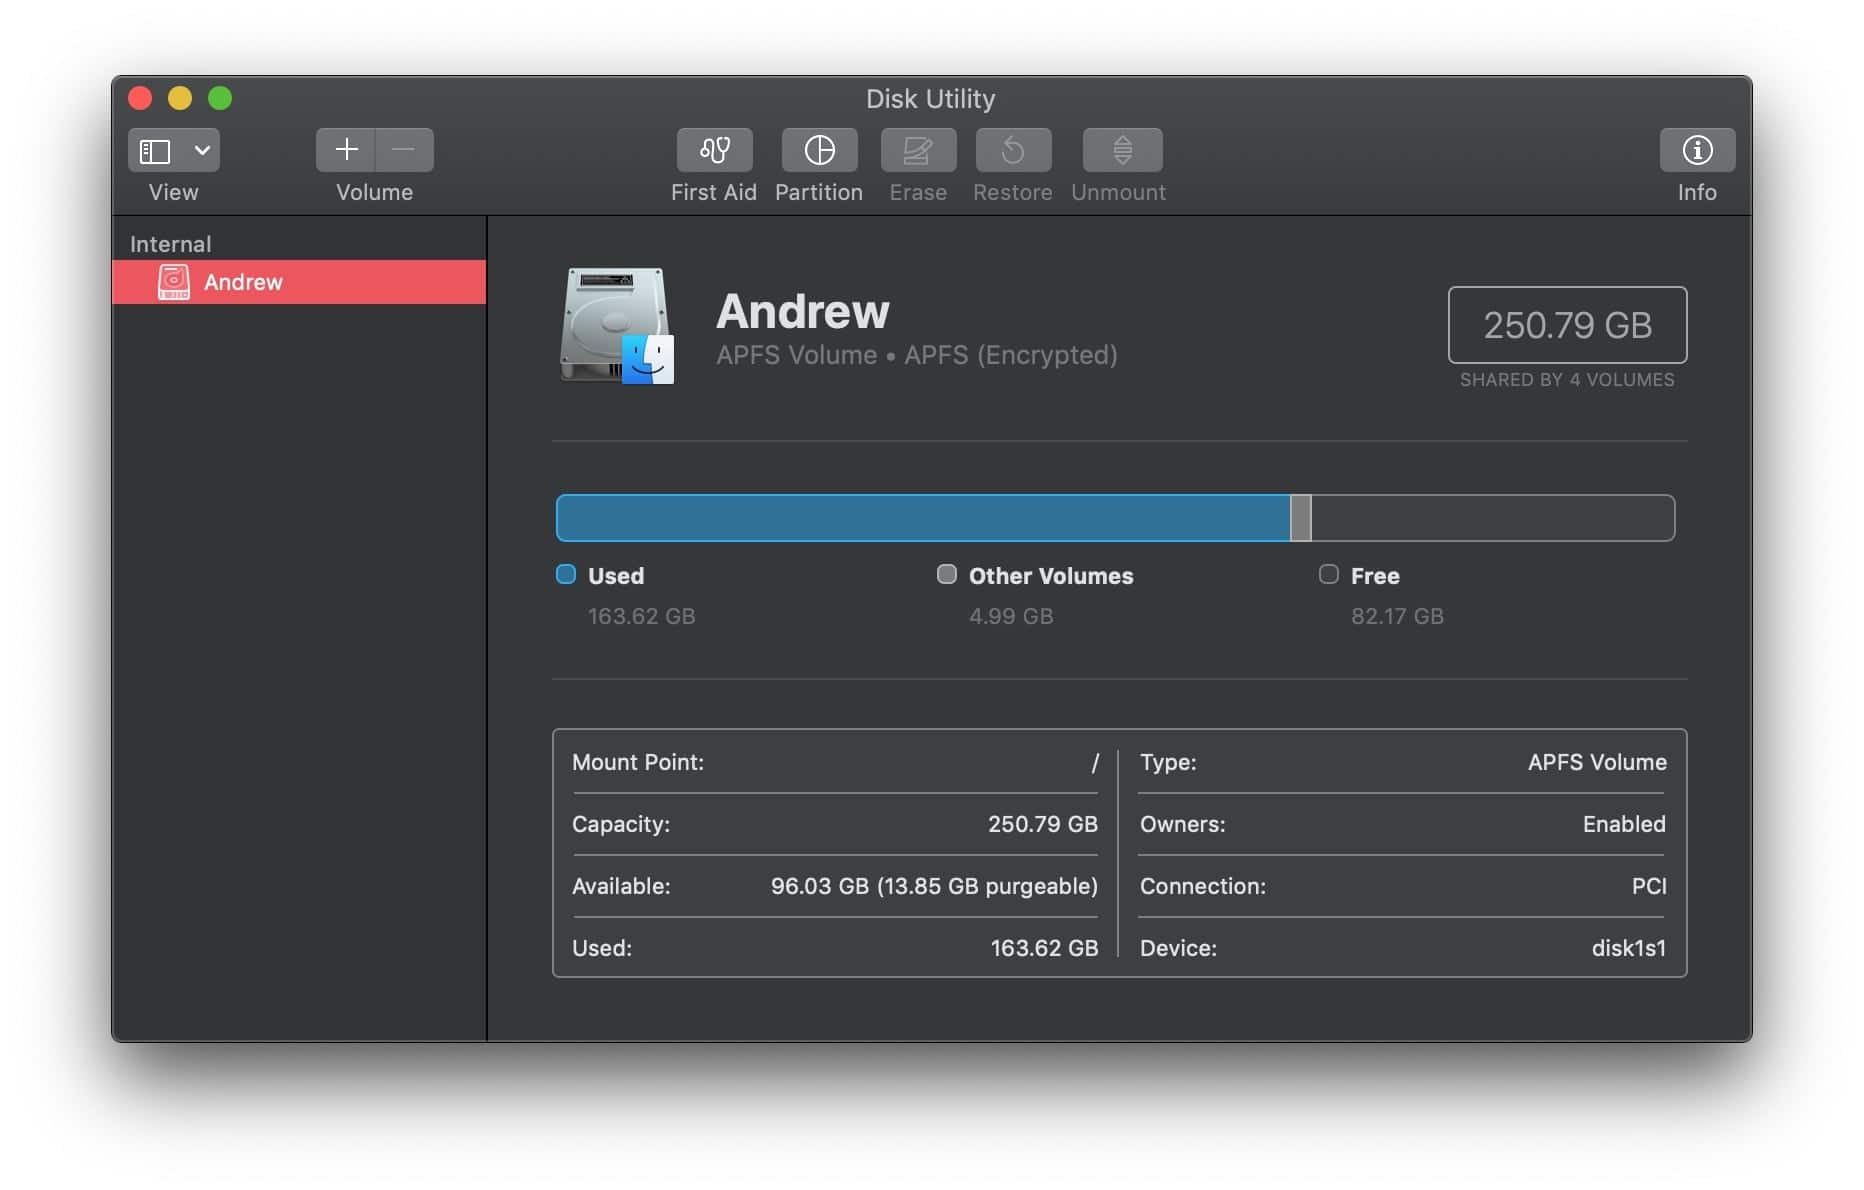
Okay, now for the star of the show. Your Mac has a built-in tool for all sorts of disk-related shenanigans. It’s called Disk Utility. Think of it as the Mac’s toolbox. It’s where all the nitty-gritty disk management happens. And it’s super friendly, mostly. Don't let the "utility" part scare you. It's not some boring government form.
To find it, you’ll want to head to your Applications folder. Then, dive into the Utilities folder. You’ll see it there, probably looking like a little hard drive icon. Click it open. Ta-da! You've entered the digital spa for your SD card.
If you’re feeling extra adventurous, you can also use Spotlight Search. Just hit Command + Spacebar and type "Disk Utility." It’s like a magic word that summons the tool. Faster than hunting through folders, and it feels a bit more like you’re in on a secret. You're practically a command-line ninja now, just without the cryptic commands.
Choosing Your Format: The Big Decision
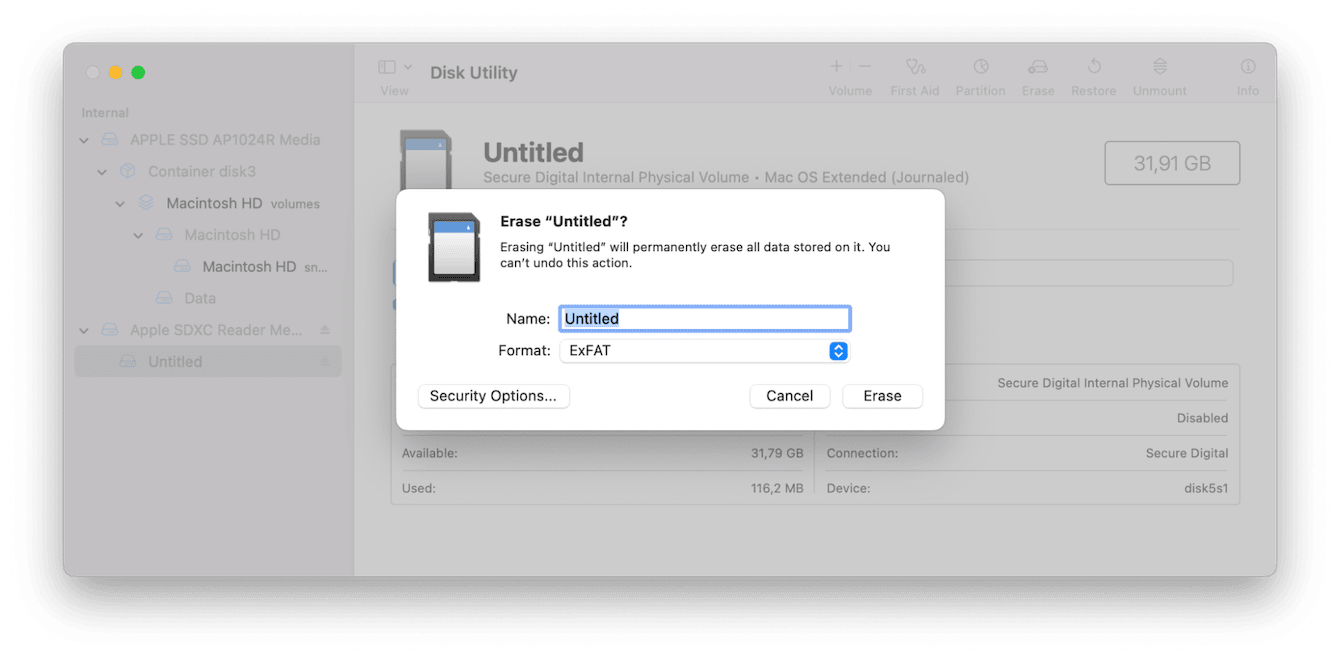
Inside Disk Utility, you’ll see a list of all the drives and storage devices connected to your Mac. Look for your SD card in the sidebar. It might have a name that sounds a bit technical, like "Generic SD Reader" or something similar. Be absolutely sure you select the correct one. This is like double-checking which potion you’re about to drink. You don’t want to accidentally format your main hard drive. That would be… less than ideal.
Once you've highlighted your SD card, look for a button that says Erase. Yep, that’s the big red button of digital transformation. Click it. Don't be shy. This is where the magic happens.
Now, a little window will pop up. This is where you get to make some choices. The most important ones are Format and Scheme. Don't glaze over! It’s not as complicated as it sounds. It's like picking the right outfit for your SD card's next adventure.
For the Format, you'll have a few options. The most common ones for SD cards are:
- ExFAT: This is usually your best bet for modern SD cards. It works with both Macs and Windows computers. So, if you plan on using your card with different devices, go for ExFAT. It’s the universal language of storage.
- MS-DOS (FAT32): This is an older format. It's super compatible with a lot of devices, but it has a 4GB file size limit. So, if you're dealing with big video files, this might not be the one. Think of it as the old reliable that’s a bit outdated.
- Mac OS Extended (Journaled): This one is specific to Macs. If you’re only ever going to use this SD card with your Mac, it’s a solid choice. It’s built for the Mac ecosystem.
And for the Scheme, you’ll usually want to choose GUID Partition Map. This is the modern standard. It’s like the fancy, updated blueprint for how your card is organized. The other options are mostly for older systems or very specific use cases. So, unless you have a good reason not to, stick with GUID Partition Map.
The Grand Finale: Erasing!
So, you’ve picked your format and scheme. You’ve double-checked you’re targeting the right SD card. Now, hit the Erase button again. Yes, it will ask you to confirm. This is your last chance to back out. But if you’re ready to commit, hit Erase one more time.
Your Mac will get to work. You’ll see a little progress bar. It might take a few seconds, or maybe a minute or two. It’s like watching a digital artist at work, meticulously cleaning and preparing their canvas. Don't interrupt the process. Just let it do its thing.
Once it's done, you'll get a little confirmation message. Something like "Operation successful." Or maybe just a little green checkmark. Boom! Your SD card is formatted. It's shiny, new, and ready for action.
You can then close Disk Utility. Your SD card should be back in Finder, looking all fresh and ready to be filled with your next batch of cat photos or whatever amazing things you're creating. It’s a little digital rebirth. Pretty neat, huh?
And the funny thing about formatting? It’s so simple, yet so powerful. It can fix so many little quirks and glitches. If your card is acting weird, a quick format can often save the day. It’s like a digital reset button. The ultimate troubleshooting tip that’s just a few clicks away. So, next time your SD card is being a bit of a diva, you know exactly what to do. You’re a formatting pro now. Go forth and conquer those digital storage woes!