Cutting Plaskolite

Remember that feeling? The one when you’re looking around your space, maybe scrolling through Pinterest for inspiration, and you think, “This could use… something.” That something, more often than not, is a touch of light, a bit of architectural flair, or perhaps a protective shield for your precious tomato seedlings. And when you’re thinking about materials that offer that blend of functionality and style, one name often pops up: Plaskolite.
Now, before you imagine a drab, industrial scene, let’s reframe this. We’re not talking about wrestling with thick, unforgiving sheets of plastic. We’re talking about the art of cutting Plaskolite, transforming it from a raw material into something that perfectly fits your vision. Think of it as a high-end crafting session, but with results that are far more substantial than a wonky macrame plant hanger.
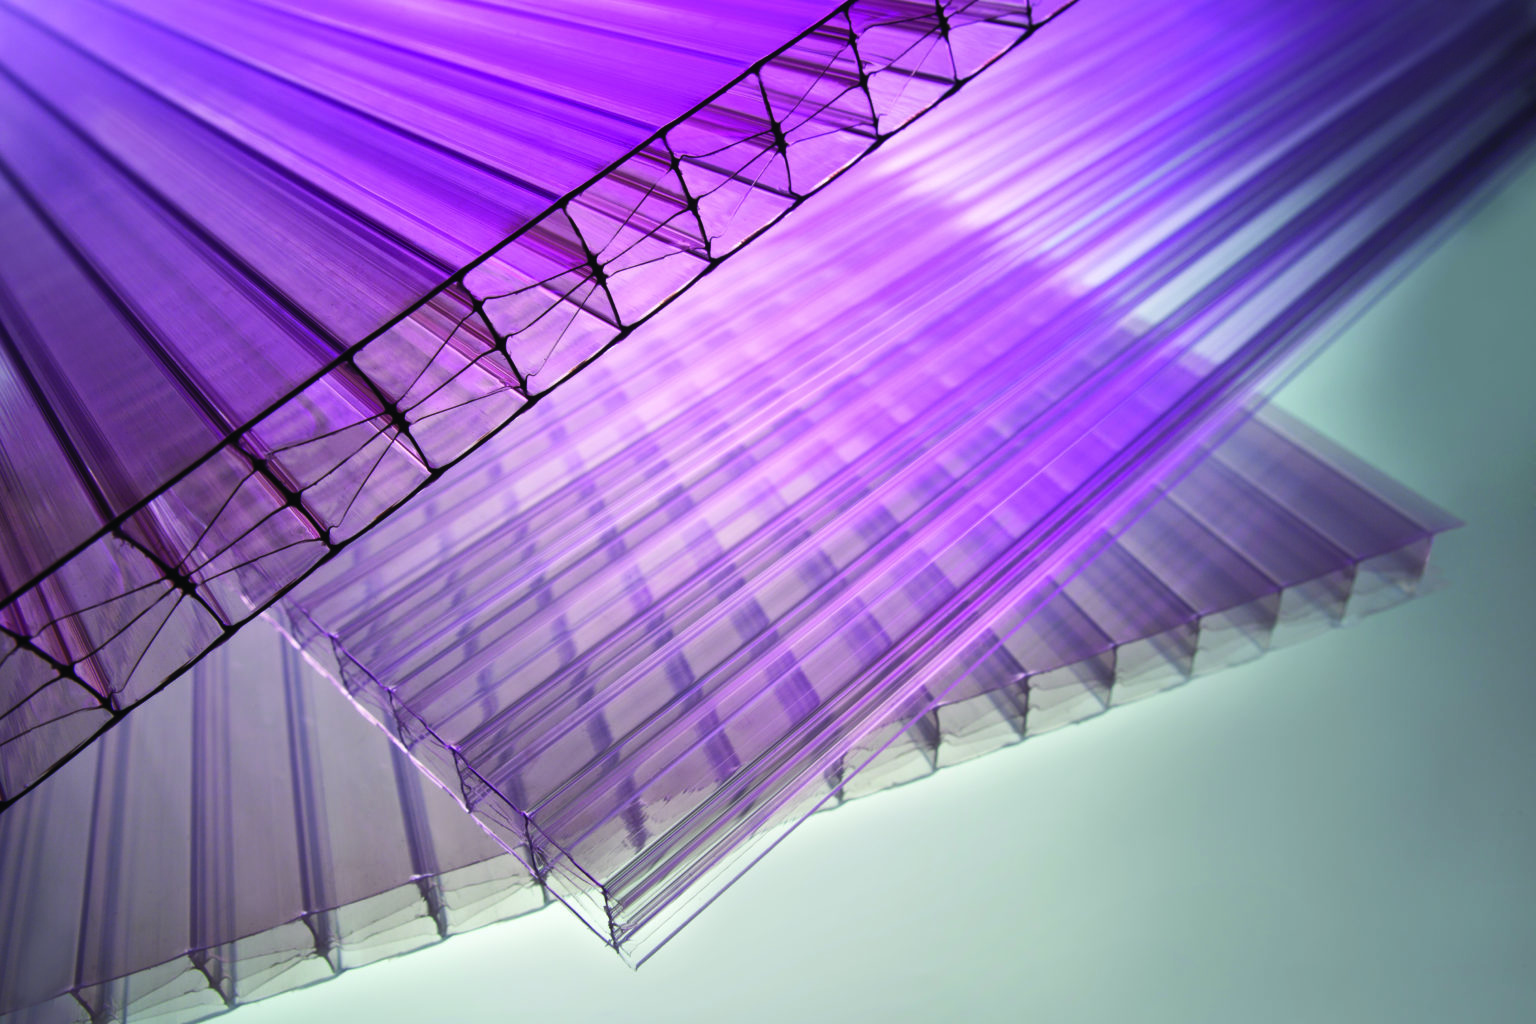
Plaskolite, in its essence, is a brand that’s synonymous with acrylic and polycarbonate sheets. These are the modern materials that have replaced glass in so many applications, offering durability, lighter weight, and a whole lot of versatility. From sleek shower enclosures to protective sneeze guards (hello, post-pandemic life!), and even those cool, geometric terrariums you’ve been eyeing, Plaskolite is likely the unsung hero.
Must Read
But here’s the juicy part: how do you actually work with it? Cutting Plaskolite isn't some arcane ritual reserved for seasoned professionals. With a little know-how and the right tools, you can achieve clean, crisp edges that look like they came straight from a design studio. It’s empowering, really. It’s about taking a piece of material and making it dance to your tune.
The ‘Why’ Behind the Cut: More Than Just Edges
So, why go through the effort of cutting your own Plaskolite? The reasons are as varied as your DIY dreams. Maybe you’ve got a quirky bookshelf that needs custom-sized shelves, or perhaps you’re finally building that elaborate catio your feline overlords have been demanding. It could be as simple as replacing a cracked pane in a patio door or creating a stylish protective cover for your artwork.
Think about the sustainability angle, too. Instead of buying pre-cut pieces that might not be exactly what you need, cutting your own allows you to maximize material usage. Less waste, more awesome. It’s like a mindful approach to home improvement, a way to connect with your space and the materials that shape it.
And let’s not forget the sheer satisfaction. There’s a primal joy in creating something with your own hands, in taking a raw material and transforming it into something functional and beautiful. It’s a tangible form of self-expression, a way to say, "I made this." It’s that feeling of accomplishment that’s hard to beat, isn't it?
Gathering Your Tools: The Cutting Edge Arsenal
Alright, let’s talk tools. This is where the magic happens. For Plaskolite, which generally comes in sheets of acrylic or polycarbonate, you’re going to want tools that offer precision and a clean cut without shattering or melting the material.
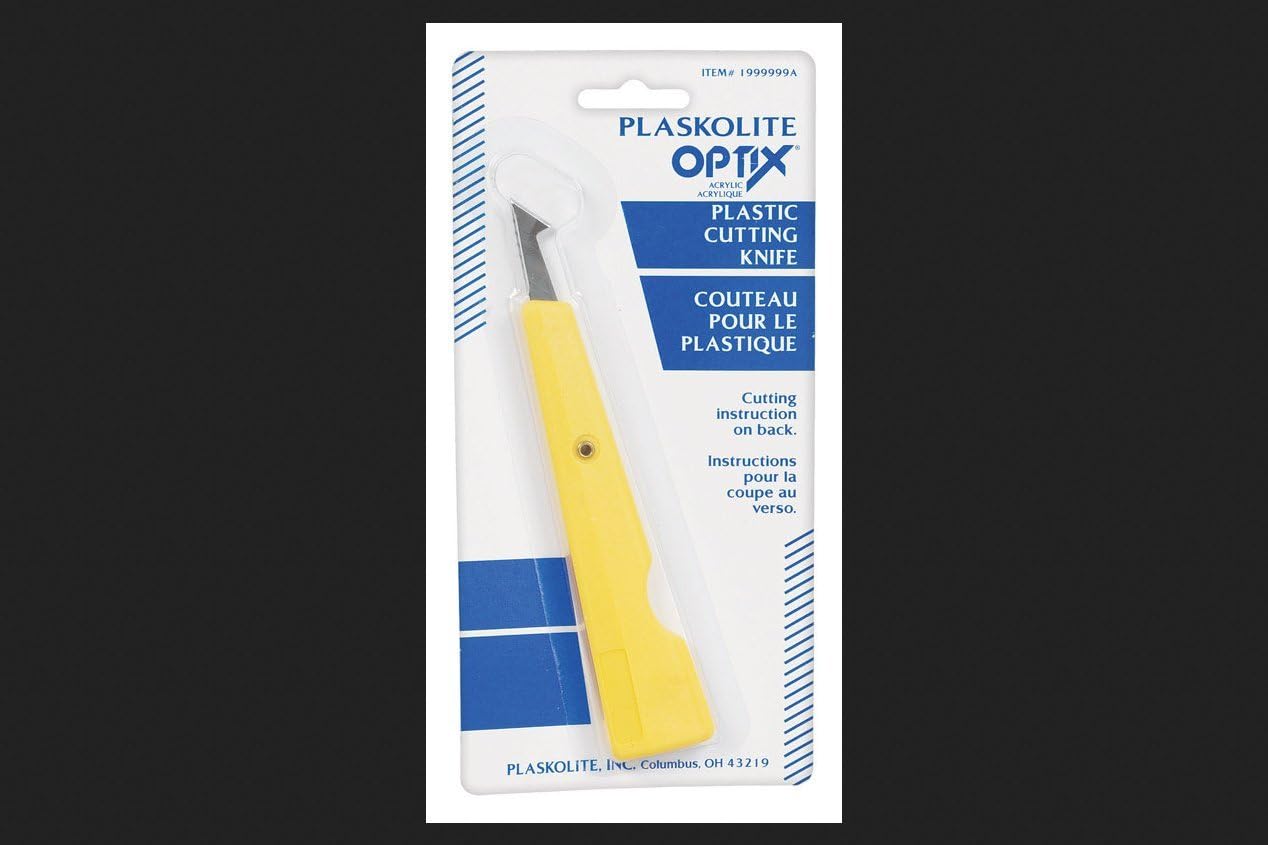
For thinner sheets (think 1/8 inch or less), a utility knife can be your best friend. Yes, a good old-fashioned utility knife. The trick here is scoring. You make a deep, consistent score along your measured line, and then you snap the sheet over an edge. It takes a bit of practice, but the results are remarkably clean. Think of it like a delicate scoring of a piece of parchment paper before folding.
For thicker materials, or if you’re aiming for more complex shapes, you’ll want to step up your game. A jigsaw with a fine-tooth blade designed for plastics is an excellent choice. This is where you can really get creative with curves and patterns. Just remember to go slow and steady, letting the blade do the work. No need to rush; this isn’t a race to the finish line. It’s about a smooth, controlled glide.

Another popular option is a circular saw or a table saw equipped with a fine-tooth, triple-chip carbide blade. These are your go-to for straight, long cuts. Again, slow and steady wins the race. You want to avoid any jerky movements that can lead to chipping or melting. Think of it as a slow, deliberate dance with the material.
And for those ultra-precise, professional-looking cuts, a laser cutter or a CNC router is the ultimate tool. These machines offer unparalleled accuracy and can create intricate designs with ease. If you have access to one, it's a game-changer, but for most home projects, the utility knife or jigsaw will more than suffice.
Scoring and Snapping: The Art of the Straight Line
Let’s delve a little deeper into the scoring and snapping method, because it’s surprisingly effective and incredibly accessible. This is your gateway to clean, straight cuts on thinner Plaskolite sheets, and it feels almost meditative once you get the rhythm.
First, you need a good, sharp utility knife. Don’t skimp here; a dull blade will frustrate you and likely result in a messy cut. You’ll also need a straight edge – a metal ruler or a dedicated cutting guide works perfectly. And, of course, a stable surface to work on.
Measure and mark your cutting line clearly. Then, place your straight edge firmly along the line. Now, with firm, consistent pressure, draw the utility knife along the edge of the straight edge, scoring the Plaskolite. You’re not trying to cut through in one go; you’re creating a deep groove. Repeat this process several times – anywhere from 5 to 15 passes, depending on the thickness – until you have a substantial score line.
Once your score is deep and consistent, you’re ready for the snap. Position the scored line so it’s just over the edge of a sturdy table or workbench. Apply firm, even pressure to the piece you want to remove. The score line should act as a clean break point, and the sheet will snap cleanly. It’s a satisfying little crack that signals a job well done!
Pro Tip: If you find a small burr or rough edge after snapping, you can usually clean it up with a bit of fine-grit sandpaper. It’s all about those finishing touches that elevate your work.
Jigsaws and Blades: Navigating the Curves
When your project calls for curves, intricate shapes, or thicker material, the jigsaw becomes your trusty steed. This is where you can really let your creativity shine, turning a flat sheet into something more organic and dynamic.
The key to a successful jigsaw cut is the blade. You want a blade specifically designed for cutting plastic. These blades usually have a finer tooth count, which helps prevent melting and chipping. Look for blades labeled for "plastic," "acrylic," or "polycarbonate." A reverse-tooth blade can also be beneficial, as it pulls the material upwards, leading to a cleaner cut on the visible surface.
Before you start, it’s a good idea to secure your Plaskolite sheet firmly to your work surface. This prevents it from vibrating and jumping as the blade cuts. Use clamps to hold it down at multiple points, especially around the area you’ll be cutting.
When you’re ready to cut, start the jigsaw before you touch it to the material. Let the blade reach full speed. Then, gently guide the saw along your marked line. Resist the urge to push too hard. Let the saw do the work. If you’re cutting a tight curve, take your time, making small adjustments as you go.
Fun Fact: Jigsaws were originally invented for cutting intricate designs into metal, so they're built for precision! Just remember to adapt your technique for the softer nature of plastic.
Melting Point Melodrama: Keeping it Cool
One of the challenges when cutting plastics like Plaskolite is their tendency to melt. The friction from the saw blade or knife can heat up the material, causing it to gum up the blade and create a messy, uneven cut. This is where a little bit of cooling strategy comes in handy.
For jigsaw and saw cuts, some people find that a light mist of water or a specialized plastic cutting lubricant can help. Others prefer to use a technique called "chip load," where you aim to remove material in small, manageable chips rather than a continuous stream of melted plastic. This often involves adjusting the speed of your saw and the feed rate.
Another trick, especially for straight cuts with power saws, is to tape off your cutting line with painter's tape. This can help reduce scratching and provide a cleaner edge. Sometimes, the tape can even help manage the heat a little.
If you do encounter some melting, don’t panic! Often, you can carefully scrape away any hardened plastic with a razor blade or clean it up with a bit of fine-grit sandpaper once it's cooled. The key is to be patient and avoid forcing the cut, which will only exacerbate the melting problem.
Cultural Nudge: Think of this like learning to temper chocolate. It requires a bit of finesse and understanding of the material's properties to get that perfect, smooth finish.
Finishing Touches: Sanding and Polishing
Once you’ve made your cuts, the journey isn’t quite over. The edges, no matter how clean, might benefit from a little love. This is where sanding and polishing come into play, transforming a rough edge into something smooth and professional.
Start with a fine-grit sandpaper, perhaps in the 220-320 grit range. Gently sand along the edge, working in one direction to avoid creating visible scratches. Progress to even finer grits – 400, 600, and even higher if you’re aiming for a mirror-like finish. Always sand with the grain, if there is one, or in a consistent direction.
For a truly polished edge, you can use a plastic polish. These are readily available at hardware stores and craft shops. Apply a small amount to a soft cloth and buff the edge in a circular motion. It’s like giving your Plaskolite a spa treatment!
If your cuts were particularly clean and you're working with acrylic, you might even consider flame polishing. This is a more advanced technique where you carefully pass a torch flame over the edge to melt and smooth it. It requires practice and caution, but the results can be spectacular, giving you a perfectly clear, fire-polished edge.
.jpg?sfvrsn=3b57618_2)
Quick Tip: Always work in a well-ventilated area when sanding or using polishes. And for flame polishing? Safety first! Goggles and gloves are a must.
Beyond the Cut: Creative Applications
Now that you’re armed with the knowledge to cut Plaskolite, the world of DIY projects opens up. Imagine creating:
- Custom light fixtures: Cut unique shapes to diffuse light and add ambient charm to a room.
- Protective sneeze guards: For your desk, for a craft station, or even for a small business counter.
- Terrariums and display cases: Design and build bespoke enclosures for your succulents, curios, or collectibles.
- Artwork and signage: Cut out letters or shapes for a personalized piece of wall art.
- Tool organizers: Create custom dividers for drawers or toolboxes.
- Greenhouse panels: Replace broken panels or build a small, custom greenhouse for your herbs.
The possibilities are truly endless. Plaskolite is a material that’s ready to be shaped by your imagination. It’s about taking that blank sheet and giving it a purpose, a form, and a function that perfectly suits your life.
Pop Culture Nod: Think of it as your personal "maker" moment. You're not just following instructions; you're bringing your own unique vision to life, much like an indie filmmaker crafting their masterpiece.
A Reflection: The Beauty of Imperfect Perfection
Cutting Plaskolite, like many DIY endeavors, isn't always about achieving a flawless, factory-perfect result on the first try. There will be moments of learning, perhaps a slightly less-than-perfect edge here, a tiny nick there. And that's okay.
In our lives, we often strive for this unattainable perfection. But the truth is, the little imperfections, the visible signs of our handiwork, are often what give things character and soul. That slightly uneven edge on your handmade shelf? It tells a story. It’s a testament to your effort, your learning, and your willingness to create.
So, the next time you’re looking at a sheet of Plaskolite, don't just see a material. See potential. See a canvas. And with a little patience, the right tools, and an easy-going attitude, you’ll be amazed at what you can create. It’s about embracing the process, enjoying the transformation, and ultimately, adding a touch of your own unique style to the world around you. And isn't that what an easy-going lifestyle is all about? Making your space, and your life, a little more you.


