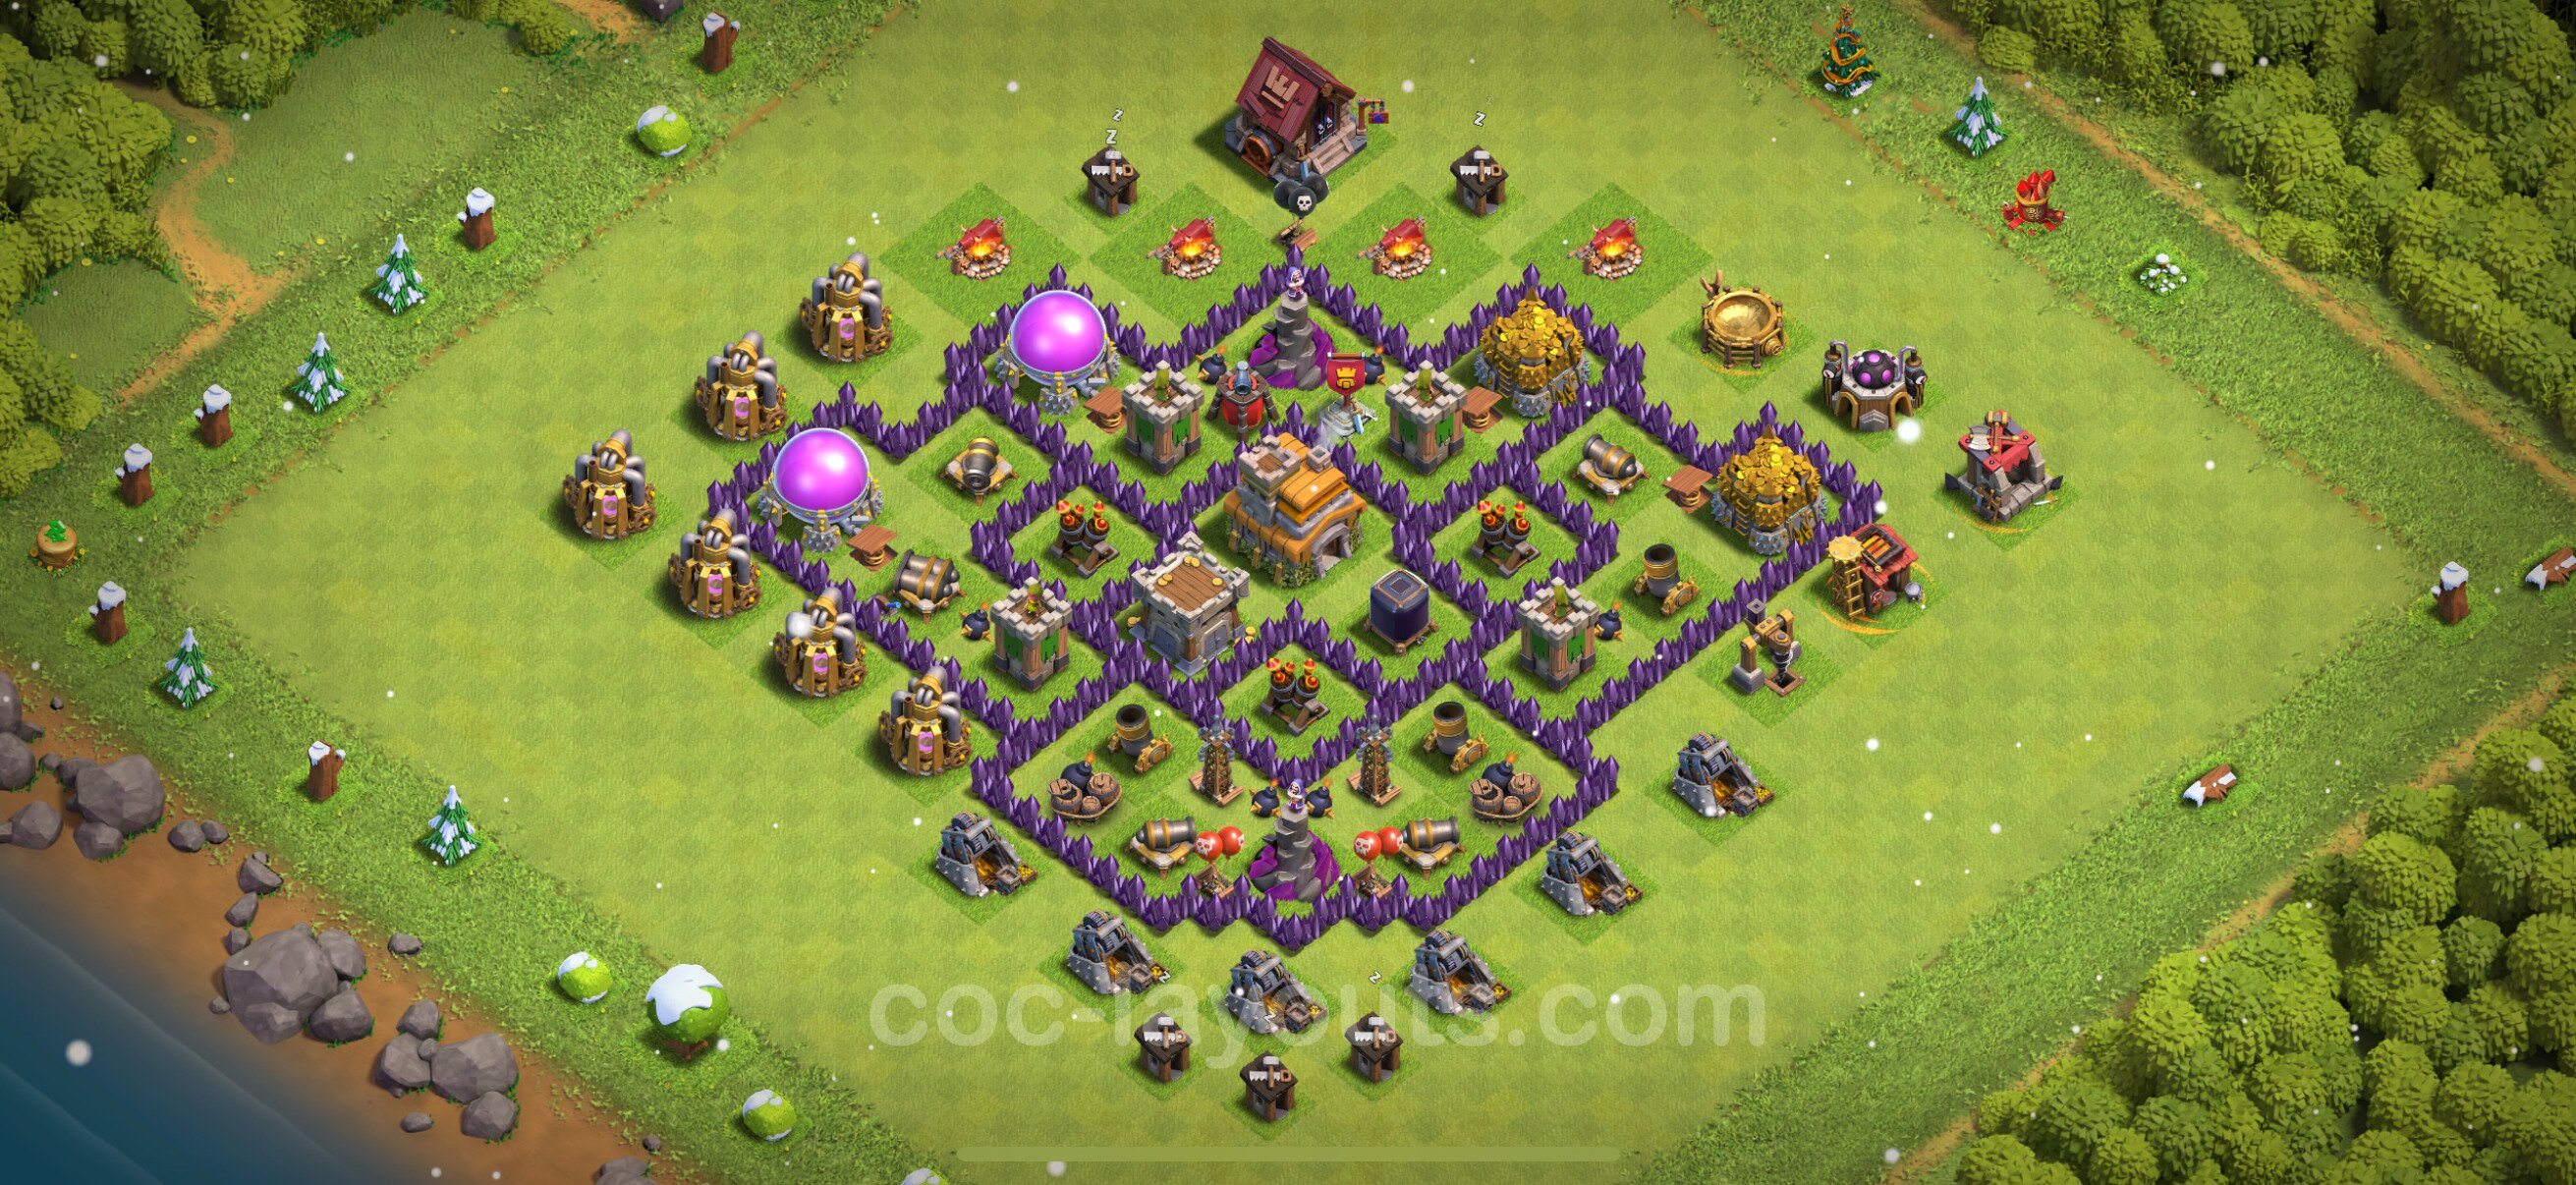
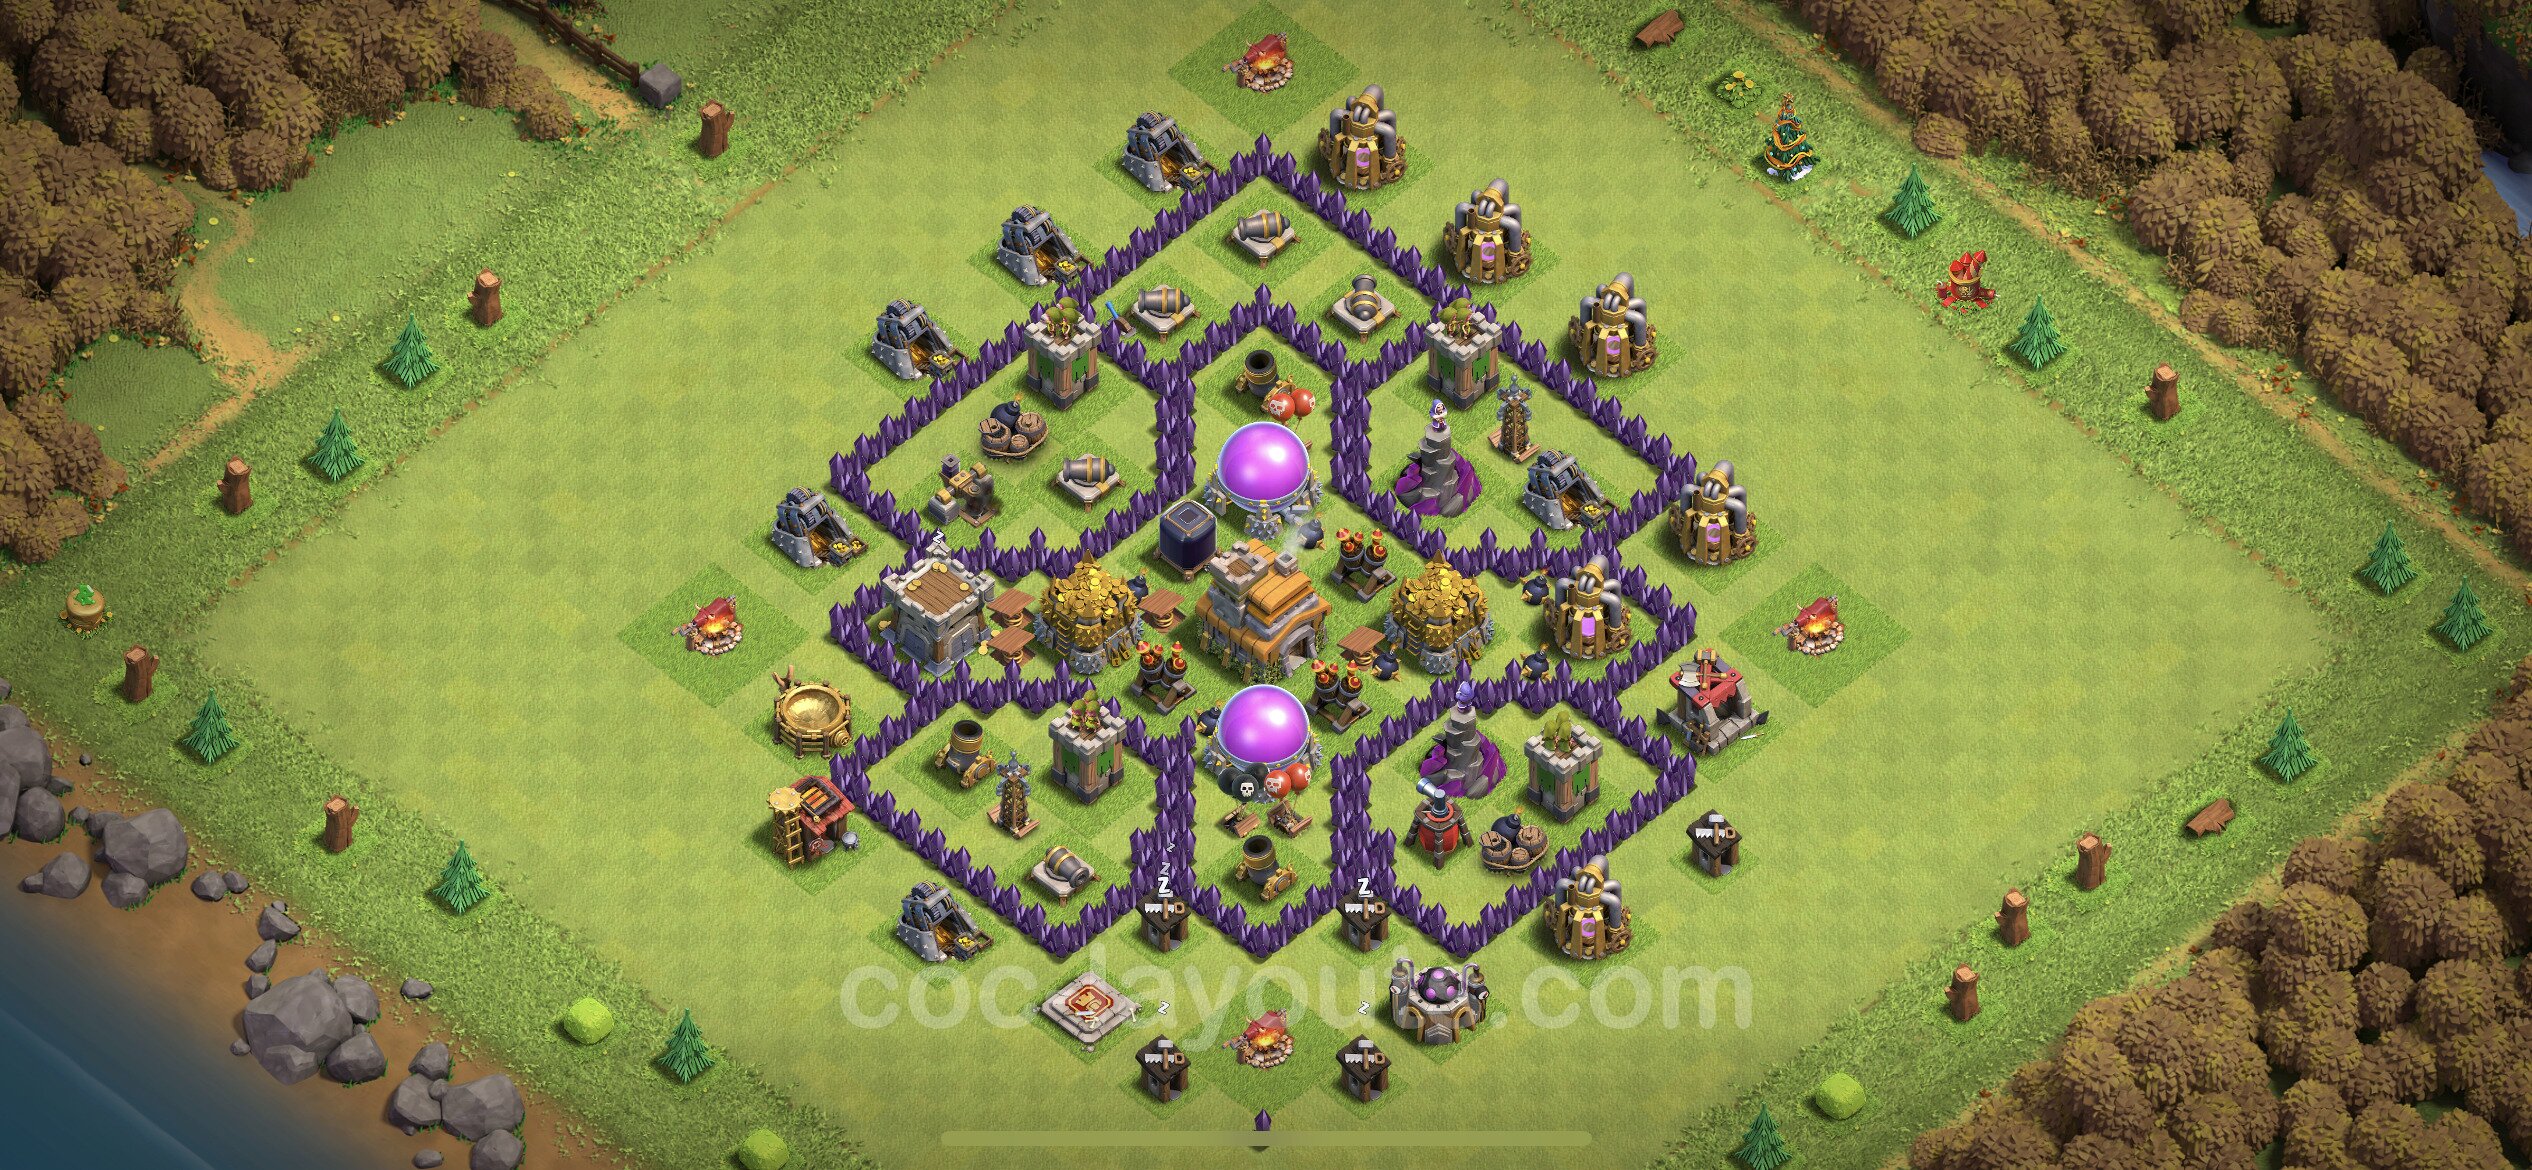
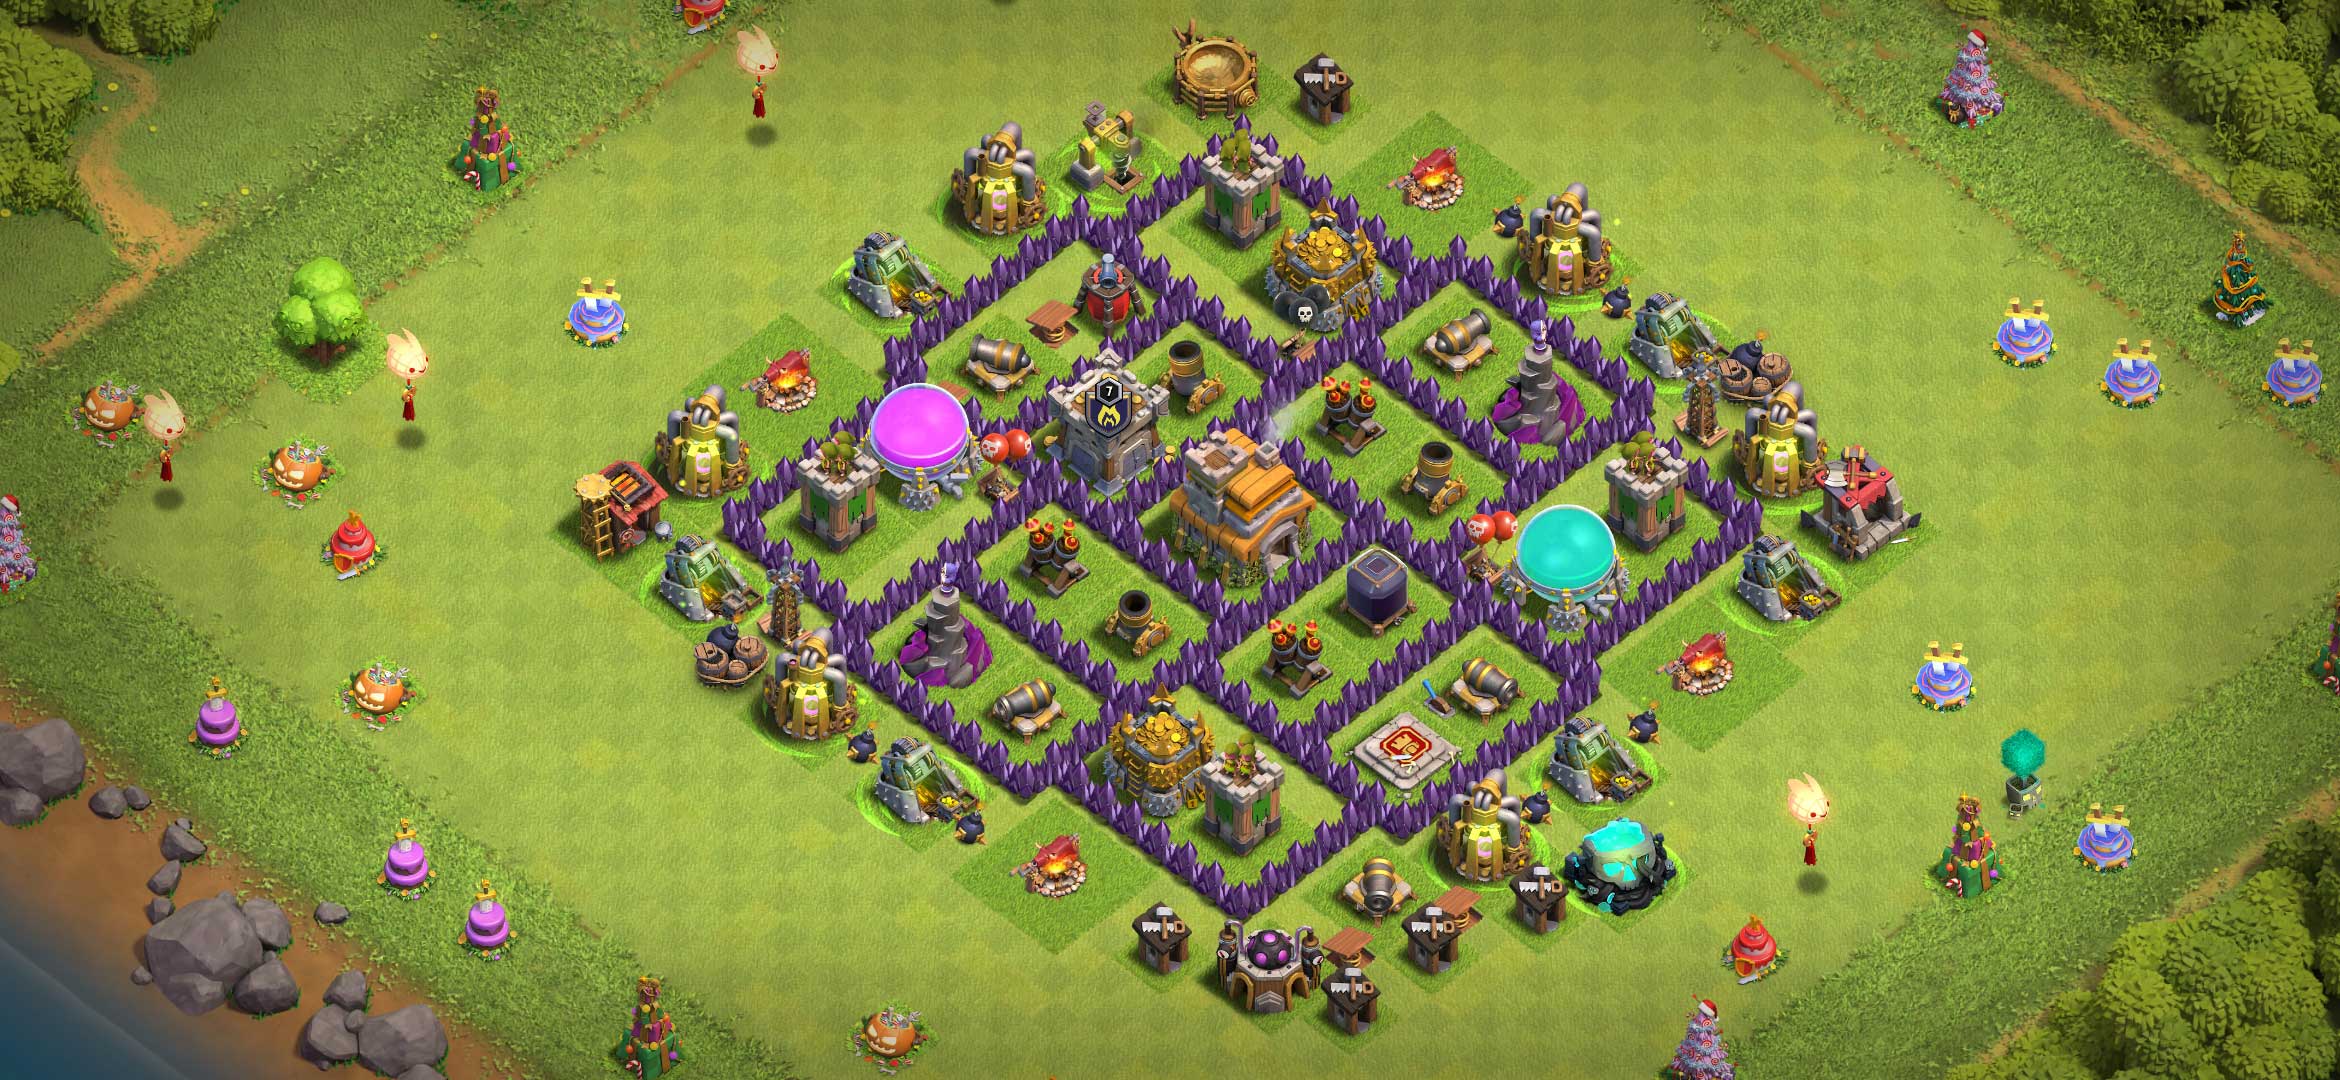
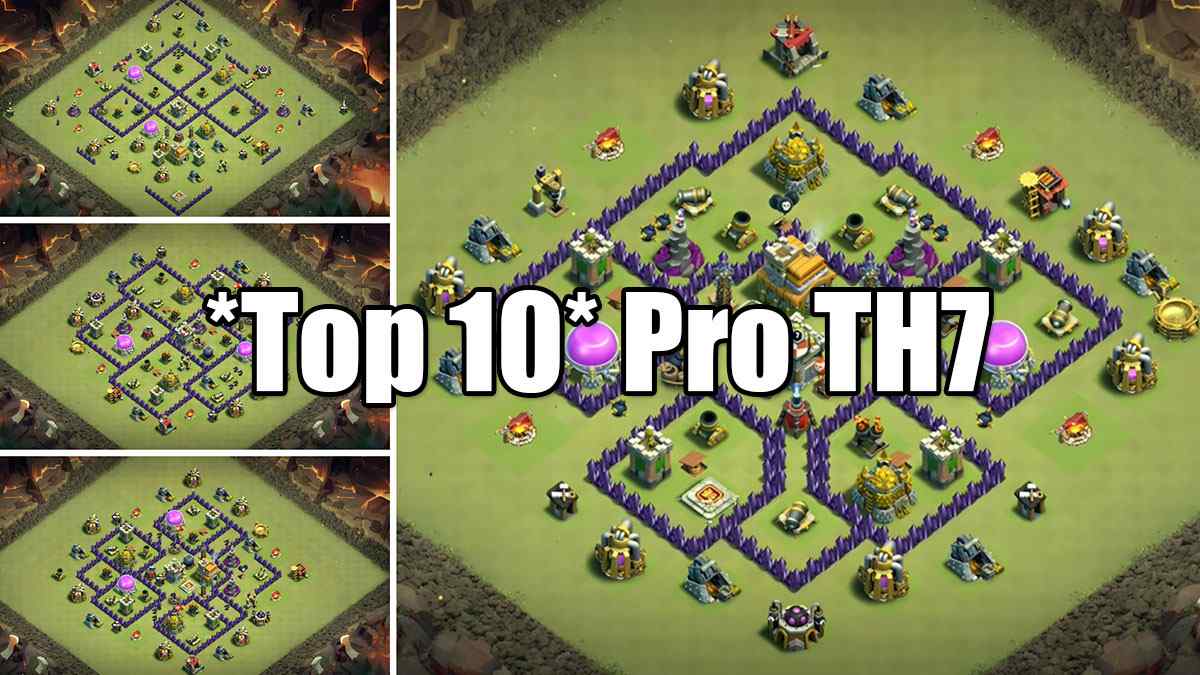
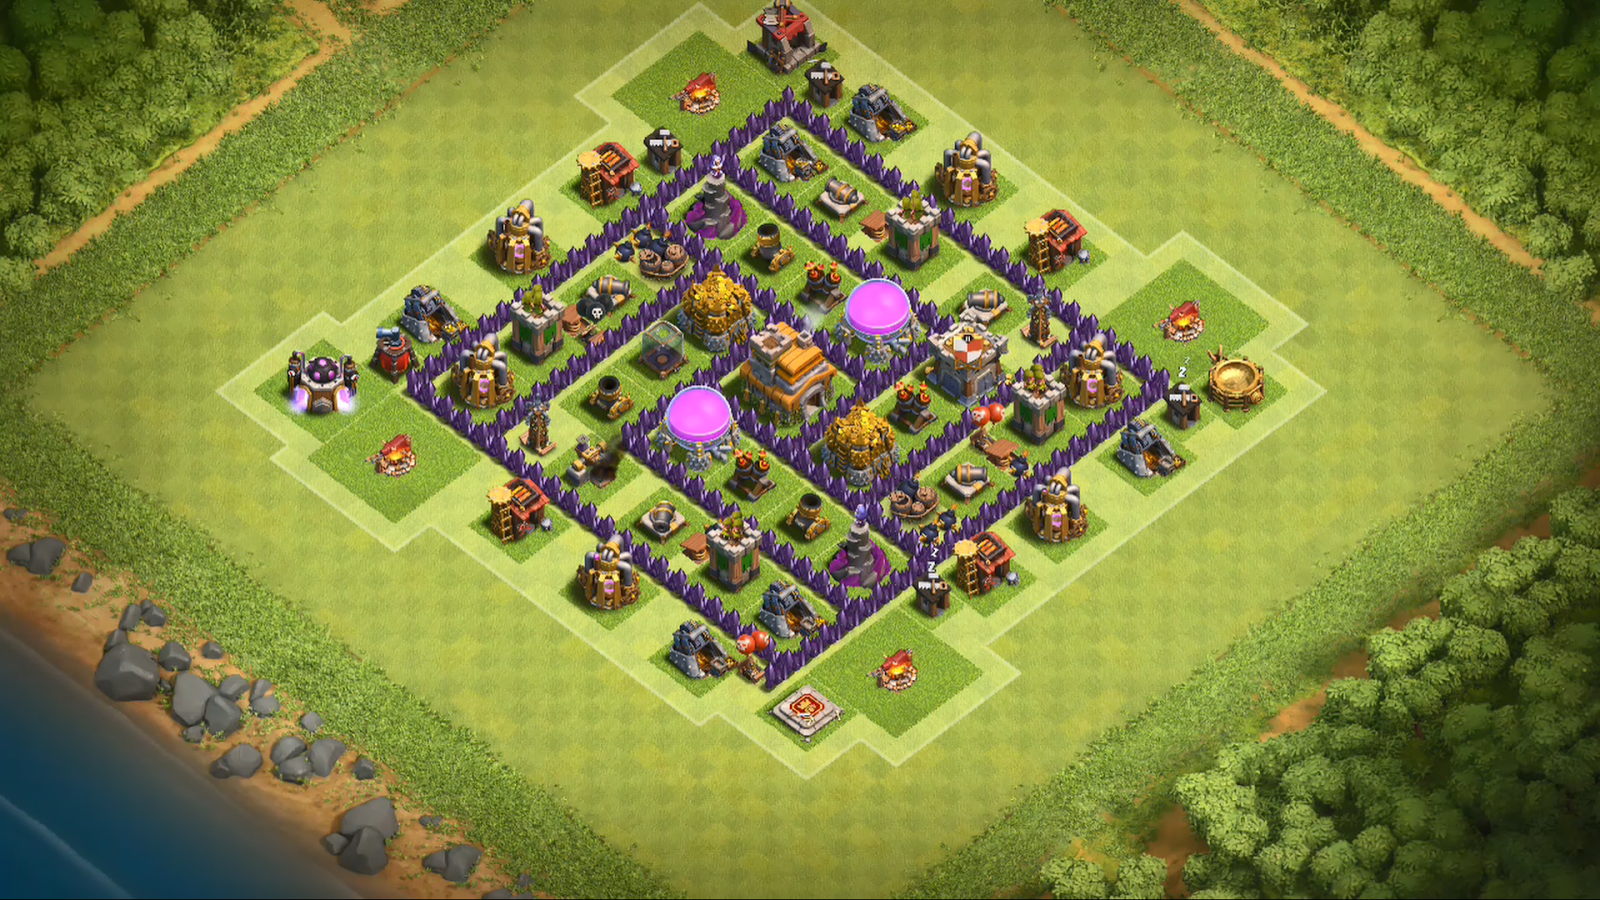
Clash Of Clans Th Lvl 7 Base

Remember that feeling? You know the one. The one where you’d just painstakingly upgraded your Town Hall to level 7, feeling all smug and mighty, only to log in the next day and see your brand new, shiny, barely-built Town Hall completely obliterated? Yeah, that was me. Just yesterday. My prize possession, the symbol of my growing power, reduced to rubble by some sneaky Goblin overlord. It’s enough to make you want to chuck your phone across the room, isn’t it?
But then, amidst the ruins of my once-proud base, a tiny spark of determination flickered. It wasn’t just about revenge anymore. It was about understanding. What makes a Town Hall 7 base tick? What are the secrets to not having your precious TH smashed to bits the moment a sneaky Goblin even thinks about your loot?
And that, my friends, is how we find ourselves here, diving headfirst into the glorious, chaotic, and sometimes utterly baffling world of Clash of Clans Town Hall Level 7 bases.
Must Read
The TH7 Awakening: More Than Just a Shiny New Building
So, you’ve hit the big TH7. Congratulations! It feels like a real milestone, doesn't it? You've unlocked new toys, new defenses, and a whole new level of strategic headache. Suddenly, the simple life of TH6 feels like a distant, blissful memory. Now, the attacks are getting more complex, the attackers are a bit more… enthusiastic, and your cute little walls are starting to look like toothpicks against a raging storm.
This is where the real fun begins. Or, you know, the real frustration, depending on how your defense rate is going. At TH7, your base design becomes a lot more critical. It’s not just about spamming defenses everywhere and hoping for the best anymore. You’ve got to start thinking like an attacker, but with the ultimate goal of… not being attacked successfully. It’s a paradox, I know.
This is the point where you’ll start seeing those fancy base layouts online, the ones with the perfectly symmetrical compartments and the strategically placed Giant Bombs. And you’ll think, “Wow, I need that!” But here’s a little secret: copying a base isn't always the answer. Sometimes, the best bases are the ones you tweak and adapt to your own playstyle and your current resource needs.
The Pillars of a Potent TH7 Defense
Let's break down what actually makes a TH7 base good. It’s not just about having the most cannons; it's about how they work together. Think of it like a carefully orchestrated symphony of destruction, where every defense plays its part in sending those attackers packing.
1. The Town Hall: Your Most Valuable (and Vulnerable) Asset
Okay, this is the big one. At TH7, your Town Hall is usually worth a star, and more importantly, a good chunk of loot. So, keeping it safe is paramount. Where do you put it? The eternal question!
Some people swear by putting it inside the base, heavily protected. This makes it harder for attackers to snag that easy star and loot. Others prefer to place it outside, hoping to bait attackers into a quick grab-and-run, leaving their main army vulnerable to your traps and defenses. It’s a gamble, and honestly, it depends on what you’re trying to achieve. If you’re farming for resources, maybe keeping it inside is better for trophy protection. If you’re more focused on war, then maybe it’s less critical than protecting your Dark Elixir.
My personal take? I like to keep it pretty central. I’d rather have to fight for that star than hand it over on a silver platter. But hey, I’m also the guy who got his TH blown up yesterday, so take that with a grain of salt! The key is to make them work for it. Don’t leave it sitting there like a lonely little prize.
2. Walls: Your First Line of (Impenetrable) Defense? Not Quite.
Ah, walls. The bane of every wall-breaker’s existence, and the eternal headache for every attacker. At TH7, you’ve got a decent amount of them, and you’re probably spending a good chunk of your Elixir upgrading them. But are they enough?
The biggest mistake at TH7 is often a simple, linear wall. Attackers can just send in a few Wall Breakers, blow a hole, and then their Giants or Balloons just waltz right in. You need to get creative. Think compartments. Think about forcing attackers to break through multiple layers of walls to get to your important stuff.
A good TH7 base often uses a multi-compartment design. This means your base is broken down into smaller sections. So, even if they break through one wall, they’re still faced with another, and then another. It slows them down, makes them use more troops, and gives your defenses more time to work their magic. It’s all about making them waste troops and time!
And remember, upgrade those walls! A Level 7 wall is a whole different ballgame to a Level 5 wall. It might seem like a slow grind, but every little bit helps.
3. Air Defenses: The Balloon’s Worst Nightmare
At TH7, you get your first set of Air Defenses. And let me tell you, they are your best friends when it comes to dealing with pesky Balloons and Minions. If an attacker is spamming air troops, your Air Defenses are going to be doing some serious work.
Placement is key here. You want to spread them out so that they cover as much of your base as possible, especially protecting your Town Hall and your Dark Elixir storage. Try to create a sort of triangle or diamond formation with them. This makes it harder for attackers to snipe them with Dragons or Lightning Spells without taking significant damage themselves.
Don't cluster them together! That's like giving an attacker a free pass to take out multiple key defenses with one well-placed spell. Spread the love (and the destruction) around!
4. Mortars and Wizard Towers: The Splash Damage Superstars
These are your workhorses for taking down swarms of weaker troops. Mortars are great for high-arc, area-of-effect damage, perfect for clearing out those pesky Goblins or groups of Archers. Wizard Towers, on the other hand, offer slightly more focused, but still splash, damage. They’re excellent against groups of mid-tier troops like Barbarians or Wizards.
Where do you put them? Generally, you want them to cover areas where attackers are likely to funnel their troops. Think about the paths they’ll take to your core defenses or your storages. Placing them inside your perimeter walls, but not directly on the front lines, is usually a good strategy.
You want them to be protected, but also to have a clear line of sight to the areas where the enemy troops will congregate. And again, try to avoid having them all clumped together. A well-placed splash damage defense can be a game-changer.
5. Cannons and Archer Towers: The Backbone of Your Defense
These are your standard, single-target attackers. They’re not as flashy as the Mortars or Wizard Towers, but they are crucial for picking off individual threats and whittling down larger troops. They have a decent range, so think about placing them strategically to cover the approaches to your more important buildings.
A common mistake is to put all your splash damage defenses on the outside and then have nothing to deal with the tanks that get through. Cannons and Archer Towers are good for this. They can chip away at those Giants while your other defenses are reloading.
Try to create a layered defense. You want attackers to encounter your outer defenses first, then your splash damage, and then your stronger point defenses to finish them off. It's a bit like a game of chess, but with more explosions.
6. Traps: The Surprise Element
Ah, traps! The little gems that can turn an attacker’s well-laid plan into a hilarious disaster. At TH7, you’ve got access to Spring Traps, Bombs, and Giant Bombs. These are your secret weapons. Use them wisely!
Spring Traps are fantastic for bouncing away groups of Barbarians or Archers. Place them in areas where you anticipate troop deployment. Think about the gaps between defenses or the paths attackers will take to get to your storages.
Bombs and Giant Bombs are great for dealing with clustered troops. A well-placed Giant Bomb can obliterate a group of Wizards or even deal significant damage to Giants. Consider placing them near your Mortars or Wizard Towers to maximize their effectiveness. And here’s a pro-tip: if you’re worried about GoWiPe attacks (Golems, Wizards, Pekkas), placing a couple of Giant Bombs together can be a real nasty surprise for them!
Don't forget about your Skeleton Traps! These little guys can distract high-damage troops and draw their fire away from your core defenses. They’re especially good at annoying Pekkas or Heroes.
Common TH7 Base Layout Mistakes (and How to Avoid Them)
Let’s be honest, we’ve all made these mistakes. It’s part of the learning curve. But acknowledging them is the first step to a better base!
1. The “Everything Outside” Approach: This is a classic beginner mistake. Putting all your defenses on the outer edge of your base. This makes it super easy for attackers to pick them off one by one with ranged troops or spells before they even get to your core. You need a strong interior!
2. The “Anti-3 Star” Trap Base: While tempting to create a super tricky base to get that perfect 3-star defense, at TH7, focusing on protecting your loot and a star is often more practical. Trying to be too clever can sometimes backfire and leave you vulnerable to simpler, more direct attacks.
3. Lack of Compartmentalization: As mentioned before, a single, massive compartment is an open invitation for attackers. Break it down! Force them to fight for every inch of your base.
4. Neglecting Traps: Traps are not just an afterthought. They are strategically placed landmines of doom. Integrate them into your design. Don’t just scatter them randomly.
5. Poor Air Defense Coverage: Ignoring air attacks will leave you open to devastating Balloon or Dragon raids. Make sure your Air Defenses are well-placed and protected.
6. Overlapping Defensive Fire: This is a subtle one, but important. You want your defenses to cover each other. If your Mortar’s range ends just as your Cannon’s starts, there’s a dead zone. Try to create overlapping fields of fire so that as soon as one defense finishes its target, another is ready to take over.
TH7 Farming vs. War Bases: A Tale of Two Designs
It's also worth remembering that your base design might need to change depending on your current goal. Are you trying to save up for that massive upgrade? Or are you in the middle of a Clan War and want to maximize your defense?
Farming Bases: These typically prioritize protecting your resources, especially your Gold and Elixir storages, and often your Dark Elixir. Your Town Hall might be placed slightly more vulnerably to encourage attackers to take a quick win and leave, thus saving your loot. Traps are often placed around storages.
War Bases: In war, the goal is to prevent the attacker from getting 3 stars, and sometimes even 2 stars. This means your Town Hall will almost always be placed deep within your base, heavily protected. Air Defenses will be a top priority, and you'll want to maximize the effectiveness of your splash damage defenses to deal with common war attack strategies.
You might even have two different base layouts saved, switching between them as needed. It’s a little bit of effort, but it can make a big difference to your resource gain and your clan’s war performance.
The Bottom Line: Experiment and Adapt!
Look, there’s no single “perfect” TH7 base. The meta changes, attackers get smarter, and what works today might not work tomorrow. The best thing you can do is to experiment. Try different layouts. Watch replays of your defenses (and your failures!). See where attackers are breaking through and why.
Don't be afraid to adjust your walls, move your defenses around, and tinker with your trap placements. Ask your clanmates for advice. There are tons of resources online, but remember to adapt them to your base and your playstyle.
And hey, if your Town Hall gets blown up one day, don’t sweat it too much. It happens to the best of us. Just pick yourself up, rebuild, and try to make your base just a little bit tougher next time. That’s the beauty of Clash of Clans, isn't it? It's a constant learning process, a never-ending cycle of offense and defense. Now go forth and build a base that makes those Goblins weep!