Best Way To Clean A Shower Head
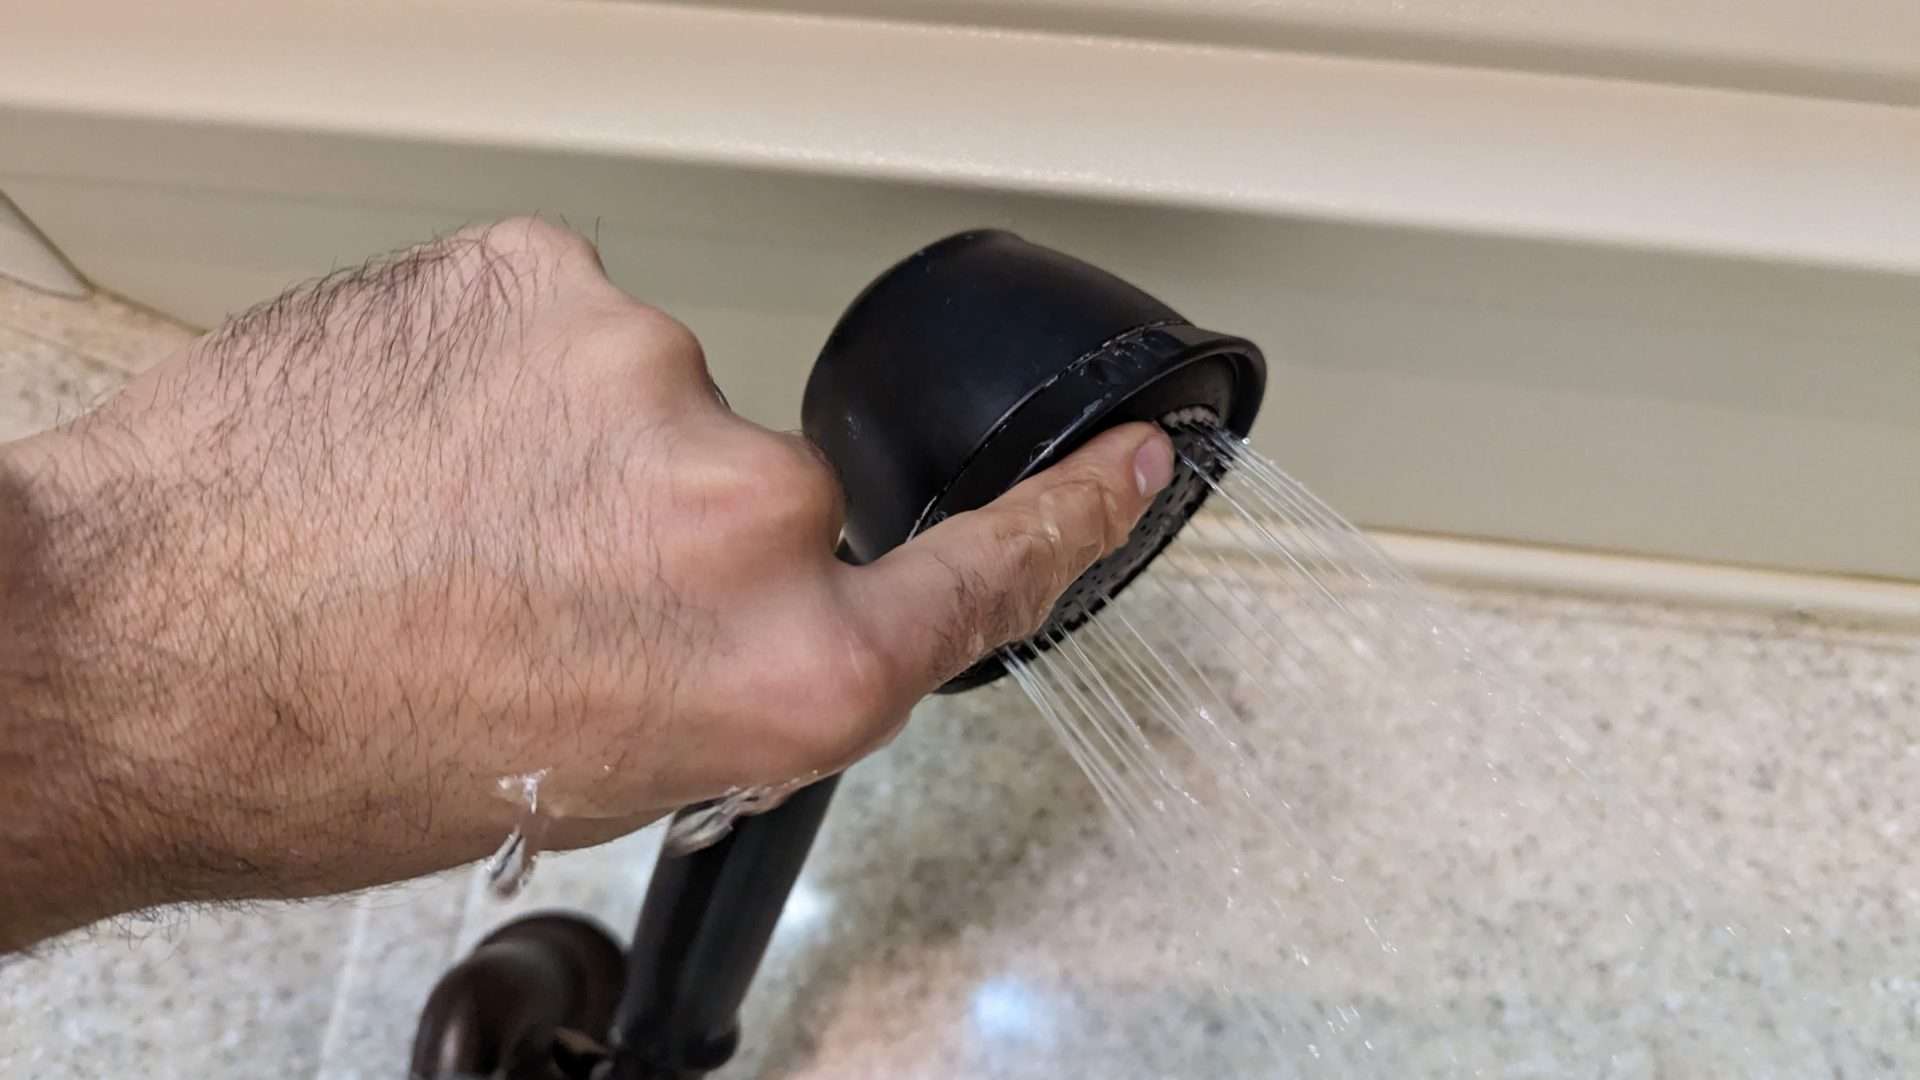
Okay, confession time. A few weeks ago, I was in the shower, you know, doing the whole soap-up-and-rinse routine, and I started noticing something… odd. The water wasn’t exactly coming out in those neat, invigorating little jets. Nope. It was more like a grumpy old man sputtering, with some streams going rogue like they had a secret escape plan. I swear, for a second, I thought I was in some avant-garde art installation called “The Lament of the Low-Pressure Shower.”
It got me thinking. How often do we actually pay attention to our shower heads? They’re just… there, right? Doing their job. Until they’re not. And then suddenly, your glorious morning shower turns into a slightly damp, slightly disappointing experience. So, I decided to investigate. Because nobody deserves a sad, sputtering shower. Nobody.
Turns out, those little nozzles aren’t just decorative. They’re actually prone to, shall we say, clogging. And what causes the clogging? Mostly mineral deposits. You know, the stuff that makes your kettle look like it’s wearing a fuzzy grey coat? Yep, that’s the culprit. Over time, these little mineral monsters build up, blocking the holes and turning your powerful spray into a… well, into that grumpy old man I mentioned. It's a tale as old as time, or at least as old as plumbing. Annoying, but totally fixable!
Must Read
So, if you’ve noticed your shower head has gone from a spa-like experience to something more akin to a leaky faucet, or if the water pressure feels like it’s having an existential crisis, it’s probably time for a little pampering for your shower head. And trust me, it’s not nearly as complicated as it sounds. In fact, it’s ridiculously easy. You might even feel a sense of accomplishment afterwards. Like you’ve conquered a tiny, yet significant, household foe.
The Secret Weapon: Vinegar!
Now, before you go reaching for the heavy-duty industrial cleaners (please, for the love of all that is holy, don’t do that!), let me introduce you to your new best friend: white vinegar. Yep, that unassuming bottle of stuff you probably have in your pantry right now. It’s a cleaning superhero in disguise, and it’s perfect for tackling those stubborn mineral deposits.
Why vinegar, you ask? Well, it’s acidic. And that acidity is exactly what we need to dissolve the calcium and mineral buildup that’s making your shower head perform a sad little rain dance. It’s gentle enough not to damage most shower head materials, but strong enough to get the job done. It’s like the perfect balance, you know? Not too harsh, not too weak. Just right. Goldilocks would be proud of this cleaning method.
There are a couple of ways to go about this, depending on how attached you are to your shower head and how much effort you want to put in. We’re talking varying levels of commitment here, from "I'm feeling lazy" to "I'm ready for a full-on shower head spa day."
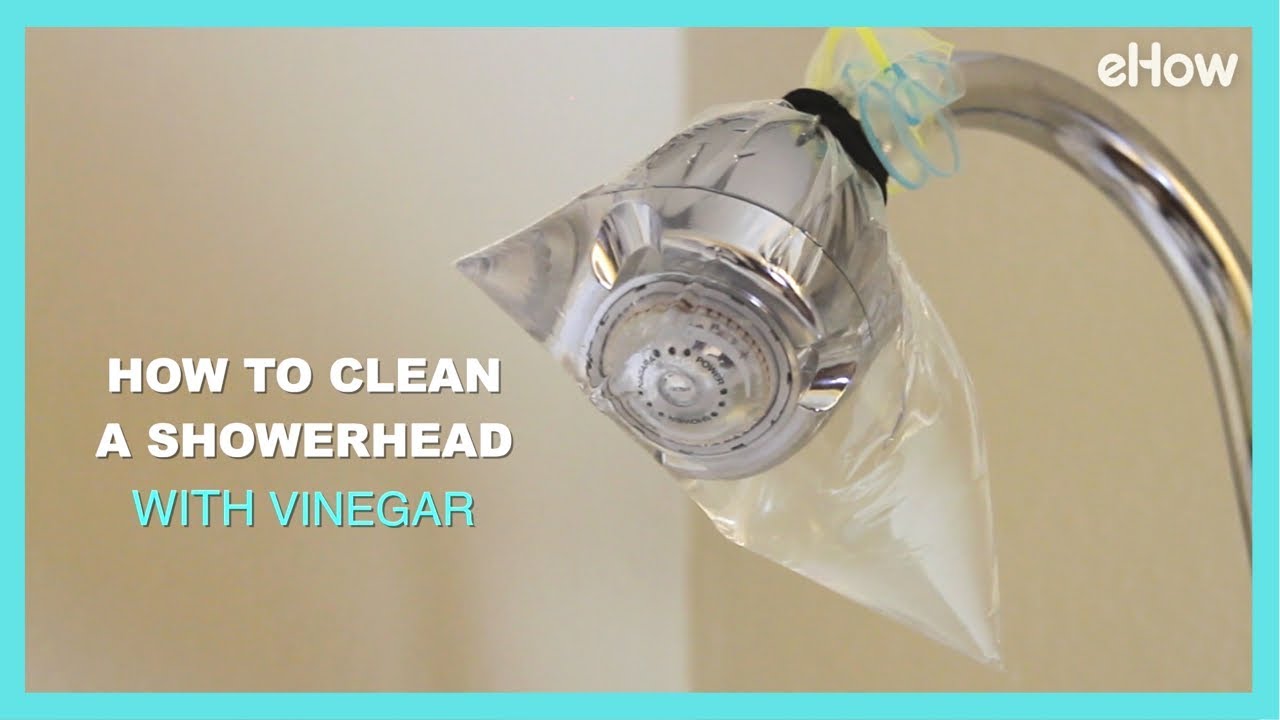
Method 1: The "Set It and Forget It" Bag Method (For the Time-Challenged)
This is my personal favorite, mainly because it requires minimal direct interaction. You know, less scrubbing, more relaxing. And who doesn’t love that? It’s perfect for those mornings when you wake up and realize your shower head is channeling a leaky garden hose.
What you’ll need:
- A sturdy plastic bag (a Ziploc works great, but any strong bag will do).
- A rubber band or a twist tie.
- A good amount of white vinegar.
Here’s the magic:
First things first, empty out any residual water from your shower head. You don’t want to dilute that precious vinegar too much. Then, carefully fill the plastic bag with enough white vinegar so that when you attach it to the shower head, the entire head (and especially those little nozzles!) will be submerged. Think of it as giving your shower head a little vinegar bath. A very concentrated, business-like bath.
Now, the fun part. Slip the bag over the shower head, making sure all the nozzles are happily swimming in vinegar. Secure the bag snugly around the neck of the shower head with your rubber band or twist tie. You want a good seal so no precious vinegar escapes. We’re not aiming for a vinegar flood in your bathroom, although that would be a… unique scent experience.

Leave it like that for at least an hour. For really stubborn buildup, you can leave it overnight. The longer it soaks, the more time that vinegar has to work its magic and break down those mineral invaders. I usually do this before I go to bed and then, bam! Shower head spa treatment complete by morning.
Once the soaking time is up, carefully remove the bag (watch out for any drips!) and run the shower on hot water for a few minutes. This will flush out any loosened debris and residual vinegar. You might see some little bits of gunk come out, which is actually a good sign! It means the vinegar did its job. Rinse and repeat if necessary, but usually, one good soak is enough to bring your shower head back from the brink.
And there you have it! A sparkling clean shower head, ready to deliver those glorious, invigorating jets of water once more. It’s almost like a miracle, isn’t it? All thanks to a humble bottle of vinegar.
Method 2: The "Full Immersion" Soak (For the Dedicated & Brave)
Okay, so maybe you have a shower head that’s a bit… extra clogs. Or perhaps you’re the type of person who likes to get hands-on with their cleaning. This method involves a bit more effort, but it’s also incredibly effective, especially for shower heads that have seen better days. This is for the shower head that’s been through a lot, the one that’s silently suffering.
What you’ll need:

- A bowl or container large enough to fit your shower head.
- White vinegar.
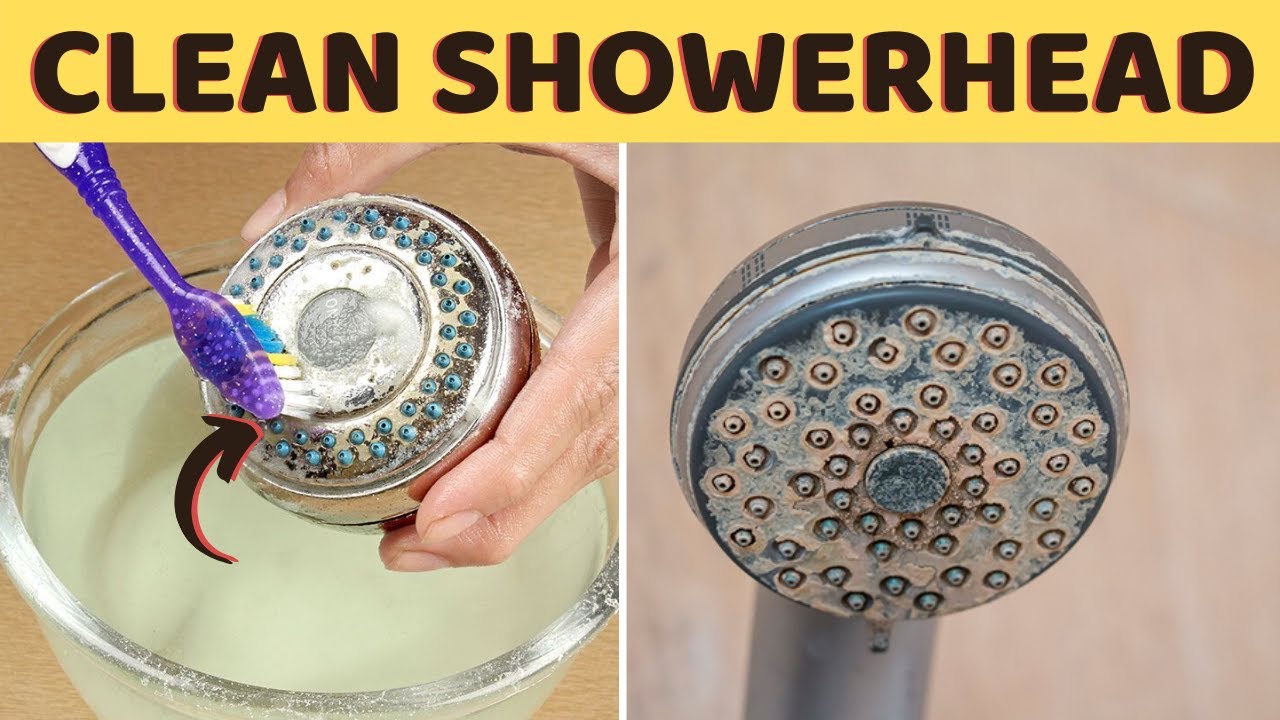
- An old toothbrush or a small scrub brush.
- A wrench or pliers (if you need to remove the shower head – most can be unscrewed by hand, but check yours!).
- A rag or towel.
Let’s get down to business:
First, you’ll need to remove the shower head. Most shower heads screw onto a threaded pipe. You can usually unscrew them by hand by turning them counter-clockwise. If it’s a bit stubborn, a wrench or pliers can help, but be gentle! You don’t want to strip the threads. Wrap the jaws of the wrench with a cloth to avoid scratching the finish. Pro tip: Make sure you know which way your shower head twists off. Sometimes it’s a bit of a puzzle.
Once it’s off, take it to a sink or your designated soaking spot. Place your shower head into the bowl or container. Now, pour in enough white vinegar to completely submerge the entire shower head, paying special attention to those nozzle areas. Again, we’re going for a full vinegar bath here. No part of the mineral buildup should be spared!
Let it soak. Just like the bag method, the longer, the better. An hour is a good starting point, but for seriously clogged heads, several hours or even overnight will yield the best results. This is where the deep cleaning happens. Imagine all those little mineral particles just dissolving away. Ah, the satisfaction!
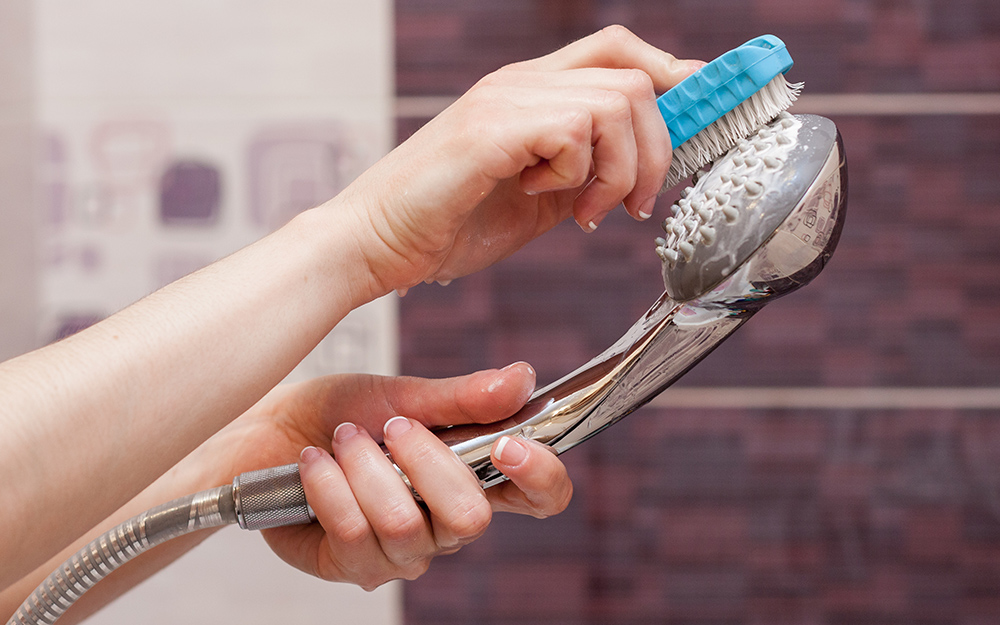
After soaking, it’s time for some manual labor. Use your old toothbrush or scrub brush to gently scrub away any remaining mineral deposits, especially around the nozzles. You might be surprised at how easily they come off after the vinegar soak. It’s like they’ve been softened up and are ready to be evicted. Be thorough, but again, be gentle so you don’t scratch anything.
Rinse the shower head thoroughly with clean water. Then, reattach it to the shower arm. If you used a wrench, be careful not to overtighten it. Just snug is good. Finally, run the shower on hot water for a few minutes to flush out any last bits of debris and vinegar. Admire your handiwork! You’ve just given your shower head a serious spa treatment, and it shows.
Beyond the Vinegar: Other Handy Tips & Tricks
While vinegar is the undisputed champion of shower head cleaning, there are a couple of other things you might want to keep in mind or try if you’re feeling adventurous.
Cleaning the Aerator (The Little Guy Inside!)
Some shower heads have a small screen or filter at the opening where the water comes out. This is called an aerator, and it can also get clogged. If your shower head has one, it might be removable. You can usually unscrew the faceplate or the tip of the shower head to access it. Clean it the same way you would clean the shower head itself – a vinegar soak and a gentle scrub. This little guy can sometimes be the unexpected source of your low-pressure woes!
Regular Maintenance is Key
Honestly, the best way to avoid dealing with a grumpy, sputtering shower head is to give it a little love now and then. You don’t need to do a deep dive every week, but doing a quick vinegar soak every few months can prevent major buildup. Think of it as preventative maintenance for your daily dose of relaxation. A little effort now saves you a lot of hassle (and grumbling) later.
So, next time you’re in the shower and you feel that familiar sputter, don’t despair! Grab that bottle of white vinegar and give your shower head the pampering it deserves. You’ll be rewarded with a stream of water that’s not only powerful but also incredibly satisfying. Happy showering!