How To Use Car Touch Up Paint

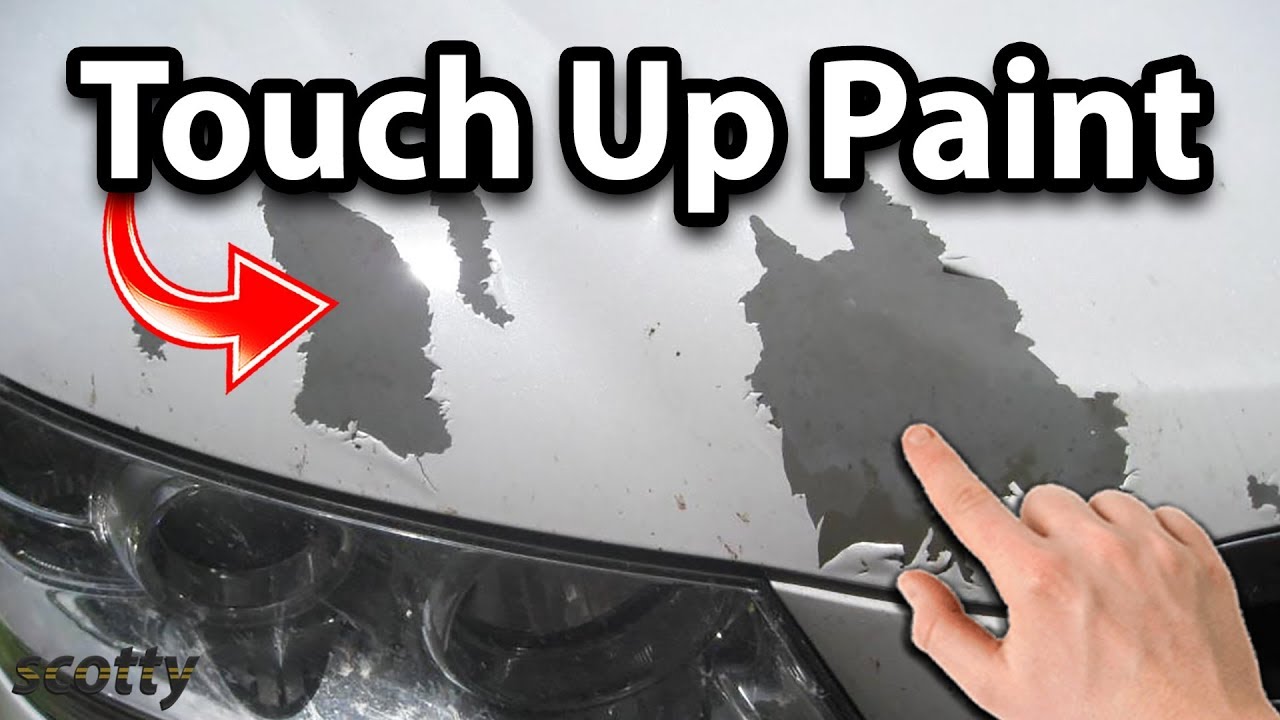
Hey there, fellow car enthusiasts and… well, anyone who’s ever looked at their beloved ride and sighed at a little chip or scratch! You know that feeling, right? That tiny, almost invisible imperfection that suddenly feels like a neon sign screaming “Look at me!”?
Well, get ready to banish those automotive blues, because today we’re diving into the wonderfully satisfying world of car touch-up paint. Think of it as a mini spa treatment for your car, a little dose of DIY magic that can make your vehicle look showroom-ready again. And guess what? It’s totally doable! No need to be a master mechanic or a paint wizard. We’re talking about a simple, accessible way to keep your car looking its best.
So, why bother with touch-up paint? Is it just for the perfectionists? Absolutely not! It’s for anyone who loves their car, wants to protect their investment, and frankly, enjoys the satisfaction of a job well done. Those little chips and scratches? They’re not just unsightly; they can also be the starting points for rust, and nobody wants that. But beyond the practical, there’s a genuine joy in seeing a blemish disappear. It’s like giving your car a little wink and saying, “Don’t worry, I’ve got you covered!”
Must Read
Let’s face it, life happens. A rogue shopping cart, a stubborn pebble on the highway, a low-hanging tree branch on your favorite scenic route – these are the little plot twists in our automotive adventures. But instead of letting those tiny battle scars bring you down, what if you could just… erase them? That’s the power of touch-up paint! It’s your secret weapon against the minor mishaps of daily driving.
Gather Your Arsenal: What You'll Need
Before we get our hands dirty (well, sort of!), let’s make sure you have your supplies. It’s a pretty straightforward list, and you can usually find these items at your local auto parts store or online. Think of it as assembling your DIY superhero kit!
First up, the star of the show: car touch-up paint. This usually comes in a small bottle with a brush applicator, similar to nail polish. You’ll want to make sure you get the exact color code for your car. Don’t guess! Your car’s paint code is usually on a sticker inside the driver’s side doorjamb, in the glove compartment, or under the hood. Trust me, getting the right shade is half the battle (and the other half is applying it like a pro!).
Next, you’ll need some cleaning supplies. A good car wash soap, some microfiber towels, and a degreaser or rubbing alcohol will be your best friends. We need a squeaky-clean canvas, so to speak.
We’ll also need a fine-grit sandpaper (like 2000 grit or higher). Don’t panic! We’re not going to be sanding your whole car. This is just for smoothing out any rough edges around the chip. And a polishing compound or wax will be the finishing touch to make everything blend seamlessly.
Some people like to use a small artist’s brush with a very fine tip for more precision, especially for really tiny chips. It’s not essential, but it can be a game-changer for those who want that extra level of detail. And, of course, a little patience and a good attitude are crucial! You got this!

Operation: Erase the Imperfection!
Alright, you’ve got your gear. Now it’s time for the fun part! Let’s tackle those pesky chips and scratches.
Step 1: Cleanliness is Key!
First things first, we need a spotless surface. Wash the area around the chip or scratch thoroughly. Then, use your degreaser or rubbing alcohol to remove any remaining wax, grease, or dirt. You want that paint to stick like glue, and it can’t do that if it’s sitting on a greasy surface. Dry the area completely with a clean microfiber towel.
Step 2: Prep the Wound (Gently!)
If the edges of the chip are a little rough or raised, you might want to gently sand them down. Use your fine-grit sandpaper (remember, very fine!). You’re not trying to remove paint, just to smooth out any jagged edges so the new paint has a nice, even surface to adhere to. A few gentle strokes should do the trick. Wipe away any dust afterward.
Step 3: The Magic Touch – Applying the Paint
Now for the moment of truth! Shake your touch-up paint bottle really well. You want to mix that pigment thoroughly. Dip your brush (either the one in the bottle or your fine artist’s brush) into the paint. You only need a tiny amount on the brush. We’re not painting a mural here!
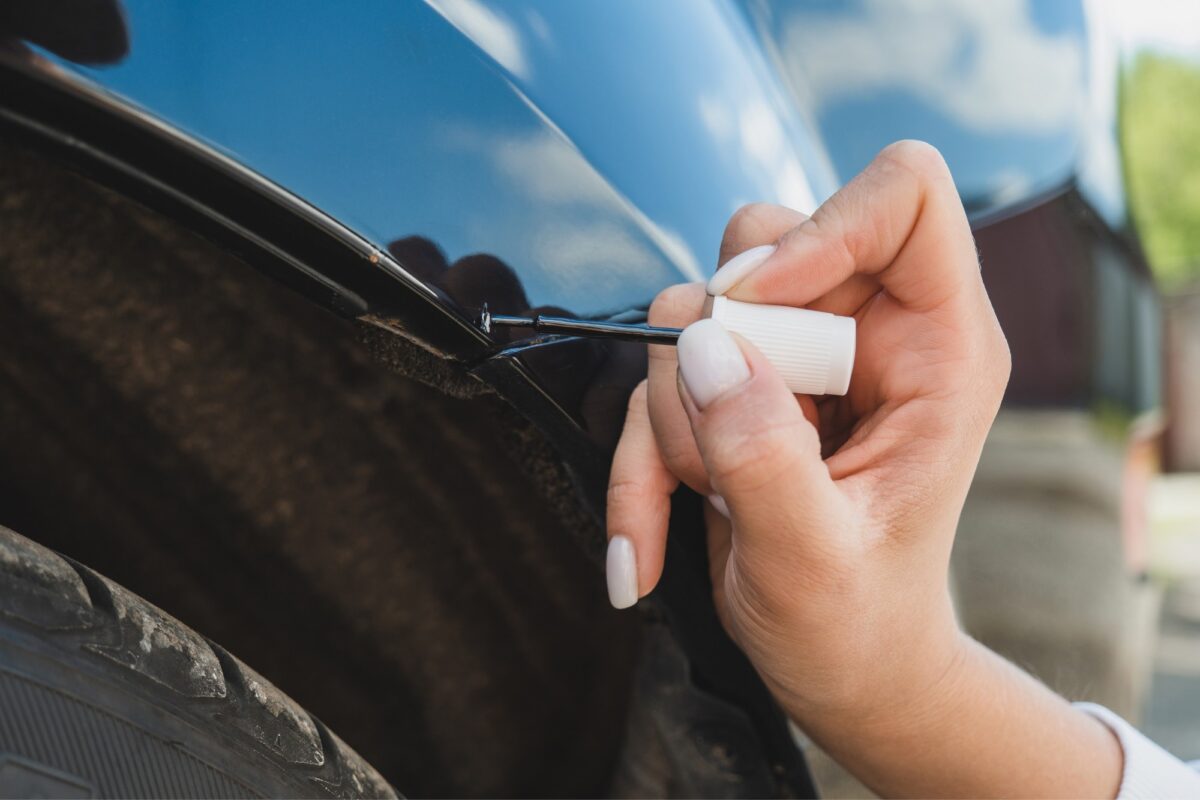
Gently dab the paint into the chip. The goal is to fill the void, not to create a blob on top of your car. It’s better to apply several thin coats than one thick one. Think of it like layering frosting on a cake – smooth and even wins the day. Don’t worry if it’s not perfect on the first try. You can always add a little more.
For scratches, you’ll want to apply the paint in thin, steady strokes along the scratch. Again, less is more. Let each thin layer dry completely before adding another. This is where that patience comes in handy!
Step 4: Let it Cure
Once you’ve applied your final coat, let the paint dry completely. This can take anywhere from a few hours to overnight, depending on the paint and humidity. Resist the urge to touch it! Let it work its magic undisturbed.

Step 5: Blend and Shine
Once the paint is fully dry and hardened, you might see a slight bump. If so, you can very carefully use a tiny bit of polishing compound on a microfiber cloth to gently buff the area and blend it in. This helps to level out the touch-up paint with the surrounding clear coat. Follow up with a good quality car wax to protect your newly repaired spot and give it a beautiful shine.
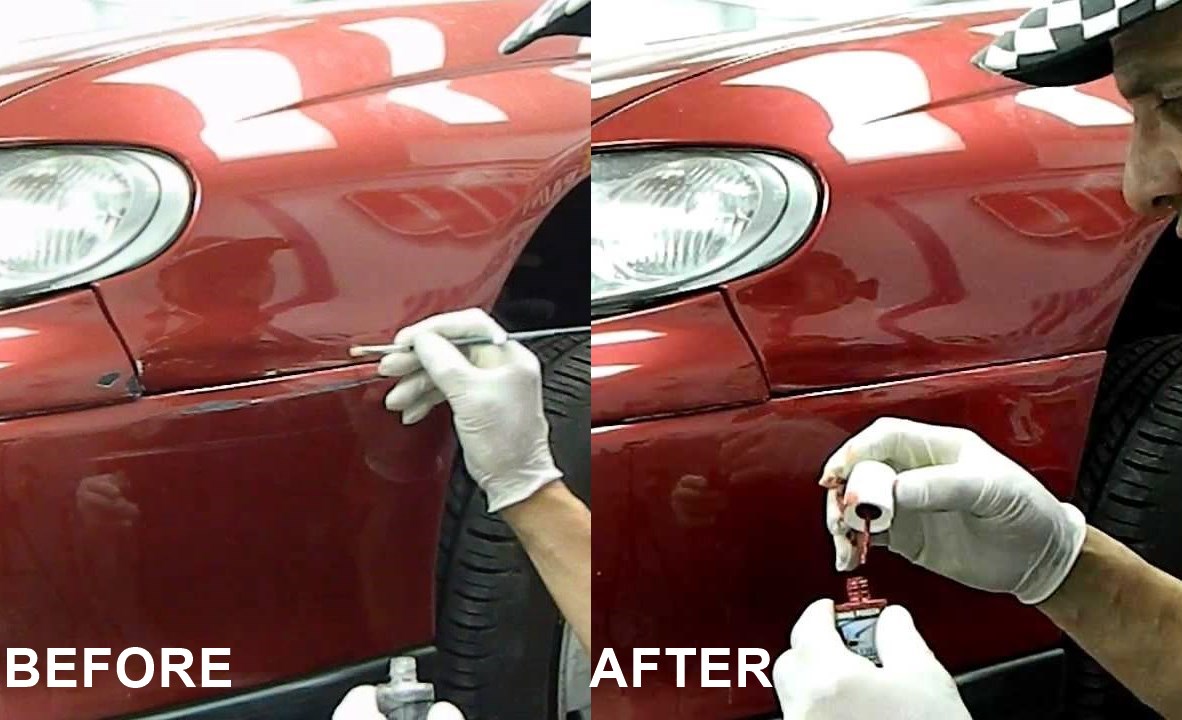
The Joy of a Flawless Finish
And there you have it! You’ve just performed a little automotive alchemy. That once-obvious chip or scratch has faded into the background, or even disappeared entirely. Doesn’t that feel amazing? You’ve not only saved yourself a trip to the body shop, but you’ve also given your car a little TLC and boosted its curb appeal. It’s a small victory, but a deeply satisfying one!
Think about it: you’ve empowered yourself. You’ve learned a new skill, a simple yet impactful one, that allows you to care for your vehicle with your own two hands. This isn’t just about paint; it’s about taking pride in your possessions, about the little things that make life just a bit more enjoyable. That pristine paint job? It’s a testament to your attention to detail and your willingness to learn.
So, the next time you notice a little imperfection on your car, don’t just sigh. Smile, knowing you have the power to fix it. Embrace the process, enjoy the satisfaction, and let that newly polished spot remind you of your own capable hands. The world of car care is vast and full of rewarding projects, and this is just the beginning. You’ve opened a door to a whole new level of car ownership enjoyment. Keep exploring, keep learning, and keep your ride looking fabulous!