How To Use A Hand Tile Cutter
/hand-holding-cut-tile-in-tile-cutter-141741321-57cb23ce3df78c71b6744554.jpg)
Okay, so you've got a vision. Maybe it's a dazzling backsplash that'll make your kitchen sing, or perhaps you're finally tackling that bathroom floor that's been whispering sweet tile dreams to you for years. Whatever it is, you're staring at a pile of gorgeous tiles, ready to transform your space. But then, a little hurdle appears: those beautiful tiles aren't always the perfect size for every nook and cranny. Don't fret, my friend! Because today, we're diving headfirst into the wonderful, slightly dusty, and surprisingly satisfying world of the hand tile cutter. And trust me, it’s way more fun than it sounds!
Think of your hand tile cutter as your personal tile whisperer. It’s not some intimidating, industrial beast. Nope, this is your trusty sidekick, ready to help you shape your dreams into reality, one perfectly scored line at a time. It’s one of those tools that, once you get the hang of it, makes you feel like a DIY superhero. Seriously, imagine the smug satisfaction as you effortlessly create custom cuts that fit like a glove. It's empowering stuff!
Unlocking Your Inner Tile Artist
Why bother with a hand tile cutter, you ask? Well, besides the sheer awesomeness of doing it yourself, it opens up a whole universe of design possibilities. You're not limited by standard tile sizes anymore. You can create intricate patterns, custom borders, and fit tiles into those awkward corners that have been mocking you. It’s about taking control and infusing your project with your unique personality. Plus, let’s be honest, it’s way more rewarding (and often cheaper!) than paying someone else to do it.
Must Read
And here's the best part: it’s not rocket science! It’s more like a friendly dance between you, the tile, and the cutter. A little practice, a dash of patience, and you’ll be slicing like a pro. So, let’s get down to business, shall we? No more hesitation!
The Nifty Little Tool: Meet Your Hand Tile Cutter
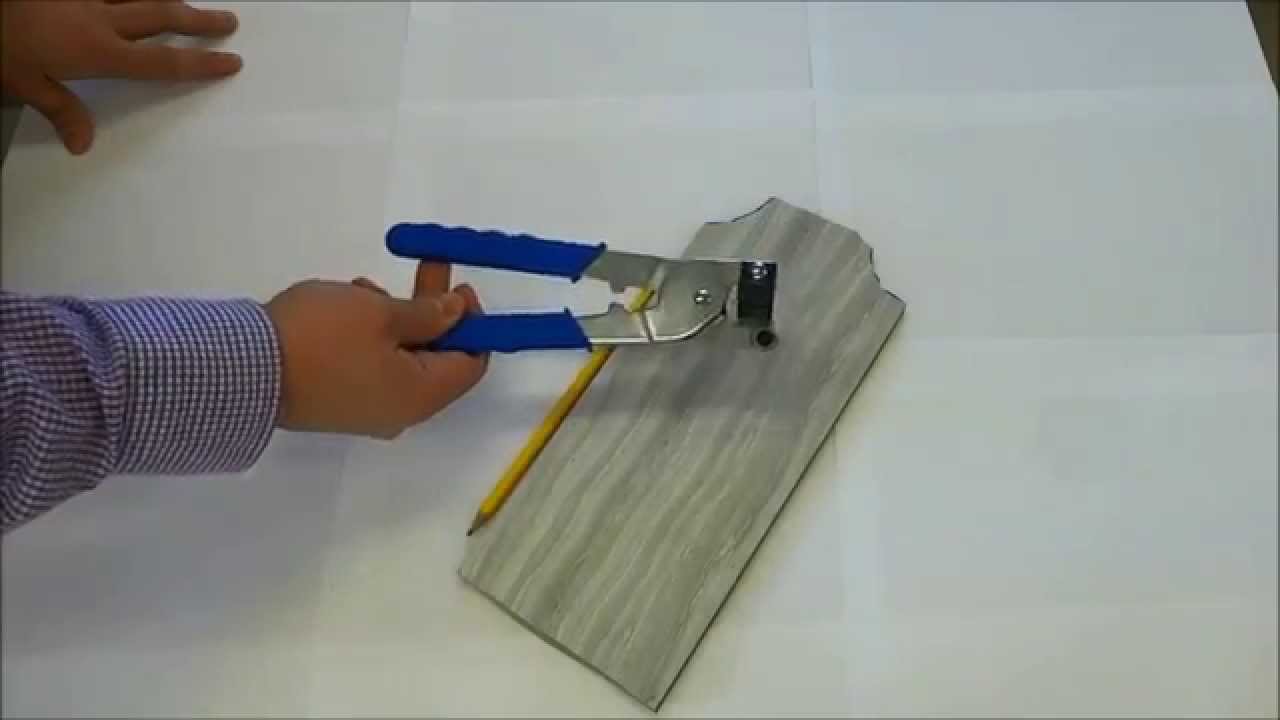
So, what exactly is this magical device? A hand tile cutter, also known as a manual tile cutter or a snap tile cutter, is a wonderfully simple yet effective tool. At its heart, it usually consists of a sturdy base, a cutting wheel (often made of tungsten carbide – fancy!), and a mechanism to "snap" the tile after scoring. Some have a lever arm, others have a sliding bar, but the principle is the same: score, then snap.
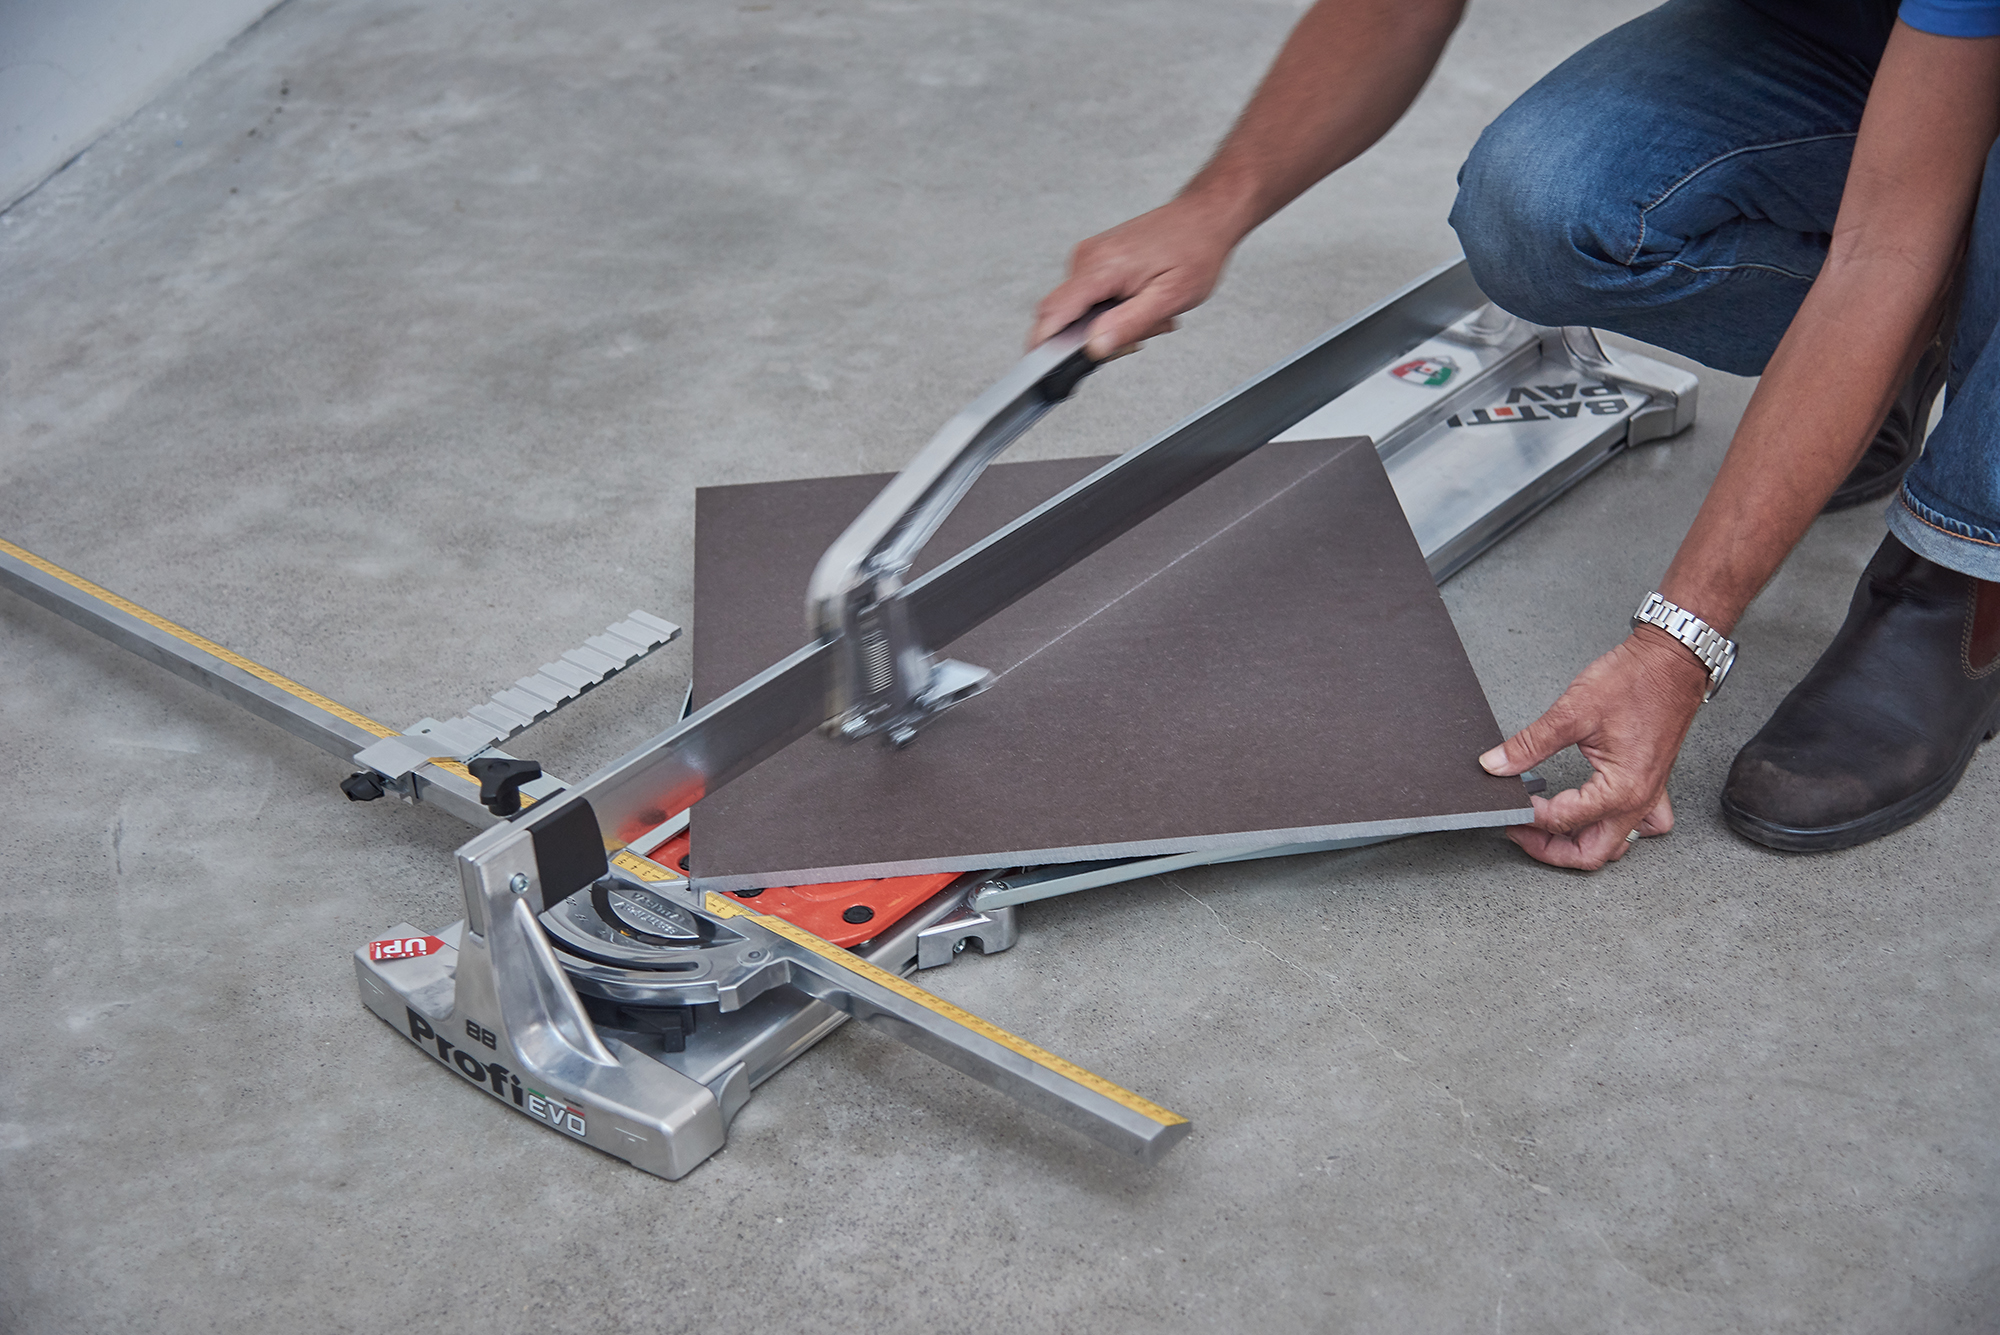
You'll find a variety of them out there, from basic models to more advanced ones with longer cutting beds and better leverage. For most DIY projects, a good quality, mid-range cutter will be your best friend. Don't feel pressured to buy the most expensive one right off the bat. Start with something reliable, and you'll be amazed at what you can achieve.
Getting Ready for Your Cutting Adventure
Before we start making sparks fly (well, not literally, but you get the idea!), let’s make sure you’re prepped. Safety first, always! Even though it’s a hand tool, it’s still a tool that deals with sharp edges.
Safety Gear is Your Super Suit:
- Safety Glasses: This is non-negotiable. Tiny tile shards can go flying unexpectedly. Protect those precious peepers!
- Gloves: Especially for handling rough-edged tiles, a good pair of gloves will save your hands from nicks and scrapes.
- Closed-Toe Shoes: Again, tile bits. Trust me on this one.
Gather Your Supplies:
- Your hand tile cutter (give it a little wipe down if it’s dusty from its nap in the garage).
- Your chosen tiles.
- A measuring tape and pencil (for marking your cut lines).
- A straight edge or ruler (to ensure a perfectly straight scoring line).
- A drop cloth or newspaper to catch any dust and debris.
- A bucket of water (optional, but can help with dust suppression if you’re cutting a lot).
Know Your Tiles: Different tiles have different cutting characteristics. Porcelain is harder than ceramic and might require a bit more pressure. Glazed tiles can sometimes chip if you’re not careful. A quick online search about your specific tile type can be super helpful.
The Art of the Score
Alright, the moment of truth! This is where the magic begins. The goal here is to create a fine, consistent scratch line on the glaze of the tile. It's not about digging deep; it's about a firm, confident pass.
Step 1: Position the Tile. Place your tile on the base of the cutter. Make sure it’s sitting flat and securely. You’ll want to align the tile so that the point where you want to make your cut is directly under the cutting wheel.
Step 2: Align Your Cut Line. This is crucial for a clean break. Use your measuring tape and pencil to mark your desired cut line on the tile. Then, position the tile so that this line is perfectly aligned with the scoring wheel of your cutter. Most cutters have a guide or ruler to help you with this. If not, a good straight edge is your best friend.
Step 3: The Score. This is the exciting part! Apply firm, even pressure to the cutting wheel. You want to move it smoothly from one end of the tile to the other, in one continuous motion. You should hear a distinct "scratching" sound. Don’t go over the same spot multiple times; one good, solid pass is all you need. Think of it like drawing a very deliberate line with a pencil, but with a bit more oomph!
Some people like to do a practice score on a scrap tile first. It’s a fantastic idea! It helps you get a feel for the pressure and the sound. It's like a little warm-up before the main event, and it can seriously boost your confidence.

The Satisfying Snap!
You've scored it beautifully. Now comes the part that's oddly addictive: the snap!
Step 4: Position for the Snap. Most hand tile cutters have a lever or a snapping mechanism. You’ll need to position the tile so that the scored line is directly over the breaking point or the pressure point of the cutter. This usually means the tile will be resting with the scored line aligned with the base of the snapping mechanism.
Step 5: The Snap! Now, with a confident and decisive movement, engage the snapping mechanism. This might involve pressing down firmly on a lever or pushing a handle. You should hear a satisfying "snap" as the tile breaks cleanly along your scored line. Voila! You’ve just created a custom-sized tile. Isn’t that cool?
It’s important to apply pressure evenly and in one fluid motion. If you hesitate or apply pressure unevenly, you might end up with a jagged break, which is less than ideal. But even if your first few snaps aren't perfect, don't get discouraged! Every break is a learning opportunity. You’re getting better with each one.

Tips for Success (and Avoiding Tile Tantrums)
Here are a few extra nuggets of wisdom to make your tile-cutting experience even smoother:
- Don't Force It: If the tile isn't scoring or snapping easily, re-evaluate. Are you applying enough pressure? Is the cutting wheel worn? Forcing it will likely lead to a broken tile (in the wrong way!).
- Clean Your Cutter: A little tile dust can get into the mechanism. Give it a quick clean occasionally to keep it running smoothly.
- Edge Cuts: When cutting off small slivers from an edge, be extra careful. These pieces are more fragile.
- Diagonal Cuts: Yes, you can do them! Just ensure your tile is positioned correctly and you maintain that smooth scoring motion.
- Practice Makes Progress: Seriously, the more you use your cutter, the more intuitive it becomes. Start with some practice tiles before you dive into your main project.
And if you do end up with a less-than-perfect break? Don't sweat it! Most imperfections can be hidden by grout, or you can strategically place that tile where it won't be as noticeable. It's all part of the DIY charm!
The Joy of Creation
Using a hand tile cutter isn't just about making cuts; it's about unlocking your creative potential. It's about the quiet hum of satisfaction as you transform raw materials into something beautiful and functional. It’s about the pride you’ll feel every time you look at your newly tiled space, knowing you made it happen.
So, go forth, my friend! Grab that tile cutter, embrace the learning curve, and get ready to create something amazing. The world of tiling is at your fingertips, and with a little bit of practice and a whole lot of enthusiasm, you'll be tiling like a seasoned pro in no time. Happy cutting!

