How To Take Down A Stud Wall

Ah, the stud wall. That innocent-looking partition, silently judging your life choices from across the room. It stands there, all confident and upright, whispering sweet nothings about "structural integrity" and "load-bearing secrets." But let's be honest, sometimes, a wall just needs to... well, not be there anymore.
We've all been there. Staring at a wall, dreaming of that open-plan paradise. Maybe you want to connect the kitchen and the living room for maximum snack-retrieval efficiency. Or perhaps, you're just tired of that one wall hogging all the prime real estate for your giant TV. Whatever the reason, that wall is standing between you and your dreams.
Now, before you grab your trusty sledgehammer and go all Hulk on it, let's pump the brakes. Taking down a stud wall is less about brute force and more about... strategic persuasion. Think of it as a very polite eviction notice for drywall and wood.
Must Read
The Pre-Game Jitters
So, you've decided. This wall has got to go. The air is thick with anticipation and the faint smell of DIY dreams. You've watched a few videos. You've probably Googled "how to remove wall without falling through floor." We've all been there.
There's a moment, right before you begin, where you question everything. Is this wall actually load-bearing? Did I accidentally hire a contractor who just glued drywall to the air? These are valid concerns. Mostly.
But fear not, brave DIYer! We're going to tackle this one panel, one stud, one glorious chunk of plasterboard at a time. It’s a marathon, not a sprint. A very dusty, potentially noisy marathon.
Gathering Your Courage (and Tools)
Before you unleash your inner demolition expert, let’s talk about the essentials. You don’t need a full hazmat suit, but some safety glasses are a good idea. Seriously. Bits of drywall have a surprising trajectory.
A sturdy pry bar is your best friend here. Think of it as a superhero cape for your hands. Also, a hammer, of course. And some kind of bag or bin for all the... debris. So much debris.
Don't forget the gloves. Drywall dust can be surprisingly irritating. And maybe earplugs. Your neighbors might not appreciate a sudden rendition of "Smash It Up" at 7 AM.

Operation: Wall Whisperer
Alright, deep breaths. You're staring at the wall. It’s staring back. Let’s begin. We're going to start with the easiest part: the drywall. This is the pretty outer layer. It’s all about appearances, really.
You want to find the seams where the panels meet. These are usually where the studs are hiding underneath. Imagine them as the wall's secret handshake spots.
Now, gently (or not so gently, depending on your mood) start prying. Use that pry bar! Wiggle it in there and give it a good tug. You're aiming to break the tape and mud holding the panels together. It's like peeling a very large, very stubborn sticker.
The Plasterboard Tango
Once you've got a bit of a gap, you can start pulling the drywall away. It will come off in sheets, or sometimes in crumbly, dusty chunks. It’s all part of the charm.
Be prepared for some noise. Drywall isn’t exactly known for its quiet exit. It’s going to crack, it’s going to groan, it might even sigh dramatically. Just keep prying and pulling.
If you’re feeling particularly adventurous, you can even score the drywall with a utility knife and snap it. This can create smaller, more manageable pieces. Think of it as playing drywall Tetris, but with more dust.
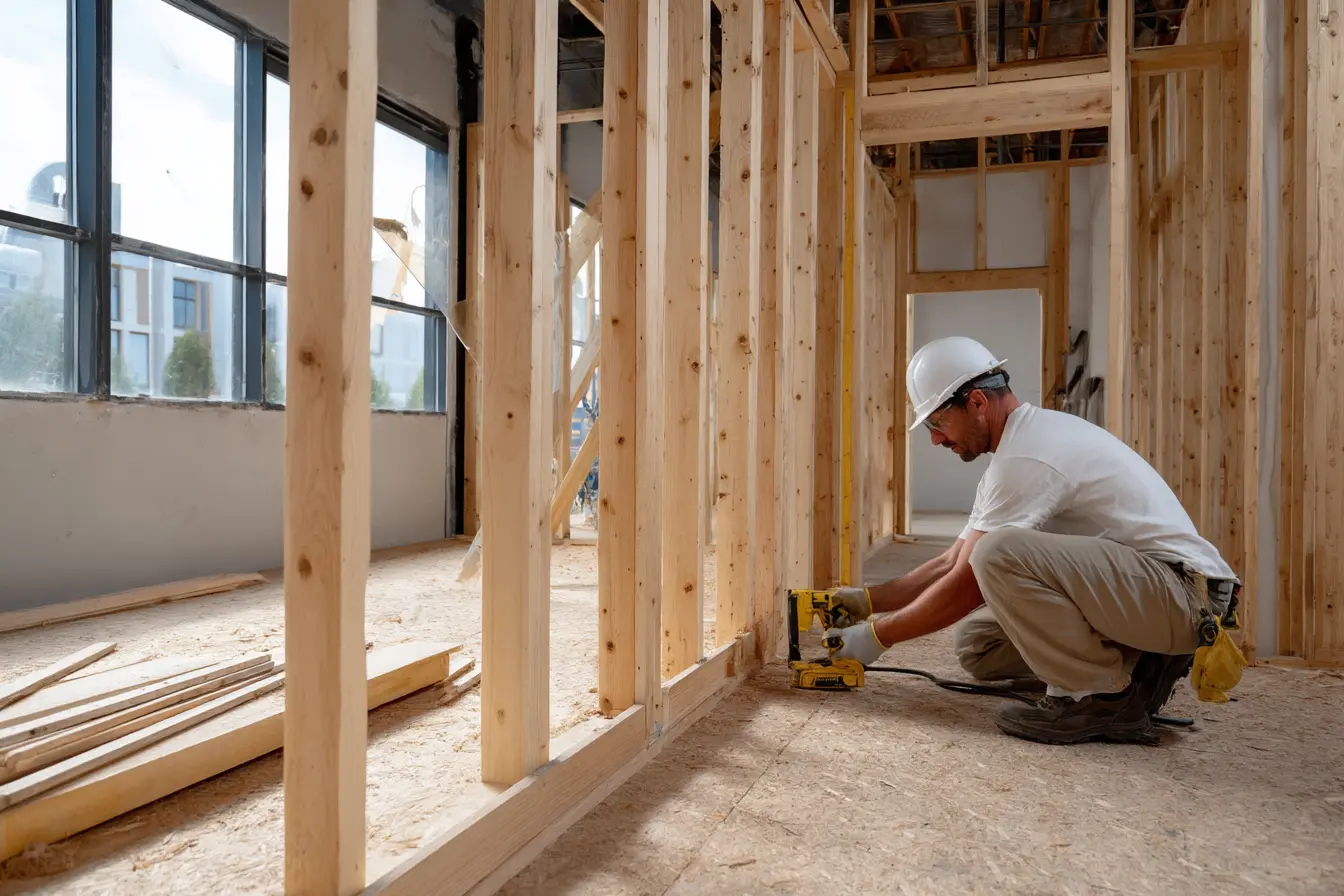
Meet the Stars: The Studs
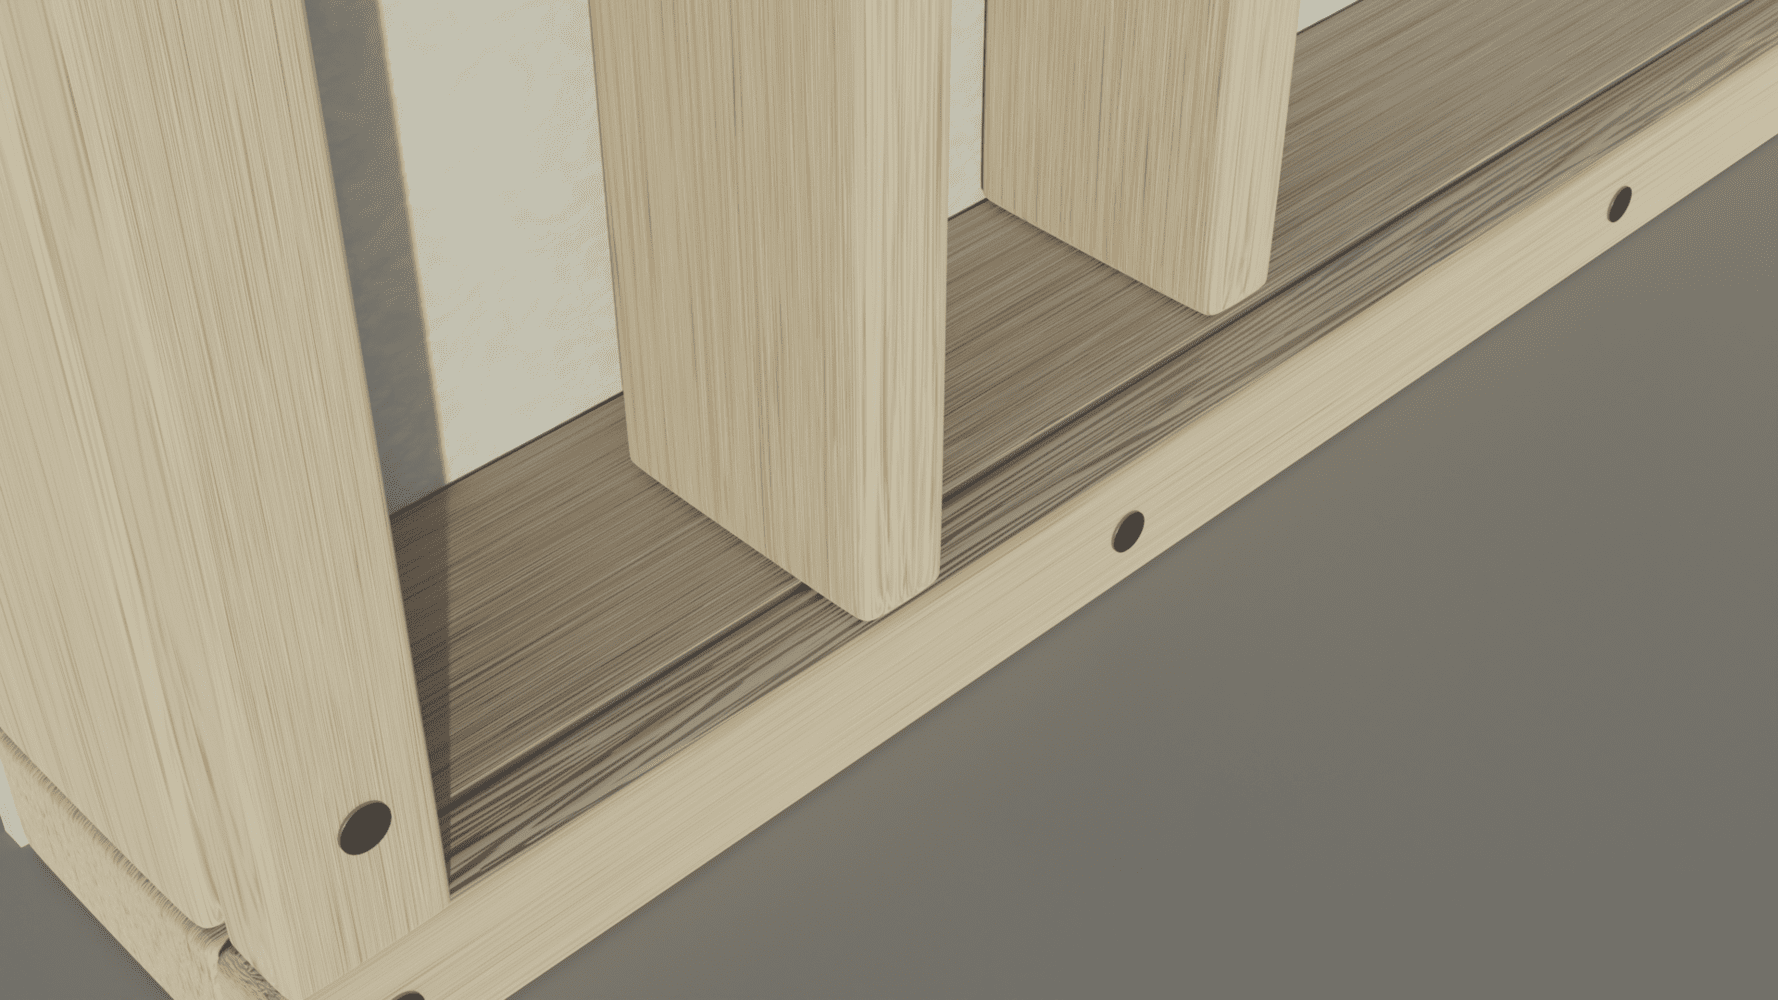
Once the drywall is (mostly) gone, you’ll see them. The glorious studs. These are the wooden skeleton of your wall. They’re the unsung heroes of interior design, holding everything up.
These are usually spaced about 16 or 24 inches apart. They’re what the drywall is nailed or screwed to. They’re also what we need to get past now.
You have a few options here. You can either cut through them, or you can try to pry them away from the top and bottom plates. Cutting is generally cleaner, but prying can be satisfyingly dramatic.
The Art of the Cut
If you opt for cutting, a reciprocating saw (a Sawzall, as it’s affectionately known) is your best friend. It’s powerful, it’s loud, and it makes quick work of wood.
Just make sure you’re not cutting through any wires or pipes first! This is where that "checking for electrical" step comes in handy. You don't want to accidentally create a new, very exciting light fixture in your new open-plan space.
Carefully position the saw and let it do its thing. It will vibrate, it will sing a song of sawdust, and before you know it, you’ll have a nice, clean cut. Repeat this for each stud.
Prying for Glory
Alternatively, you can use your trusty pry bar again. Get it under the stud, right where it meets the top or bottom plate. Give it a good heave. Sometimes they come out with a satisfying crack.
This method can be a bit more challenging, especially if the studs are firmly nailed in. You might need to tap the pry bar with your hammer to get it to bite. It's a bit like wrestling a stubborn pickle jar, but with more wood.
Remember to work your way along the wall, stud by stud. It’s a process, and patience is your virtue. Or at least, the closest thing you have at this point.
The Final Frontier: Top and Bottom Plates
Once the studs are gone, you’ll be left with the top and bottom plates. These are the horizontal pieces that hold the studs in place. They’re usually attached to the ceiling joists and the floor.
These might require a bit more effort to remove. Again, a reciprocating saw is great here. You can cut through them where they meet the joists and the floor structure.
Or, you can try to pry them loose. This might involve loosening nails or screws. It's the final boss of wall removal. You’re so close to open-plan bliss!

The Big Reveal (and the Cleanup)
And there you have it! The wall is no more. You've done it. You've taken down a stud wall. Take a moment to admire your handiwork. Bask in the glory of your new, expansive space.
Now, about that dust. There will be dust. So much dust. It will get everywhere. On your clothes, in your hair, probably in your morning coffee. Embrace the dust.
This is also where those large bags come in handy. Start filling them up with all the bits and pieces. It’s satisfying to see the evidence of your hard work being neatly contained.
Remember to dispose of your construction waste responsibly. Check with your local waste management for guidelines. Don't just pile it up on the curb and hope for the best. Although, that might be tempting.
A Word of Caution (Just a Little One)
This guide is for informational and entertainment purposes only. Seriously, though. If you’re unsure about anything, especially if you suspect there might be electrical wires or plumbing inside the wall, always consult a professional. Safety first, even when you’re feeling like a DIY superhero.
But if it’s just a simple stud wall, and you’ve taken the necessary precautions, then go forth and conquer! You've earned that open-plan living. Now, where did you put those snacks?

