How To Take A Brick Wall Down
Ever stared at a stubborn brick wall and thought, "You know what? That would look so much better gone." Maybe you're dreaming of an open-plan living space, a bigger window with a killer view, or perhaps you're just ready for a change. Whatever your motivation, the idea of taking down a brick wall can be strangely satisfying. It's a classic DIY project, a rite of passage for many a homeowner, and honestly, there's a certain primal thrill to dismantling something built brick by brick. It’s a project that offers tangible results and a real sense of accomplishment. Plus, who doesn't love a good before-and-after transformation? It's like playing with giant LEGOs, but with a much more permanent and, dare we say, epic outcome.
So, why would anyone embark on such a seemingly Herculean task? The benefits are plentiful and often quite significant. For starters, removing a wall can dramatically alter the feel of your home. Think about it: walls create separation, but their absence can create connection. An open-plan kitchen that flows into the living area? Suddenly, entertaining becomes a breeze, and family life feels more integrated. Need more natural light? Taking down a wall that’s blocking a window can transform a dim room into a bright, airy sanctuary. Beyond aesthetics and functionality, removing a wall can also increase your property's value. A modern, open-concept layout is highly desirable in today's real estate market, making your home more appealing to potential buyers.
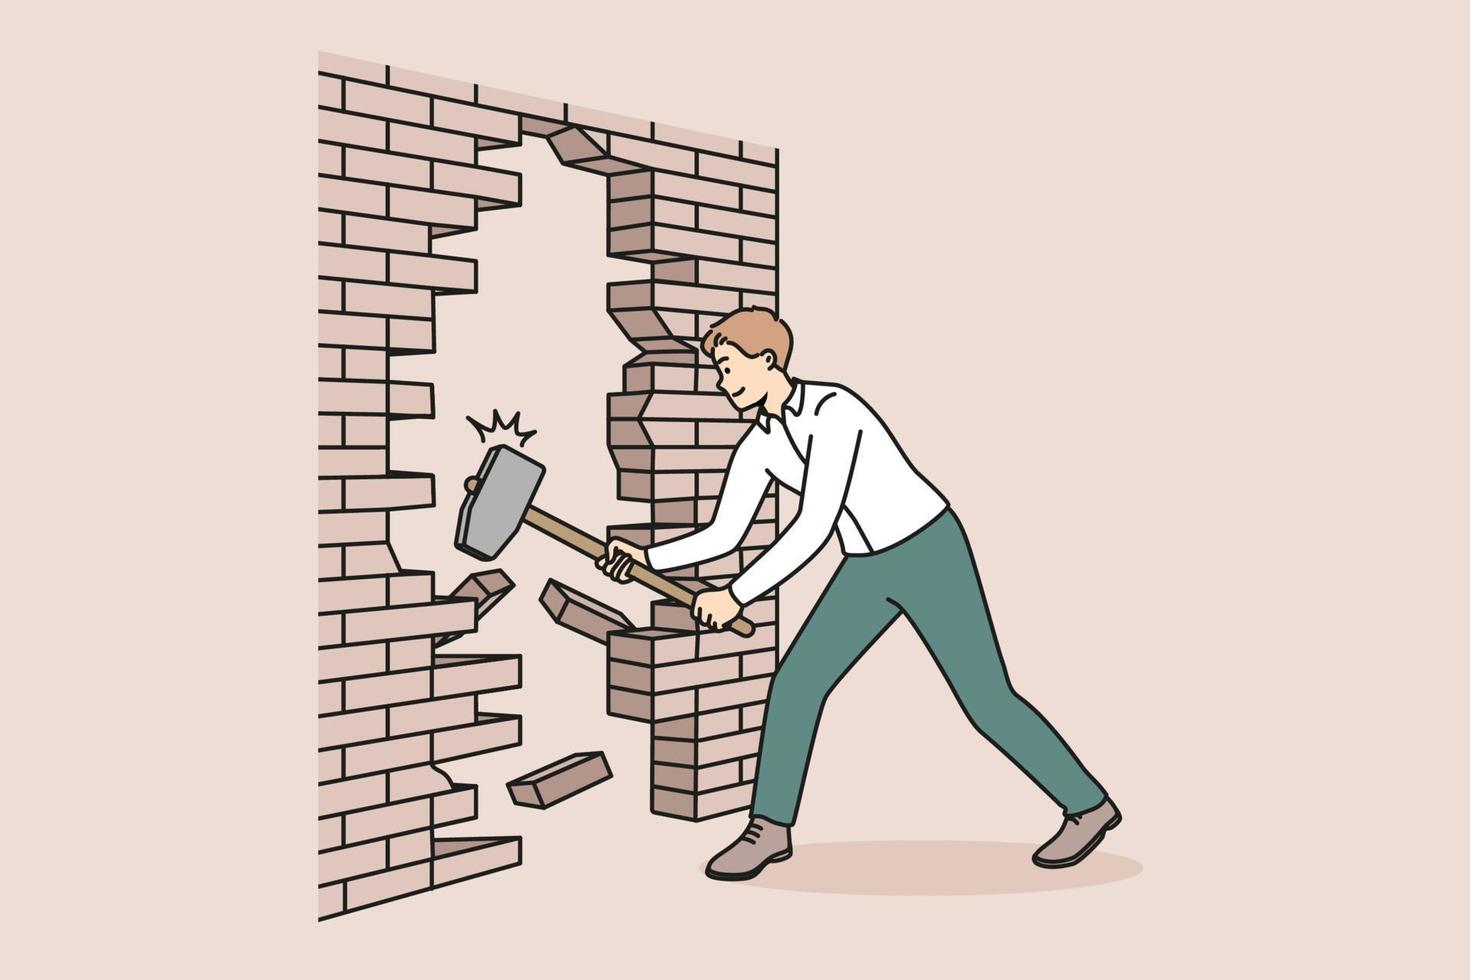
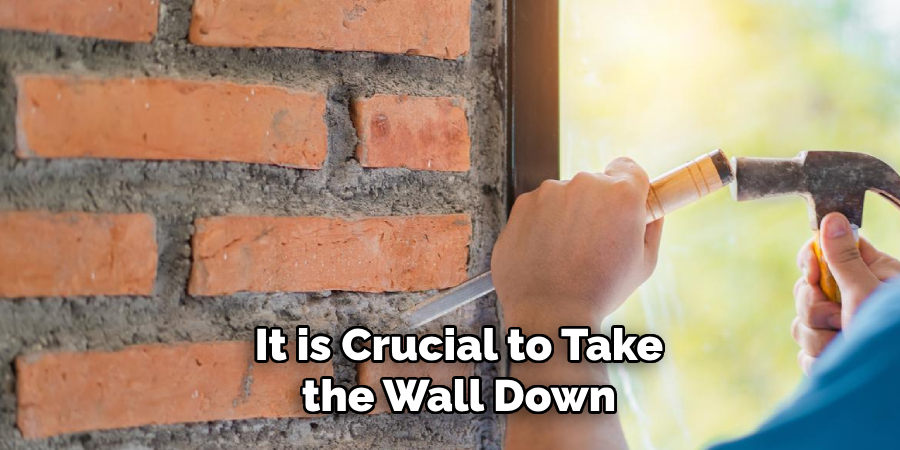
Now, let's talk about the nitty-gritty of how. It’s not just about swinging a sledgehammer wildly (though that might be tempting!). This is where the real magic happens, and it involves a bit of planning, some specialized tools, and a healthy dose of caution. Before you even think about touching a single brick, the absolute most crucial step is to determine if the wall you're targeting is actually load-bearing. This is not a DIY guesswork situation. A load-bearing wall is like the skeleton of your house; it supports the weight of the floors or roof above it. Removing one without proper support is a recipe for disaster. For this, you'll likely need to consult a structural engineer or a qualified builder. They can assess the wall and advise on the necessary structural reinforcements, such as installing a steel beam or a sturdy wooden lintel, to carry the load safely before you start dismantling.
Must Read
Gathering Your Arsenal
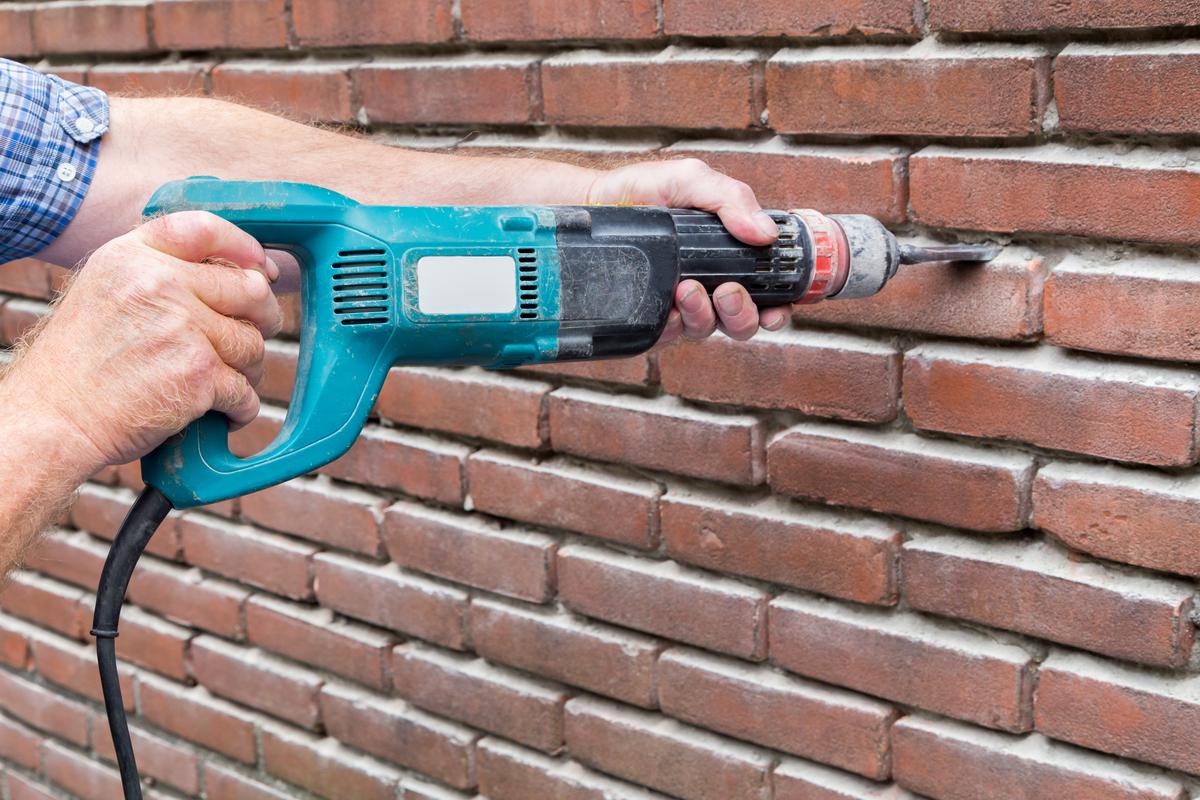
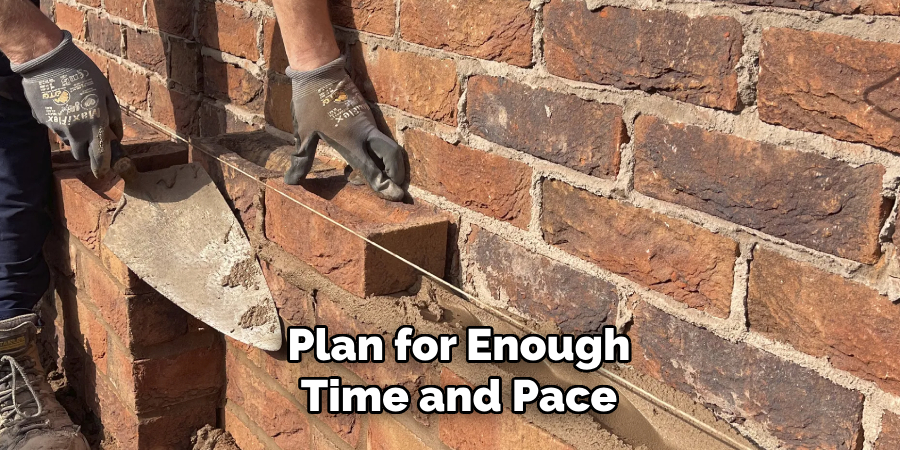
Once you've got the green light and know the wall isn't holding up your entire existence, it's time to assemble your toolkit. You’ll need some heavy-duty gear. First and foremost, personal protective equipment (PPE) is non-negotiable. We're talking safety glasses to protect your eyes from flying debris, sturdy work gloves to prevent blisters and cuts, and a reliable dust mask or respirator to keep those lungs clean. You'll also need a sledgehammer – the star of the show – for those satisfying breaks. For more controlled demolition, a crowbar or pry bar will be your best friend, perfect for wiggling bricks loose. A chisel and a hammer are useful for chipping away at mortar. For cleaning up, you’ll want a heavy-duty shovel and some robust wheelbarrows or sturdy bins for the rubble. Don't forget tarps to protect your floors and surrounding areas from dust and falling debris.
The Demolition Dance
With your plan in place and your tools at the ready, it's time to begin. Start at the top of the wall and work your way down. This is key because gravity is your friend (or foe, depending on how you look at it). Carefully chip away at the mortar between the bricks using your chisel and hammer, loosening them one by one. As you loosen bricks, use your crowbar to pry them away. If you’re dealing with a particularly stubborn section, the sledgehammer comes into play. Aim for controlled swings, focusing on breaking the bricks rather than just brute force. You might find it easier to break bricks from the face rather than trying to pull them out whole. Be prepared for dust – lots of it. Keep your area well-ventilated if possible, and take breaks as needed. If you’ve installed temporary supports, ensure they remain in place and stable throughout the process.
The Aftermath: Cleaning Up and Reinforcing
Once the last brick has fallen, your work isn't quite done. The cleanup is a significant part of the process. Carefully sweep and shovel all the fallen bricks and debris into your wheelbarrows. It's heavy work, so pace yourself. Dispose of the rubble responsibly; check with your local waste disposal services for guidelines on disposing of construction debris. After the space is clear, you’ll be left with exposed studs, joists, or the newly installed structural support. This is where you'll need to address the finishing touches. Depending on your renovation plans, you might be installing drywall, plastering, or painting. Remember, the goal is to create a seamless transition from the old wall to your new, open space. If you've installed a supporting beam, this is also the time to ensure it's properly finished and integrated into your design, perhaps by boxing it in with wood or leaving it exposed for an industrial look.
Taking down a brick wall is a challenging yet incredibly rewarding project. It requires careful planning, the right tools, and a commitment to safety. But the result – a transformed, more spacious, and brighter home – is often well worth the effort. Always remember: safety first, and when in doubt, call a professional!