How To Set Up Pool Balls Uk

Ever found yourself staring at a pristine pool table, a rack of colourful balls, and a distinct lack of a clue about where to begin? You're not alone! For many of us, the art of setting up pool balls feels like a secret handshake, a mystical ritual only known to seasoned pros. But guess what? It's actually incredibly simple, and once you crack the code, you unlock a whole new level of fun at your next pub night or home game. Think of it as the first exciting step to becoming the pool shark you were always destined to be!
So, ditch the intimidation factor and let's get down to business. Setting up pool balls, whether for a game of 8-ball or 9-ball (we'll touch on that!), is all about precision, order, and getting ready for some serious cue-wielding action. It’s a little bit of geometry, a sprinkle of strategy, and a whole lot of anticipation for that satisfying thwack of the cue ball.
The Sacred Triangle: Your Gateway to Greatness
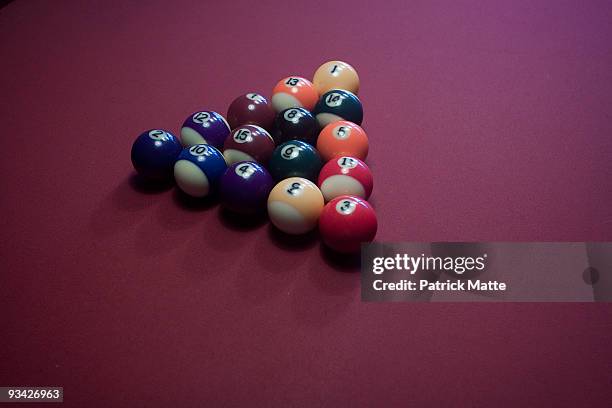
The heart and soul of a good pool setup is, without a doubt, the triangle rack. This humble piece of plastic or wood is your best friend. You'll find it tucked away in the cue case or sitting patiently by the table. Its purpose? To create that perfect, tightly packed formation of balls that just begs to be broken.
Must Read
First things first, you’ll need your 15 object balls. These are the ones that aren't the white cue ball, obviously! Now, you might be wondering, "Does it really matter which ball goes where?" Well, for a standard game of 8-ball, it absolutely does, and it’s all part of the strategy. For other games, it's more about getting them snug.
Place the triangle rack on the table, snug against the foot spot. This is that little dot at the far end of the table, opposite the end where you’ll be breaking from. Imagine the foot spot as the starting line for your pool adventure. Make sure the rack is positioned so that the apex of the triangle (the single ball at the front) is directly on this spot. This is crucial for a clean break!
Building the Pyramid: The 8-Ball Blueprint
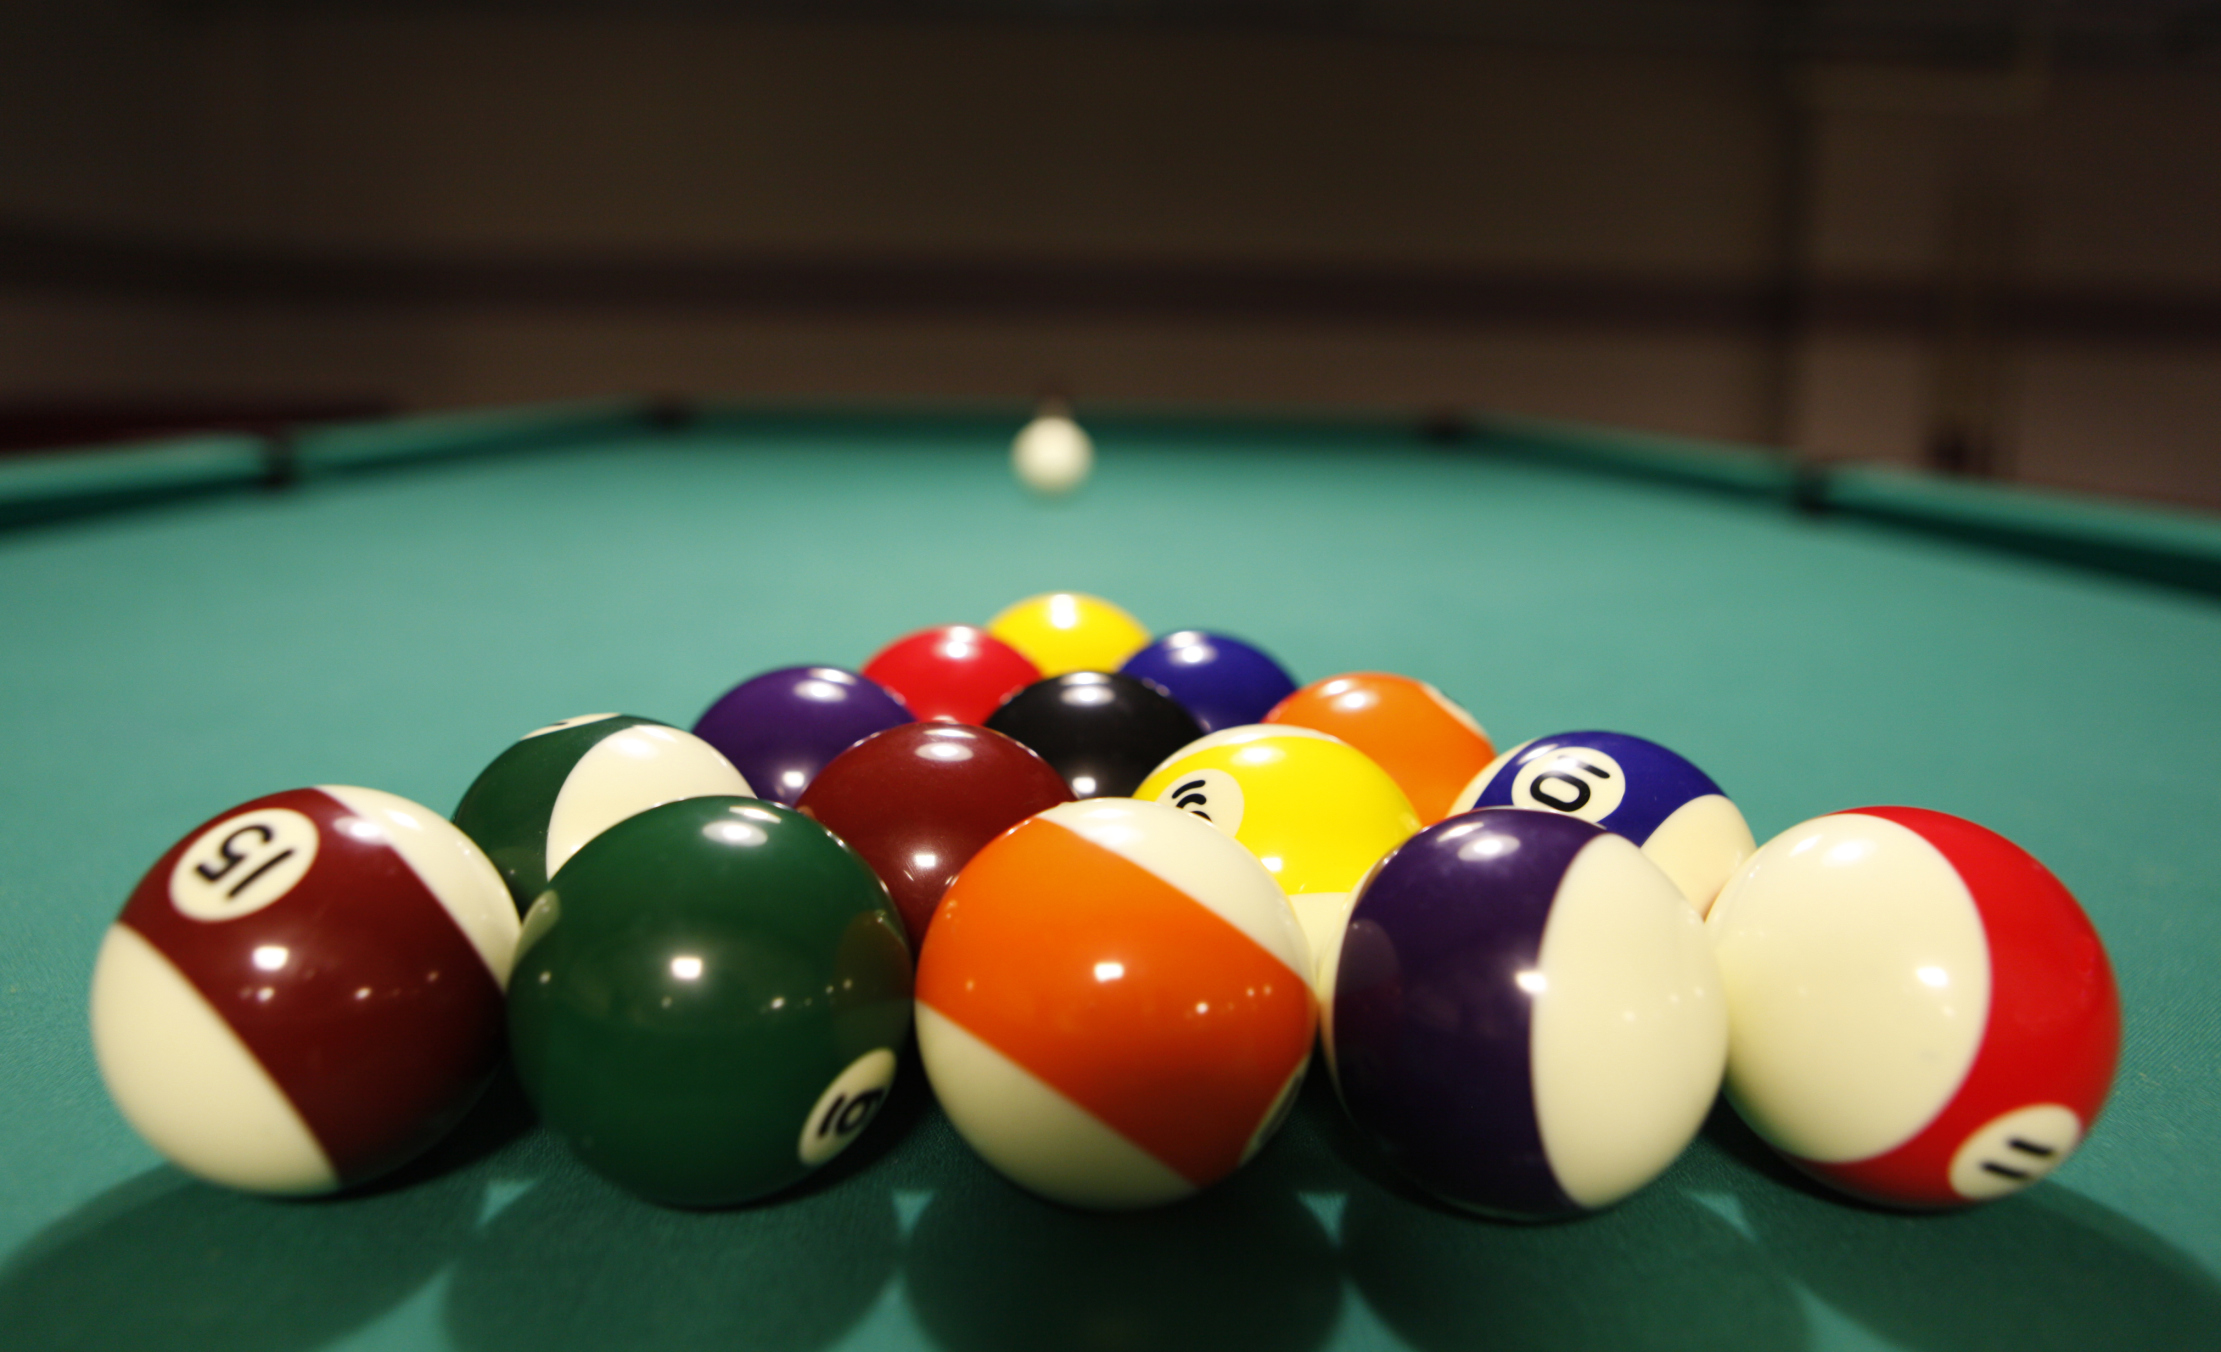
Now, let’s get those balls in formation for 8-ball, the classic choice for many. You want a nice, solid pyramid. The first ball at the very front of the triangle, the one on the foot spot, should be one of your solids (the balls with one solid colour, numbered 1-7). It doesn't matter which solid ball it is, but it's good practice to have a consistent approach.

The very last ball in the triangle, the one at the back, is where things get interesting for 8-ball. This ball, crucially, must be the black 8-ball. Yep, the big one! This is not just for show; it's a fundamental rule. Having the 8-ball in the middle of the back row ensures a fair break and prevents any sneaky early wins (or losses!).
The balls surrounding the 8-ball at the back should be one solid and one stripe. So, picture it: the back row has a solid, the 8-ball in the middle, and a stripe. The rest of the balls in the triangle can be a mix of solids and stripes. Don't stress too much about the exact placement of every single ball in the middle layers, as long as the front ball is a solid and the back ball is the 8-ball.
The key here is to get them tight. Nudge each ball gently until they are all touching their neighbours. No gaps allowed! A tight rack is essential for a powerful and effective break. Think of it as packing a perfectly formed snowball – the tighter, the better the throw!
Once you've got them all snugly in place, carefully lift the triangle rack straight up. Voilà! You should have a beautiful, solid pyramid of balls, ready for action.
The Quick and Easy: 9-Ball Setup
Now, if you’re more of a 9-ball fan, the setup is even simpler, and honestly, a little less pressure. For 9-ball, you only need balls numbered 1 through 9. The beauty of 9-ball is its speed and dynamism.
Again, the triangle rack is your trusty companion. Place it on the foot spot. The front ball of your 9-ball rack, the one on the foot spot, must be the 1-ball. This is the only mandatory placement in a 9-ball rack.
The 9-ball itself should be placed at the back of the rack, nestled within the triangle. The rest of the balls (2 through 8) can be placed in any order in between. Again, the emphasis is on getting them snug and tightly packed. No wobbly balls allowed!
Once they’re all touching and forming a neat little diamond shape (which is essentially what a 9-ball rack looks like with the triangle), lift the rack straight up. You’re all set for a lightning-fast 9-ball game!

The Cue Ball: The Master of Ceremonies
What about the white ball, the cue ball? Well, when you're setting up for the break shot, the cue ball gets its own special spot. You place it behind the head string. The head string is an imaginary line running across the table, parallel to the end cushion where the rack is not positioned. Think of it as a starting zone.
You can place the cue ball anywhere along this line or anywhere behind it. There’s no strict rule about its exact position as long as it's behind that imaginary line. This gives you a little freedom to aim your break shot strategically.
Getting this right is the difference between a wild scatter and a controlled break. A well-placed cue ball can lead to a much more effective first shot, setting you up for a winning streak right from the get-go!
Why Does This Even Matter? Because It's Fun!
You might be thinking, "Is all this fuss really necessary?" And the answer is a resounding yes, if you want to make your pool playing experience the best it can be! A proper setup ensures a fair game, yes, but more importantly, it sets the stage for that thrilling break shot.

That moment when you strike the cue ball and watch those tightly packed balls explode across the table? It’s pure exhilaration! A good rack means a cleaner break, more predictable ball movement, and a better chance of sinking that first ball. It’s the start of the entire game, and you want to start strong, right?
Beyond the mechanics, there’s a certain satisfaction in mastering even the smallest details. It’s about respect for the game and for your opponents. Plus, knowing how to set up the balls perfectly makes you look like you know what you’re doing, and that, my friends, is a confidence booster in itself. Imagine the impressed nods from your mates!
So, the next time you’re faced with a pool table, don’t just haphazardly throw the balls into the triangle. Take a moment, apply these simple steps, and feel the difference it makes. It’s a small skill that can significantly enhance your enjoyment of the game.
Learning to set up pool balls is a foundational step towards a more enjoyable and perhaps even victorious pool-playing journey. It’s a little bit of knowledge that opens up a world of fun. So, go forth, practice your racking, and get ready to unleash your inner pool champion. The table awaits, and it’s ready for you to conquer, one perfectly set-up rack at a time!