How To Set Up A Sewing Machine

Alright, settle in, grab your imaginary latte, and let's talk about the magical, sometimes terrifying, beast that is your sewing machine. You've probably seen them lurking in craft stores, looking all shiny and mysterious, or maybe you inherited one from a great aunt who swore it could sew the pants off a unicorn. Whatever your story, you're here, ready to conquer the domestic battlefield of fabric and thread. And trust me, it’s less battlefield and more… a slightly chaotic but ultimately rewarding dance party.
First things first, let's acknowledge the elephant in the room. Or, more accurately, the giant, whirring metal contraption on your table. Setting up a sewing machine can feel like trying to assemble IKEA furniture blindfolded after three cups of espresso. But fear not, intrepid crafter! We’re going to break it down, piece by glorious piece, and by the end, you’ll be stitching like a pro, or at least like someone who looks like they know what they’re doing. And let’s be honest, sometimes that’s half the battle.
Unboxing Your New (or New-to-You) Fabric Friend
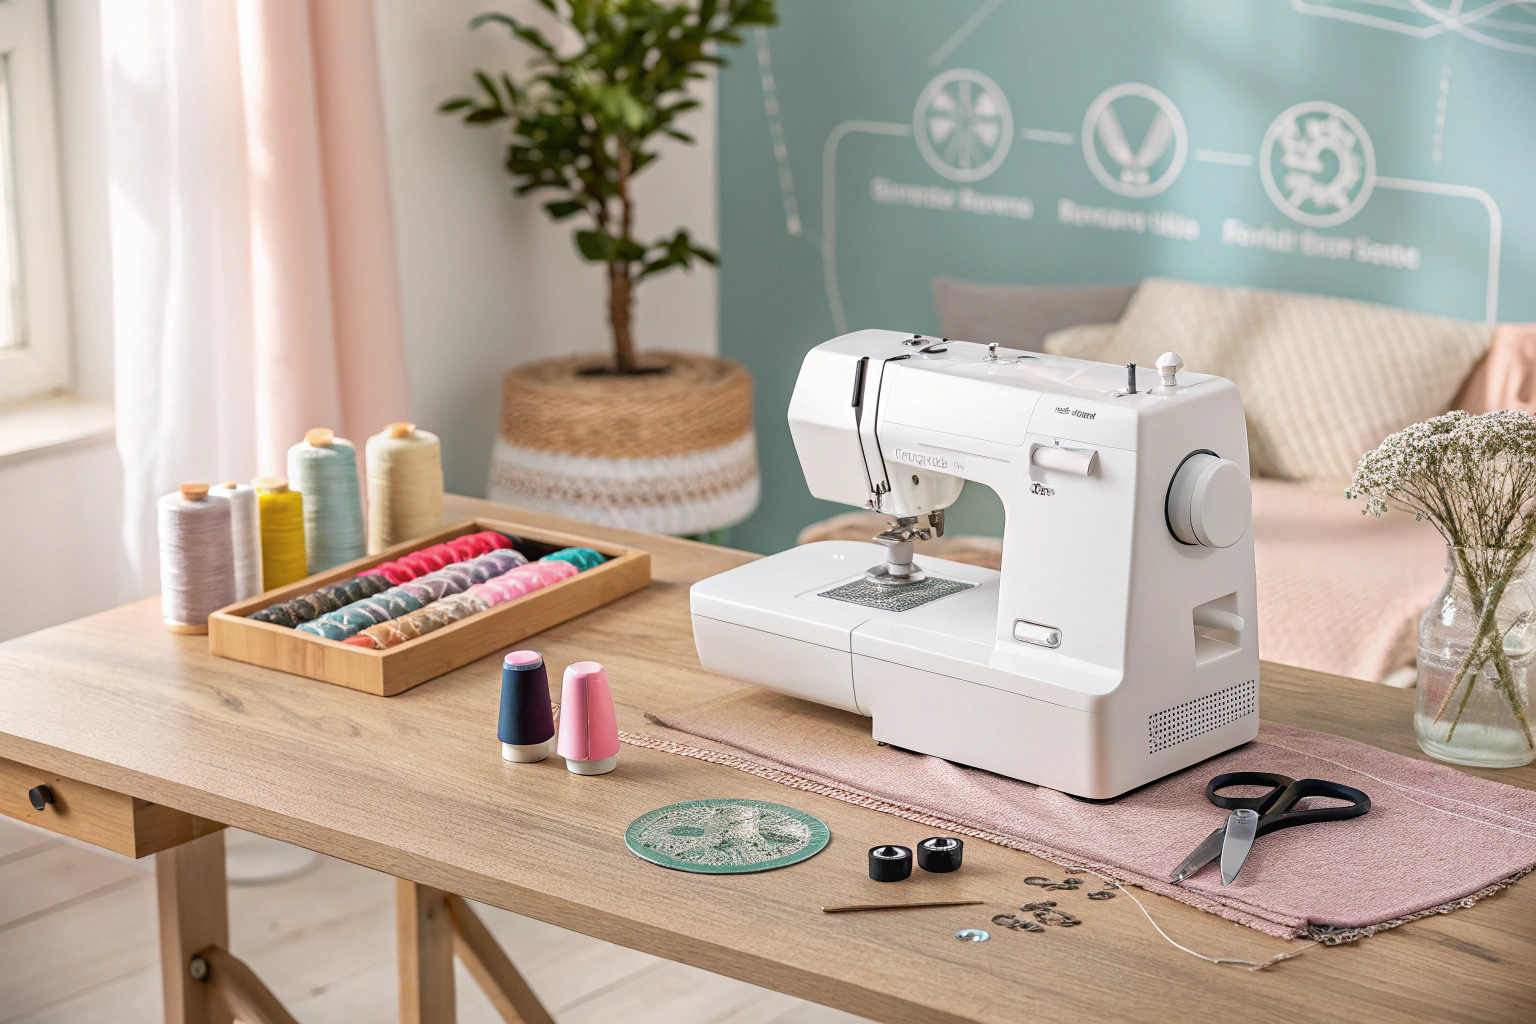
So, you've got the machine. Maybe it’s brand spanking new, smelling faintly of promise and plastic. Or perhaps it’s a vintage marvel, a behemoth that probably has more stories than your grandpa’s collection of dusty National Geographics. Either way, treat it with respect. This is your new partner in crime for all things crafty. Give it a name. I once named my serger “Stitchy McStitchface.” Don’t judge. It helps with the intimidation factor.
Must Read
Unbox it carefully. Imagine you’re a bomb disposal expert, but instead of wires, you’re dealing with the possibility of rogue bobbins flying across the room. Locate the manual. Yes, I know. The manual. It’s probably thicker than a Dickens novel and written in a language that resembles hieroglyphics mixed with technical jargon. But this, my friends, is your golden ticket. Keep it close. It’s like a secret decoder ring for your machine’s quirks.
The Grand Tour: Knowing Your Machine's Bits and Bobs
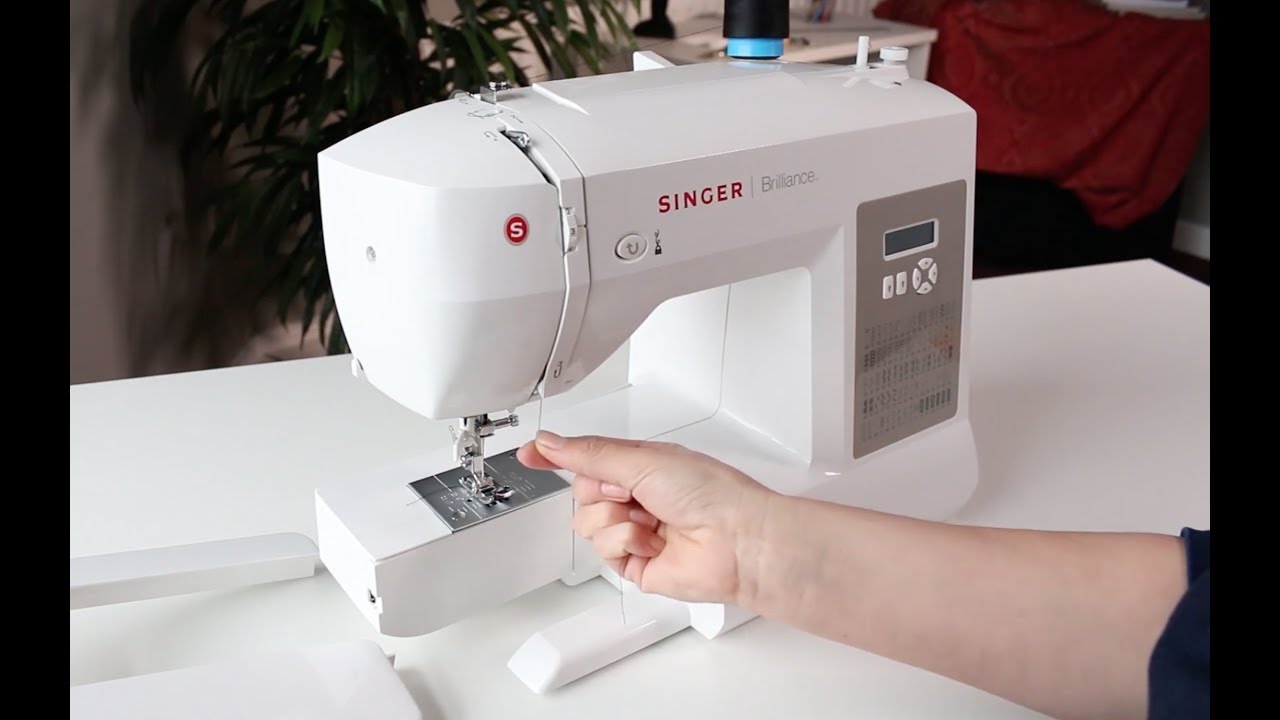
Now, let’s get acquainted. Your machine has parts, and they all have names. Don’t panic. Think of it as meeting a new set of friends. There’s the needle, obviously. The sharp bit. Be nice to it, but also, you know, don’t poke yourself. Then there’s the presser foot. This little guy holds your fabric down. It’s like a tiny, very firm hug for your material. Crucial!

You’ll also find the stitch selector dial. This is where the magic happens. Want a straight line? Click. Want to make it zig-zag like a frantic hummingbird? Click again! And then there's the handwheel, usually on the side. This is your manual override, your emergency brake, your “oh-crap-I-just-sewed-my-fingernail-to-the-fabric” button. More on that later.
Threading the Needle: The Art of Not Tangling Everything
This is where many aspiring sewers develop a sudden urge to take up competitive napping. Threading a sewing machine can feel like wrestling an octopus in a wind tunnel. But it’s not impossible! Most machines follow a similar path. You’ll find a series of little guides, like a tiny obstacle course for your thread. Follow them. Follow them religiously.
Start with the thread spool on top. Loop it through the first guide, then down, up, around a tension disc (that’s the bit that controls how tight your stitches are – too loose and it looks like a drunk spider made it, too tight and it’ll shred your fabric like a tiny, angry badger), and then down through the needle’s eye.

And the needle! Ah, the needle. It’s tiny. And the eye is even tinier. Some machines have a built-in needle threader, which is like winning the lottery. If yours doesn’t, you’ll need a steady hand and possibly a magnifying glass. Don’t be afraid to hum a calming tune. Or curse under your breath. Whatever works. Just remember, thread goes IN the eye. Seriously, this is important. I've seen grown adults bring tears to their eyes over this step. It's a rite of passage, really.
Bobbins: The Little Guys That Make the Magic Happen
Now for the underside of things. The bobbin. This is a tiny spool of thread that lives in a special little case (or directly under a metal plate, depending on your machine’s lineage). You need to wind a bobbin before you can sew. This usually involves threading the machine in a specific way, placing the empty bobbin on a spindle, and pressing a pedal. The machine then hums a little tune and winds the thread onto the bobbin. It’s surprisingly satisfying, like watching a miniature yarn factory in action.
Once wound, the bobbin needs to go into its little home. This is another crucial step. If the bobbin is inserted incorrectly, your stitches will look like a bird’s nest after a hurricane. The manual will show you the exact path the thread needs to take. Pay attention here. Seriously. This is where good stitches are born and bad stitches go to die.
Getting Ready to Stitch: The Final Countdown
You’ve threaded the top, you’ve wound and inserted the bobbin. You are SO close! Now, you need to bring up the bobbin thread. This is done by holding the top thread tail and slowly turning the handwheel towards you. The needle will go down and then up, and with a little tug, the bobbin thread will follow, appearing through the needle plate. Voilà! You have two threads ready to go. It's like a tiny, controlled explosion of potential.
Place your fabric under the presser foot. Lower the presser foot. And then, gently, press the foot pedal. The machine will whir to life. Start slowly. Seriously, don’t go pedal-to-the-metal immediately unless you enjoy the thrill of fabric catapulting across your living room. Guide your fabric with your hands, letting the machine do the pulling.
Troubleshooting: When Things Go a Little Wonky
So, what happens when your stitches look like a squirrel had a bad day? Don’t despair! It’s usually something simple. Check your threading. Most problems stem from a simple mistake here. Is the thread caught on something? Is the bobbin in the right way? Is the tension dial set correctly?

Is the needle the right type for your fabric? A thick denim needle won’t play nice with delicate silk, and a tiny microtex needle will buckle under the weight of upholstery fabric. Think of it as giving your machine the right tools for the job.
And if all else fails, and you’re seriously considering using it as a very expensive doorstop, take a deep breath. Step away. Make a cup of tea. Then, consult that trusty manual. Or, if you’re feeling brave, Google the specific problem. The internet is a vast and often hilarious place for sewing machine woes. You are not alone in your quest for perfect stitches.
Setting up your sewing machine is an adventure. It’s a journey from bewilderment to a sense of accomplishment. You might shed a tear, you might laugh hysterically, but you will learn. And soon, you’ll be whipping up masterpieces, or at least slightly wonky tote bags, with the confidence of a seasoned seamstress. So go forth, brave stitcher. Your fabric awaits!