How To Scan On A Canon Printer

Okay, so you’ve got a Canon printer. Awesome choice, by the way! They’re generally pretty sweet machines. But now, you’ve got this brilliant idea, or maybe just a pile of important-looking papers, and you think, "Hey, I need to scan this!" And then comes the inevitable question, right? "How the heck do I scan on this thing?"
Don’t sweat it, pal. It’s not rocket science, I promise. Think of me as your friendly neighborhood tech guru, here to demystify the whole scanning situation. Grab your coffee, settle in, and let’s get this done. We’ll have you scanning like a pro in no time. Seriously, it’s easier than folding a fitted sheet. And who can master that, really?
Let’s Talk About Your Canon Printer: The Scanner Edition
So, most Canon printers that have scanning capabilities are what we call “all-in-one” or “multifunction” printers. Pretty fancy, huh? It means they do more than just churn out copies of your grocery lists. They can print, copy, and, you guessed it, scan. Isn’t technology amazing? Or sometimes, just confusing.
Must Read
The scanning part usually happens in one of two places: either on the flatbed scanner (that’s the glass part, like a mini photocopier bed) or through an automatic document feeder (ADF). The ADF is that little slot on top where you can feed in a stack of papers, and it magically zips through them. Talk about efficiency!
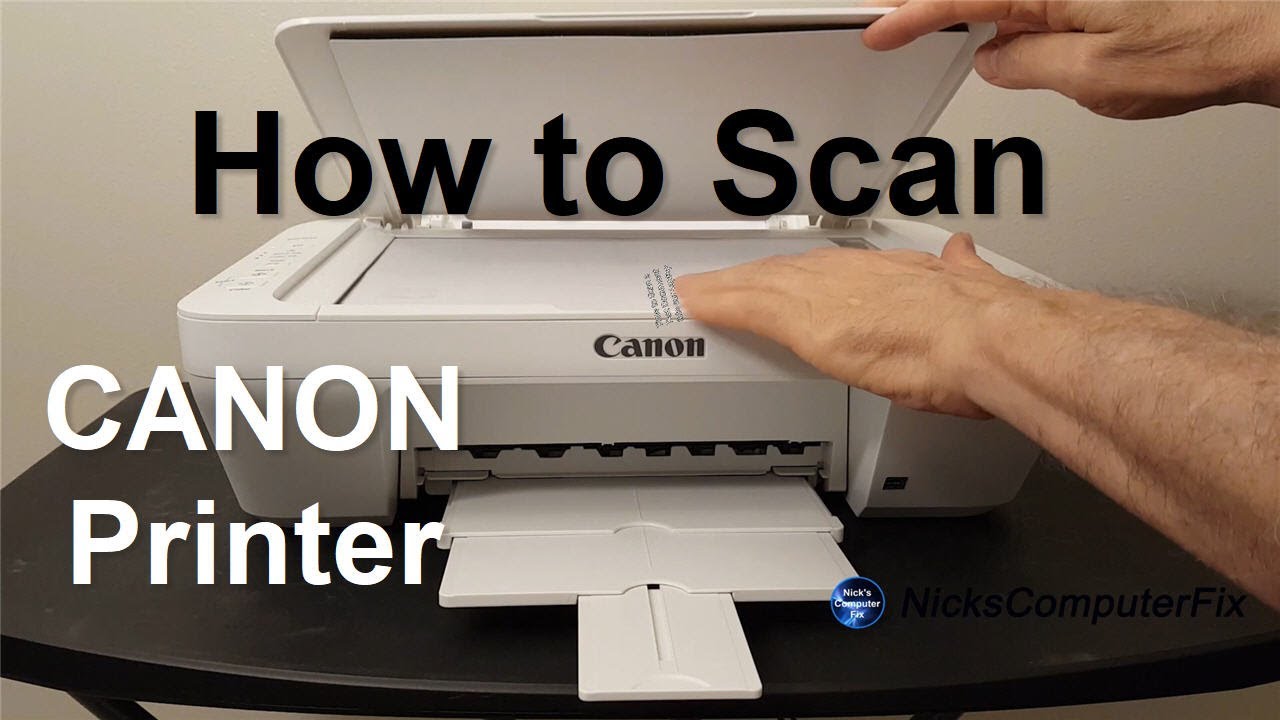
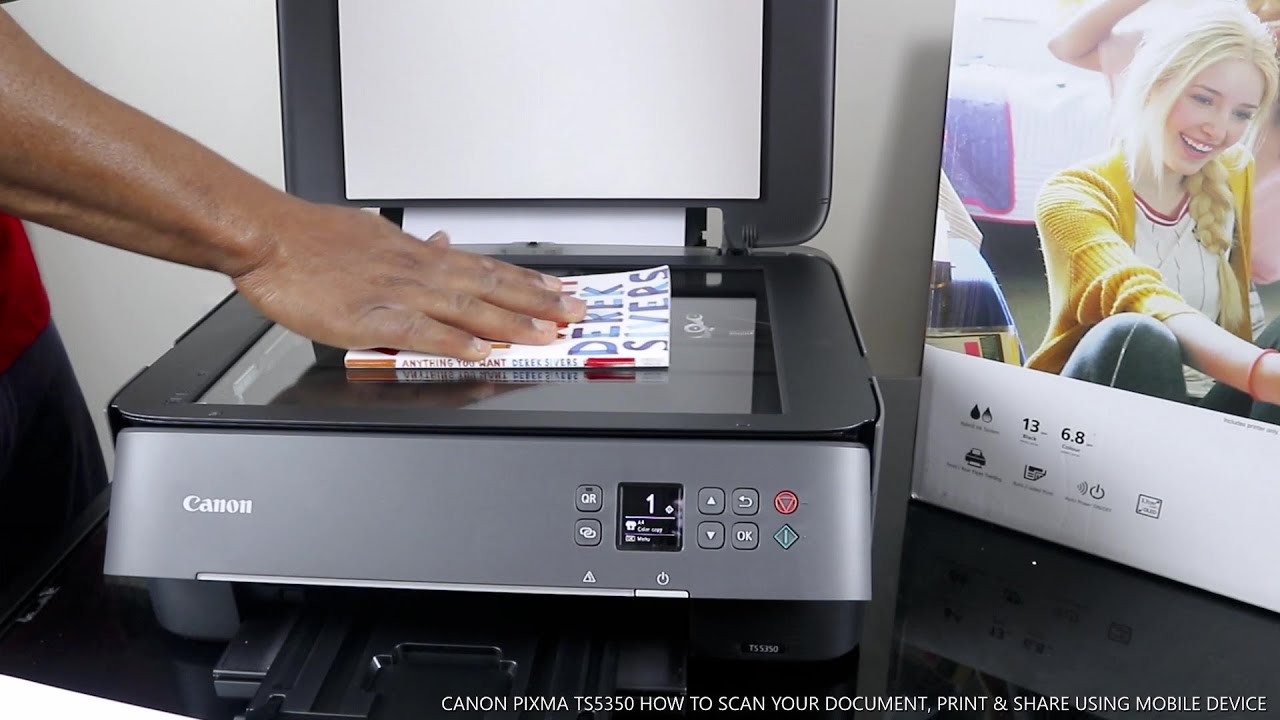
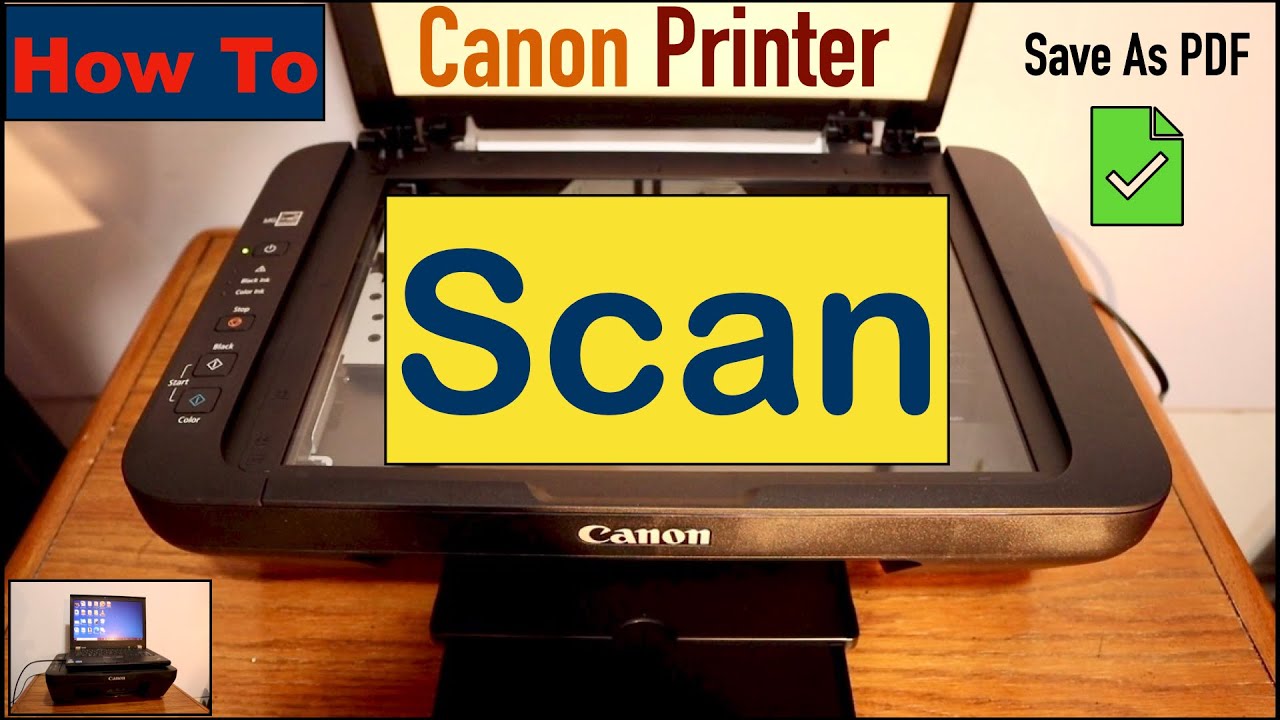
The Almighty Flatbed: Your Go-To for Photos and Single Pages
This is probably what you’ll use most often, especially for photos, important documents, or anything that's a bit delicate. You know, like that ancient recipe card from your grandma that’s held together by sheer willpower and maybe a bit of jam.
First things first: open the scanner lid. It’s usually on the top. You’ll see that shiny glass. Now, gently place your document face down on the glass. Make sure the edge of the paper is lined up with the little guides or arrows on the scanner bed. Think of it like carefully placing a precious artifact. You don’t want it crooked, do you?
Once it’s perfectly positioned, close the lid. Gently, mind you. We’re not trying to break anything here. And then, we need to tell the printer what to do. This is where your computer comes in. It’s like the brains of the operation.

Connecting Your Canon to the Digital World: The Software Side
This is where things can get a tiny bit tricky, but only if you let them. Most Canon printers come with their own software. This is the stuff that helps you control everything, including scanning. If you haven’t installed it yet, now’s the time. You usually pop in a CD that came with it, or, more likely these days, you download it from the Canon website. Just search for your printer model, and boom, drivers and software galore.
Once that’s installed, you’ll likely have a program called something like “Canon IJ Scan Utility” or “Canon Utilities.” This is your new best friend for scanning. If you can’t find it, don’t panic. Just search your computer for “Canon” and you’ll probably find it lurking somewhere. It’s shy, I guess.
Using the Canon IJ Scan Utility (or its equivalent)
Alright, so you’ve found the magic scanning software. Double-click it to open. You’ll probably see a bunch of options. Don’t let the technical jargon scare you. We’re going to focus on the important bits.
Usually, you’ll have options like “Scan,” “Image,” “Document,” “Custom,” etc. For most things, you’ll want to choose “Scan” or perhaps “Document.” If you’re scanning photos, you might go for “Image.” It’s like choosing the right tool for the job. You wouldn’t use a hammer to stir your coffee, would you? (Though, maybe some people would…)
There are usually a few more settings you can tweak, like the resolution (how detailed the scan is – higher resolution means a bigger file, but sharper images), the file format (like JPEG for photos or PDF for documents), and the color mode (color, grayscale, or black and white). For most everyday scanning, the default settings are perfectly fine. But if you're scanning a photo you want to frame, you might crank up that resolution. Just saying.

Once you’ve picked your settings, hit the big, beautiful “Scan” button. And then… drumroll please… your printer whirs to life! You might hear a little hum and a carriage moving across the glass. That’s the magic happening, my friend.
What Happens After the Scan? The Digital Treasure Chest
So, the printer has done its thing. Now, where does your scanned image or document go? This is another place where the Canon software is your friend. It will usually prompt you to save the file. You can choose where to save it (your Desktop is often a good default, or a dedicated “Scans” folder you create) and what to name it. Give it a descriptive name, like “Grandma’s Cookie Recipe.pdf” or “My Awesome Drawing.jpg.” Trust me, future you will thank you for it.
Sometimes, the software might offer to open the scanned image directly in another program, like your photo editor or a PDF viewer. This is super handy if you want to do some quick edits or just want to see your masterpiece right away.
The Automatic Document Feeder (ADF): For the Multitaskers
Okay, so you’ve got a whole stack of papers you need to scan. Maybe it’s a report, a bunch of old invoices, or that novel you’re thinking of self-publishing (hey, you never know!). This is where the ADF shines. It’s a total game-changer.
First, place your documents in the ADF tray. Make sure you’re placing them the right way up. Usually, the side you want to scan goes face up, and the top of the page goes in first. There are usually little guides to help you align the paper. Don’t cram it in there; let it feed smoothly. Think of it like feeding a very polite, paper-loving robot.
Then, you go back to your Canon scanning software. You’ll want to select the ADF as your scanning source instead of the flatbed. This is a crucial step! If you forget this, you might end up trying to scan your desk. And nobody wants that.
The settings are usually similar to the flatbed scanning. You’ll pick your resolution, file format, etc. Then, hit that glorious “Scan” button. The ADF will then grab one page at a time, zip it through the scanner, and then grab the next. It’s quite mesmerizing to watch, actually. Almost hypnotizing.
With the ADF, you can usually scan multiple pages into a single PDF file. This is perfect for reports or collections of documents. It keeps everything neat and tidy. No more juggling a dozen separate image files!
Troubleshooting Tips: When Things Go a Bit Wonky
Now, sometimes, things don’t go perfectly. It happens to the best of us. If your Canon printer isn’t scanning, don’t despair. Here are a few common culprits:
- Is it plugged in? I know, I know, it sounds obvious, but you’d be surprised! Check both the power cord and the USB cable (if you’re using one).
- Is the printer on? Make sure the power light is on.
- Is the software installed and running? Double-check that the Canon scanning utility is open and that your printer is selected as the device.
- Did you select the right scanner source? This is a big one. Flatbed or ADF? Make sure you’ve told the software which one you’re using.
- Are the drivers up to date? Sometimes, old drivers can cause issues. Head to the Canon website and download the latest ones for your specific printer model. It’s like giving your printer a little software tune-up.
- Restart everything. Seriously. Turn off your printer, close all your programs, and restart your computer. Sometimes, a simple reboot is all it needs to clear its tiny electronic head.
Scanning to Your Phone or Tablet? Yes, You Can!
Okay, this is the really cool part. Some newer Canon printers have Wi-Fi capabilities, which means you can scan directly to your phone or tablet. How awesome is that? You can capture that amazing doodle your kid made right after they finished it, and it’s instantly on your phone. No more fumbling with cables or computer software.
To do this, you’ll typically need to download the Canon PRINT Inkjet/SELPHY app. Once that’s installed, you’ll connect your printer to your Wi-Fi network (follow the printer’s instructions for this – it’s usually a simple process). Then, within the app, you can select your printer and choose the scan function. It’s usually pretty intuitive, and you can often choose where to save the scanned file on your device.
This is seriously a lifesaver when you’re on the go or just want to be extra lazy. Embrace the wireless life!
Final Thoughts: You’ve Got This!
See? Scanning on your Canon printer isn’t some dark art reserved for IT professionals. It’s totally doable, and once you get the hang of it, you’ll be scanning everything in sight. From important documents to that embarrassing photo of your friend from college (for blackmail purposes, of course… kidding! Mostly.), you’ll have it digitized in a jiffy.
Remember to use the Canon software, choose the right scanning source (flatbed or ADF), and don’t be afraid to experiment with the settings a little. And if all else fails, just give your printer a stern talking-to. Sometimes, they just need to know who’s boss.
So go forth and scan, my friend! You are now officially equipped to conquer the world of document digitization. Happy scanning!