How To Scan A Photo With Iphone

Remember that dusty shoebox overflowing with precious memories? The ones where Grandma’s smile is forever frozen in time, or that awkward teenage phase captured in glorious technicolor? In our digital age, these tangible treasures often get overlooked, gathering dust when they deserve to be front and center. That’s where the magic of scanning photos with your trusty iPhone comes in! It's a wonderfully accessible way to breathe new life into old memories, making them shareable, savable, and, dare we say, more enjoyable than ever before.
The beauty of scanning with your iPhone lies in its simplicity and the immediate benefits it offers. Think of it as a digital time machine for your cherished photos. The primary purpose is to preserve these moments for future generations, protecting them from the ravages of time, fading colors, or accidental damage. Beyond preservation, scanning opens up a world of possibilities. You can easily organize your photo collection, create digital albums, share memories with loved ones across the globe with a single click, or even use those old photos as unique artwork for your home. Imagine instantly sending your favorite childhood vacation snap to your cousin who lives on the other side of the country – it’s a powerful way to stay connected.
The applications are as diverse as the photos themselves! You might be scanning a stack of old family portraits to create a digital scrapbook for a milestone anniversary. Perhaps you’re digitizing vintage postcards to add a personal touch to your travel journal. Or maybe you’ve discovered a forgotten photo of your pet from years ago and want to share it on social media. From cataloging historical documents for research to simply decluttering those physical photo piles, your iPhone scanner is a versatile tool.
Must Read
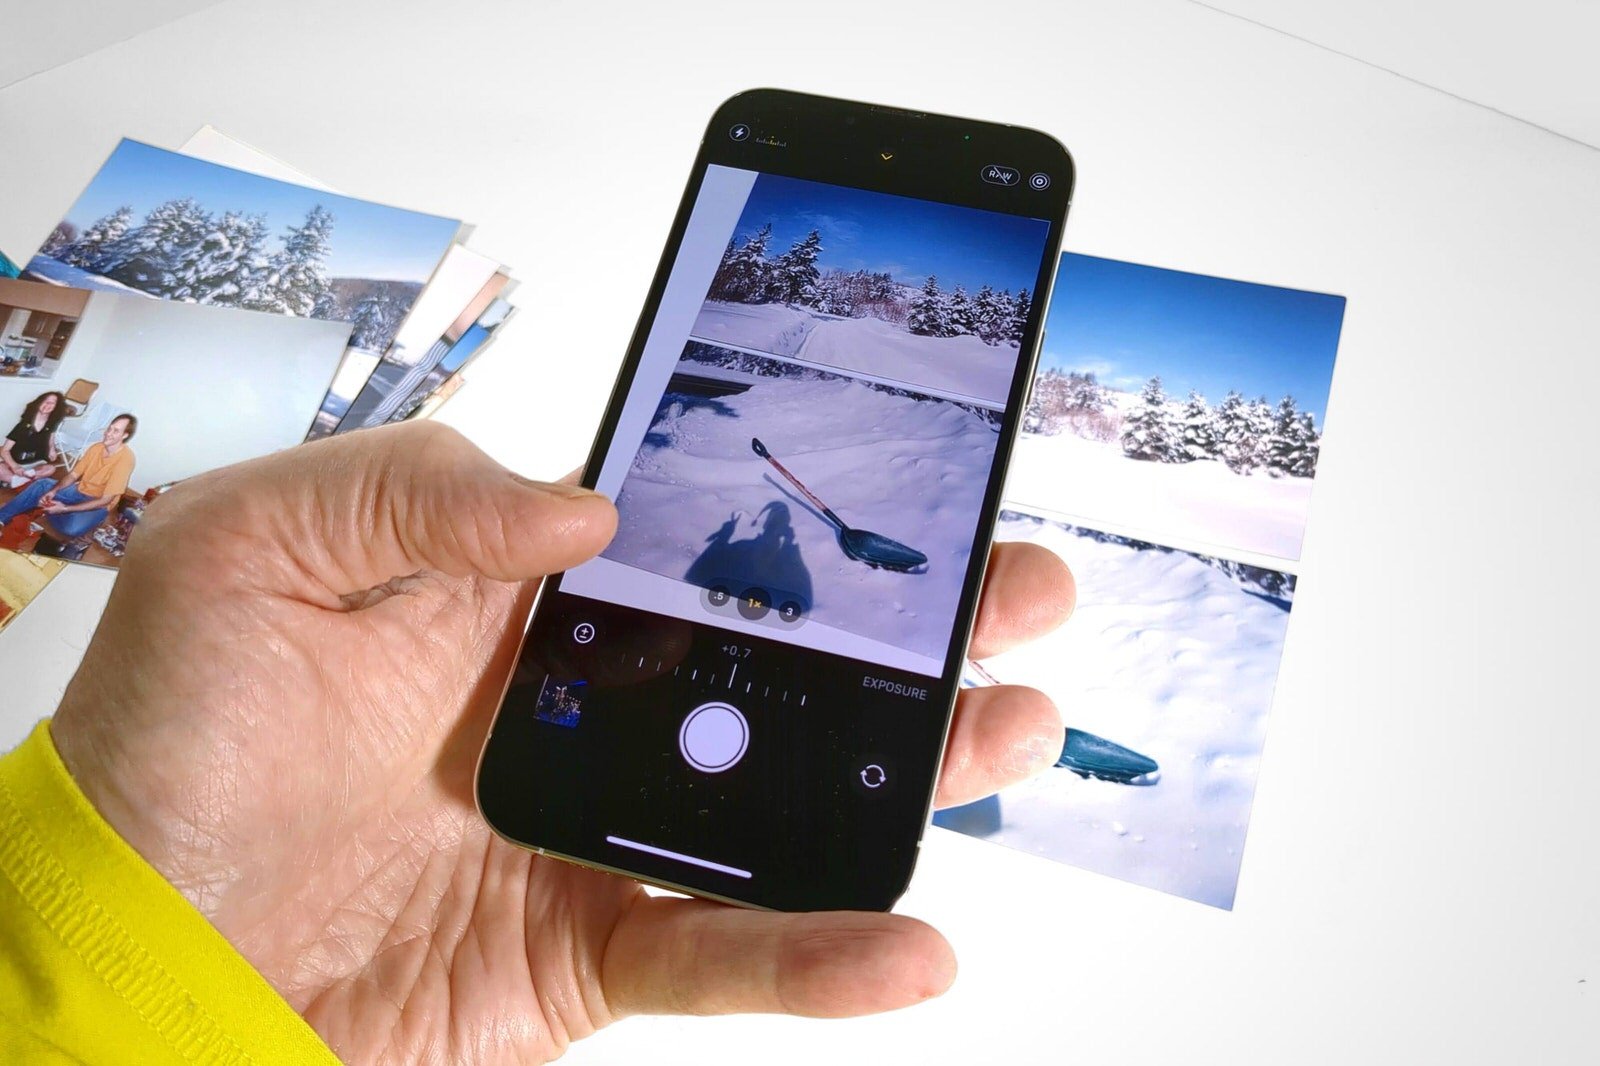
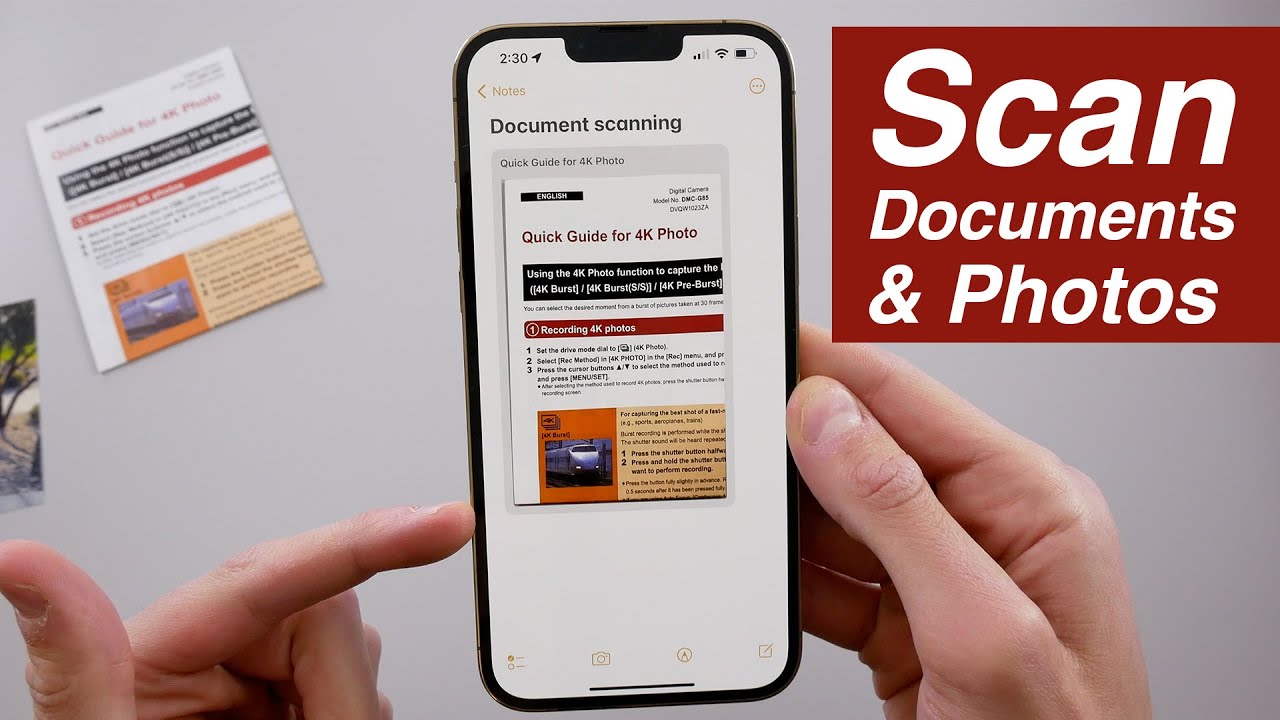
Now, let’s talk about making your iPhone photo scanning experience even better. First, find a well-lit space. Natural light is your best friend, so position yourself near a window. Avoid direct sunlight, which can cause glare. Next, make sure your iPhone's camera lens is spotlessly clean – smudges are the enemy of crisp scans! When using the built-in Notes app for scanning, select the "Scan Documents" option. This feature is surprisingly adept at automatically detecting the edges of your photos, straightening them, and adjusting for perspective. If you’re looking for more advanced features like color correction and cropping, consider downloading a dedicated scanning app like Google PhotoScan or Adobe Scan. These often offer enhanced editing capabilities. Remember to hold your iPhone steady and capture the photo from directly above the image. Don’t be afraid to experiment with different angles and lighting until you achieve the perfect result. With a little practice, you’ll be a photo-scanning pro, transforming those forgotten prints into vibrant, digital memories you can cherish and share for years to come!