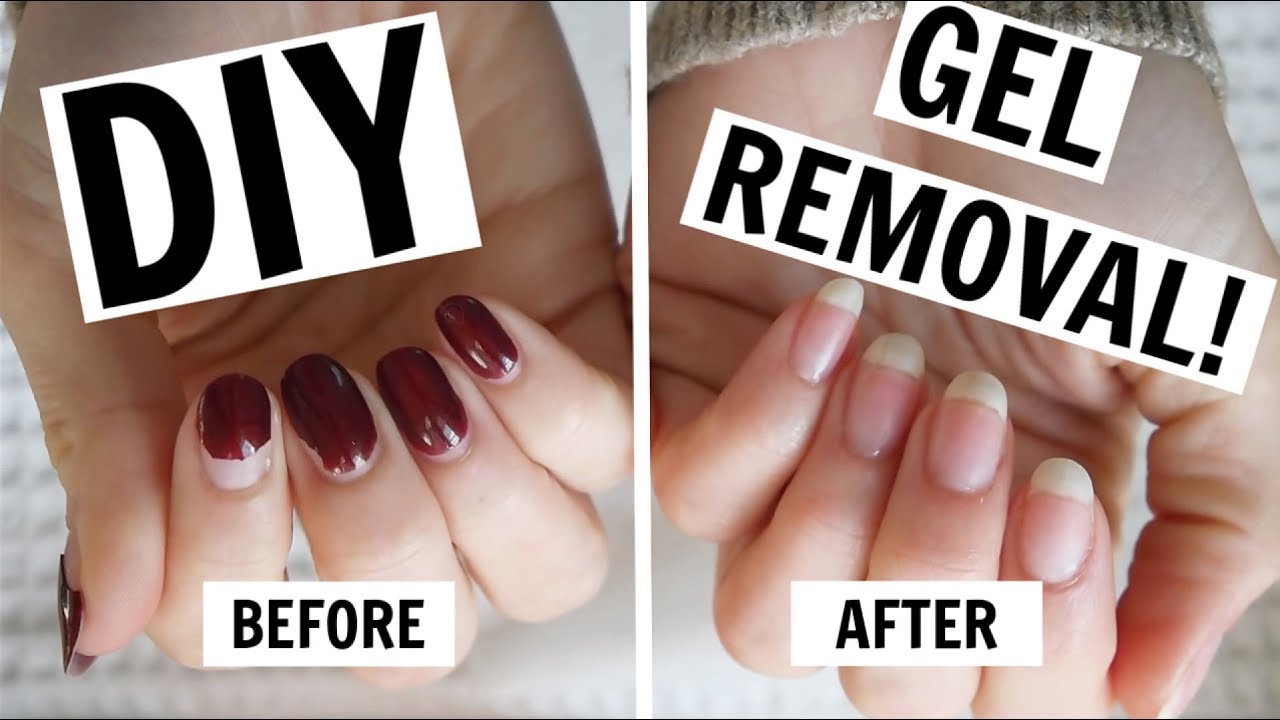
How To Remove Gel Nail At Home

Ah, gel nails. Those glorious, chip-proof wonders that make your hands look like they just stepped out of a magazine, ready to conquer the world (or at least make your coffee order look extra chic). You know the feeling, right? You’ve got that perfect color, that impeccable shine, and you’re feeling like a million bucks. For weeks, your nails are practically superheroes, impervious to dish soap, keyboard typing, and that occasional rogue grocery bag incident. They’re like tiny, personal armor for your fingertips, deflecting all sorts of everyday mayhem.
But then… the inevitable happens. That tiny little edge starts to lift, like a shy teabag peeking out of your mug. Or maybe you’ve had them on for so long they’re starting to feel a tad crowded, like your favorite jeans after a holiday feast. The once-perfect finish is now sporting a few battle scars, and the shine is… well, let's just say it's seen better days. And suddenly, that effortless elegance starts to feel a bit like a stubborn stain you just can't scrub away.
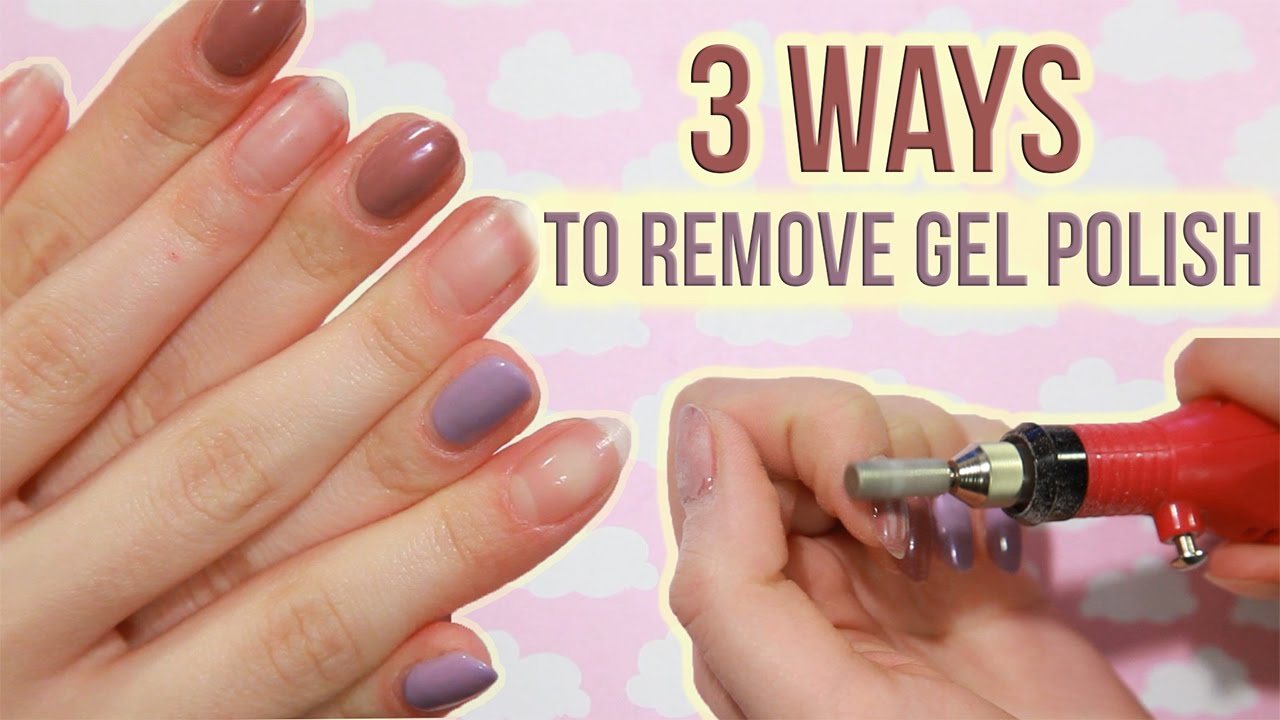
The salon beckons, right? A quick trip to have them professionally zapped off. But let’s be real, sometimes life throws us a curveball. Maybe you're on a budget this month (story of my life!). Maybe you're stuck at home because of, you know, gestures vaguely at the entire planet. Or perhaps you're just feeling that independent spirit, that "I can totally do this myself" vibe that sometimes hits you at 2 AM while scrolling through TikTok. Whatever the reason, you’re contemplating the great gel nail escape, right in your own humble abode. And hey, I get it. It’s like deciding to tackle that slightly intimidating DIY project you saw online – a mix of excitement and a healthy dose of "what could possibly go wrong?"
Must Read
So, if you're nodding along, picturing that lifted edge or feeling the pinch in your wallet, welcome! You've come to the right place. We're about to embark on a mission: Operation: Gel Nail Freedom. And don't worry, this isn't going to be some super-technical, jargon-filled tutorial that makes you feel like you need a chemistry degree. We're going for easy-going, practically foolproof, and hopefully, with a few giggles along the way. Think of it as a spa day for your fingertips, but instead of fancy cucumber water, we’re armed with nail polish remover and a whole lot of patience.
Let's start with the most crucial element of our gel nail removal adventure: the right tools. Now, before you go rummaging through your junk drawer and pulling out random items (please, for the love of your nails, don't use your kitchen knives!), let's get specific. We're aiming for a gentle, effective approach, not a nail-ripping catastrophe. Imagine trying to open a stubborn jar of pickles with a butter knife – it’s just not going to end well. We need the right implements for the job.
First up, the star of the show: acetone. Yep, that potent liquid that smells faintly of a nail salon crossed with a chemistry lab. This is your primary weapon against the stubborn grip of gel polish. You can find it at pretty much any drugstore or beauty supply store. Make sure you’re getting 100% acetone. Anything less might feel like trying to fight a dragon with a water pistol – it just won't pack the same punch. And a little tip: if you're prone to dryness (and who isn't, after a good acetone soak?), consider getting a nail and cuticle oil to have on hand for the post-removal pampering. Think of it as the soothing balm after a hard day's work.
Next, you’ll need some cotton balls or cotton pads. These are going to be our little gel-dissolving sponges. You know, like those fluffy clouds that hold all the good stuff. Make sure they're the regular kind, not the ones with fancy lotion already infused – we want pure acetone power, folks.
Then comes the crucial wrapping part. You have a few options here, and they all serve the same purpose: to keep that acetone-soaked cotton in place and create a little warm environment for the magic to happen. The most popular method involves aluminum foil. Yes, the same stuff you use to wrap up leftovers or make those questionable baked potatoes. Cut it into small squares, big enough to wrap around your fingertips. Think of them as little silver mittens, designed to trap heat and soakage.
Alternatively, you can use cotton wraps that come with foil attached. These are a bit more convenient, like pre-made finger-sausages of gel-removal goodness. You can usually find these online or at beauty stores. They're essentially a cotton pad already glued to a strip of foil, making the wrapping process a tad quicker. It's like the difference between making a sandwich from scratch versus grabbing a pre-made one – both get the job done, but one is a little less fuss.
Now, for the part where we gently coax the gel off, we'll need something to help us. A cuticle pusher or an orange wood stick is perfect for this. These are designed to be gentle on your nail beds, unlike, say, trying to pry off a stubborn sticker with a screwdriver. You want to avoid anything sharp or metallic that could accidentally scratch or damage your natural nail. Think of these tools as your gentle excavators, carefully revealing your natural nail beneath.
And finally, for the cleanup and finishing touch, have a buffer block ready. This is for smoothing out any rough edges and bringing back that natural shine to your nails. It’s like giving your nails a mini spa treatment after their ordeal. You might also want a nail file for shaping, but the buffer is key for that smooth finish.
Okay, tools gathered? Excellent! Now, let’s move on to the actual process, the grand unveiling of your natural nails. Think of this as a delicate operation, like defusing a bomb, but way more pleasant and with a significantly lower risk of explosion. The key here is patience. Seriously, this is not a race. Trying to rush the process is like trying to cook a perfect steak by leaving it on the grill for five minutes – you’re just going to end up with a mess.
First, if you have any top coat left on your gel nails, it's a good idea to gently buff it away. Just a light scrub with your buffer block. This helps the acetone penetrate the gel more effectively. Don't go crazy and buff down to your nail bed; we're just creating tiny little pathways for the acetone to do its thing. Think of it as slightly roughing up the surface so the nail polish remover can get a better grip. Imagine trying to clean a really greasy pan – you need to give it a little scrub first, right? Same principle here.
Now, for the soaking part. Take a cotton ball or pad and generously soak it in 100% acetone. You want it good and saturated, but not dripping everywhere like a leaky faucet. Place the soaked cotton ball directly onto the surface of your gel nail. Make sure it covers the entire nail, from cuticle to free edge.
This is where the wrapping comes in. Take your aluminum foil square (or your pre-made cotton wrap) and wrap it snugly around your fingertip, securing the cotton ball in place. You want a good seal, so the acetone doesn't evaporate too quickly. The foil acts like a mini-greenhouse, trapping the heat from your finger, which helps the acetone work its magic faster. It’s like giving your nails a cozy little acetone spa treatment. Imagine wrapping your hands in warm towels – it’s that same comforting, work-enhancing principle.
Repeat this process for all ten fingers. Now, here’s where the patience truly comes into play. You need to let it soak. The general rule of thumb is 10-15 minutes. However, this can vary depending on the brand of gel polish, how thick it was applied, and how old it is. You might find some come off easily after 10 minutes, while others might need a bit longer. It’s like waiting for bread to rise; sometimes it’s quick, sometimes it takes a bit more time.

While you're waiting, try to relax. Put on your favorite podcast, catch up on some light reading, or just enjoy the rare moment of stillness. Avoid trying to pick at the foil or the cotton. Let the acetone do its work. Think of it as a mini-meditation session, just with a faint chemical aroma.
After about 10 minutes, you can start checking. Gently peel back one of the foil wraps. The gel polish should be starting to look a bit softened and lifted. If it’s still pretty solid, rewrap it and give it a few more minutes. If it’s starting to look gooey and detached, it’s time for the next step.
This is the moment of truth: gently pushing off the gel. Take your cuticle pusher or orange wood stick and carefully slide it under the edge of the softened gel polish. You should be able to gently push it away from your natural nail. Think of it like gently scraping off frosting from a cake – you want to get the excess off without damaging the cake underneath. If you encounter any resistance, do not force it. This is a crucial point. Forcing it can lead to damaging your natural nail, and nobody wants that. If it’s not budging easily, it means it needs more soaking time. Rewrap it and give it a few more minutes. It's better to soak a little longer than to cause a painful snag.
Work your way around the nail, gently nudging off the gel. You might find that some areas are easier than others. If you see bits of stubborn gel, just reapply some acetone-soaked cotton to that specific area and let it soak for a few more minutes. It’s like cleaning a stubborn spot on your stove – sometimes you need to give it a little extra attention.
Once all the gel polish has been gently pushed off, you'll likely notice that your nails might look a little dull or have some residual product. This is where the final touches come in. Rinse your hands thoroughly with water to remove any acetone residue. Then, it’s time for the buffer block. Gently buff your nails in a consistent direction. This will help to smooth out any imperfections, remove any last bits of gel residue, and bring back a healthy sheen to your natural nails. You're essentially giving your nails a gentle polish after their liberation.

If your nails feel a bit dry after all this, now is the time to reach for that cuticle oil and hand lotion. Massage it into your nails and cuticles. This is like giving your hands a comforting hug after they've been through a bit of a process. It replenishes moisture and keeps your nails healthy and strong. Think of it as the post-workout recovery for your fingertips.
And there you have it! Your gel nails are gone, and your natural nails are ready to face the world again. It might not be as instantaneous as a salon visit, but the satisfaction of doing it yourself, of achieving that smooth, chip-free finish without a professional, is pretty darn rewarding. It’s like mastering a new recipe or finally getting that one tricky IKEA piece assembled – a small victory that makes you feel capable and accomplished.
Now, a word of caution, my friends. While this DIY method is generally safe and effective, it’s important to listen to your body and your nails. If you experience any burning, redness, or irritation during the soaking process, remove the foil immediately and rinse your hands. You might have a sensitivity to acetone, or perhaps you need to use a different method. Also, remember that this process can be a bit drying, so consistent moisturizing is key for keeping your natural nails healthy and happy.
Don't be discouraged if your first attempt isn't absolutely perfect. Like learning to ride a bike, the first few tries might involve a wobble or two. You might find you need a little more soak time, or a gentler hand with the pusher. Every set of nails and every gel polish brand can be a little different, so think of it as a learning experience. The next time will be even easier, and you'll be a gel-nail-removal pro in no time. You’ll be able to tackle those stubborn gels with the confidence of a seasoned pro, armed with your acetone and your trusty foil. It’s all part of the journey, and hey, at least you saved yourself a trip to the salon and a few bucks!
So, the next time you find yourself staring at those grown-out gel nails, feeling that familiar blend of dread and determination, remember this guide. Arm yourself with patience, a few common household items, and a can-do attitude. You've got this! Your nails will be free, and you'll have the satisfaction of a job well done, all from the comfort of your own couch. And who knows, you might even enjoy the process. Happy soaking, and may your natural nails be ever strong and beautiful!

