How To Remove A Rear Bike Wheel
Alright, cycling adventurers, gather ‘round! Today, we’re tackling a mountain… well, maybe more like a small molehill, but a very important one: removing your rear bike wheel. Don’t let the gears and the general mechanical mystique of it all scare you. Think of it as a fun little puzzle, a chance to get a tiny bit more intimate with your trusty steed. You know how sometimes you just know you can solve that Sudoku, even if it takes a few tries? This is that feeling, but with slightly more grease. And hey, sometimes a rogue pebble or a sneaky thorn decides to have a party on your tire, and you, my friend, are the host who needs to politely (or not so politely) escort it out. This is your moment of power!
First things first, let’s get our tools ready. You won’t need a whole toolbox, no sir! Most bikes are pretty chill about this whole wheel removal thing. You’re probably going to need something called a “quick release skewer.” Now, this little fella looks innocent enough, but it’s the superhero of your wheel security. Imagine a tiny, metal superhero with a lever. That’s it! Some bikes, especially fancier ones, might have what we call “thru-axles.” These are like the super-strong, slightly more serious older sibling of the quick release. If you have one of these, don’t fret! The principle is still the same, it just might involve a slightly bigger lever or perhaps a tiny bit more elbow grease. But for now, let’s focus on our friendly neighborhood quick release.
Okay, picture your bike. It’s standing tall and proud, ready for adventure. Now, gently lay it down on its side. The side that doesn’t have the fancy gears is usually the most comfortable resting place. Think of it like tucking your bike in for a brief nap. Make sure it’s on something soft, like grass or even a cozy blanket, so it doesn’t get any grumpy scratches. We’re aiming for a spa day, not a battlefield!
Must Read
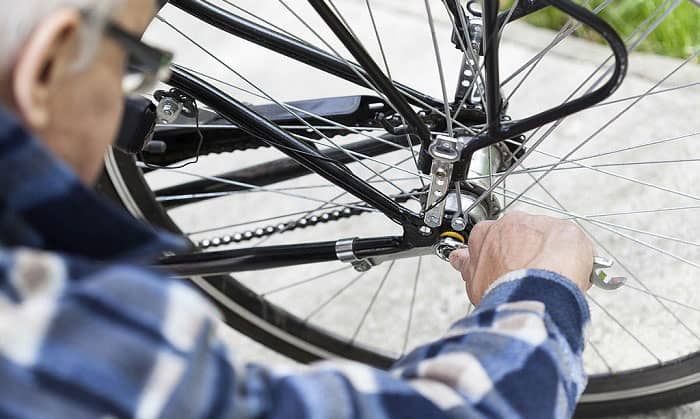
Now, cast your gaze upon the rear wheel. See those lovely spokes? And the magnificent cassette, those wonderful little cogs that make climbing hills feel like floating on a cloud? The magic happens where the wheel meets the frame. You’ll spot that aforementioned quick release skewer. On one side, you’ll see a lever. This is your golden ticket. Give that lever a firm, confident flip. Don’t be shy! It might feel a little stiff at first, like a sleepy bear waking up. That’s perfectly normal. Imagine you’re opening a particularly stubborn jar of pickles. You just need that perfect angle and a good, honest push.
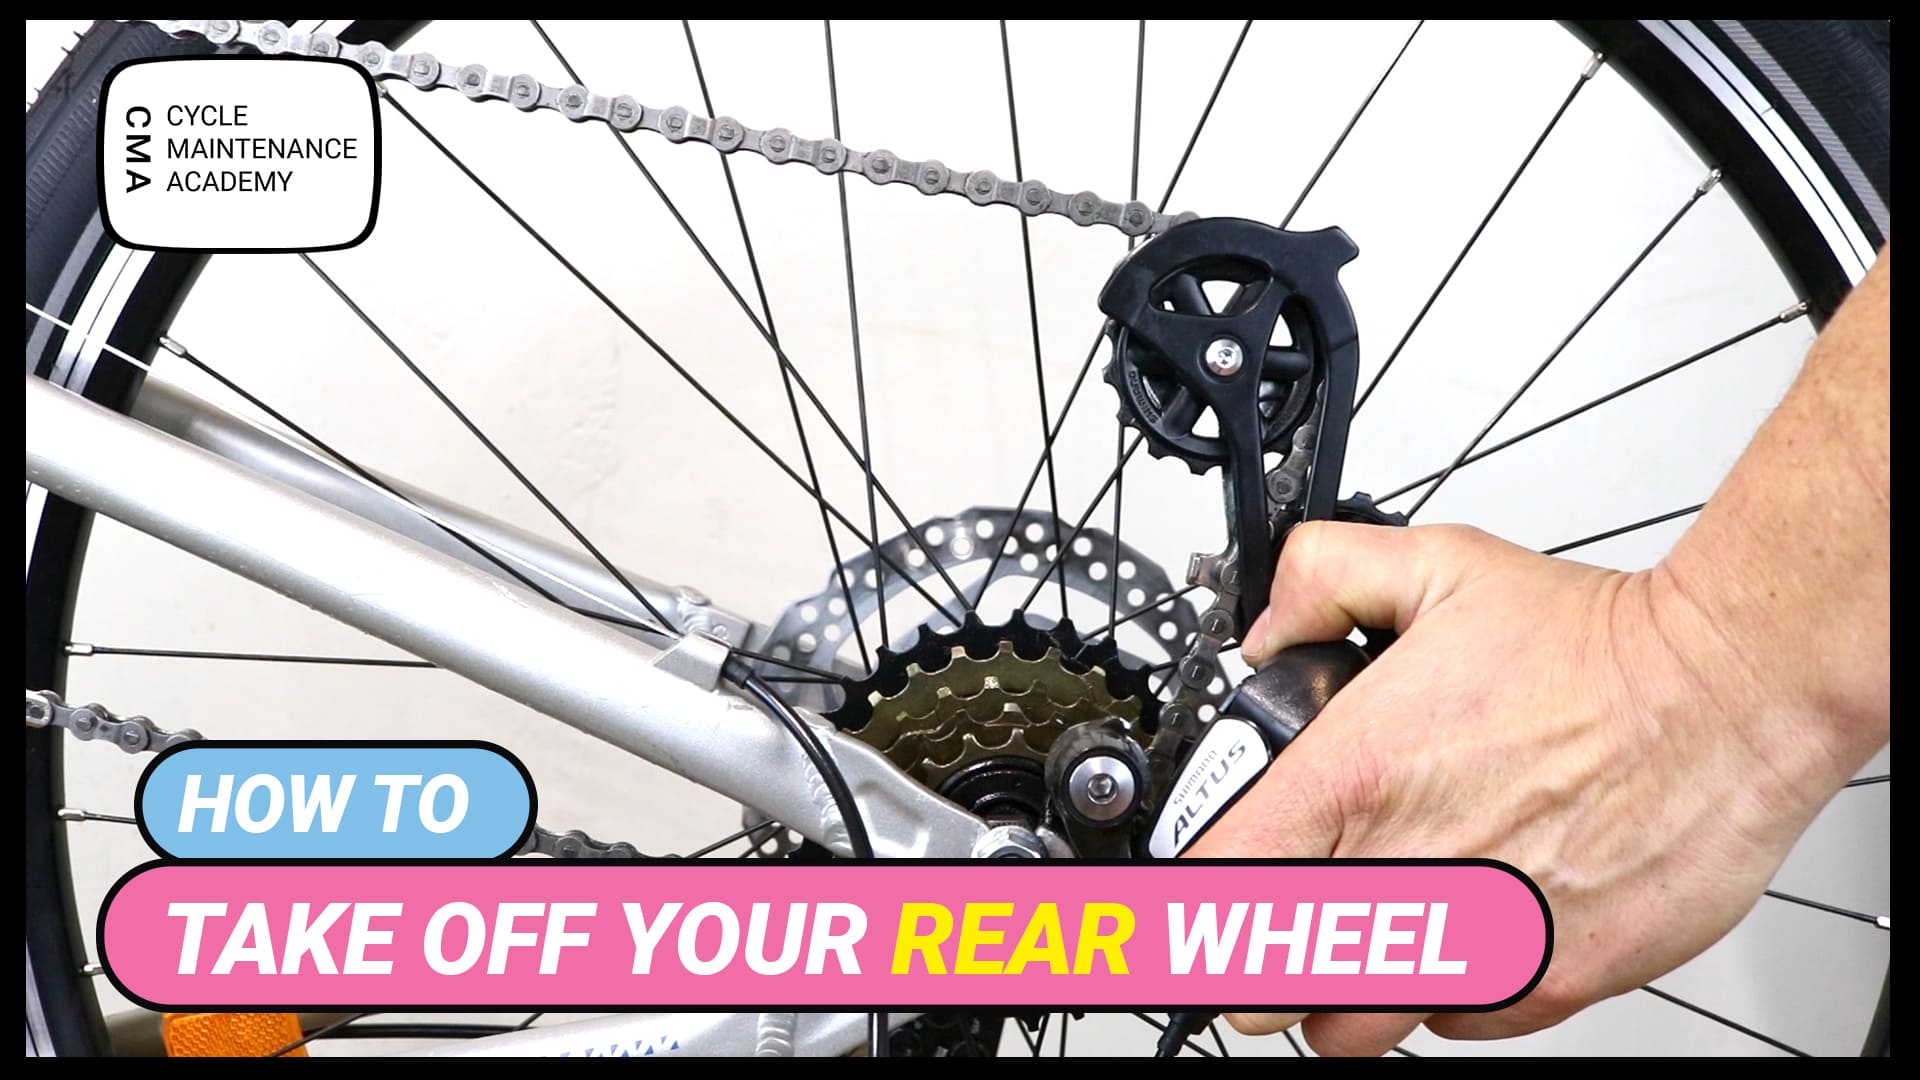
Once that lever is flipped open, you’ll notice that the wheel suddenly looks a lot less… attached. It’s like the bike is saying, “Okay, fine, you can have it for a bit.” Now, this is where things can get a tiny bit dicey, but only if you’re not prepared for the glory of the gears. The rear derailleur – that contraption of metal that dances with your chain to change gears – is going to be in the way. It’s like a protective guardian of the cassette.

Think of the derailleur as a shy but helpful friend who needs to be nudged out of the way so you can reach the prize!
So, what do we do with our helpful, but sometimes obstructive, friend? We gently pull it backwards. Imagine you’re beckoning a cat towards its food bowl – a gentle, consistent pull. As you pull the derailleur back, the chain will slacken a bit, and the wheel will magically start to loosen its grip on the dropouts (those little slots in the frame where the wheel sits). It’s a beautiful synergy of mechanics and a little bit of human persuasion.
With the derailleur nudged back and the quick release lever wide open, you should now be able to lift the wheel straight up and out. It might require a little wiggle, a gentle jiggle. Don’t force it! If it feels stuck, retrace your steps. Did you flip the lever all the way? Did you give the derailleur a good tug? Sometimes, gravity is your best friend here. If the bike is still on its side, the weight might help the wheel slide out. If it’s standing, you might need to lift it slightly to get the wheel free.
And there you have it! You’ve conquered the rear wheel! Take a moment to admire your handiwork. You’ve just performed a minor miracle of bicycle maintenance. It’s not rocket science, but it sure feels like a genius move when you accomplish it. You’ve unlocked a new level of bike-care prowess. Now you’re ready to tackle that flat tire, give your rim a good scrub, or maybe just admire the intricate beauty of your cassette without the wheels getting in the way. High five yourself! You’ve earned it!
Remember, practice makes perfect. The more you do it, the smoother it will become. Soon, you’ll be popping that rear wheel off and on like a seasoned pro, perhaps even while juggling or blindfolded (though we don't recommend the latter). So go forth, be brave, and embrace the wonderful world of bike maintenance. Your bike will thank you, and you’ll feel pretty darn accomplished. Go you!


