How To Reheat A Pie In The Oven

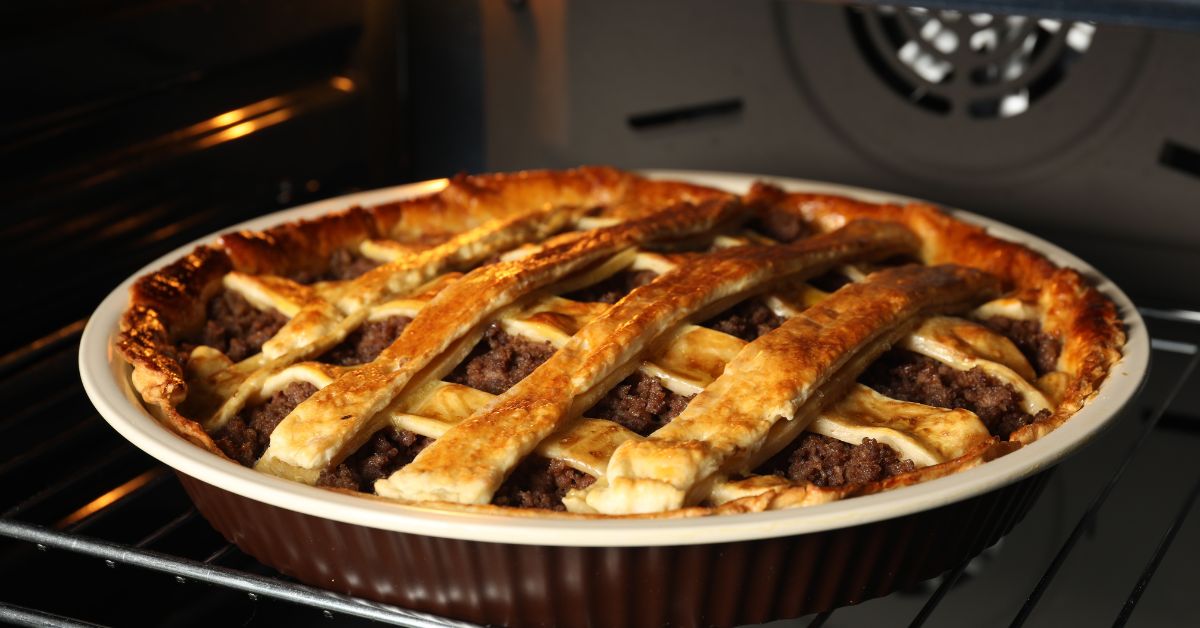
Ah, pie. That magical combination of flaky crust and sweet, gooey (or sometimes savory!) filling. It’s the star of so many celebrations, from birthdays to holidays, and let's be honest, sometimes it's just the perfect comfort food for a Tuesday night. You know that feeling, right? You’ve got that beautiful leftover pie, maybe a slice of your grandma’s apple crumble or that decadent chocolate cream you snagged from the bakery. The thought of cold pie can be… well, a little sad. It’s like getting a present and having to open it in the dark – you know it’s good, but you can’t quite appreciate its full glory. That’s where the humble oven comes in, our trusty sidekick in the quest for pie perfection.
Now, you might be thinking, "Reheating pie? Is that really a thing people need instructions for?" And to that, I say, a resounding YES! Because there’s a difference between reheating a pie and resurrecting it. We’re not just aiming for "warm enough to eat"; we're aiming for that glorious moment where the crust is just crisped to perfection, the filling is bubbling just so, and the aroma wafts through your kitchen, making your neighbors (and your dog) intensely jealous. It’s about recapturing that fresh-baked magic, even hours or days later. Think of it as giving your pie a spa day – a little warmth, a little gentle pampering, and it comes out feeling brand new.
Why Bother Reheating in the Oven?
Let's be real for a second. We’ve all done the microwave trick. Just a quick zap, right? But we all know what happens. The crust can turn into a sad, soggy disc of disappointment. The filling gets hot in some spots and still a bit cool in others, leading to a very uneven and often rubbery experience. It’s like trying to iron your clothes with a hair dryer – it might get the job done, but it’s not going to be pretty. The oven, however, is our knight in shining armor. It provides that gentle, even heat that coaxes the pie back to life, preserving its integrity and its deliciousness. It’s the difference between a caterpillar and a butterfly, folks!
Must Read
And it’s not just about texture. Think about the flavors. When pie is cold, some of those subtle notes get muted. That hint of cinnamon in your apple pie? That nutty undertone in your pecan? Reheating gently in the oven helps those flavors bloom again. It’s like turning the volume up on deliciousness. So, if you've ever suffered the indignity of a sad, microwaved pie slice, or even just settled for a cold one, prepare to have your mind (and your taste buds) blown. We're about to unlock the secrets to pie nirvana, all thanks to your oven.
Gather Your Supplies (It’s Not Rocket Science!)
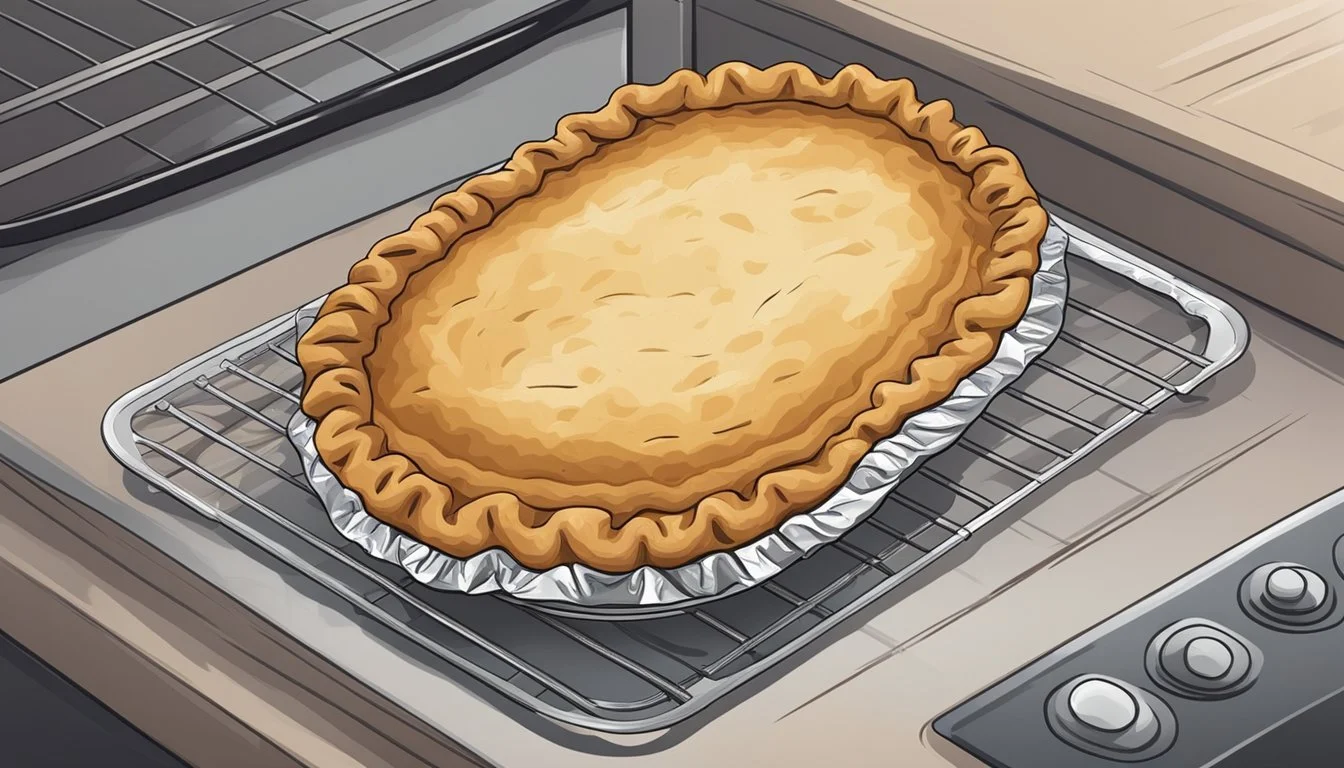
Okay, deep breaths. This isn't a Michelin-star recipe. All you really need is your leftover pie, your oven, and something to put the pie on. Most often, this will be a baking sheet. Why a baking sheet, you ask? It’s like a little safety net for your pie. Because pies can sometimes be a bit… leaky. We’ve all had those moments where a little bit of filling decides to make a daring escape, creating a sticky mess on the bottom of your oven. Nobody wants to scrub caramelized sugar from their oven floor on a Sunday morning. The baking sheet catches any drips, saving you a whole lot of grief and potential smoky kitchen smells. It’s the unsung hero of pie reheating!
![How To Reheat Shepherd's Pie - I Test 4 Methods [Pics] - Pantry & Larder](https://pantryandlarder.com/wp-content/uploads/2023/09/how-to-reheat-shepherds-pie-infographic.jpg)
If you’re reheating a pie that’s already in an oven-safe dish (like a glass pie plate or a ceramic one), you can often just place that directly on the oven rack. However, for an extra layer of protection and easier cleanup, placing that dish on a baking sheet is still a brilliant move. Think of it as putting on a raincoat – you might not need it, but you’ll be incredibly grateful if a sudden downpour (or pie spill) occurs.
And for those of you who are particularly prone to kitchen mishaps, or who just want to be extra cautious, you can also line your baking sheet with parchment paper or aluminum foil. This makes cleanup even easier – you can just slide the whole messy thing into the trash once it’s cooled. It’s the ultimate hack for minimizing post-pie-reheating chores. We’re all about making life easier, especially when delicious pie is involved.
The Golden Rules of Pie Reheating
Alright, let's get down to business. There are a few simple rules that will make all the difference. These aren't strict commandments, more like friendly suggestions from someone who has definitely learned from their pie-reheating mistakes.
Rule #1: Low and Slow is the Way to Go
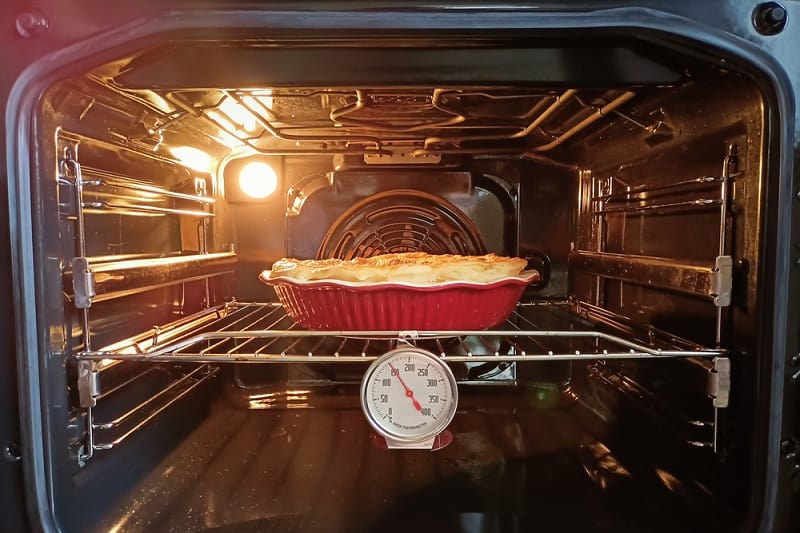
This is probably the most important rule. Forget those super-high oven temperatures you might use for baking. We’re not trying to cook the pie; we’re trying to gently warm it through. A good starting point is usually around 300-325°F (150-160°C). Why so low? Because we want to give the heat time to penetrate the filling without scorching the crust or turning the top into a crispy, burnt mess. Think of it like a warm hug for your pie, not a fiery embrace.
Imagine you're trying to melt a perfectly good stick of butter. If you blast it with a blowtorch, it’s going to melt unevenly and probably get smoky. But if you place it in a warm pan, it'll soften and melt beautifully. Pie is similar! We want that gentle, even warmth to coax everything back to its delicious state.

Rule #2: Tent It If It’s Getting Too Brown
This is where the aluminum foil comes in handy, and it’s a game-changer. As your pie heats up, you might notice that the edges of the crust are browning up nicely, which is exactly what we want. But sometimes, the top of the pie, or the edges, can start to get a little too dark before the filling is properly warm. If you see this happening, it’s time for a little intervention.
Gently lay a piece of aluminum foil loosely over the top of the pie. This acts like a little umbrella, shielding the exposed parts from direct heat while allowing the rest of the pie to continue warming up. You don't want to seal it tightly, as that can trap steam and make the crust soggy. Just a loose tent will do the trick. It’s like giving your pie a little hat to keep it from getting sunburned!
Rule #3: Patience is a Virtue (Especially When Pie is Involved)
Reheating a pie in the oven isn’t an instant gratification situation. It takes time. How long? Well, it depends on the size of the slice, the type of pie, and your oven. A single slice might take 15-20 minutes, while a whole pie could take 30-45 minutes or even longer. The best way to tell if it’s ready is to gently poke the center of the filling with a knife or a skewer. If it feels warm and slightly jiggly (in a good way!), it’s probably done. You might also see some gentle bubbling around the edges of the filling. Trust your instincts (and your touch!).
Think of it like waiting for a cozy bath to reach the perfect temperature. You wouldn't jump in the second the first drop of hot water came out, would you? You let it fill up, test it, and make sure it’s just right. Pie reheating is the same. A little patience will be rewarded with a perfectly warm and delicious slice. And let’s be honest, anything worth waiting for is usually pretty darn good, right?
The Reheating Process: Step-by-Step (Because We Love Clarity!)
Okay, let’s put it all together. You’ve got your pie, you’re armed with your baking sheet (and maybe some foil), and you’re ready to go. Here’s the simple breakdown:
- Preheat your oven to that magic temperature of 300-325°F (150-160°C). Give it a good 10-15 minutes to get up to temperature.
- Place your pie (either in its original dish or on a baking sheet) on the middle rack of your preheated oven. If you're using a baking sheet, make sure it’s centered.
- Bake for about 15-20 minutes for a single slice, or 30-45 minutes for a whole pie. Keep an eye on it, especially during the last 10 minutes.
- Check for browning and warmth. If the edges are getting too dark, or the top looks like it’s about to burn, it’s time for the aluminum foil tent.
- Continue baking until the filling is warm and slightly bubbly. You can test this by gently poking the center.
- Carefully remove the pie from the oven. Use oven mitts – this is not the time to be a hero!
- Let it cool for a few minutes! I know, I know, the temptation to dive in is immense. But a pie that's piping hot can still be a bit… challenging to eat, and the flavors haven't quite settled. Let it sit for 5-10 minutes, and you’ll be rewarded with the perfect temperature and texture.
And there you have it! You’ve successfully resurrected a piece of pie from its cold, forlorn state and brought it back to its former glory. It’s a simple process, but the results are undeniably delicious. So next time you have leftover pie, don't despair. Embrace the oven, follow these simple steps, and prepare for a truly delightful experience. Your taste buds (and your inner pie lover) will thank you!