How To Put Up A Stair Handrail
Okay, let’s talk about something that might sound a little… boring. Stair handrails. I know, I know. It’s not exactly the thrilling topic that keeps you up at night. But stick with me, because this little piece of hardware is actually a secret superhero in disguise.
Think about it. When was the last time you really noticed a handrail? Probably not until you needed it. Maybe you were carrying a mountain of laundry, a sleepy toddler, or just feeling a bit wobbly after a particularly enthusiastic pizza night. That’s when the humble handrail swoops in, like a sturdy best friend offering a steadying hand.
It’s that silent guardian, that unsung hero, that keeps us from taking an unplanned tumble down the stairs. And honestly, who wants that? Not me! I’ve seen enough slapstick comedy to know that gravity always wins, and sometimes, it wins in a way that involves a bruised ego and a trip to the doctor. We want to avoid that, right?
Must Read
So, why should you care about putting up a stair handrail? Well, beyond the obvious safety factor – which, let’s be honest, is a pretty big deal – it’s also about peace of mind. For yourself, and for anyone who lives with you or visits your home. Imagine your elderly aunt visiting, or your little nephew who’s just learning to walk. A good handrail gives them a little extra confidence, a little extra security. It’s like a gentle hug for their hand.
Plus, let's get real. Sometimes, we're just not as steady as we used to be. Life happens! Maybe you’ve had a sprained ankle, or maybe you’re just having one of those days where your balance is doing a little jig. Having a handrail is like having a built-in support system, right there when you need it. It’s the difference between a graceful descent and a full-blown “oopsie-daisy” moment.
Now, you might be thinking, “But isn’t that a complicated DIY project? I’m more of a ‘assemble IKEA furniture with the instructions upside down’ kind of person.” And I get that! The thought of drills, screws, and finding studs can be a bit intimidating. But here’s the good news: putting up a basic handrail is actually way more achievable than you might think. It’s like learning to bake cookies. Start with a simple recipe, follow the steps, and before you know it, you’re enjoying a delicious (and safe!) result.

Let’s break it down, shall we? We’re not going to get into anything too fancy here. We’re talking about getting a good, solid handrail installed that does its job and looks decent. Think of it as giving your staircase a little confidence boost.
The Essential Gear You'll Need
First things first, let’s gather our tools and supplies. Don’t let this list scare you! Most of these are pretty standard household items, or you can grab them easily from your local hardware store. Think of it as your DIY treasure hunt!
- The Handrail Itself: These come in all sorts of materials – wood, metal, even sleek modern options. For a beginner, a simple wooden handrail is a great choice. It’s easy to work with and can be stained or painted to match your decor.
- Balusters or Brackets: These are the things that hold your handrail up. They’re like the trusty legs of a table, keeping everything stable. You’ll want to choose brackets that are sturdy and appropriate for your chosen handrail material.
- Screws: You’ll need screws that are long enough to go through your brackets and securely into the wall studs. Don’t skimp on these! Strong screws are the backbone of a safe handrail.
- A Stud Finder: This is your secret weapon for finding the solid wood beams inside your walls. You don’t want to attach your handrail to just drywall – that’s like trying to hang a picture on a cloud!
- A Drill and Drill Bits: For making pilot holes and driving in screws.
- A Level: Crucial for ensuring your handrail is perfectly straight. Nobody likes a wonky handrail, right? It’s like a tilted smile – it just looks a bit off.
- A Measuring Tape: For… well, measuring!
- A Pencil: For marking where things go.
- Safety Glasses: Always protect those peepers!
- Optional: Wood Filler and Paint/Stain: If you want to touch up any holes or match your new handrail to your existing decor.
Let's Get This Show on the Road!
Okay, deep breaths. We’re going to tackle this one step at a time.
Step 1: Measure Twice, Cut (or Drill!) Once
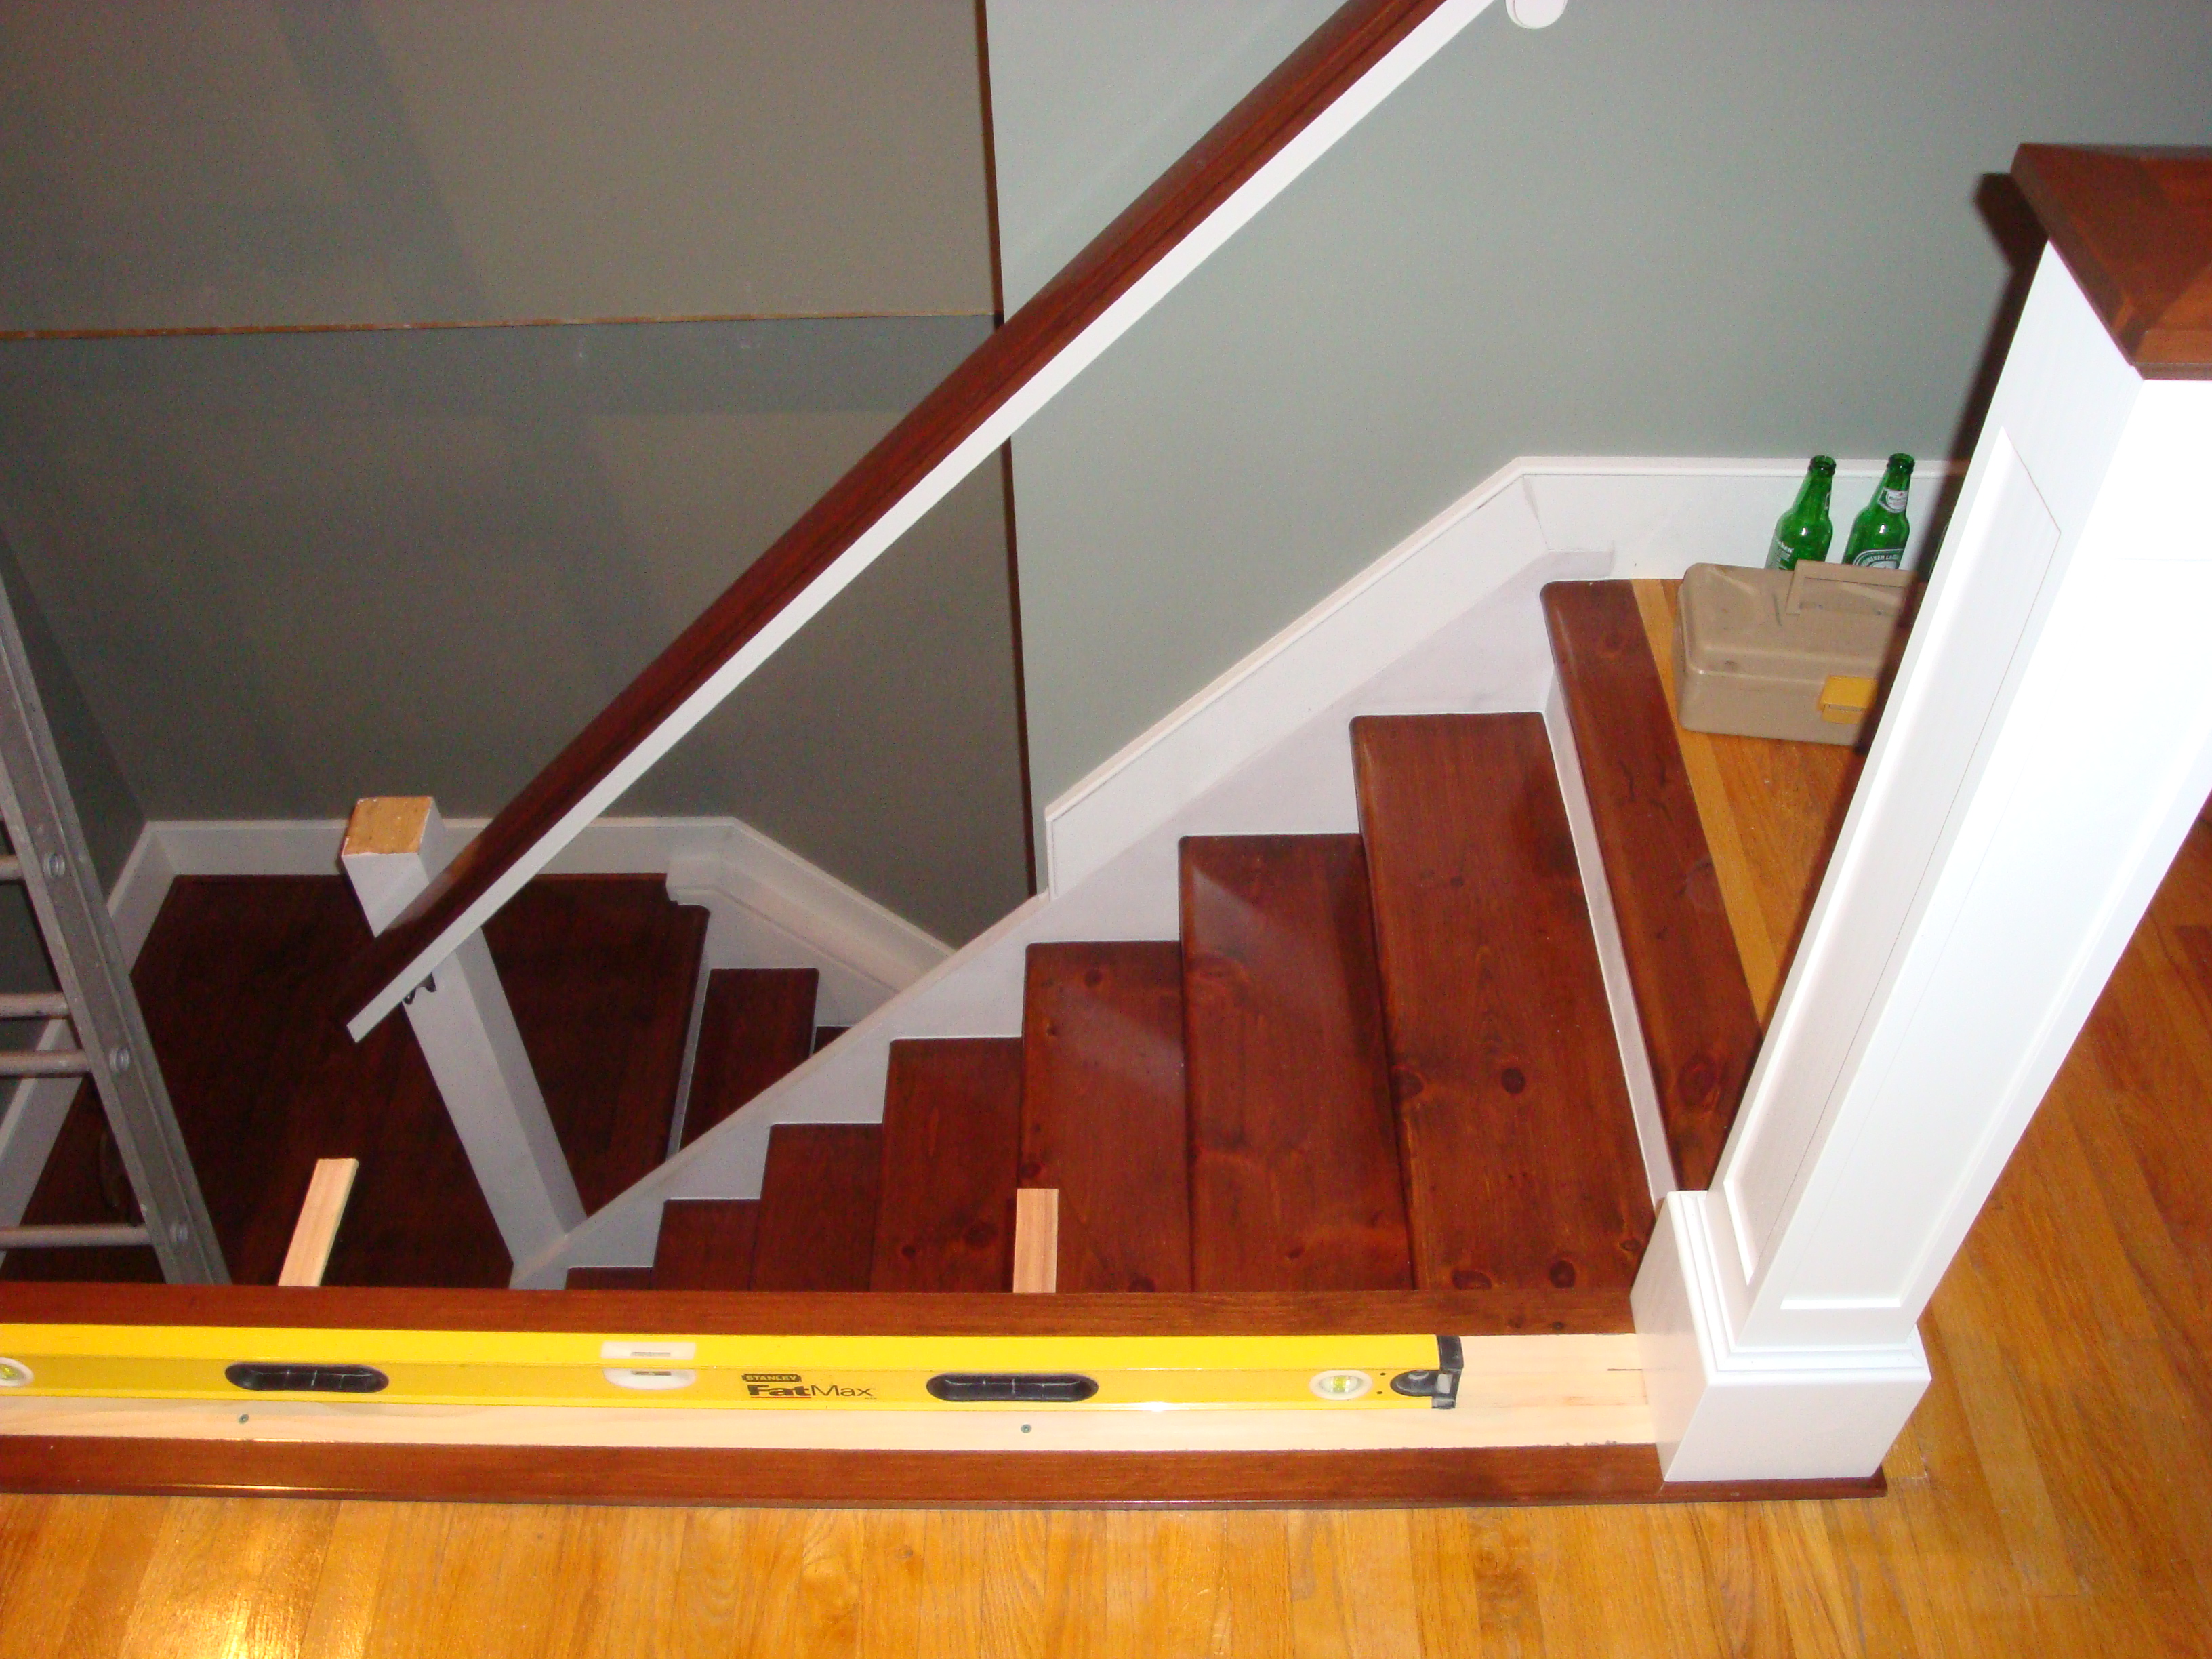
This is the golden rule of DIY, folks. Before you do anything, grab your measuring tape and figure out exactly where you want your handrail to go. Most building codes recommend a height of around 34 to 38 inches from the nose of the step. But honestly, consider who will be using it. If you have shorter folks in the house, you might want to err on the lower side. Measure the length of the staircase where you want the rail to be. You might not need a rail the entire length, but at least cover the main descent.
Now, for the crucial part: finding those wall studs. Grab your stud finder and run it along the wall where your handrail will be. Mark the center of each stud with your pencil. These are your anchor points. Think of them as the strong shoulders you’re going to attach your handrail to. Without them, your handrail will be as useful as a chocolate teapot.
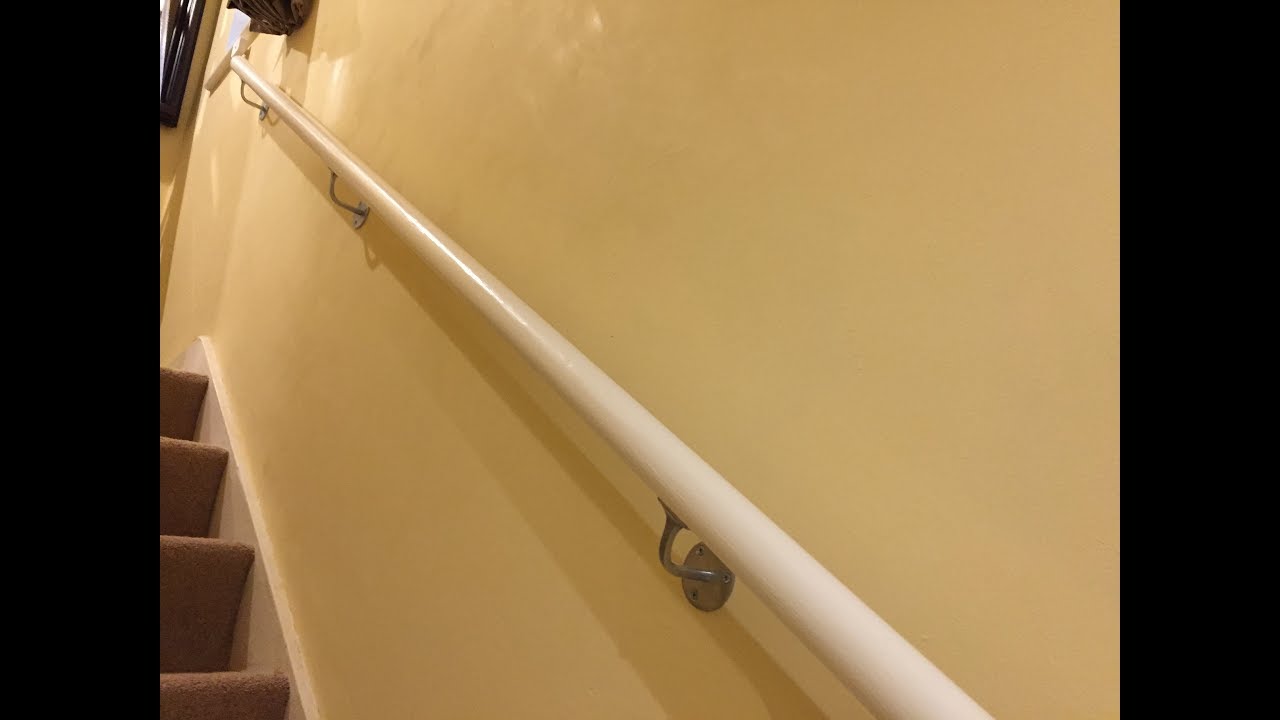
Step 2: Positioning Your Brackets
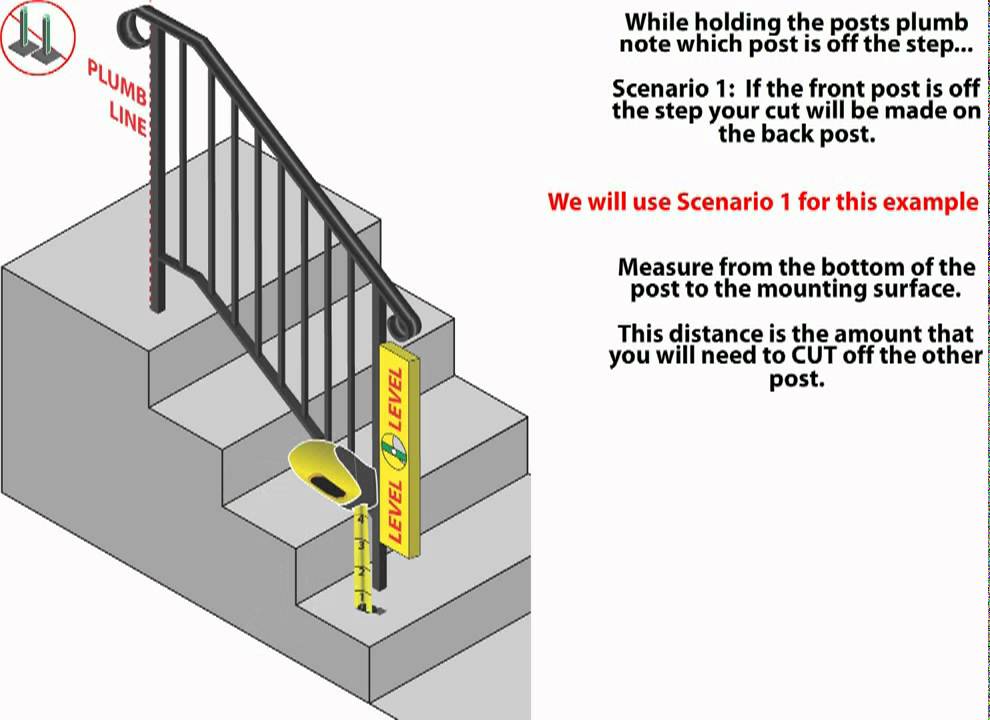
Hold your handrail (or a straight edge representing it) against the wall at your desired height. Use your level to make sure it’s perfectly straight. Then, position your brackets so they align with the studs you marked. You’ll usually want to place brackets at either end of the handrail, and at least one in the middle, depending on the length. Again, use your level to ensure the brackets themselves are straight up and down (plumb).
Once you’re happy with the placement, mark the screw holes for the brackets. This is where your pencil really earns its keep.
Step 3: Drilling Pilot Holes and Attaching Brackets
Now it’s time for the drill. Select a drill bit that’s slightly smaller than your screws. This is called a pilot hole, and it makes it much easier to drive the screws in and prevents the wood (either in the wall stud or your bracket) from splitting. Drill pilot holes through your bracket marks and into the studs.
Then, align your brackets with the pilot holes and use your drill to drive in the screws. Make sure they are good and snug. Give them a little tug to be sure they’re secure. This is the moment of truth! You want to feel that satisfying resistance as the screws bite into the studs.
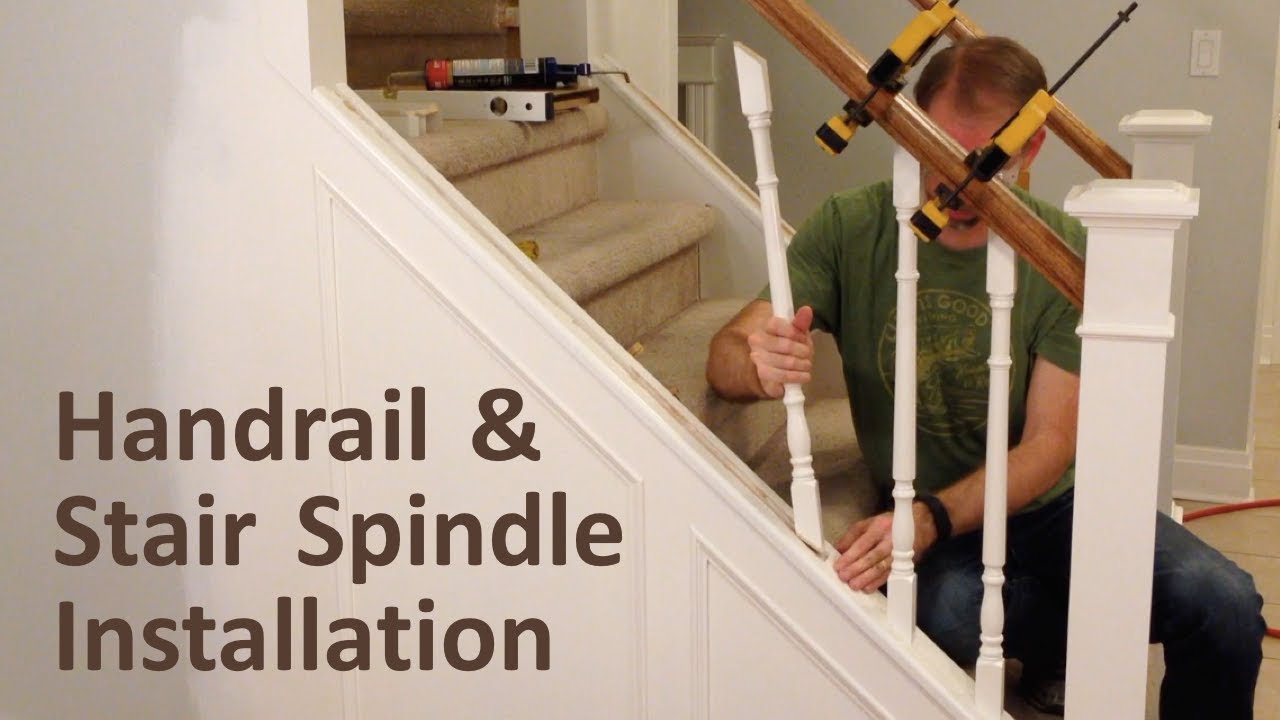
Step 4: Attaching the Handrail
Once your brackets are firmly in place, it’s time to attach the handrail. Depending on your bracket style, you might screw directly into the underside of the handrail, or there might be a separate securing mechanism. Follow the instructions that came with your brackets.
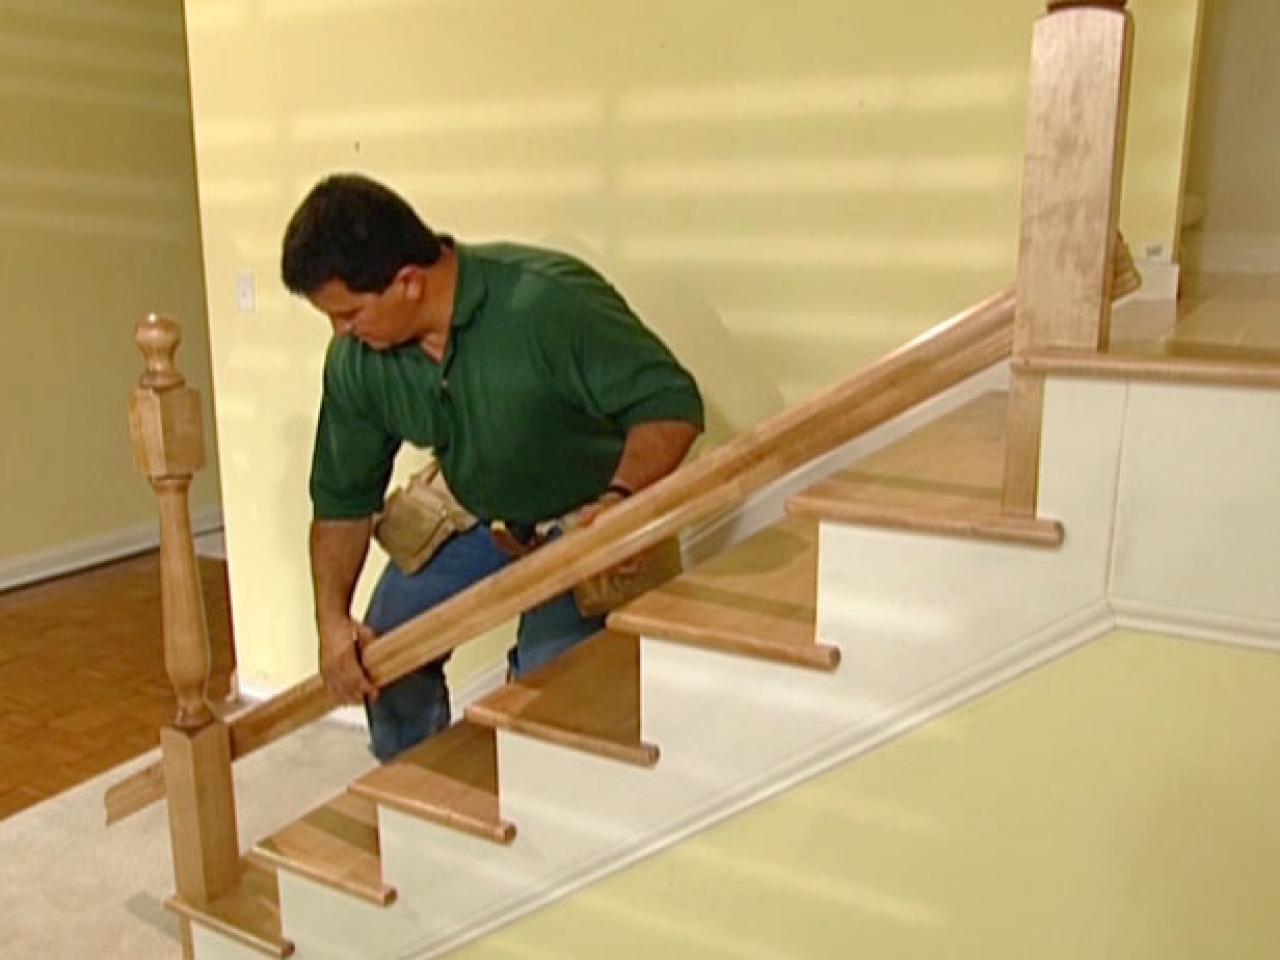
If you’re screwing from underneath, you’ll want to pre-drill pilot holes into the handrail itself, being careful not to drill all the way through. Then, use your drill to secure the handrail to the brackets. Again, make sure everything is tight and secure.
Step 5: The Wobble Test!
This is the fun part! Gently but firmly, give your new handrail a good wobble. Does it feel solid? Does it move at all? If it feels loose, go back and tighten any screws. You want it to feel like it’s part of the wall, a steadfast companion for your journeys up and down the stairs.
And there you have it! You’ve just installed a stair handrail. Give yourself a pat on the back. You’ve not only improved the safety of your home, but you’ve also tackled a DIY project and succeeded. That’s a win-win in my book!
So, the next time you’re carrying that overloaded grocery bag, or just feeling a bit tired, you can reach out and grab that solid, dependable handrail. It’s a small addition, but it makes a world of difference. It’s a little bit of safety, a lot of peace of mind, and a testament to your own handy skills. Now go forth and be safe!