How To Put Felt Roof On Shed
Right then, let's have a chinwag about something that might sound a bit… well, roofy and potentially boring, but stick with me! We’re talking about giving your trusty shed a snuggly new blanket: felt roofing. Now, before you picture yourself wrestling with tar and a cloud of fumes, let’s break it down. This isn't rocket science, it's more like… making a really good sandwich for your shed. And believe me, your shed will thank you for it!
Think about it. That little shed of yours? It’s probably home to your gardening tools, maybe the kids’ bikes, or even a secret stash of your favourite biscuits (don't tell anyone!). It’s the unsung hero of your garden, keeping your precious stuff safe and dry. But sometimes, the roof on these little fellas can get a bit… tired. Like a favourite old jumper that’s seen better days, full of little holes and looking a bit saggy.
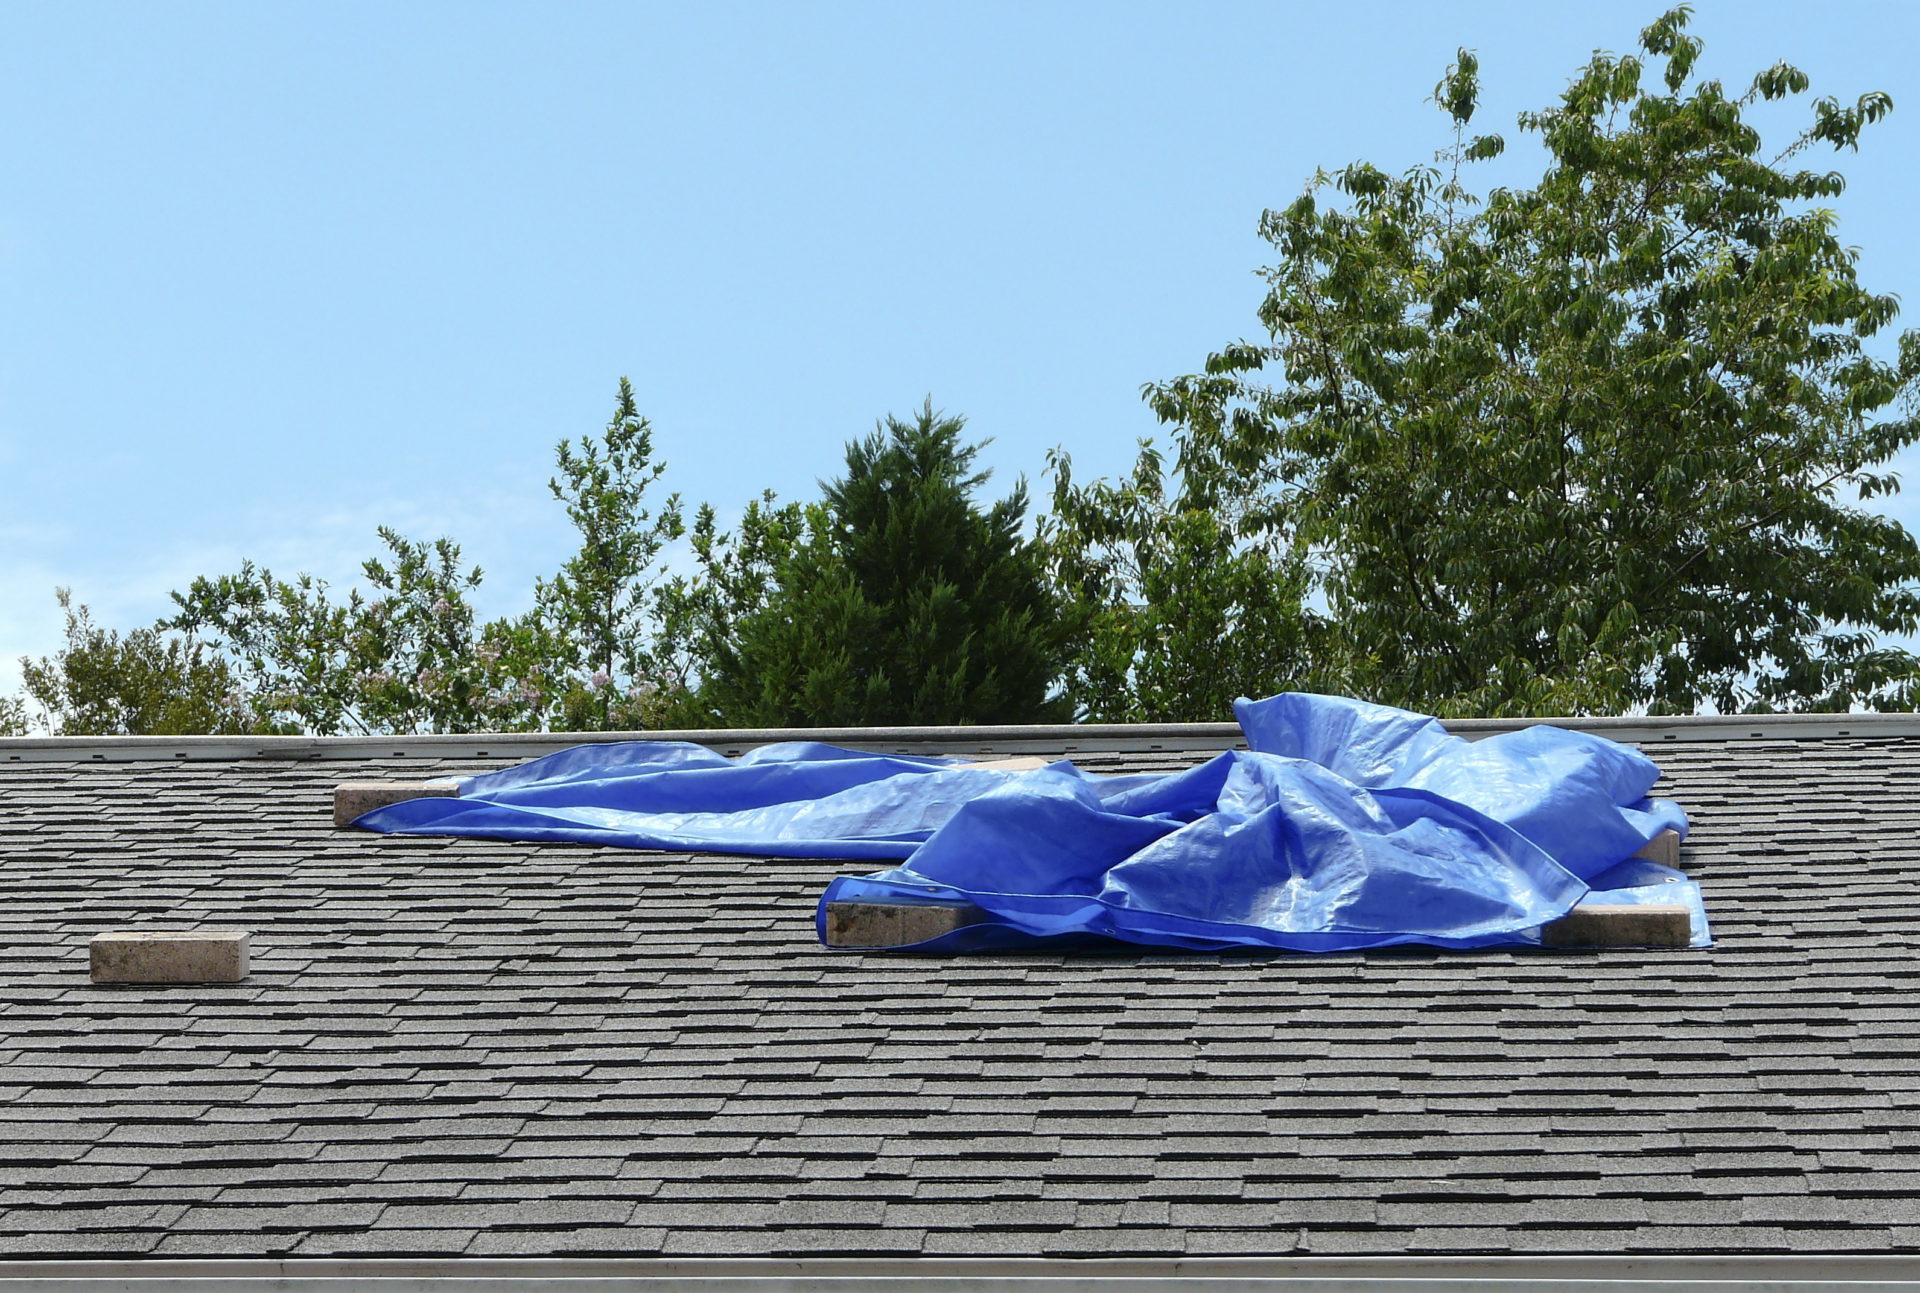
And when a shed roof gets tired, what happens? Yep, leaks. Suddenly, your lawnmower is getting a bit damp, your neatly stacked terracotta pots are looking suspiciously mossy, and you might even find a little unwelcome visitor – a spider who’s decided your shed is now a luxury waterside property. Not ideal, is it? That’s where our humble felt roof comes in. It's the superhero cape your shed needs!
Must Read
Why Bother? A Shed's Best Friend!
So, why should you care about a bit of felt on your shed? Well, imagine your shed is like your own cozy home. You wouldn't want a leaky ceiling, would you? Constant drips, damp patches spreading like a bad rumour, mould growing in the corners… it’s enough to make anyone feel a bit down. A good felt roof is the first line of defence against all that nastiness.
It’s about preserving what’s inside. Those expensive secateurs you bought last spring? They’ll rust if they’re constantly wet. That comfy deckchair you’ve been meaning to use? It’ll get mouldy. Plus, a shed that’s constantly damp can start to smell a bit… ‘earthy’ in a not-so-pleasant way. Nobody wants to open their shed door and be hit by a damp, musty aroma, right? It's like opening a fridge that’s been off for a week!
And let’s be honest, a shed with a nice, neat, intact roof just looks so much better. It’s the finishing touch that makes your garden feel truly complete. It’s like putting the icing on the cake, or the cherry on top of your ice cream. It just… works.
Getting Ready: The Pre-Felt Fiesta
Okay, so you’re convinced. Your shed deserves a waterproof hug. What do you need? First things first, safety. Wear gloves – this stuff can be a bit sticky. And if you’re working up high, a steady ladder is your friend. No need to be a daredevil; we’re just doing a shed roof, not auditioning for the circus!
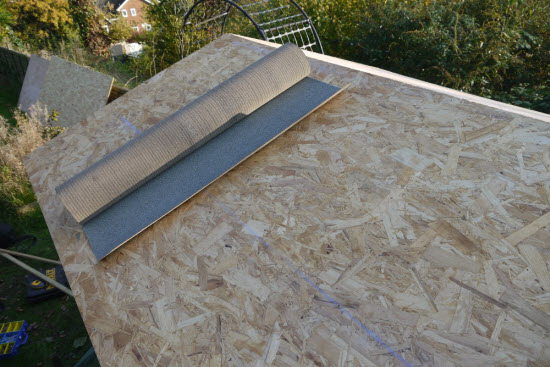
You'll need roofing felt itself. You can get it in rolls, and it’s usually black or dark green. Think of it like a giant, waterproof sticker. You’ll also need felt adhesive, which is basically a super-sticky glue specifically designed for this job. And some felt nails, which are short, wide-headed nails that won’t pull through the felt. Finally, a trusty utility knife to trim things up and maybe a spirit level to make sure everything’s nice and straight, though I’m sure your eye is pretty good!
Before you start slapping on the felt, you need to make sure your shed roof is in decent shape. If the old roofing is peeling off in great chunks, or if there are rotten bits of wood, it’s probably best to clear it all off first. Imagine trying to stick a band-aid on a really dirty wound – it just won’t stick properly. So, a quick tidy-up is key.
Make sure the roof boards are dry and clean. Give them a good sweep, get rid of any loose bits, and let them dry out completely if they’ve been a bit damp. This is like making sure your bread is toasted just right before you put your jam on – it makes all the difference!
The Grand Unfurling: Laying the Felt
Now for the fun bit! You've got your shed, your felt, and your sticky stuff. It's like getting ready to wrap a massive present, but this present is protecting your stuff from the rain. First, you’ll want to roll out the first layer of felt. Start at the lowest edge of the roof, usually the side where the rain will naturally run off. Let it overhang the edge a little – maybe a couple of inches. This is like folding the edges of a tablecloth over the side of a table; it stops drips going down the sides.
Apply the felt adhesive to the roof boards as you go. Think of it as spreading butter on toast – you want an even layer, not too thick and not too thin. Then, carefully press the felt down onto the adhesive. Work from the centre outwards to push out any air bubbles. You don’t want any puffy bits, those can be weak spots!
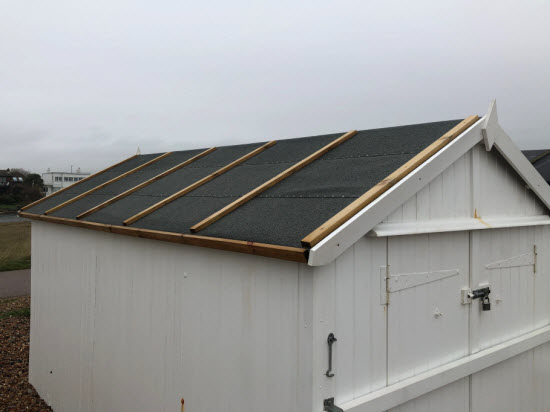
Now, here’s where the overlap comes in. This is crucial. You need to lay a second layer of felt on top of the first. Start at the same low edge, but this time, let the felt overlap the previous layer by at least 10-15cm (that’s about 4-6 inches). This is like putting on a second, slightly overlapping tile on your roof – it ensures there are no gaps for the water to sneak through. Imagine a fancy shingle roof; they all overlap.
You'll use the felt adhesive again for this second layer, and then felt nails to secure it down. When you nail, aim to put them about 15cm apart, around the edges and in the middle. Make sure the heads of the nails go in flush with the felt, not sticking up like little pointy fingers. You want it all smooth and snug.
The Grand Finale: Trimming and Tidying
Once you’ve got your layers down and nailed, it’s time for the final flourish. You need to trim off the excess felt that’s hanging over the edges. Use your trusty utility knife for this. Cut it neatly, following the line of the roof edge. This is like tidying up the edges of a drawing; it makes it look professional and finished.

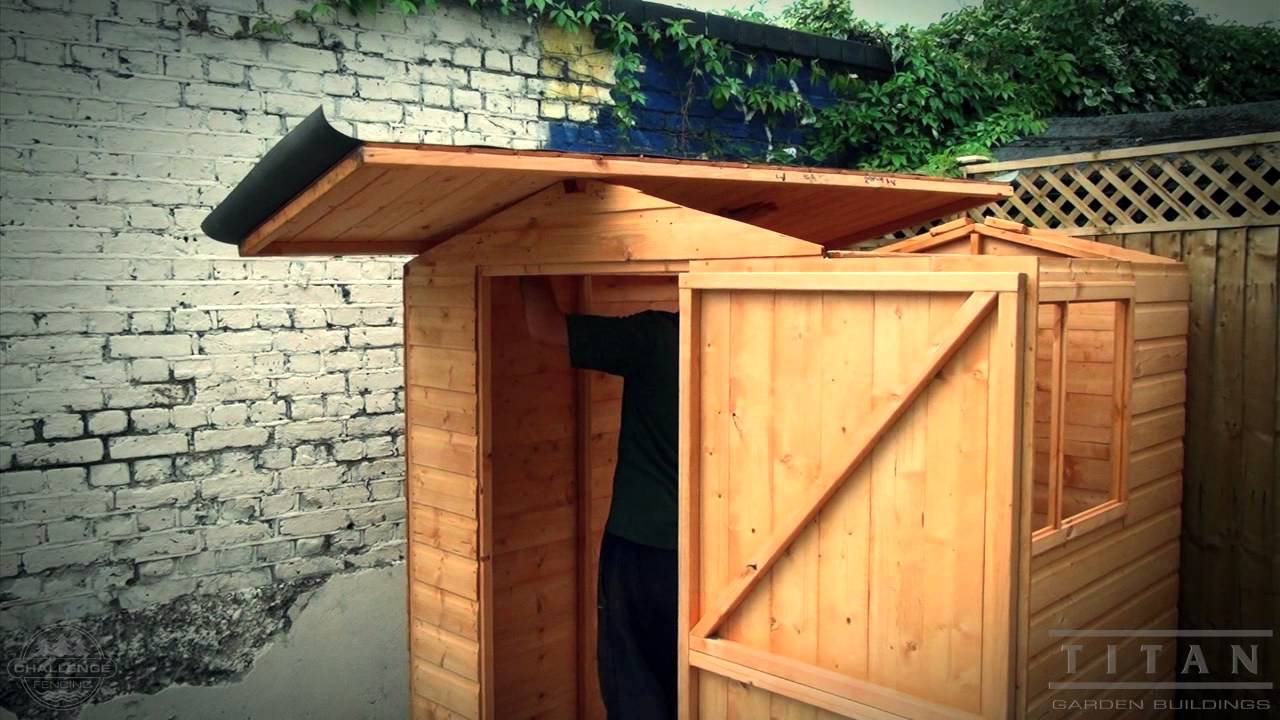
If your shed has a pitched roof (meaning it slopes like a house roof), you’ll do this for each side. You might even need to do a little bit of clever folding and cutting at the corners where the felt meets, like wrapping a gift box. There are plenty of handy videos online if you want to see this bit in action – think of it as your visual recipe card!
And there you have it! You’ve just given your shed a brand new, waterproof hat. It’s going to be so much happier, and so will all the things it’s protecting. It’s a job that doesn’t take too long, doesn’t cost a fortune, and makes a huge difference. So next time you look at your shed, you can do so with a smug little smile, knowing you’ve given it the best kind of protection.
It’s a little bit of effort that pays off in spades. No more dampness, no more worries about your tools, and a garden that looks that little bit tidier. So go on, give your shed the warm, dry hug it deserves. It's a win-win for everyone involved, especially your precious belongings and your peace of mind!

