Remember that satisfying crackle and pop as your favorite album spins? Or maybe you've seen those cool, colorful discs at your local record store and wondered, "How on earth do they make those?" Well, get ready to dive into the groovy world of vinyl record production! It’s a fascinating blend of old-school craftsmanship and surprisingly precise science, and understanding it unlocks a whole new appreciation for the music you love.
Beyond just nostalgia, vinyl is experiencing a massive resurgence. For audiophiles, the warm, analog sound is often preferred for its rich detail and lack of digital compression. For collectors, a record is a tangible piece of art, a physical manifestation of musical passion. And for musicians, releasing music on vinyl is a way to connect with fans on a deeper level, offering something more substantial than a digital download. So, whether you’re a seasoned vinyl aficionado or just vinyl-curious, learning about its creation is a journey worth taking.
The Magical Transformation: From Soundwave to Groove
The journey of a vinyl record begins not with plastic, but with sound itself. It’s a process that transforms invisible audio waves into a physical, playable artifact. The core of this magic lies in a few key stages, each requiring meticulous attention to detail. Let’s break it down!
Everything starts with a master disc. This isn’t your typical vinyl record; it’s a large, flat disc made of glass or metal, coated with a special lacquer. Think of it as the ultimate, pristine blueprint for your music. During the mastering process, a specialized cutting lathe, equipped with a sharp, heated stylus, literally carves the soundwaves from your audio files into this lacquer coating. As the audio plays, the stylus vibrates, creating microscopic undulations on the disc’s surface. These grooves are a direct, physical representation of the music – highs and lows, louds and softs, all etched in. This is where the term “cutting” a record really comes to life!
It’s a bit like a sculptor carving a statue, but instead of marble, it’s sound being shaped into a physical form.
9 Tips To Make Your Vinyl Sound Better | Meemix.com
The person responsible for this delicate operation is a cutting engineer. They’re essentially the first artists in the vinyl creation chain, ensuring the sound quality is as perfect as possible and that the grooves are cut at the optimal depth and width to avoid skips or distortion. They use incredibly sensitive equipment and have ears trained to detect even the slightest imperfection.
From Lacquer to Metal: Building the Stampers
Once the lacquer master disc is cut and approved, it’s time to create the tools that will actually press the records you’ll hold in your hands. This is where things get a little industrial, but no less impressive!
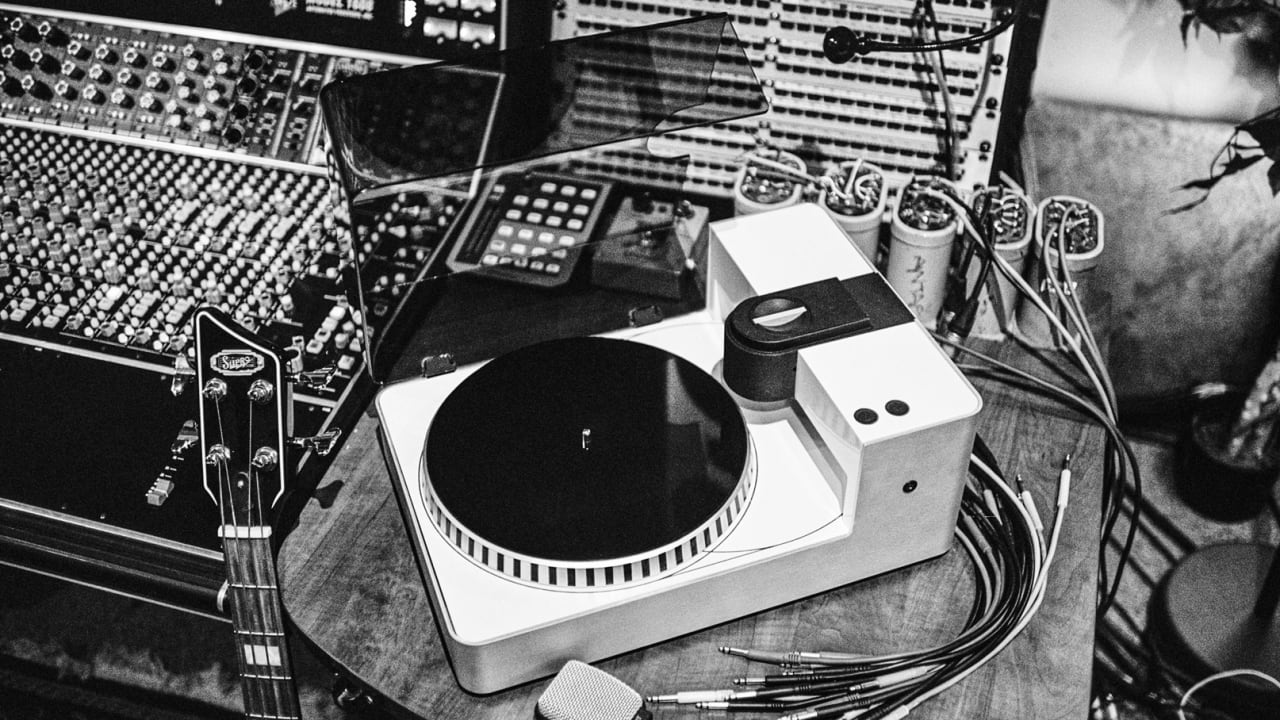
Make Your Own Vinyl Records With $1,200 Machine
The lacquer master is then sent to a plating facility. Here, it’s coated with a thin layer of silver, making it electrically conductive. This conductive disc is then immersed in an electroplating bath filled with nickel. Through a process called electroforming, a thick layer of nickel gradually builds up on the surface of the lacquer master. Once this nickel layer is thick enough, it’s carefully peeled away from the lacquer. This detached nickel disc is called a "father". It’s a negative image of the original lacquer, meaning the grooves are now raised ridges.
From this father, another plating process is used to create one or more "mothers". The mother is a positive image again, essentially a perfect replica of the original lacquer master. Finally, from the mother, multiple "stampers" are created. These stampers are the actual molds that will be used in the record presses. They are negative images, with the grooves being indentations ready to be pressed into hot vinyl. Having multiple stampers is crucial, as they will wear down over time and need to be replaced.
The Main Event: Pressing the Vinyl
Now for the iconic part – pressing the vinyl itself! This is where the familiar black (or colored!) discs come to life. The raw material is PVC (Polyvinyl Chloride) pellets, which are heated and melted to form a pliable, dough-like substance called a "puck". This puck is then placed between the two metal stampers inside a record press.
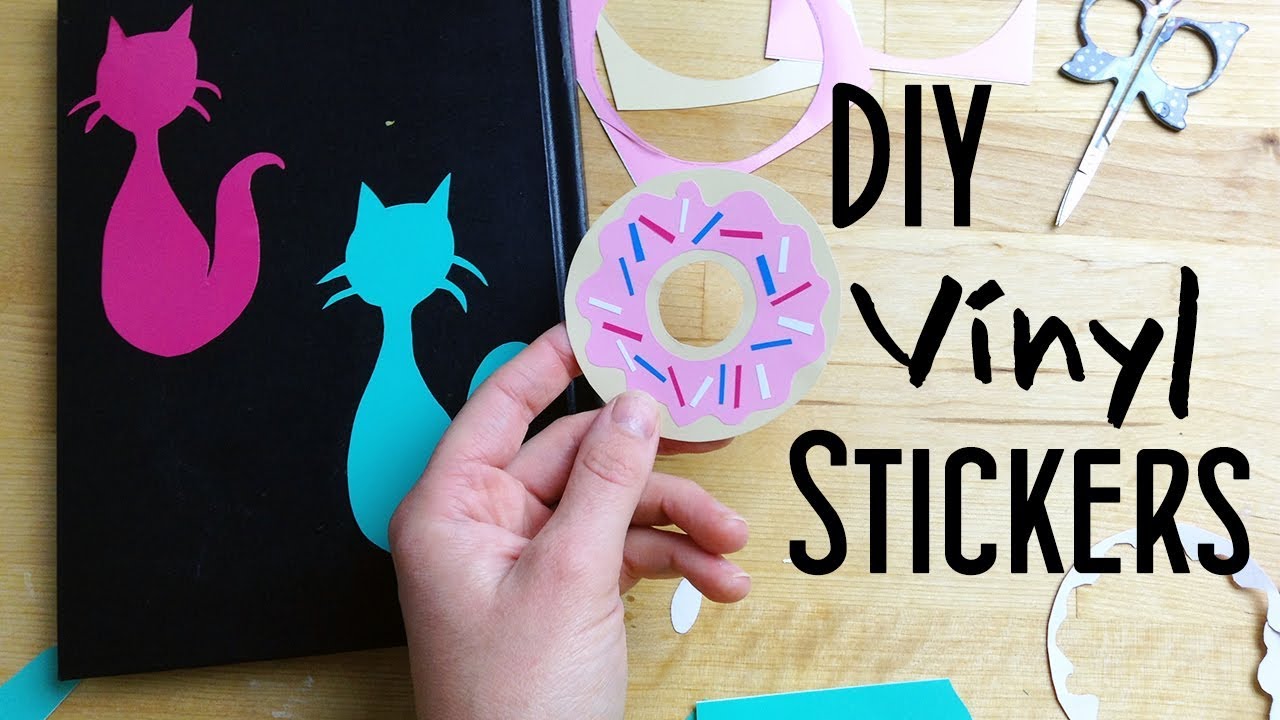
How to Make a Vinyl Decal from a Photo
The record press works like a giant, hydraulic waffle maker. The stampers are mounted onto plates, and the hot PVC puck is placed in the center. The press then clamps down with immense pressure, simultaneously applying heat. The heat softens the PVC, and the pressure forces it to flow into every tiny detail of the grooves on the stampers. This process imprints the music onto the vinyl. While the PVC is being pressed, a label is also positioned in the center of the disc, getting fused to the vinyl.
It’s a high-pressure, high-temperature dance that transforms molten plastic into a musical medium.
How to Make a Vinyl Decal from a Photo
As the press opens, a newly formed vinyl record, complete with its audio grooves and center label, is revealed. The record is then cooled, trimmed to its final circular shape, and inspected for any imperfections. The edges are smoothed, and voilà – a vinyl record is born!
From Press to Play: The Final Touches
After pressing, the records are usually shrink-wrapped and prepared for distribution. Some specialized presses might also offer options for colored vinyl, picture discs (where an image is integrated into the disc), or even etched records, all adding to the collectible nature of vinyl.
So, the next time you drop the needle on a record, take a moment to appreciate the incredible journey that sound wave has taken to become a tangible, groove-filled object. It’s a testament to human ingenuity, artistic dedication, and the enduring power of physical music.